
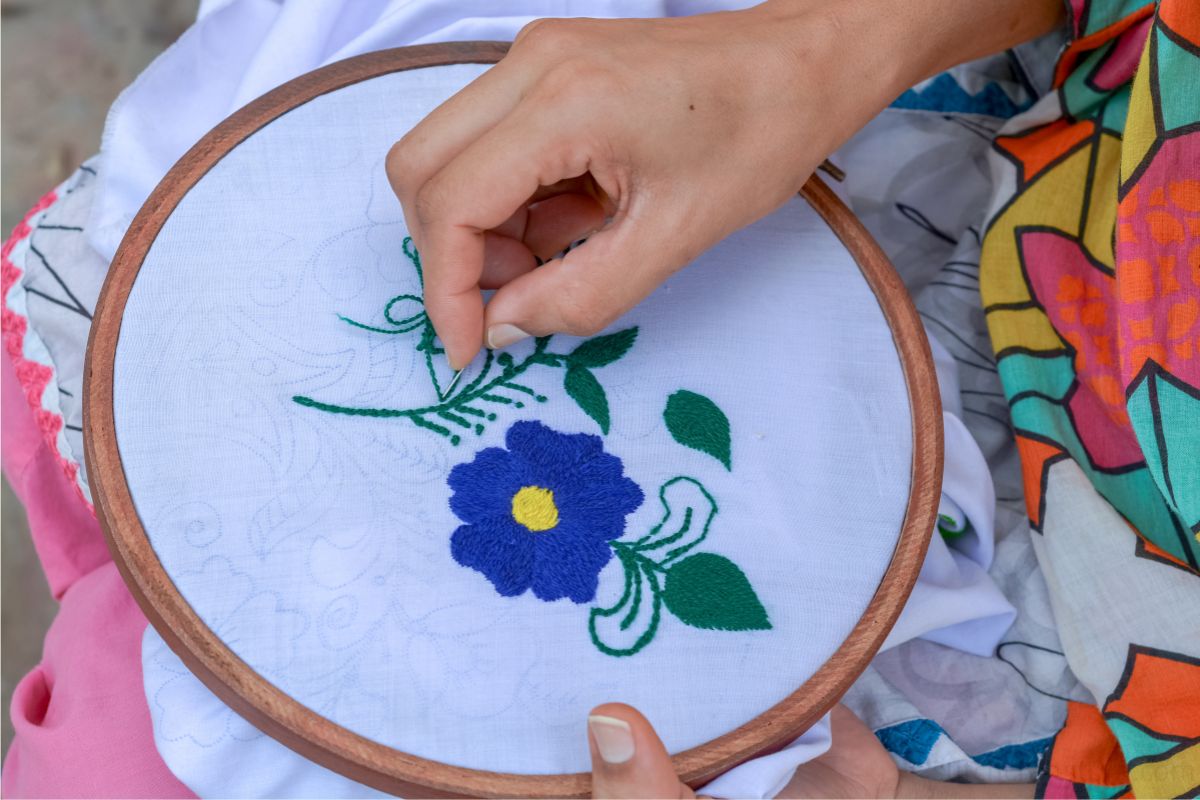
Hand embroidery is a fun and rewarding craft that lets you create beautiful designs on fabric. With some basic supplies and techniques, you can start stitching your own unique pieces. This guide will walk you through everything you need to know to begin your embroidery journey.
Key Takeaways:
- Choose the right fabric, hoop, and supplies
- Learn to transfer patterns and prepare your hoop
- Master basic stitches like running, back, and satin stitch
- Practice proper technique for neat, even stitches
- Embrace the handmade look – perfection isn’t the goal!
Introduction to Hand Embroidery
Hand embroidery is the art of decorating fabric with needle and thread to create designs and patterns. It’s a versatile craft that can be used to embellish clothing, create wall art, or make unique gifts. 🧵🎨
If you want a simple explanation of what embroidered means, this guide covers it clearly.
Embroidery has been around for centuries, with different cultures developing their own styles and techniques. Today, it’s enjoyed by crafters of all skill levels, from beginners to experts.
Essential Hand Embroidery Supplies
Before you start stitching, you’ll need to gather some basic supplies. Here’s what you’ll need:
Fabric Selection
The right fabric can make a big difference in your embroidery experience. For beginners, it’s best to choose:
- Recommended fabrics for beginners:
- 100% cotton
- Linen
- Linen-cotton blends (like Essex linen)
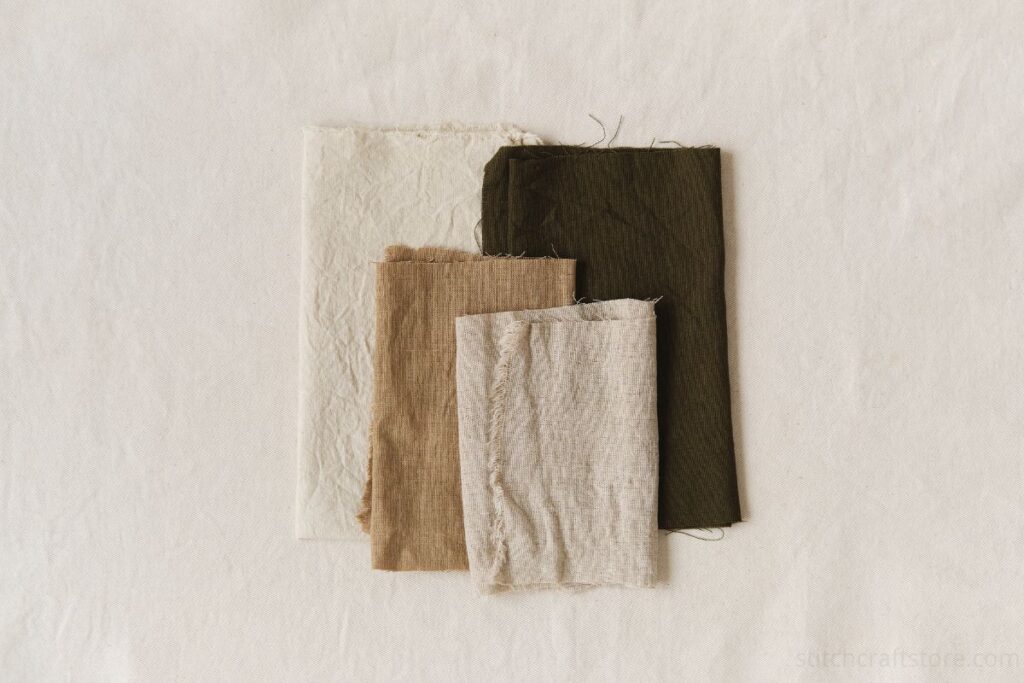
These fabrics have an even weave and don’t stretch much, making them easier to work with.
Embroidery Hoops
An embroidery hoop keeps your fabric taut while you stitch.
- Choosing the right size: Pick a hoop that’s slightly larger than your design.
- Quality options:
- Wooden hoops for stitching
- Plastic hoops for framing finished pieces
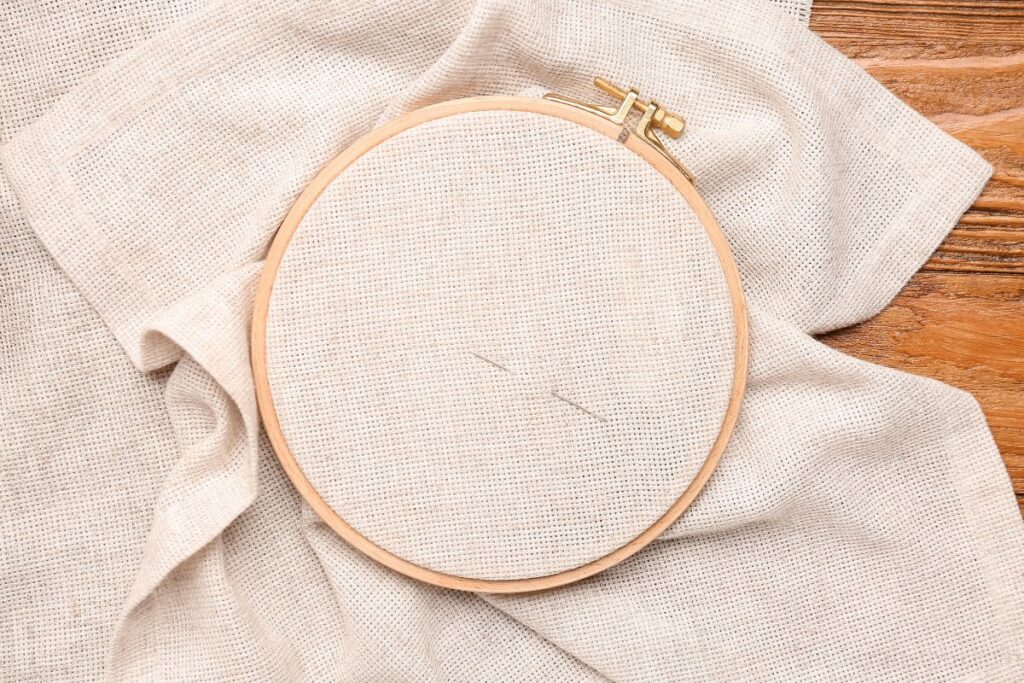
💡 Tip: Invest in a good quality hoop like Hardwick Manor for stitching, and use cheaper hoops for framing.
Embroidery Floss
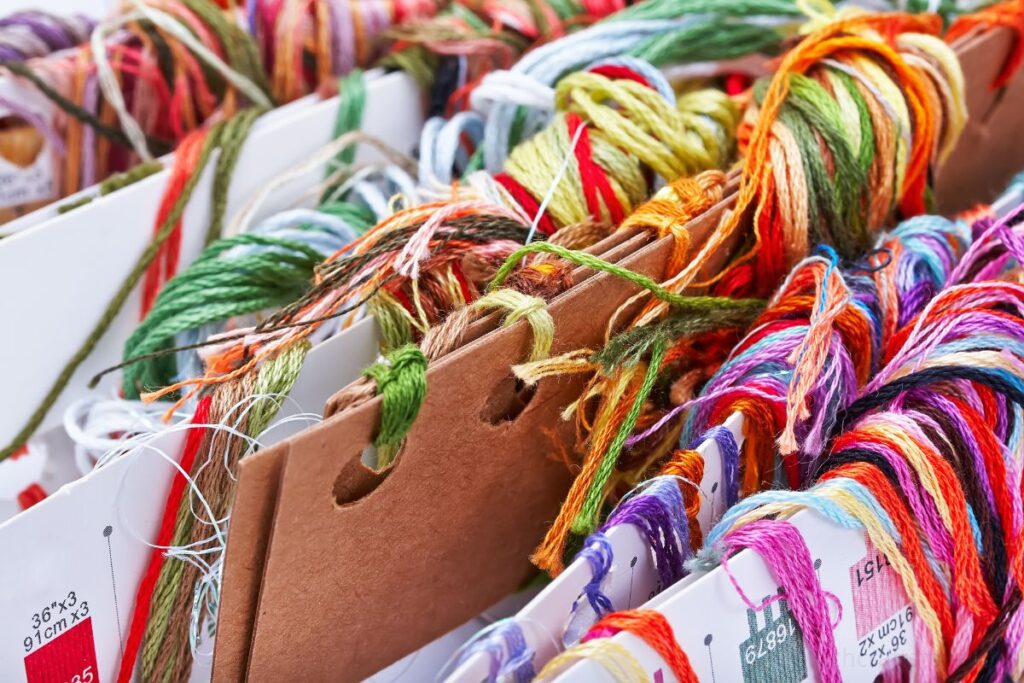
Embroidery floss comes in a rainbow of colors. Two popular brands are:
- DMC floss: Widely available and good quality
- Aurifil floss: Comes on wooden spools, slightly pricier but high quality
Embroidery Needles
You’ll need different needle sizes depending on how many strands of floss you’re using:
- Size 3: For 6 strands
- Size 8: For 3 strands
- Size 9: For 2 strands
- Size 10: For 1 strand
High-quality needle options: Tulip needles are a great choice for beginners and experts alike.
Scissors
Small, sharp scissors designed for embroidery work best. They’ll help you make clean cuts and avoid tangling your thread.
Tracing Supplies
To transfer your pattern onto fabric, you’ll need:
- Friction pens: These disappear with heat, making them great for light-colored fabrics.
- Light tables: Help you see through your fabric to trace patterns. A sunny window can work too!
Preparing Your Embroidery Project
Now that you have your supplies, it’s time to get your project ready for stitching!
Transferring the Pattern
There are different methods for transferring patterns depending on your fabric color:
Method for light-colored fabrics:
- Place your pattern under your fabric
- Use a light table or sunny window to see through the fabric
- Trace the pattern lightly with a friction pen
Method for dark-colored fabrics:
For dark fabrics, you might need to use a different method, like transfer paper or a water-soluble pen. Always test your method on a scrap piece of fabric first!
Using an Embroidery Hoop
A properly hooped fabric is key to good stitching:
- Loosen the screw on your hoop
- Separate the inner and outer rings
- Place your fabric over the inner ring
- Place the outer ring on top and tighten the screw
- Gently pull the fabric taut from all sides until it’s “drum tight”
Understanding Embroidery Patterns
Embroidery patterns often use symbols to show you where to stitch and what kind of stitch to use. Here’s how to read them:

- Letters with arrows: Point to different parts of the design
- Stitch types: Usually listed with a key or legend
- Strand counts: Tell you how many strands of floss to use
For example, a pattern might say “A: Split stitch, 2 strands, DMC 3721” – this tells you to use a split stitch with 2 strands of DMC floss color 3721 for that part of the design.
Thread Preparation Techniques
Preparing your thread properly will make stitching easier and neater:
Separating embroidery floss
Embroidery floss usually comes in 6-strand bundles. Here’s how to separate them:
- Cut a length of floss (about arm’s length)
- Hold one end of the floss bundle
- Gently pull out one strand at a time
Threading the needle
- Cut your floss to the desired length
- Separate the number of strands you need
- Wet the end of the thread slightly
- Guide it through the eye of the needle
Securing the thread
For beginners, the easiest way to secure your thread is:
- Thread your needle
- Tie a knot at the long end of your thread
- This knot will anchor your first stitch on the back of your fabric
Essential Hand Embroidery Stitches
Let’s learn some basic stitches to get you started:
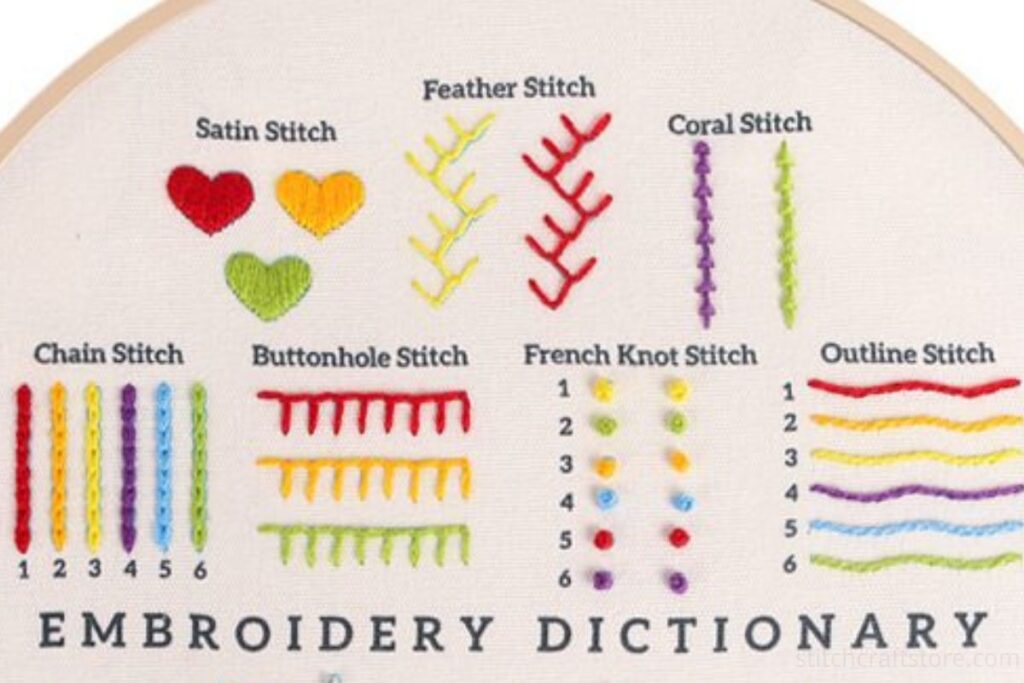
Running Stitch
This is the simplest stitch and great for outlines:
- Bring the needle up through the fabric
- Go down a short distance away
- Come up again the same distance ahead
- Repeat to create a dotted line effect
Back Stitch
Back stitch creates a solid line:
- Bring the needle up through the fabric
- Go back down one stitch length behind
- Come up one stitch length ahead of your first stitch
- Repeat, always going back into the hole where your last stitch ended
Split Stitch
This stitch creates a braided effect:
- Make one straight stitch
- Bring the needle up through the middle of that stitch
- Continue, always splitting the previous stitch
Stem Stitch
Great for curves and stems:
- Make a straight stitch
- Bring the needle up halfway along that stitch
- Make another stitch, keeping your working thread below the needle
- Repeat, always coming up through the middle of the previous stitch
French Knot
Perfect for adding texture:
- Bring the needle up where you want the knot
- Wrap the thread around the needle 1-2 times
- Insert the needle close to where it came up
- Pull through, keeping tension on the wrapped thread
Satin Stitch
Used to fill in areas:
- Bring the needle up on one side of the shape
- Go down on the opposite side
- Come up right next to your first stitch
- Continue, keeping stitches close together
Embroidery Best Practices
Follow these tips for better results:
Maintaining consistent tension
Keep your stitches snug but not too tight. This helps your work look neat and prevents puckering.
Avoiding thread tangles
Work with shorter lengths of thread (about arm’s length) to prevent knots and tangles.
Transitioning between areas of the design
Instead of carrying thread across the back of your work, end your thread and start again in the new area. This keeps the back neat and prevents shadows on the front.
Finishing Your Embroidery Project
Once you’ve finished stitching, it’s time to display your work!
Securing final stitches
- On the back of your work, weave your needle under several stitches
- Trim the excess thread close to the fabric
Framing options
In-hoop framing
- Trim excess fabric, leaving about 1 inch
- Glue or sew the fabric to the inner hoop
- Add a felt circle to cover the back
Alternative display methods
- Frame in a traditional picture frame
- Sew onto clothing or bags
- Make into a pillow cover
Tips for Beginners
Embracing imperfections
Remember, handmade embroidery isn’t meant to be perfect. Those little imperfections give your work character!
Practice exercises
Start with simple patterns and basic stitches. As you get more comfortable, try more complex designs.
Resources for further learning
- Online tutorials and videos
- Local craft classes
- Embroidery books and magazines
Conclusion
Hand embroidery is a rewarding craft that allows you to create beautiful, personalized pieces. With practice, you’ll develop your skills and find your own unique style. Remember to enjoy the process and have fun with your stitching!