
Embroidery and cross stitch kits can look pricey when you compare them with a hoop, a few skeins of floss, and a piece of fabric bought separately. The key is that a kit is not just a pile of supplies. You are also paying for design work, color planning, testing, packaging, instructions, and the convenience of having everything measured and matched for one project.
Some kits are overpriced, but many cost more for practical reasons. The best way to judge price is to ask: does this kit save time, reduce mistakes, teach a technique, include quality materials, or offer a design you could not easily assemble yourself?
Quick Answer
Embroidery kits are often expensive because they bundle both materials and preparation. A good kit usually includes fabric, thread, needle, pattern, stitch guide, hoop or finishing supplies, packaging, and clear instructions. Behind that are less visible costs: the designer’s time, sample stitching, photography, printing, small-batch production, and customer support.
If you already own hoops, needles, stabilizer, floss, and fabric, buying individual supplies may be cheaper for simple designs. But if you are new to embroidery or cross stitch, a kit can be better value because it prevents overbuying, color-matching errors, and confusion about fabric count, thread quantity, or transfer methods.
Price also depends on scale. Large craft brands can produce thousands of kits at lower cost. Independent designers often make smaller runs, use better fabric or specialty threads, and spend more time on instructions. That can make a small kit cost more than a larger mass-produced one.
So, the real question is not only “why are your kits so expensive?” It is “what am I paying for, and does it make this project easier, better, or more enjoyable?”
How to Think About This Topic
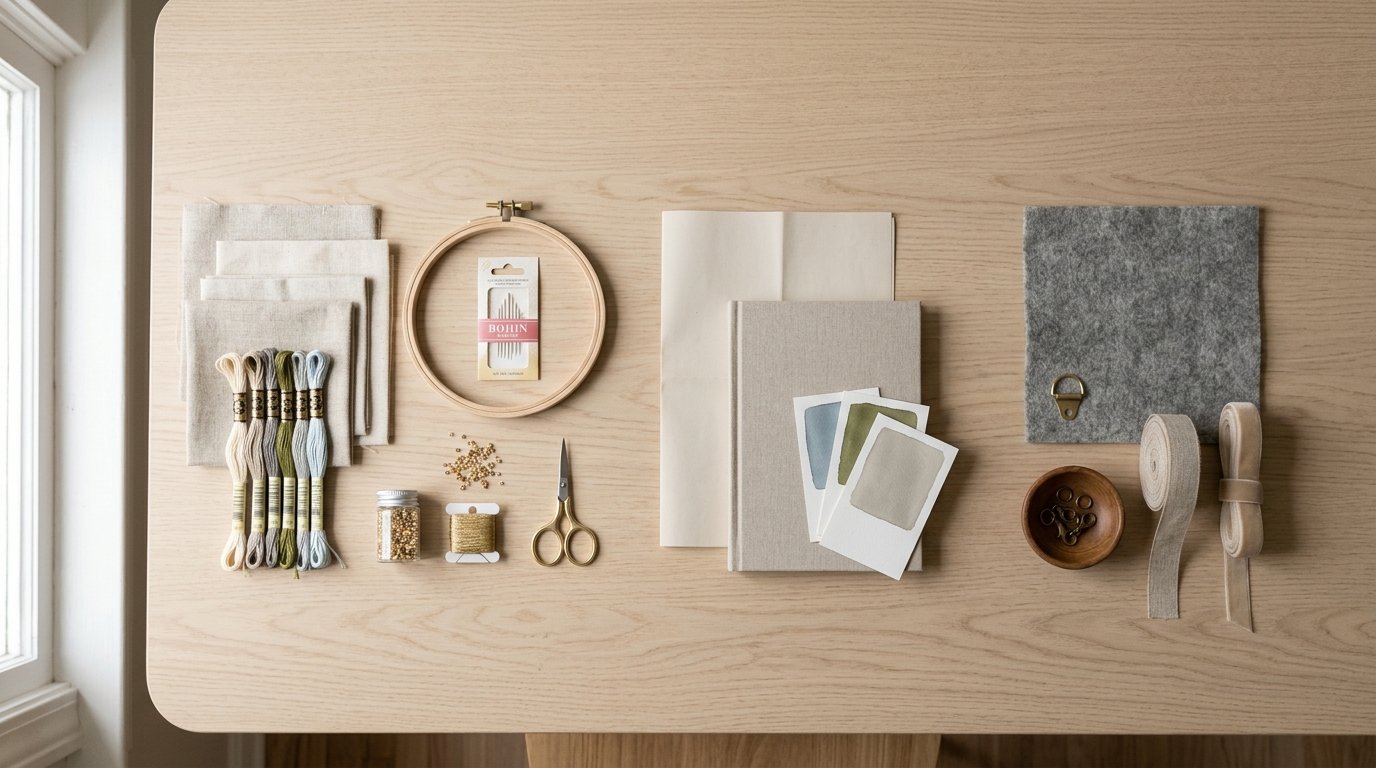
A useful mental model is to split an embroidery kit into three kinds of value: materials, design, and convenience.
Materials are the easiest part to see. You can look at the fabric, floss, needle, hoop, beads, metallic thread, ribbon, backing felt, or finishing hardware and estimate their retail value. Higher-quality linen, evenweave, wool felt, hand-dyed fabric, full skeins, specialty needles, or branded floss can raise the price quickly. Cross stitch kits may also include gridded fabric, pre-sorted threads, or larger charts, all of which add cost.
Design value is harder to see but often matters more. Someone created the artwork, converted it into stitches, selected colors, tested the pattern, corrected mistakes, and made instructions that another person can follow. In cross stitch, that may include chart symbols, backstitch lines, thread blends, and fabric count calculations. In surface embroidery, it may include stitch placement, transfer artwork, color order, and technique notes. You are paying for a project that has already been planned.
Convenience is the part many people underestimate. A kit saves you from buying twelve skeins when you only need a few lengths, choosing the wrong fabric weight, using a hoop that does not fit, or discovering halfway through that the thread colors do not work together. For beginners, that convenience can be the difference between finishing the project and abandoning it.
This matters because people usually ask about kit prices while comparing them to loose supplies. That comparison is fair, but it is incomplete. Loose supplies are cheaper only if you know exactly what to buy, already own the basic tools, and can use leftovers later. If not, the “cheaper” route may involve extra shipping, unused materials, and more trial and error.
For example, a floral embroidery kit may include only a small square of fabric and six thread colors. On materials alone, it may not look impressive. But if it includes a well-balanced design, a printed pattern, stitch diagrams, a transfer already on the fabric, and enough thread without waste, the price reflects a ready-to-stitch experience rather than raw supply cost.
Practical Guidance
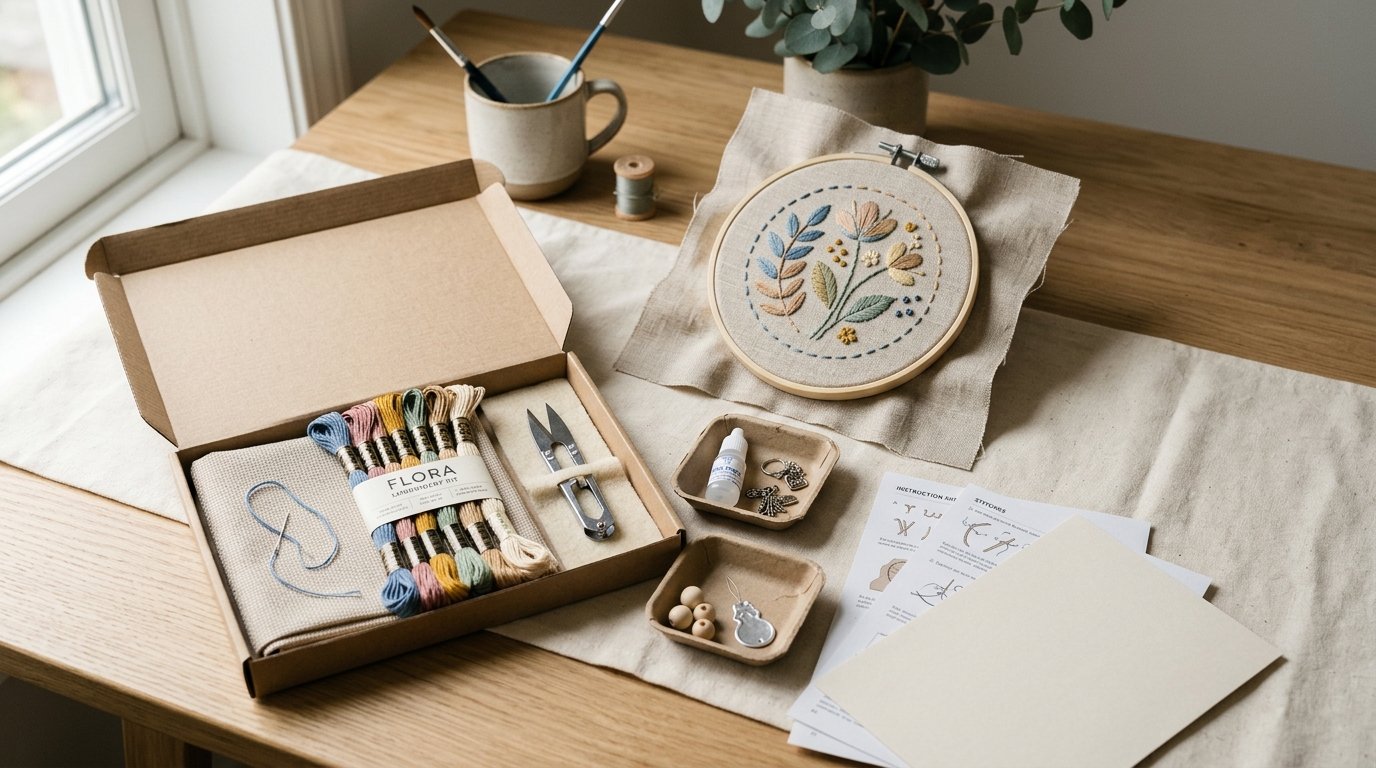
To decide whether an embroidery or cross stitch kit is worth the price, look for signals of real value rather than judging by size alone.
First, check what is included. A strong beginner kit should clearly list fabric type, thread, needle, hoop if needed, pattern, instructions, and any finishing pieces. If the design requires special techniques, it should include stitch diagrams or links to tutorials. For cross stitch, look for fabric count, finished size, thread brand or color information, and whether the chart is printed, digital, or both.
Second, consider your current stash. If you already have DMC floss, several hoops, aida, linen, needles, and transfer tools, a full kit may duplicate things you own. In that case, a pattern-only purchase can be more economical. But if you are starting from zero, a kit may cost less than buying full packs of everything separately.
Third, compare the kit to the time it saves. Suppose a kit costs more than the visible materials by $15 or $20. That difference may cover the design, color selection, instructions, packaging, and the avoided hassle of sourcing supplies from several shops. If you enjoy planning and substituting materials, you may not need that service. If you want to sit down and stitch, it may be worthwhile.
Fourth, pay attention to small-batch pricing. Independent embroidery kits often cost more because they are not produced in huge quantities. The maker may cut fabric, sort threads, print instructions, pack orders, answer questions, and pay platform fees. Small runs also mean packaging and printing cost more per kit. That does not automatically make every indie kit worth it, but it explains why the price cannot always match a big-box kit.
Fifth, watch for red flags. Be cautious if a kit is expensive but vague about contents, uses unclear photos, does not show the finished piece, omits fabric details, or provides only minimal instructions for a beginner-level claim. A high price should come with clarity. You should know what you are getting and what skill level is expected.
Here are a few practical buying situations:
- Choose a kit if you are a beginner, buying a gift, trying a new technique, or want a low-stress project with matched materials.
- Choose a pattern only if you already have supplies and feel comfortable choosing fabric, colors, and tools.
- Choose loose supplies if you are making several projects, substituting colors, or building a long-term stitching stash.
- Pay more for a kit when the design is unique, the instructions are strong, or the materials are clearly better.
- Skip the kit when the price is high but the contents and support are unclear.
The best kit is not always the cheapest or the most expensive. It is the one that matches your skill, your stash, and the amount of planning you want to do yourself.
FAQ
Are Embroidery Kits Cheaper Than Buying Supplies Separately?
Sometimes, but not always. Kits can be cheaper for beginners because they include only what the project needs. If you already own fabric, hoops, needles, and thread, buying a pattern and using your stash may cost less than purchasing a full kit.
Why Do Some Small Embroidery Kits Cost More Than Large Ones?
Small kits may use premium materials, detailed instructions, original artwork, or small-batch production. Size is only one part of pricing. A small hand-packed kit from an independent designer can cost more than a larger mass-produced kit because the labor and setup costs are higher.
Is an Expensive Embroidery Kit Better for Beginners?
Not automatically. Beginners should look for clear instructions, suitable fabric, basic stitches, good photos, and included essentials. A pricey kit can be excellent, but a simpler mid-priced kit may be better if it teaches well and avoids unnecessary specialty materials.
What Should Be Included in a Good Embroidery Kit?
A good kit should list the fabric, thread, needle, pattern, instructions, and hoop or finishing supplies if required. It should also state the skill level and finished size. For beginners, stitch diagrams or tutorial support are especially helpful.