
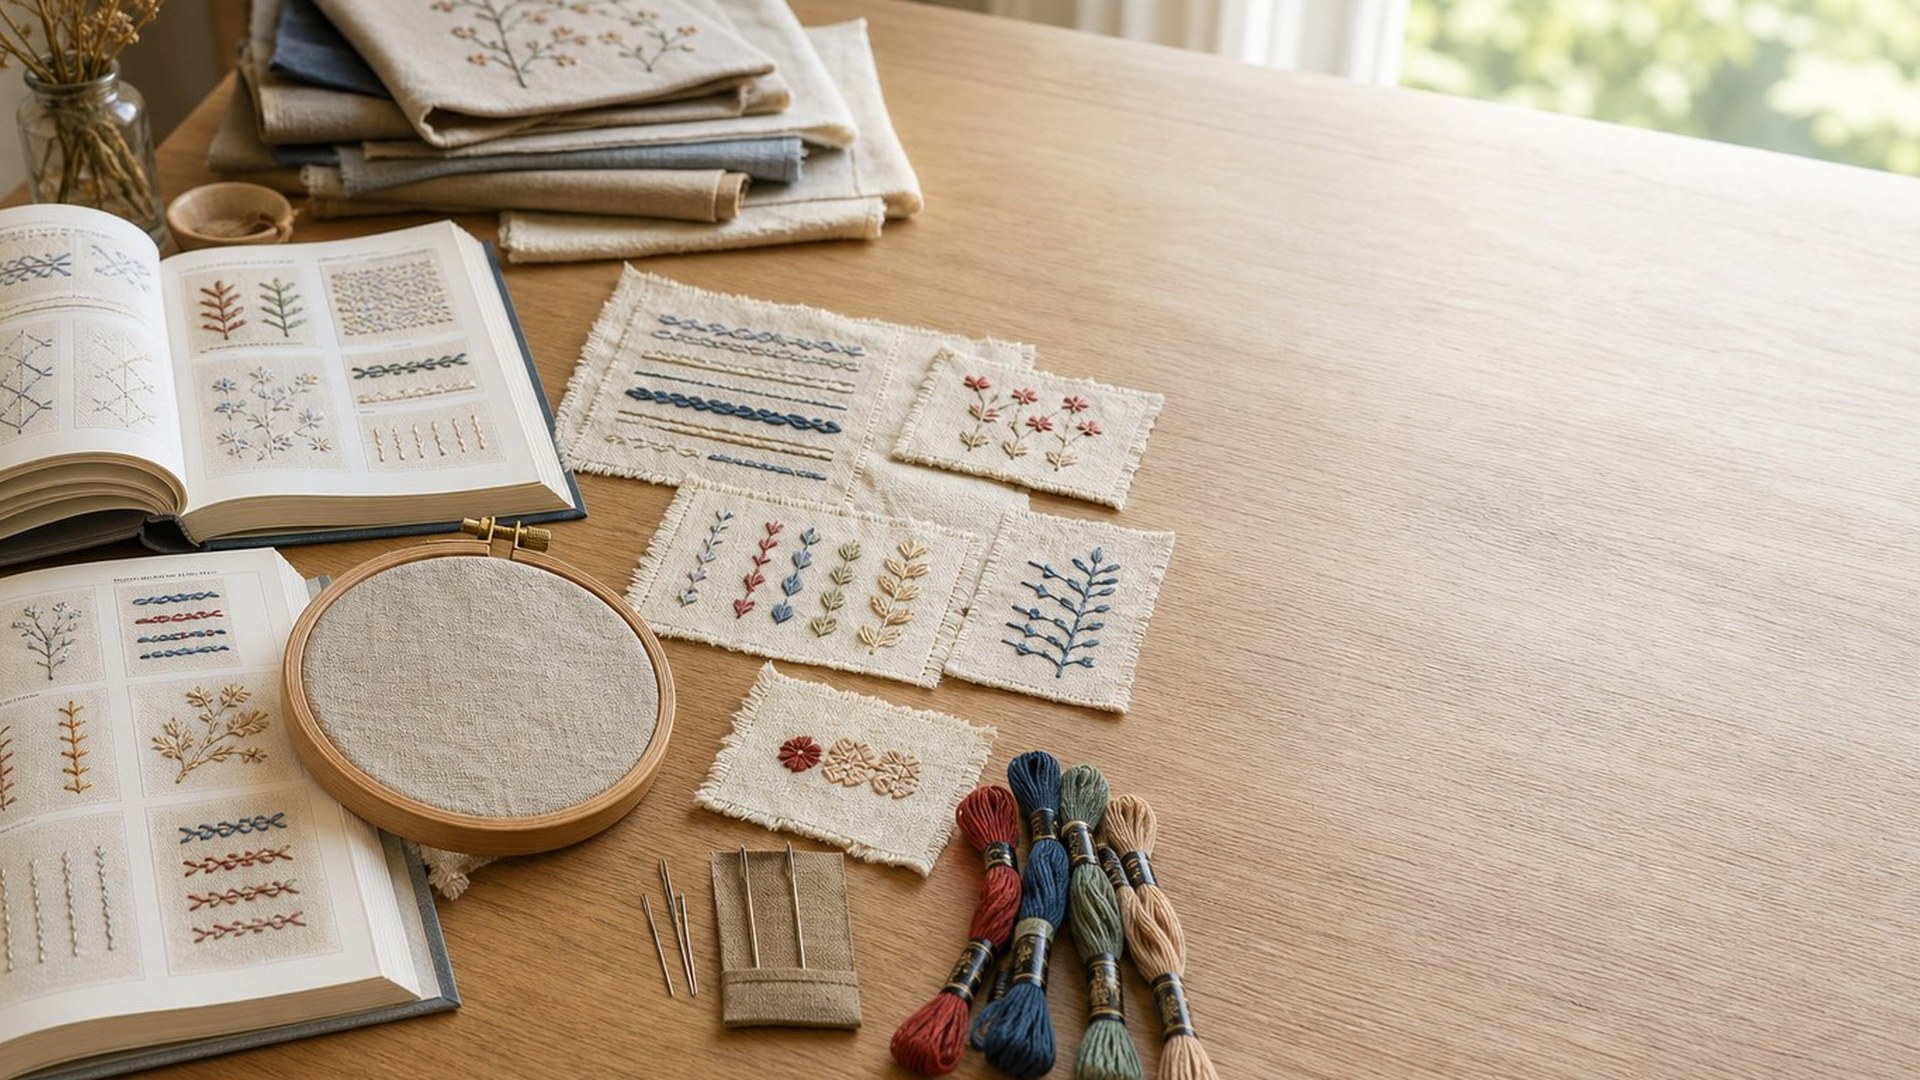
The Royal School of Needlework’s Stitch Bank is an online embroidery stitch reference designed to help stitchers identify, learn, compare, and use hand embroidery stitches. It is especially useful when you need a clear explanation of how a stitch is formed, what it looks like, or where it might fit in a project. Rather than treating it as a list to browse randomly, use it as a practical tool: look up unfamiliar stitches, compare options for texture or line work, and build a small practice plan before committing to a finished piece. For beginners, it can make stitch names less intimidating. For experienced needleworkers, it is a reliable way to refresh technique and expand design choices.
What Is the Royal School of Needlework’s Stitch Bank?
The Royal School of Needlework’s Stitch Bank is a digital resource from the Royal School of Needlework, an institution known for preserving and teaching hand embroidery. The Stitch Bank brings together stitch information in a searchable format, making it easier to explore stitches across embroidery traditions and techniques.
Its value is not only in naming stitches, but in giving stitchers a reference point. If a pattern mentions a stitch you do not know, or if you want to add texture to a design, the Stitch Bank can help you understand the stitch’s structure before you put needle to fabric.
How the Stitch Bank Is Organized
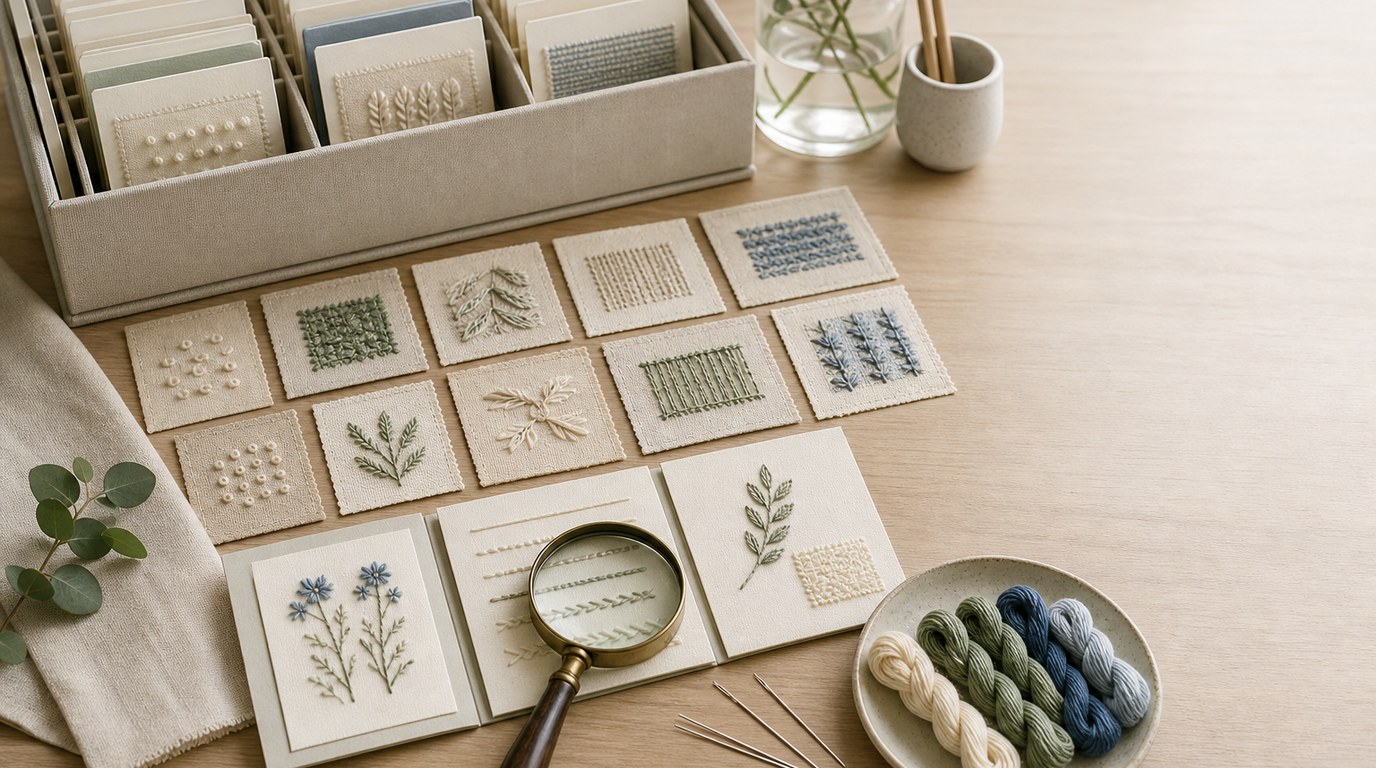
A helpful way to think of the Stitch Bank is as a stitch library rather than a course. You can search for a specific stitch, browse by category, or use it to compare related stitches. Each entry typically helps you understand what the stitch is called, how it is worked, and what visual effect it creates.
This organization matters because embroidery stitches often overlap in purpose. Several stitches can make a line, fill a shape, edge a motif, or add raised texture. By browsing related options, you can move from “I need a stitch” to “I need the right kind of stitch for this area.”
Ways to Use the Rsn Stitch Bank
The RSN Stitch Bank can support both planned projects and spontaneous problem-solving. Use it when you are reading a pattern, designing your own embroidery, practicing technique, or checking whether a stitch is suitable for your fabric and thread.
| Stitching need | How the Stitch Bank helps |
|---|---|
| Understanding a pattern instruction | Look up the named stitch before starting the section. |
| Choosing a line stitch | Compare stitches that create outlines, stems, borders, or curves. |
| Adding texture | Find stitches with raised, looped, knotted, or woven effects. |
| Planning a sampler | Select a small group of stitches by purpose or difficulty. |
| Refreshing technique | Revisit the stitch entry before working on your final fabric. |
How to Look up a Stitch Step by Step
Start with the stitch name if you have one. Search for it directly, then check whether the entry matches the stitch used in your pattern or project. Some stitch names have variations, so pay attention to the form shown rather than relying on the name alone.
Next, read the instructions all the way through before stitching. Notice where the needle comes up, where it goes down, and how the thread lies on the fabric. If there are diagrams or images, follow them slowly in order.
Before using the stitch on your project, test it on scrap fabric with the same thread weight. This quick sample shows whether the stitch size, tension, and texture suit your design.
Reading Stitch Instructions Without Getting Lost
Stitch references often use compact language, and beginners can feel lost if they try to stitch while reading every word for the first time. Break the instruction into small actions: bring the needle up, insert it down, loop or wrap the thread, then pull through.
Pay close attention to direction. A stitch may look different depending on whether you work left to right, right to left, around a curve, or in rows. Also watch thread tension. Many stitches fail not because the steps are wrong, but because the thread is pulled too tightly or left too loose.
If a diagram seems confusing, trace the path with your finger before stitching.
Choosing Stitches for Your Own Projects
The Stitch Bank becomes more powerful when you use it creatively, not just as a dictionary. Start by deciding what job the stitch needs to do. Is it outlining a flower stem, filling a petal, creating a border, adding dots, or building a textured surface?
Then choose based on effect. For smooth outlines, look for stitches that create continuous lines. For foliage, consider stitches that naturally form points or angled shapes. For decorative borders, compare stitches with repeated loops, knots, or interlacing.
Also match the stitch to the fabric and thread. A delicate stitch may disappear in thick wool, while a bulky stitch may overwhelm fine cotton or linen.
Building a Practice Sampler with the Stitch Bank
A practice sampler is one of the best ways to use the Stitch Bank for skill-building. Choose six to eight stitches with different purposes: one line stitch, one filling stitch, one knot, one looped stitch, one border stitch, and one textured stitch.
Draw simple guidelines on fabric, such as straight lines, curves, small circles, and filled squares. Work each stitch in a small section and label it. Keep notes on thread type, number of strands, and what felt difficult.
This turns the Stitch Bank into a personal learning tool. Over time, your sampler becomes a practical reference you can touch, compare, and reuse.
Tips for Getting Better Results from Stitch References
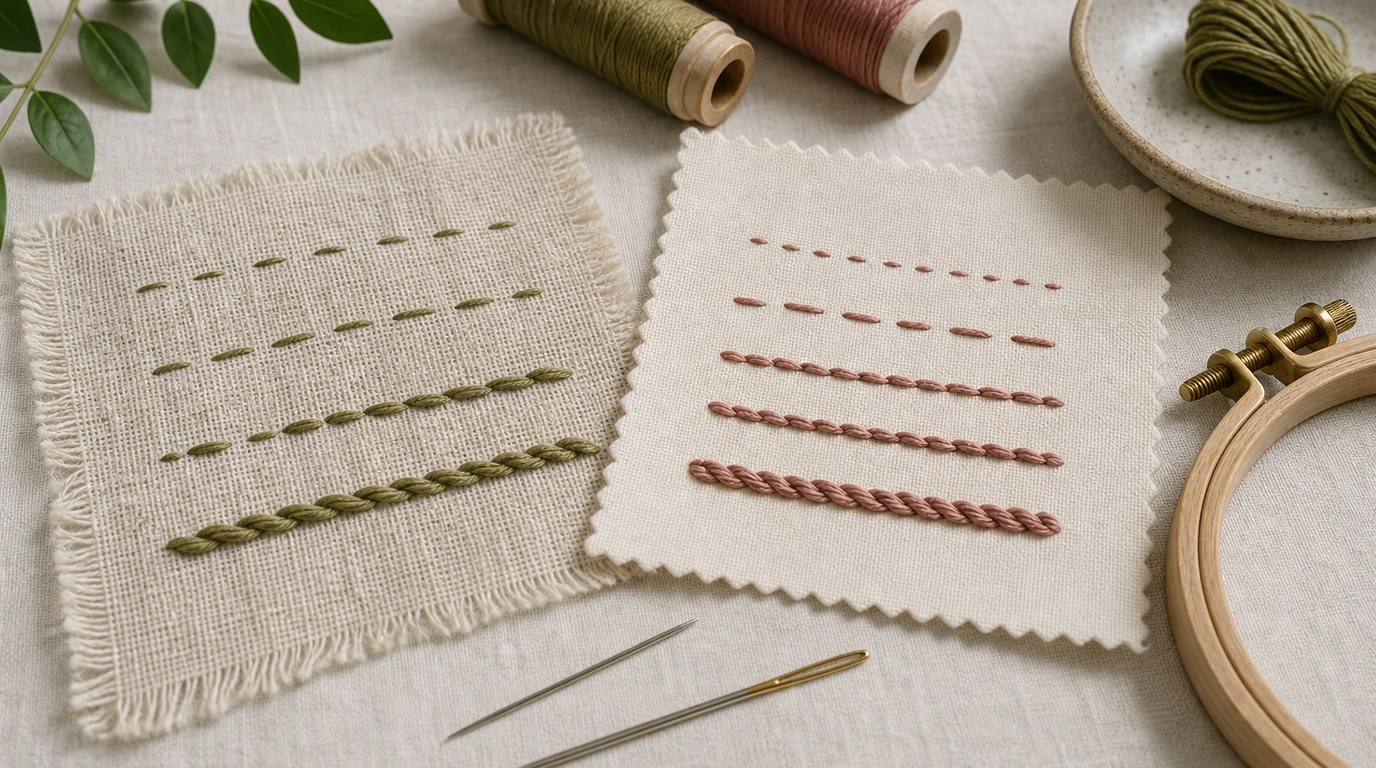
Use similar materials when practicing. A stitch learned on loose-weave fabric with thick thread may behave differently on tightly woven fabric with fine thread. Keep your needle size appropriate to the thread so it passes through cleanly without dragging.
Work slowly for the first few repeats, then build rhythm. If the stitch looks uneven, check spacing before blaming technique. Marking dots or guide lines can help.
Finally, save or note the stitches you return to often. Your personal shortlist will make future project planning faster.
When the Stitch Bank Is Most Useful—and When You May Need More Help
The Stitch Bank is most useful when you need a dependable reference, a visual reminder, or inspiration for stitch choice. It is excellent for independent practice and project planning.
However, some techniques are easier to learn with live demonstration, video, or a teacher’s feedback, especially if tension, fabric handling, or thread control is the problem. If a stitch still feels awkward after several attempts, use the Stitch Bank alongside a class, tutorial, or experienced stitcher.
FAQ
What Should a Beginner Know First About the Royal School of Needlework S Stitch Bank?
A beginner should know that the Stitch Bank is a reference, not a step-by-step course. Use it to look up individual stitches, understand how they are formed, and practice them on scrap fabric before adding them to a project.
What Matters Most When Evaluating the Royal School of Needlework S Stitch Bank?
The most important value is clarity: whether the stitch entry helps you understand the stitch’s structure, appearance, and use. A good reference should help you choose the right stitch, not just recognize its name.
What Mistakes Should Readers Avoid with the Royal School of Needlework S Stitch Bank?
Avoid trying a stitch for the first time on your final project. Also avoid choosing stitches only because they look impressive. Match each stitch to the fabric, thread, scale, and purpose of the design.
What Is the Next Logical Step After Learning About the Royal School of Needlework S Stitch Bank?
Choose three stitches you want to learn and make a small sampler. Practice each one in different thread weights or on curved and straight lines. This turns the reference into hands-on embroidery skill.