
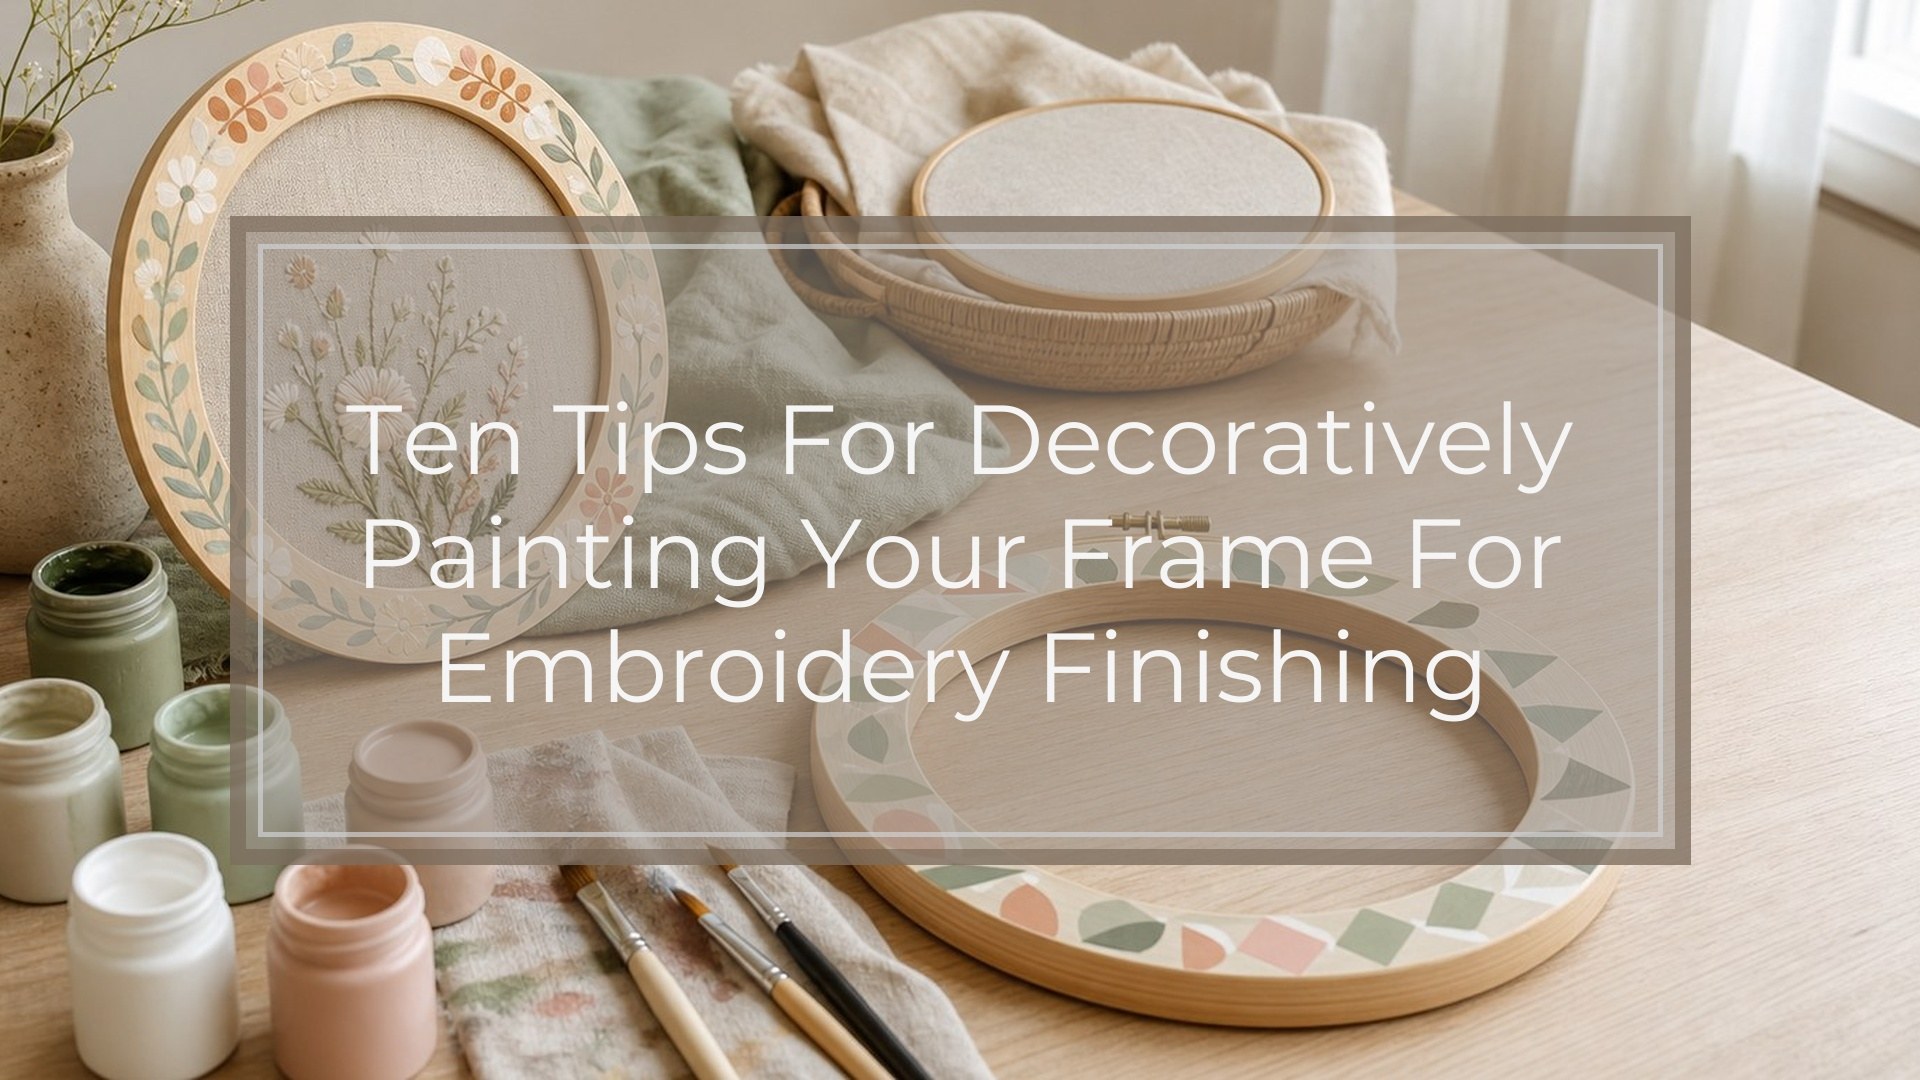
A painted frame can turn embroidery, cross stitch, or needlework into a finished display piece instead of simply holding it in place. Start by choosing a color and finish that support the stitching, then prepare the frame so the paint bonds cleanly. Work in thin coats, add decorative effects with restraint, and seal the surface before mounting your fabric. The best painted frames look intentional: they echo the design, suit the room, and protect the stitched piece from smudges, scratches, or paint transfer.
Why Painted Frames Work so Well for Embroidery and Cross Stitch
Think of the frame as part of the composition, not an afterthought. A stitched floral can feel softer in a muted green frame, while blackwork may look sharper in matte black or warm charcoal. Seasonal cross stitch can become more playful with a painted hoop or frame in red, navy, gold, or cream. The goal is balance: the frame should guide the eye toward the needlework, not compete with every stitch.
Tip 1: Choose a Paint Color That Supports the Stitching
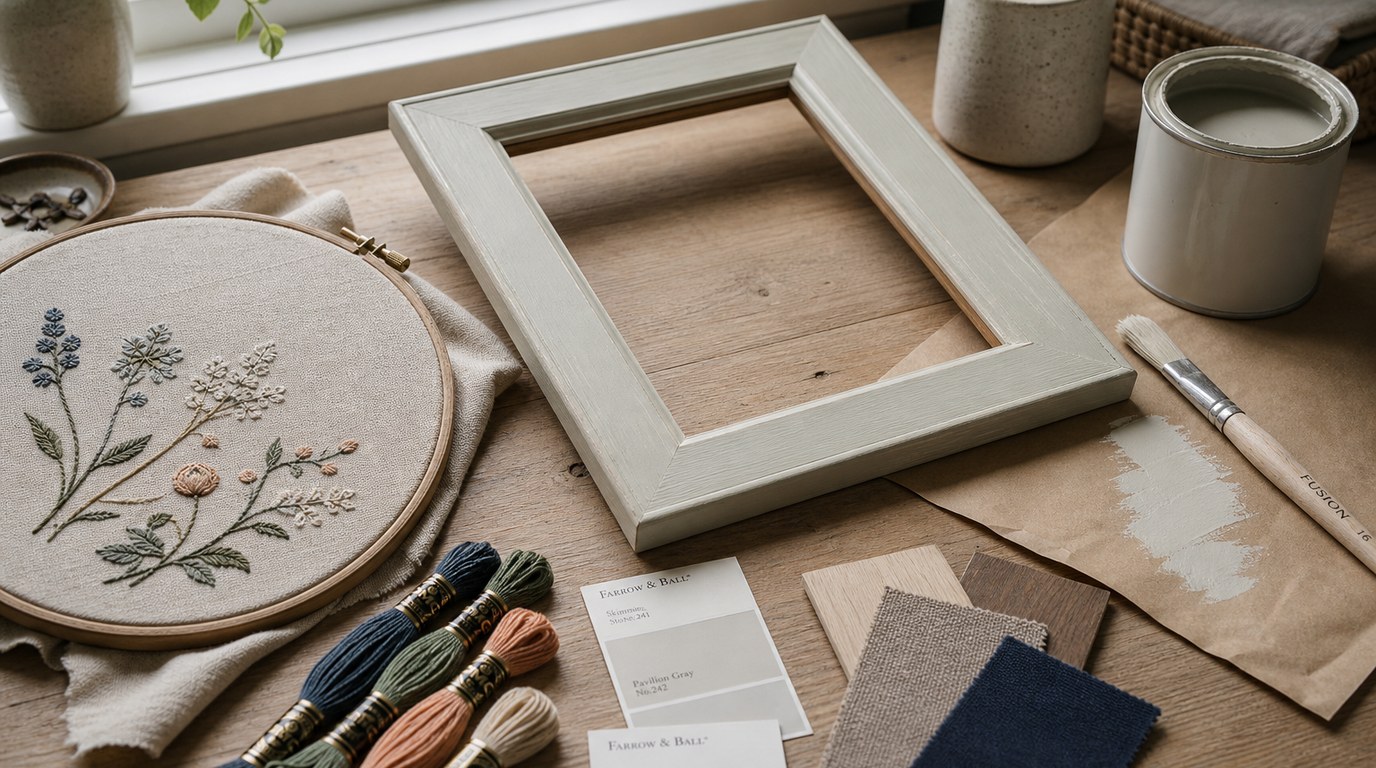
Pull color inspiration from the thread palette. Choose one accent shade from the design, a softened version of the background fabric, or a neutral that lets the stitching shine. For busy samplers, cream, taupe, grey, navy, or natural wood tones often work well. For simple motifs, a stronger frame color can add energy. If unsure, paint sample swatches on scrap card and hold them beside the finished piece in natural light.
Tip 2: Match the Paint Finish to the Style of the Piece
The paint finish affects mood as much as color. Matte paint feels quiet and modern, making it useful for whitework, blackwork, and minimalist designs. Satin gives a gentle sheen without looking too shiny. Gloss can suit cheerful seasonal pieces but may reflect light. Chalk paint creates a soft handmade look, metallic paint adds celebration, and distressed finishes work well with folk art, vintage samplers, or rustic florals.
Tip 3: Prep the Frame Before Painting
Good preparation prevents most painting problems. Remove the needlework, backing, glass, hardware, and any labels before you begin. Wipe the frame with a slightly damp cloth, then let it dry fully. Lightly sand glossy, rough, or previously painted surfaces so the new paint can grip. Use a small brush or cloth to remove sanding dust from corners and grooves. Mask off any areas you do not want painted, especially inner edges near the fabric opening.
Tip 4: Use Primer When the Surface Needs Help
Primer is not always required, but it is helpful on slick, stained, dark, or uneven surfaces. Use it when painting over glossy varnish, plastic-like finishes, metal hoops, or a dark frame that you want to turn pale. Primer also helps when the wood has knots or stains that may bleed through. Apply one thin coat and let it dry as directed. A primed surface usually needs fewer paint coats and gives a cleaner final color.
Tip 5: Apply Thin, Even Coats
Several thin coats look better than one heavy coat. Use a small flat brush for straight sides and a detail brush for carved edges or hoop hardware. Brush with the grain when painting wood, and smooth out drips before they dry. Let each coat dry before adding the next. If the surface feels slightly raised or uneven, very lightly sand between coats with fine-grit sandpaper, then wipe away the dust before continuing.
Tip 6: Add Decorative Details Sparingly
Decorative painting works best when it supports the stitched design. Try a narrow painted stripe, tiny dots, corner accents, or a stenciled motif that repeats a shape from the embroidery. A floral cross stitch might suit a soft vine detail on the frame, while a sampler may need only a thin contrasting line around the inner edge. Avoid covering the whole frame with competing patterns unless the needlework itself is very simple.
Tip 7: Try Layering, Dry Brushing, or Distressing for Texture
If a flat color feels too plain, add gentle texture. Layering two related colors can create depth, such as sage over cream or navy over charcoal. Dry brushing leaves a small amount of paint on raised edges for a weathered look. Distressing with fine sandpaper can reveal the base color beneath. These techniques are especially effective on rustic hoops, farmhouse-style frames, folk embroidery, and seasonal pieces that benefit from a handmade finish.
Tip 8: Coordinate the Frame with the Display Space
A frame should suit both the stitched piece and the place where it will hang. A bright frame may look charming in a craft room but too bold in a calm bedroom. For gallery walls, repeat one color family so several needlework pieces feel connected. If the room already has brass, black, white, or natural wood accents, echoing that finish can make the embroidery feel settled and intentional rather than randomly added.
Tip 9: Seal the Painted Frame Properly
Sealing protects the paint from handling, dusting, and small scratches. Choose a clear topcoat that matches your desired look: matte for a soft finish, satin for subtle protection, or gloss for shine. Water-based sealers are often easy to use on craft frames and painted hoops. Apply thinly, especially around grooves and inner edges where buildup can touch fabric. Let the sealer dry completely before handling the frame or placing it near your needlework.
Tip 10: Let the Frame Cure Before Adding the Needlework
Dry paint is not always fully cured paint. A frame may feel dry to the touch but still be soft enough to smudge, dent, or transfer color onto fabric. Give the painted and sealed frame extra time before mounting your embroidery or cross stitch. Follow the paint label, but when in doubt, wait a few days. This is especially important for pale linen, white aida, delicate silks, and tightly fitted hoops.
Common Mistakes to Avoid When Painting an Embroidery Frame
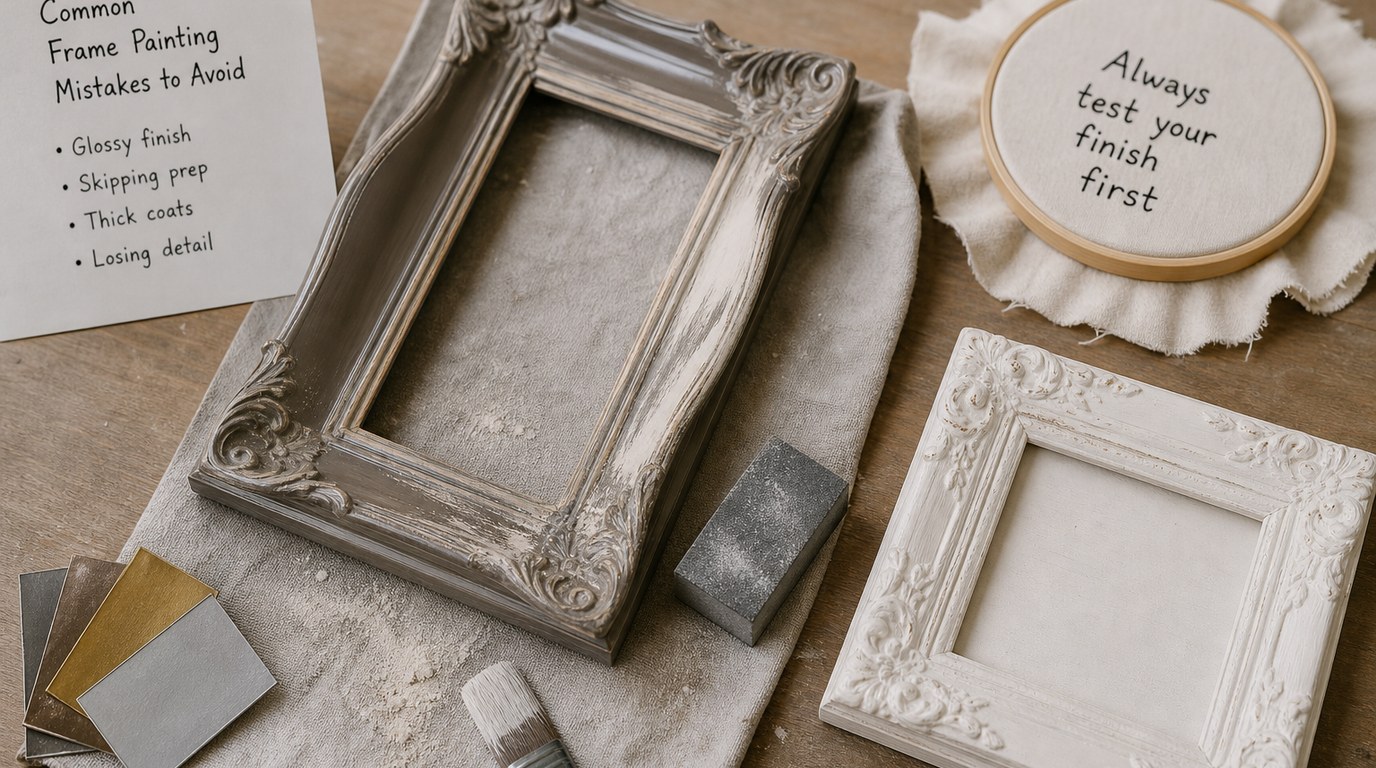
Avoid choosing a frame color before looking at the finished stitching in good light. Do not skip cleaning and sanding, especially on glossy frames. Heavy paint coats can fill carved details, leave brush marks, or stick to the fabric later. Be careful with glitter, metallics, and strong patterns; they can overpower fine needlework. Finally, never rush sealing or curing. The last stage protects both your paint job and the stitched fabric.
FAQ
What Should a Beginner Know First About Ten Tips for Decoratively Painting Your Frame?
Beginners should know that the frame is part of the design. Choose color and finish before painting, prepare the surface carefully, and use thin coats. A simple, neatly painted frame in a supportive color often looks more polished than an elaborate frame with too many effects.
What Matters Most When Evaluating Ten Tips for Decoratively Painting Your Frame?
The most important factors are harmony, durability, and cleanliness. The color should support the thread palette, the paint should bond well to the frame, and the sealed surface should not rub onto the fabric. Good prep and patient drying make the finish look intentional.
What Mistakes Should Readers Avoid with Ten Tips for Decoratively Painting Your Frame?
Avoid rushing the process. Skipping sanding, using thick coats, adding too many decorative details, or mounting the needlework before the paint cures can spoil the result. Also avoid choosing a color only because it looks nice in the bottle; test it beside the stitching.
What Is the Next Logical Step After Learning About Ten Tips for Decoratively Painting Your Frame?
Choose one finished embroidery, cross stitch, or hoop project and plan a simple frame treatment. Pick two possible colors, decide on matte, satin, or decorative finish, then test paint on a small area or scrap surface before committing to the whole frame.