
Most punch needle problems come from one of four places: the fabric is not tight enough, the yarn or thread is not feeding freely, the needle is being lifted or angled incorrectly, or the tool, fiber, and foundation fabric do not match. If loops pull out, check fabric tension and yarn drag first. If pile height is uneven, check needle depth and rhythm. If fabric tears, check needle size and weave. Change one thing at a time and test on scrap fabric before reworking the project. The punch needle top troubleshooting tips below will help you match the visible problem to a likely cause and a practical fix.
Start with the Punch Needle Mental Model
Punch needle does not form knotted stitches like regular embroidery. The needle pushes yarn or thread through the foundation fabric, and the weave grips each loop in place. A stitch holds only when the fabric is tight, the fiber feeds freely, and the needle motion does not tug the loop back out.
Think of three parts working together: fabric grip, tool movement, and fiber flow. Loose fabric cannot hold loops well. A snagging yarn pulls against previous stitches. Lifting the needle too high between punches can remove the loop you just made.
This mental model makes troubleshooting simpler. Most fixes involve tightening the fabric, rethreading the tool, slowing your motion, adjusting needle depth, or choosing a better needle, yarn, and fabric combination.
Quick Punch Needle Troubleshooting Chart
Use this chart as a first check. Find the symptom closest to what you see, try the first fix, then test a small area before changing anything else.
| Visible problem | Likely cause | First fix to try |
|---|---|---|
| Loops pull out as you punch | Yarn drag, loose fabric, lifting needle too high | Loosen yarn supply, tighten fabric, keep the needle tip close to the surface |
| Pile height looks patchy | Inconsistent punch depth or rhythm | Punch to the same depth each time |
| Fabric tears or holes enlarge | Needle too large or fabric too weak | Use sturdier foundation fabric or a smaller needle |
| Yarn will not feed | Tangles, tight threading, friction | Rethread and let yarn unwind freely |
| Curves look jagged | Stitches spaced too far apart | Make smaller, closer punches around curves |
| Finished piece looks loose | Weak edges or uneven finishing | Secure edges and trim only obvious high loops |
Problem: Your Punch Needle Loops Keep Pulling Out
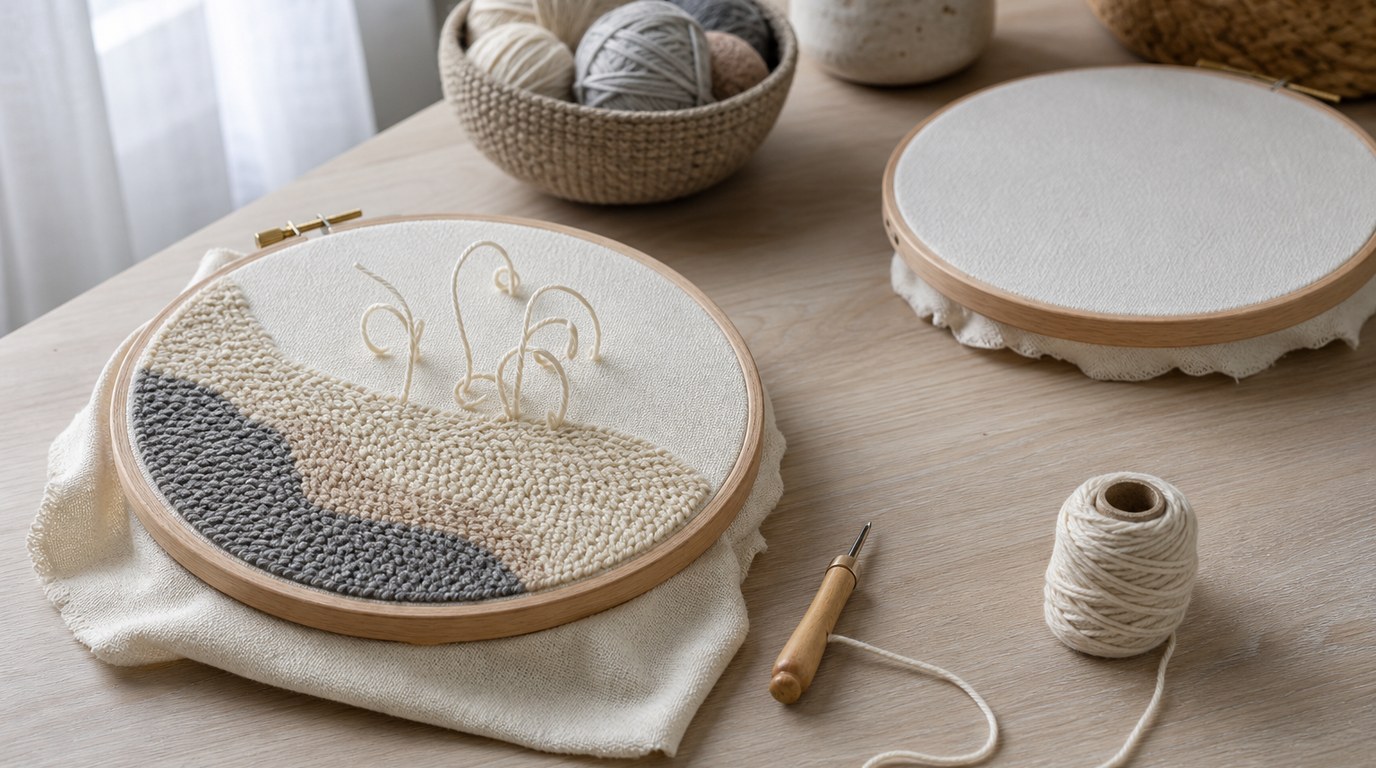
Loops pulling out are the classic beginner frustration. Start with fabric tension. Your foundation should be drum tight in the hoop or frame. If it flexes with every punch, it cannot grip the yarn. Tighten the hoop, use a sturdier frame, or reposition the fabric if it keeps slipping.
Next, check yarn feed. The yarn should travel from the ball, through the needle, and into the fabric without resistance. If it is trapped under your hand, wrapped around the frame, or catching inside the tool, it may pull out the previous loop.
Then check your hand motion. Insert the needle to the set depth, then lift only until the tip just clears or skims the fabric. Do not raise the needle several inches between stitches.
Also confirm needle direction. On many punch needles, the open bevel or channel should face the direction you are stitching. If the tool is turned awkwardly, the yarn may not settle cleanly into the fabric.
Finally, avoid tugging the working yarn from the front or back. Punch needle loops are held by fabric grip, not knots.
Problem: Loops Are Uneven or the Pile Height Looks Patchy
Uneven pile usually means your needle depth or punching motion is changing. For consistent loops, the needle needs to enter the fabric to the same depth every time. If your punch needle has an adjustable setting, make sure it has not slipped. If it is fixed, focus on pushing the barrel down fully with each punch.
Spacing also affects texture. Stitches placed too far apart can leave gaps; stitches packed too tightly can look lumpy. A good beginner rhythm is steady and moderate: punch, glide a short distance, punch again.
Watch your angle. A mostly vertical needle makes more even loops than a needle tilted differently with every stitch. Slight angle changes are normal around curves, but large changes create patchy texture.
If the problem appears in one area only, check whether the fabric loosened there. Minor high loops can be trimmed later, but trimming cannot fix inconsistent depth across a large section.
Problem: the Fabric Is Tearing, Stretching, or Showing Big Holes
Fabric damage usually means the needle, fiber, and foundation cloth are mismatched. A large punch needle needs fabric that can open for the needle and then close enough to grip the yarn. If the weave is too delicate, the needle stretches, cuts, or distorts it.
For rug-weight punch needle, monk’s cloth and other sturdy punch needle foundations are common choices. For finer punch needle work, use a fabric meant for smaller needles and threads. Regular quilting cotton is often too tight, weak, or unforgiving for many punch needle tools.
Tension matters here too. Loose fabric moves with the needle and can form large holes. However, even tight fabric will tear if you force a thick needle through an unsuitable weave.
If you see tearing, stop early. Do not keep filling the damaged spot with more stitches. Test a smaller needle, finer yarn, or stronger foundation before continuing.
Problem: Yarn or Thread Will Not Feed Smoothly
Poor feed causes many other issues, especially loops pulling out. Begin by removing the yarn or thread and rethreading the punch needle from scratch. Make sure it follows the correct path through the handle, shaft, and eye. A small threading error can add enough friction to ruin your rhythm.
Set up the yarn so it unwinds easily. Pull from the outside of the ball if the center pull tangles. Keep the ball in a bowl or bag so it does not roll away or snag. Unwind a little slack before stitching, but do not create a pile that knots around itself.
Check fiber thickness. Yarn that is too thick for the needle may scrape, jam, or feed in jerks. Thread that is too fine for the fabric may not be gripped well. The right combination slides through the tool while still filling the punched hole.
If the tool has a rough eye or burr, switch needles or follow the maker’s guidance for smoothing it.
Problem: Stitches Look Messy Around Curves, Corners, or Outlines
Curves and corners need smaller movements than straight lines. If you use long spacing around a tight curve, the outline will look angular or broken. Shorten the distance between punches so the line turns gradually.
For corners, punch into the corner point, pivot the needle direction, then continue along the next line. Avoid swinging the tool in a wide arc while it is deep in the fabric because that can stretch the hole.
Watch the needle opening or yarn channel as you turn. On many tools, it should face the direction of travel. When the direction changes sharply, pause and rotate the tool instead of twisting the yarn.
For neat outlines, punch the outline first, then fill beside it with even rows. If the fill crowds the outline, the edge can look bumpy.
Problem: the Finished Piece Looks Loose, Distorted, or Unfinished
Sometimes the stitching is acceptable, but the piece still looks messy at the end. First, check whether the fabric distorted in the hoop or frame. If it stretched unevenly, remove the work gently and let it relax before final trimming or mounting.
Look for loose loops on the front. Do not pull them tight from the back. Instead, trim only noticeably high loops if the project style allows it. Trim sparingly so you do not create bald spots.
Edges often need the most attention. Keep punching consistent to the boundary and avoid long thread tails where they can snag. Depending on the project, you may finish with backing, hemming, glue, or stitching, but match the method to the use. Wall art needs less durability than a pillow or rug.
A Simple Step-by-step Punch Needle Troubleshooting Routine
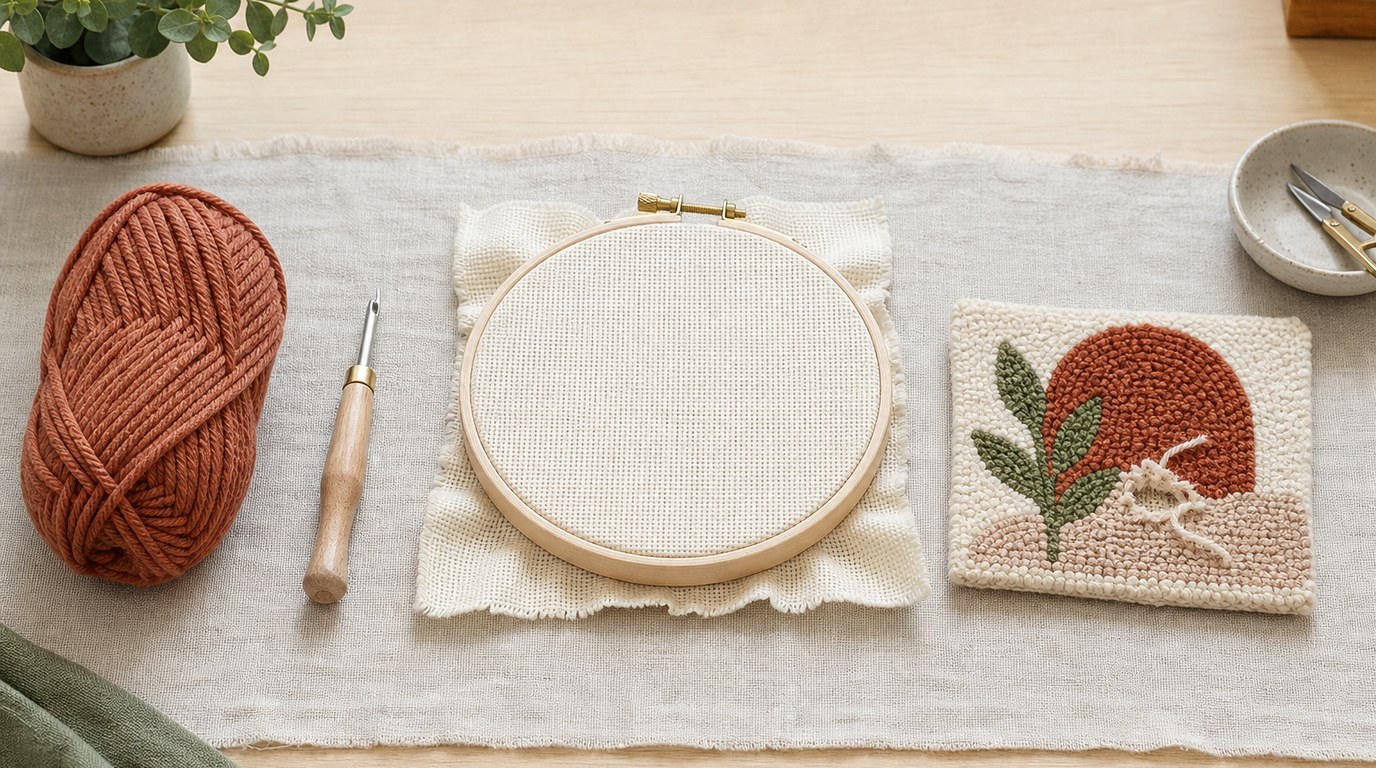
When something goes wrong, do not change five things at once. Use this routine:
- Identify the symptom. Are loops pulling out, holes forming, or is the texture uneven?
- Check fabric tension. Tighten the hoop or frame until the foundation feels firm.
- Check yarn feed. Rethread the needle and make sure the yarn moves freely.
- Check your motion. Punch to full depth and keep the needle close to the fabric between stitches.
- Check the match. Compare needle size, yarn thickness, and fabric type.
- Test on scrap. Try the correction before returning to the main project.
This process keeps troubleshooting calm and specific. Most beginner problems improve after one or two small adjustments.
FAQ
What Should a Beginner Know First About Punch Needle Top Troubleshooting Tips?
A beginner should know that punch needle loops are not knotted into the fabric. They stay because the foundation fabric grips the yarn. That makes fabric tension, smooth yarn feed, correct needle depth, and steady hand movement the first things to check.
What Matters Most When Evaluating Punch Needle Top Troubleshooting Tips?
The best troubleshooting tips connect a visible symptom to a specific cause. A useful fix tells you whether to tighten the fabric, rethread the tool, adjust spacing, change needle size, or test a better fabric and yarn combination.
What Mistakes Should Readers Avoid with Punch Needle Top Troubleshooting Tips?
Avoid pulling on loops to “fix” them, using loose fabric, forcing thick yarn through a small needle, and changing too many variables at once. Also avoid judging the whole project from one messy inch. Stop, test a correction, then continue.
What Is the Next Logical Step After Learning About Punch Needle Top Troubleshooting Tips?
Make a small practice sampler. Punch straight lines, curves, corners, filled shapes, and different stitch spacing. Label what you changed as you go. A sampler teaches your hands the right rhythm before you troubleshoot a larger project.