
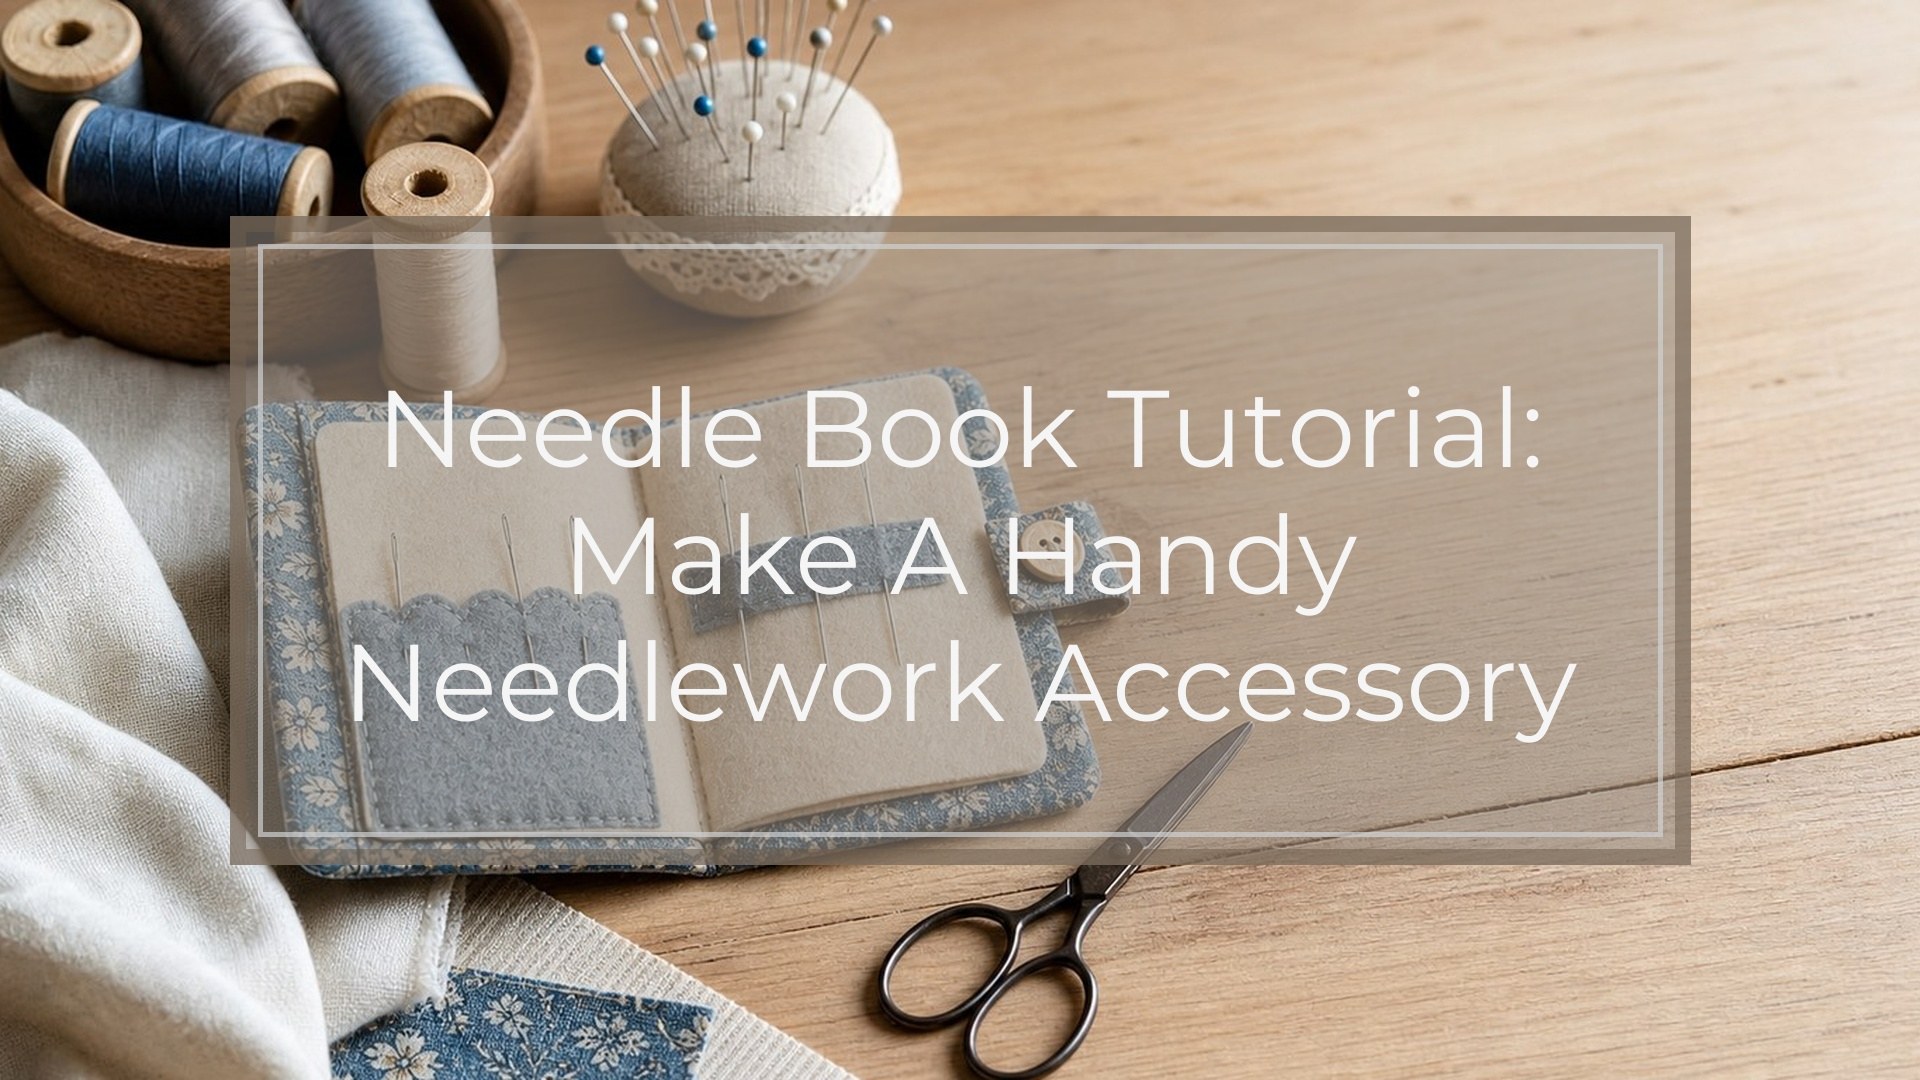
A needle book is a small fabric case with soft inner pages that hold embroidery, cross stitch, quilting, and hand sewing needles safely in one place. In this needle book tutorial, you’ll make a simple folded booklet with a fabric cover, light structure, felt pages, and an optional button or tie closure. The project is beginner-friendly if you can sew straight seams and turn corners neatly.
The basic idea is simple: make a padded fabric cover, insert felt “pages,” stitch them down the center like a booklet, then add a closure. Once finished, you can sort needles by type, size, or project so they do not get lost in fabric, thread bags, or pincushions.
Quick Answer
The main takeaway: a handmade needle book is made by sewing a small fabric cover, adding felt pages inside, and securing everything with a center seam. For a practical everyday size, cut two fabric rectangles for the cover, one piece of lightweight interfacing, and two to four felt rectangles for the pages.
A good finished size is about 4 inches by 5 inches when closed. This is large enough for embroidery needles, tapestry needles, sharps, betweens, and small threaders, but still compact enough to fit in a project bag.
Here is a quick cutting guide for a simple needle book:
| Piece | Cut Size | Quantity | Notes |
|---|---|---|---|
| — | —: | —: | — |
| Outer cover fabric | 5 in x 9 in | 1 | Quilting cotton, linen, or canvas |
| Inner cover fabric | 5 in x 9 in | 1 | Cotton or smooth lining fabric |
| Lightweight interfacing | 5 in x 9 in | 1 | Fusible or sew-in |
| Felt pages | 4 1/2 in x 8 in | 2 | Wool blend felt is sturdy |
| Closure ribbon or elastic | 6–8 in | 1 | Optional |
| Button | 1/2–3/4 in | 1 | Optional, for button closure |
To make it, fuse or baste interfacing to the wrong side of one cover piece. Place the cover fabrics right sides together, insert a ribbon loop if using one, and sew around the edge with a small opening for turning. Clip corners, turn right side out, press, and topstitch around the edge. Stack the felt pages inside, centered on the cover, then sew one straight line down the middle fold. Add a button if needed.
The finished book opens like a tiny soft notebook. Needles are stored by pushing them into the felt pages. You can label the pages with small stitched numbers, keep different needle types on different pages, or dedicate one needle book to each craft.
How to Think About This Topic
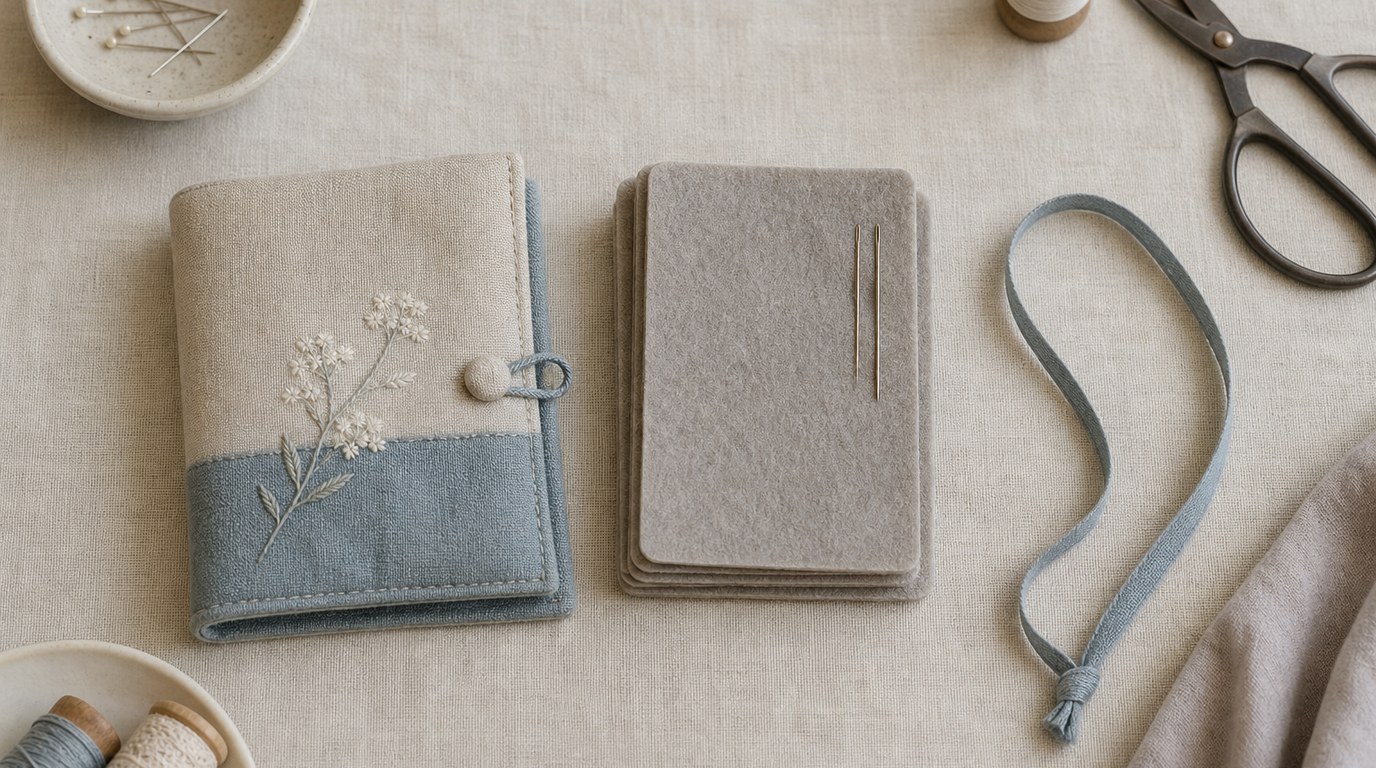
Think of a needle book as three parts working together: the cover, the pages, and the closure. Each part has a practical job. The cover protects the needles and gives the book shape. The felt pages hold the needles securely. The closure keeps the book from opening inside a project bag.
That mental model helps you make better choices as you sew. If your cover fabric is thin, add interfacing so the book does not feel floppy. If your felt is too soft, needles may shift or poke through. If your closure is bulky, the book may not lie flat. The goal is not just to make something pretty; it should protect sharp tools and be easy to use while stitching.
For the cover, quilting cotton is the easiest beginner choice. It presses well, turns cleanly, and comes in many prints. Linen gives a classic needlework look, especially if you want to add embroidery to the front. Canvas or denim can work, but bulky fabrics make turning and topstitching harder. If you use a heavier outer fabric, choose a lighter lining.
Interfacing gives the needle book body. Lightweight fusible interfacing is usually enough. Medium-weight interfacing creates a firmer cover, but it can make the edges stiffer. Avoid very heavy stabilizer unless you want a rigid case, because the center fold needs to bend.
For the pages, felt is the standard choice because it grips needles without fraying. Wool felt or wool-blend felt lasts longer than very thin acrylic craft felt. If you only have craft felt, use two pages rather than many, and check that needles do not poke through easily. The pages should be slightly smaller than the cover so they do not stick out when the book is closed.
The construction order matters. First, prepare the cover. Second, finish the cover edge. Third, add the pages. Fourth, attach the closure or button if it was not inserted earlier. This keeps raw edges hidden and avoids sewing the pages in before the cover is properly turned and pressed.
Measurements are flexible, but proportions matter. A closed needle book should be tall enough for the longest needles you use and wide enough that needles are not crowded near the fold. For embroidery and cross stitch, a finished size around 4 by 5 inches works well. For long milliners or doll needles, make the book taller. For a travel sewing kit, make it smaller but avoid cramming too many needles into one page.
Closures are optional but useful. A ribbon tie looks pretty and is easy to sew into a side seam. Elastic and a button are quicker to open and close. A snap works well if you do not mind extra hardware. If the needle book will stay in a drawer, you may skip the closure. If it will travel in a stitching pouch, add one.
This needle book tutorial is meant for hand stitchers who want a useful storage piece, not a complicated sewing project. Keep the first version simple: rectangular cover, two felt pages, straight topstitching, and one closure. Once you understand the structure, you can add embroidery, patchwork, appliqué, labels, pockets, or decorative edging without changing the basic method.
Practical Guidance
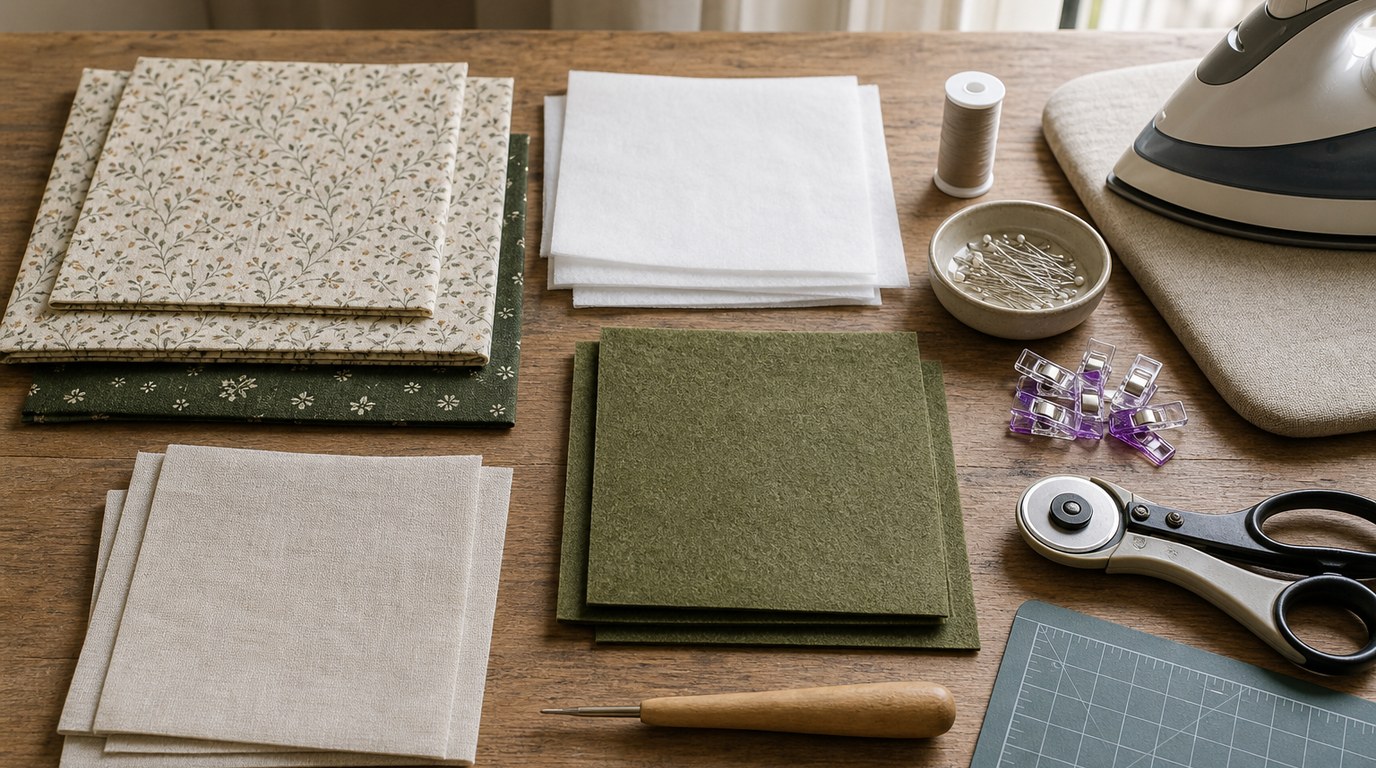
Gather your materials before cutting so the project moves smoothly. You will need outer fabric, lining fabric, interfacing, felt, thread, scissors or rotary cutter, pins or clips, an iron, and a sewing needle or machine. A point turner, chopstick, or blunt knitting needle helps shape the corners after turning.
Use a 1/4-inch seam allowance unless you prefer a different standard. Press at each stage. Pressing is what makes a small project look clean rather than homemade in a rushed way.
- Cut the cover pieces.
Cut one outer fabric rectangle and one lining rectangle, each 5 inches by 9 inches. Cut one matching piece of lightweight interfacing. Cut two felt rectangles 4 1/2 inches by 8 inches. If you want more pages, cut a third felt piece, but avoid making the center too bulky.
- Add interfacing.
Fuse the interfacing to the wrong side of the outer cover fabric, following the manufacturer’s instructions. If using sew-in interfacing, baste it within the seam allowance. Interfacing should lie smooth with no bubbles or wrinkles.
- Prepare the closure.
For a ribbon tie, cut two pieces of ribbon about 7 inches long. Place one ribbon at the center of each short end, with the loose ends pointing inward between the fabrics. For an elastic loop, fold a short piece of elastic into a loop and place it at the center of one short end. The loop should point inward while the raw ends sit in the seam allowance.
- Sew the cover.
Place the outer and lining fabrics right sides together. Pin or clip around the edges. Sew around the rectangle, leaving a 2-inch opening along one long side for turning. Backstitch at the beginning and end. If you inserted ribbon or elastic, sew slowly over those areas for strength.
- Clip and turn.
Trim the corners diagonally without cutting through the stitches. Turn the cover right side out through the opening. Push out the corners gently. Do not use a sharp tool that could poke through the fabric.
- Press and topstitch.
Press the cover flat, turning the raw edges of the opening inward. Topstitch around the entire cover about 1/8 inch from the edge. This closes the opening and gives the needle book a neat finished border.
- Place the felt pages.
Fold the cover in half to find the center line, then unfold it. Stack the felt pages and center them inside the cover. The felt should sit evenly with a small border of fabric visible around all edges. Pin through the center line or use clips at the top and bottom.
- Sew the spine.
Sew one straight line down the center of the felt pages and cover, from top to bottom. Backstitch at both ends. This line creates the booklet spine. If sewing by hand, use small running stitches or backstitches with strong thread.
- Finish the closure.
If using an elastic loop, sew a button to the opposite side of the cover after checking where the loop naturally reaches. If using ribbon, tie the ribbons in a bow. If using no closure, press the folded book once more so it closes neatly.
After construction, test the needle book with the needles you actually use. Place tapestry needles on one page, embroidery needles on another, and sharps or quilting needles on a separate section. If you use multiple sizes, stitch tiny numbers on the felt or write on small cotton labels and sew them to the pages.
For cross stitch, dedicate one page to tapestry needles and another to spare needles from current projects. For embroidery, separate chenille needles, crewel needles, and milliners. For general hand sewing, keep sharps, betweens, and a small needle threader inside. Avoid stuffing the pages so full that the book bulges or the needles rub against each other.
If your corners look lumpy, trim the seam allowance slightly more before turning on your next version. If the book will not stay closed, move the button farther from the edge or shorten the elastic loop. If needles poke through the felt, use better felt or add another page behind the first. If the spine feels too bulky, reduce the number of felt pages.
Customization works best when it supports use. Add embroidery to the outer cover before sewing the cover pieces together. Add a small flat pocket to the inside lining before assembling the cover if you want space for a threader or packet of needles. Use contrasting felt pages to separate needle types at a glance. Keep beads, bulky charms, and raised trims away from the fold and edges if the book will live in a project bag.
A first needle book does not need to be perfect. The important checks are simple: the needles stay in the felt, the cover closes safely, the pages are secure, and the size suits your stitching habits. Once those basics are right, decorative choices are easy to change in future versions.
FAQ
What Should a Beginner Know First About Needle Book Tutorial?
A beginner should know that a needle book is basically a fabric cover with felt pages sewn into the center. Focus on accurate cutting, pressing, and a neat center seam. Choose quilting cotton, lightweight interfacing, and wool-blend felt for the easiest first project.
What Matters Most When Evaluating Needle Book Tutorial?
The most important points are clear measurements, a logical sewing order, and practical material choices. A good needle book tutorial should explain how to make the cover, how to secure the felt pages, and how to add a closure without making the project bulky.
What Mistakes Should Readers Avoid with Needle Book Tutorial?
Avoid using felt that is too thin, skipping interfacing on lightweight fabric, or adding too many pages. Also avoid placing the closure before checking alignment. A needle book should close smoothly, hold needles securely, and fit comfortably in your stitching bag.
What Is the Next Logical Step After Learning About Needle Book Tutorial?
After making a basic needle book, try customizing one for a specific craft. Make separate pages for cross stitch needles, embroidery needles, or hand sewing sharps. You can also embroider the cover, add labels, or include a small pocket for a needle threader.