
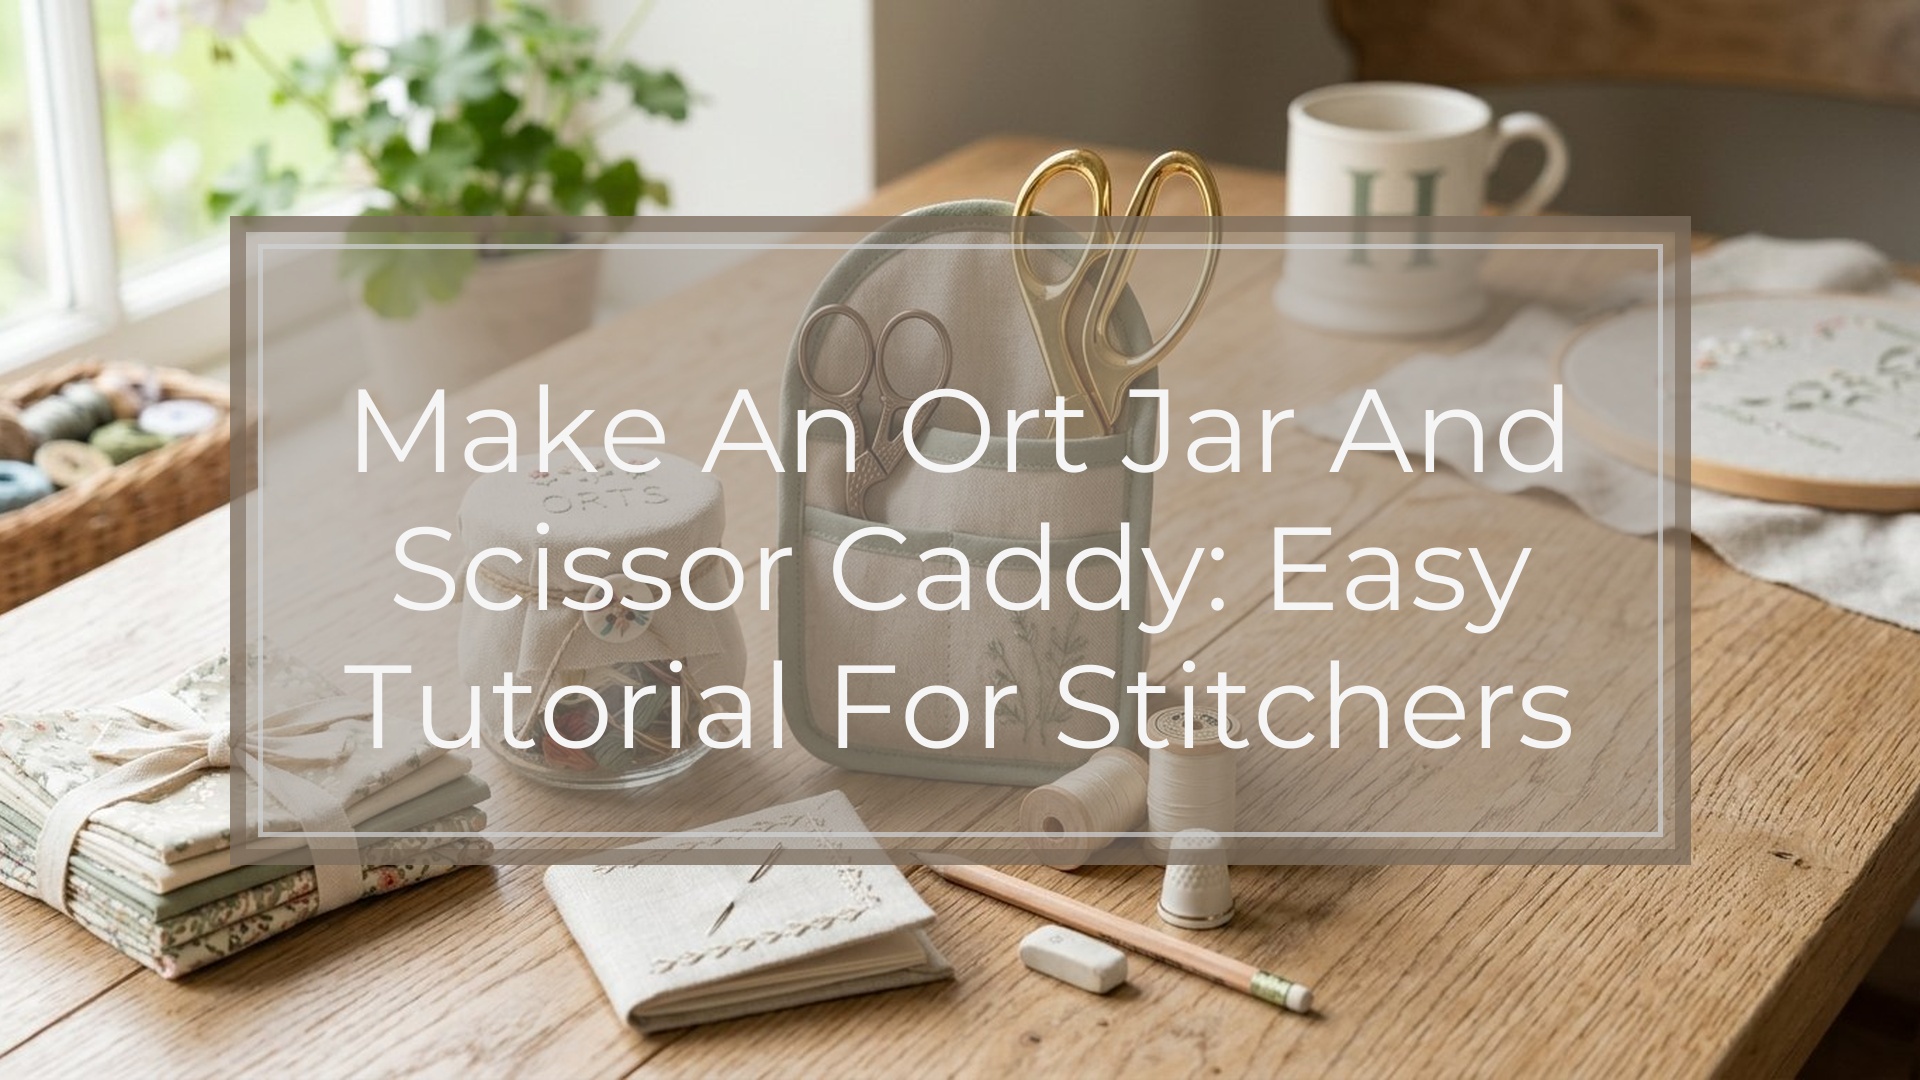
An ort jar and scissor caddy gives you one compact place for clipped threads and embroidery scissors. The project is simple: cover a screw-top jar lid with padded fabric, add a small holder for scissors, then reattach the lid to the jar. The key is keeping the padding and trims thin so the lid still screws on easily. If you want the quickest path, choose a medium jar with a flat metal lid, make a padded top, and add either elastic loops or a small pocket. In an hour or two, you can turn a basic jar into a practical stitching accessory that looks tidy on your worktable.
Choose the Style and Size Before You Start
Think of the project as one jar with two jobs: the jar catches thread ends, and the lid holds scissors. That simple mental model helps you make good choices before cutting fabric.
A small jar is useful for travel. A medium jar is usually best for everyday stitching because it feels steadier and holds more orts. Pick a jar with straight sides and a lid that opens and closes smoothly.
Next, choose your scissor holder style. Elastic loops are the easiest option and fit different scissors. A fabric pocket looks more finished and covers more of the blades. Either way, keep the holder low-profile and close to the center so the jar stays balanced and the lid remains easy to use.
Materials and Tools You Will Need
Gather supplies first, then substitute from your craft room as needed.
| Item | Recommended choice | Good substitutes | Notes |
|---|---|---|---|
| Jar with screw-top lid | Jam or jelly jar | Mason-style craft jar | Flat lids are easiest to cover |
| Outer fabric | Quilting cotton or linen | Evenweave, light canvas | Avoid very thick fabric |
| Backing fabric | Lightweight cotton or felt | Muslin | Useful for pocket backs or neat undersides |
| Padding | Thin batting or felt | Fleece, craft foam | Keep it thin |
| Scissor holder | Narrow elastic or fabric strip | Ribbon, twill tape | Choose based on scissors |
| Adhesive | Hot glue or craft glue | Double-sided tape for temporary hold | Glue speeds assembly |
| Needle and thread | Standard sewing thread | Embroidery floss | Hand sewing works fine |
| Trims | Ribbon, braid, lace, cord | Optional | Covers raw edges |
| Tools | Scissors, ruler, pencil, pins | Fabric marker, compass | Use the lid as a tracing guide |
Optional extras: a button, charm, bead, monogram, or small stitched motif for the lid top.
Measure and Prep the Jar Lid and Fabric Pieces
Start by washing and drying the jar and lid. Remove labels, glue, and grease so adhesive will hold.
- Measure the flat top of the lid.
- Measure the full lid if you plan to wrap fabric over the edge.
- Cut one padding circle the same size as the flat lid top.
- Cut one top fabric circle about 3/4 to 1 inch larger all around.
- Cut scissor-holder pieces.
For an elastic caddy, cut one or two elastic strips and test them around your scissors. For a pocket caddy, cut a rectangle wide enough for the scissors plus seam allowance. If you want the pocket lined or the underside neater, cut a matching backing piece.
Press all fabric before assembly. A smooth start makes a smoother lid.
Make the Padded Lid Top
This is the core construction step, so take a minute to center everything neatly.
- Place the padding on the lid top and trim it if it reaches the threads or rim.
- Lay the outer fabric wrong side up, center the padding on it, then place the lid on top.
- Secure the fabric around the lid.
You can do that in two ways. For the neatest finish, sew a loose gathering stitch around the outer edge of the fabric circle, pull it gently, and cup the fabric around the lid. For a faster finish, fold the seam allowance into small pleats as you glue.
Work in opposite sections rather than going around in one direction. That keeps the front centered and prevents puckers. Smooth the visible top often as you go. The finished shape should feel softly padded, not bulky.
Once the back is secure, check the underside. If the raw edge looks messy, cover it with ribbon, braid, or a narrow felt ring. At this stage, the lid should already look complete and screw onto the jar without resistance.
Create the Scissor Caddy
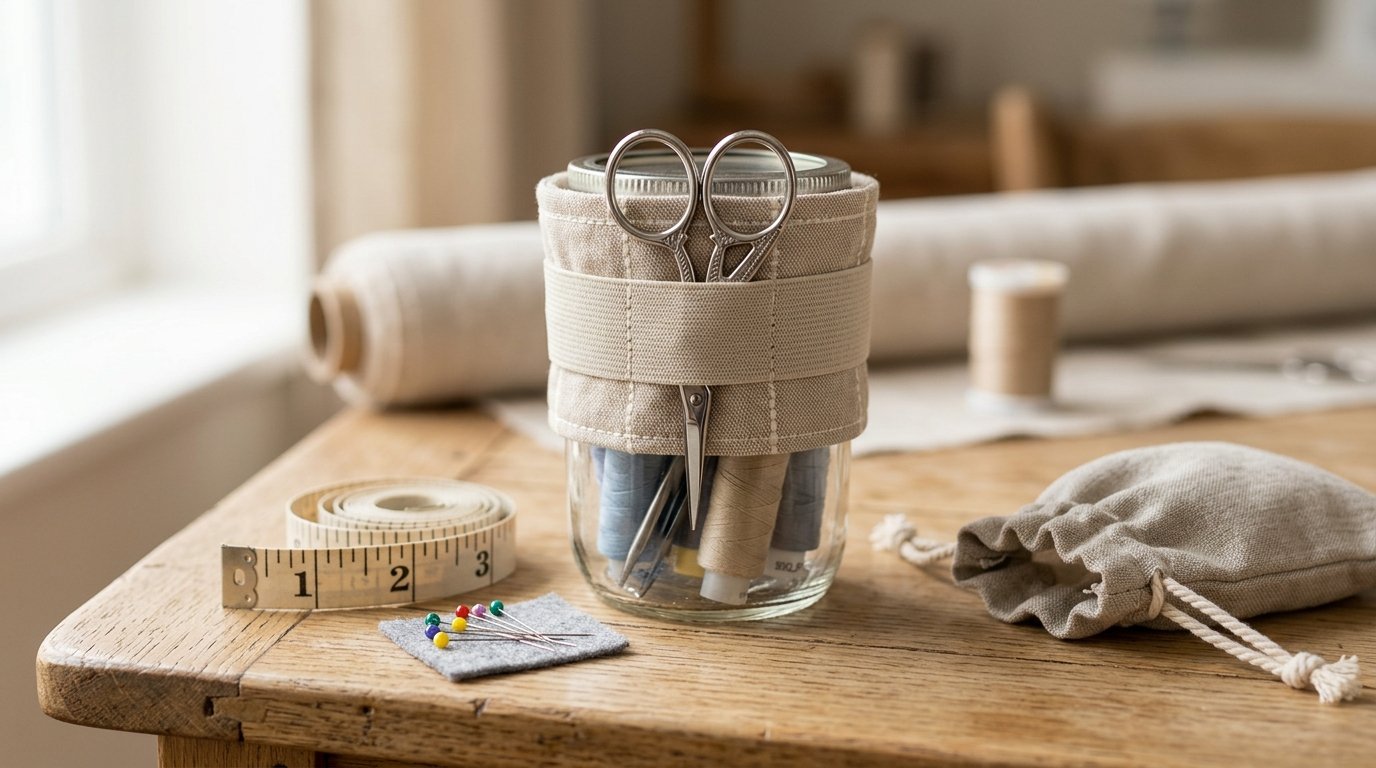
Choose one of these simple methods.
Option 1: Elastic Loops
Elastic is the quickest and most flexible style.
- Cut one or two short lengths of narrow elastic.
- Test the fit with your actual scissors.
- Mark the placement on the lid top.
- Stitch the elastic ends to a small fabric patch, or attach them directly if you can secure the underside neatly.
Two short loops usually hold scissors better than one long band. Place them so the scissors sit flat and do not hang too far over the edge.
Option 2: Fabric Pocket
A pocket gives a polished look, especially for small embroidery scissors.
- Cut a rectangle.
- Fold and stitch the top edge first for a clean opening.
- Turn in the side and bottom seam allowances.
- Stitch or glue the pocket to the lid, leaving the top open.
You can keep the pocket straight or taper it slightly so the scissors fit snugly. A thin felt layer behind it adds body without much thickness.
If you are unsure which to choose, use elastic for mixed scissor sizes and a pocket for one dedicated pair.
Assemble and Finish the Ort Jar
Before attaching everything permanently, do a full test fit. Screw the lid onto the jar and make sure the fabric, glue, and trim do not interfere with the threads.
Then:
- Attach the scissor holder permanently if it was only pinned or basted.
- Add trim around the top edge if desired.
- Add any center embellishment, as long as it does not block the scissors.
- Screw the lid onto the jar and insert the scissors.
Finally, test the balance. Drop a few thread clippings into the jar, remove the scissors, and replace them. If the jar tips easily, the holder is too close to the edge or the jar is too narrow for that pair of scissors.
Ways to Personalize It for Your Stitching Setup
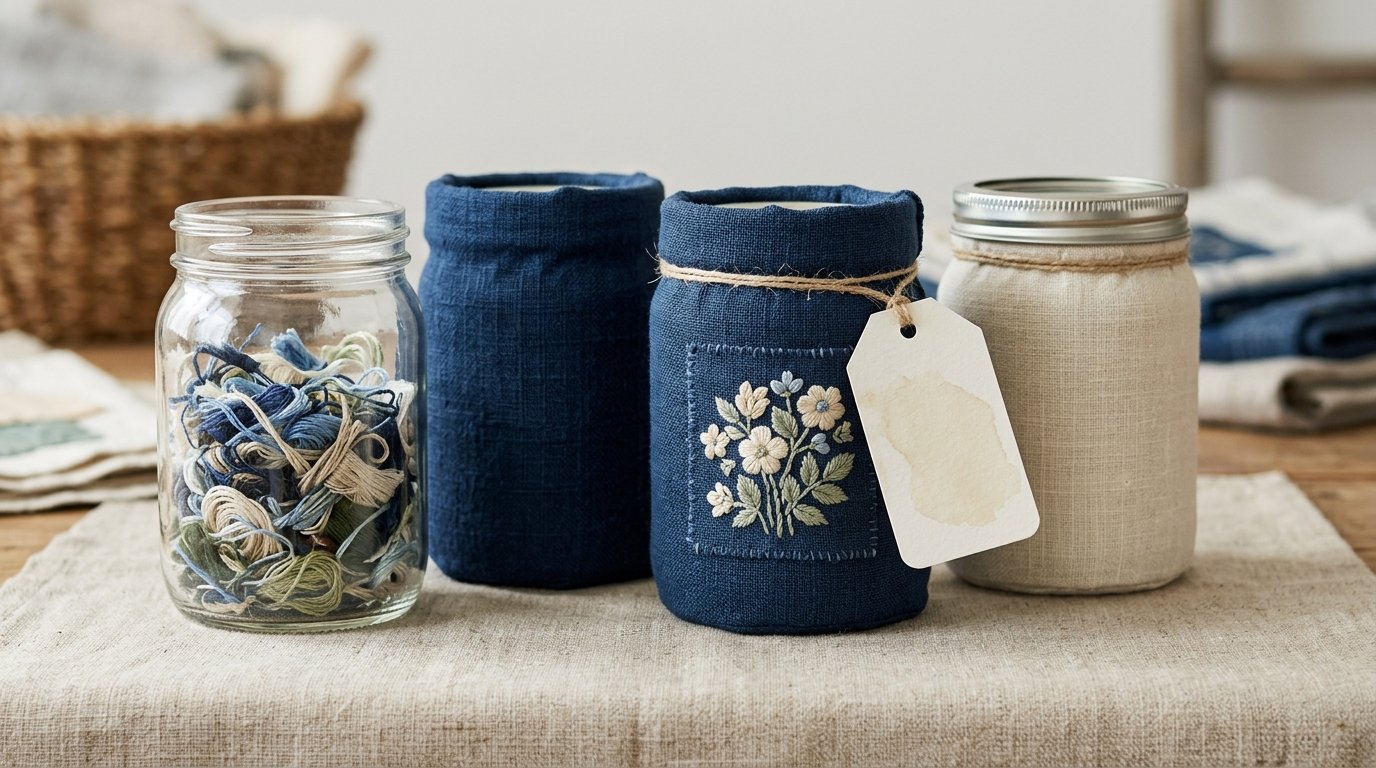
Keep changes practical. Use a clear jar if you like seeing thread scraps collect over time. Pick darker fabric for a travel jar that will get more wear. Add a stitched initial, tiny motif, or small label to identify a jar for cross stitch, embroidery, or hand sewing.
You can also make a matching set with the same fabric: one jar for orts, another for small tools, or a coordinating needle book. For travel, use a shorter jar and a snug elastic loop so the scissors stay put in a project bag.
Common Mistakes and Quick Fixes
Puckered top fabric usually means uneven tension. Loosen the back, smooth the front, and secure it again in opposite sections. If the lid will not screw on, there is too much bulk near the rim; trim padding, seam allowance, or thick trim.
If the scissors slip, shorten the elastic or narrow the pocket opening. If the jar feels top-heavy, move the holder closer to the center or switch to a wider jar.
FAQ
What Should a Beginner Know First About Make an Ort Jar and Scissor Caddy?
Start simple: use a flat lid, thin padding, and either one elastic loop or a basic pocket. Most problems come from too much bulk, not from difficult sewing.
What Matters Most When Evaluating Make an Ort Jar and Scissor Caddy?
Function matters most. The lid should stay smooth, screw on easily, and hold your scissors securely without making the jar unstable.
What Mistakes Should Readers Avoid with Make an Ort Jar and Scissor Caddy?
Avoid thick batting, oversized trims, and guessing the scissor-holder size. Test every fit with your actual lid and scissors before gluing permanently.
What Is the Next Logical Step After Learning About Make an Ort Jar and Scissor Caddy?
Use leftover fabric to make a matching needle book, pincushion, or scissor fob. Once you have the basic build down, try adding a stitched motif to the lid top on your next one.