
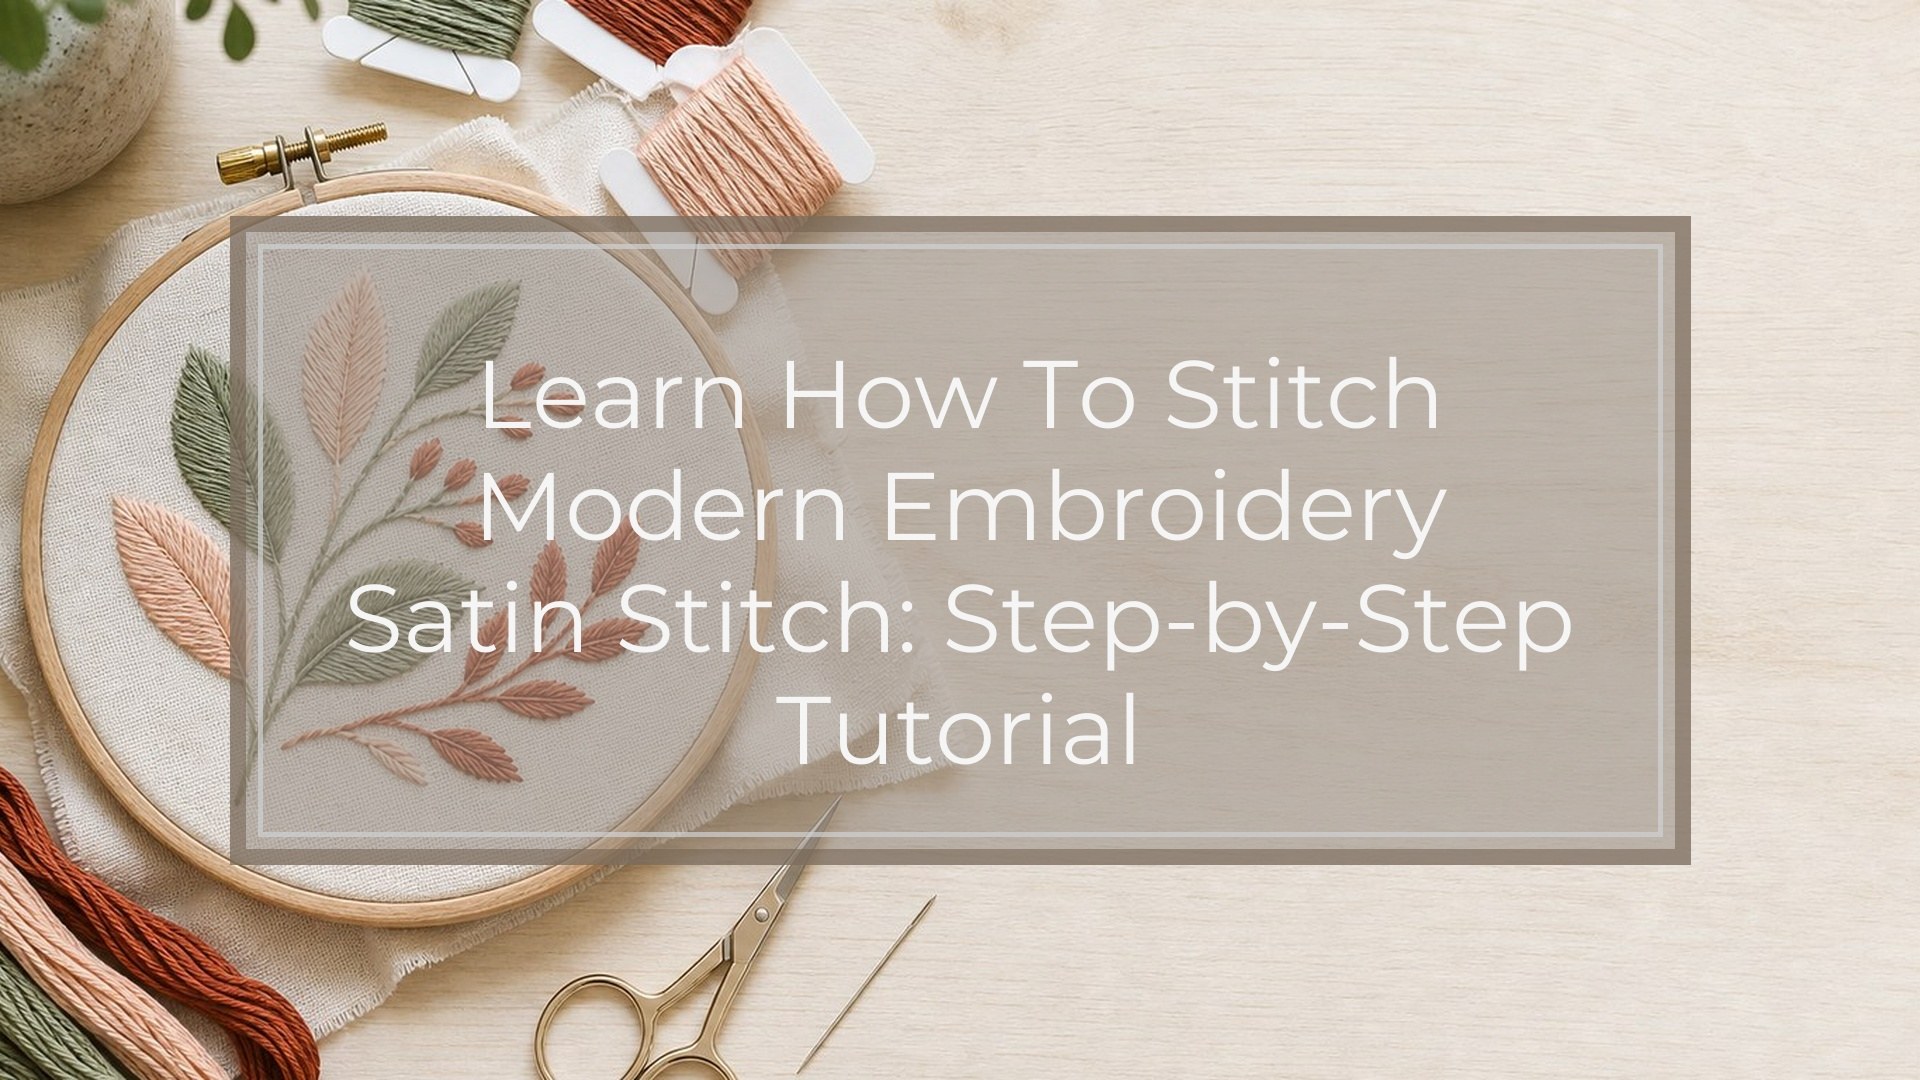
Satin stitch is a smooth filling stitch used to cover small shapes with parallel threads. To work it, bring the needle up on one edge of a shape, take it down on the opposite edge, then repeat with closely spaced stitches until the area is filled. The key is not speed, but control: even tension, neat edges, and stitch direction that suits the shape. In modern embroidery, satin stitch is often used for leaves, petals, lettering, tiny icons, and bold graphic details.
What Is Satin Stitch?
Satin stitch is a surface embroidery stitch that creates a solid, glossy block of thread. Each stitch spans from one side of a shape to the other, sitting flat across the fabric. When the stitches are packed neatly together, they reflect light like satin, which is where the name comes from.
Think of satin stitch as “coloring in” a shape with thread. Instead of outlining or sketching, you are laying smooth bars of floss side by side. It works best when the filled area is small enough that the thread can stay tidy and supported.
When to Use Satin Stitch in Modern Embroidery
Use satin stitch when you want a clean, polished fill. It is especially useful for small motifs where texture should look smooth rather than fuzzy or sketchy.
Good uses include flower petals, simple leaves, berries, hearts, stars, dots, eyes, small lettering, and geometric accents. It also suits modern hoop art because it gives crisp color blocks and strong contrast.
Avoid using basic satin stitch for very large areas. Long stitches can snag, loosen, or look uneven. For bigger fills, consider split stitch filling, long and short stitch, or dividing the shape into smaller satin-stitched sections.
Materials and Setup
You do not need many supplies, but setup matters. Satin stitch shows tension and spacing clearly, so choose materials that help you control the thread.
Use embroidery floss, a sharp embroidery needle, woven fabric, an embroidery hoop, small scissors, and a removable fabric pen or pencil. Cotton fabric or linen blends are good beginner choices because they hold stitches well without stretching too much.
Keep the fabric drum-tight in the hoop. If the fabric sags, your stitches may pucker or loosen. For most small satin stitch shapes, two or three strands of embroidery floss are easier to control than all six strands. A shorter thread length, about 12 to 18 inches, helps prevent fraying and twisting.
If your fabric is thin or your design will be handled often, add a lightweight backing or stabilizer.
How to Do Satin Stitch Step by Step
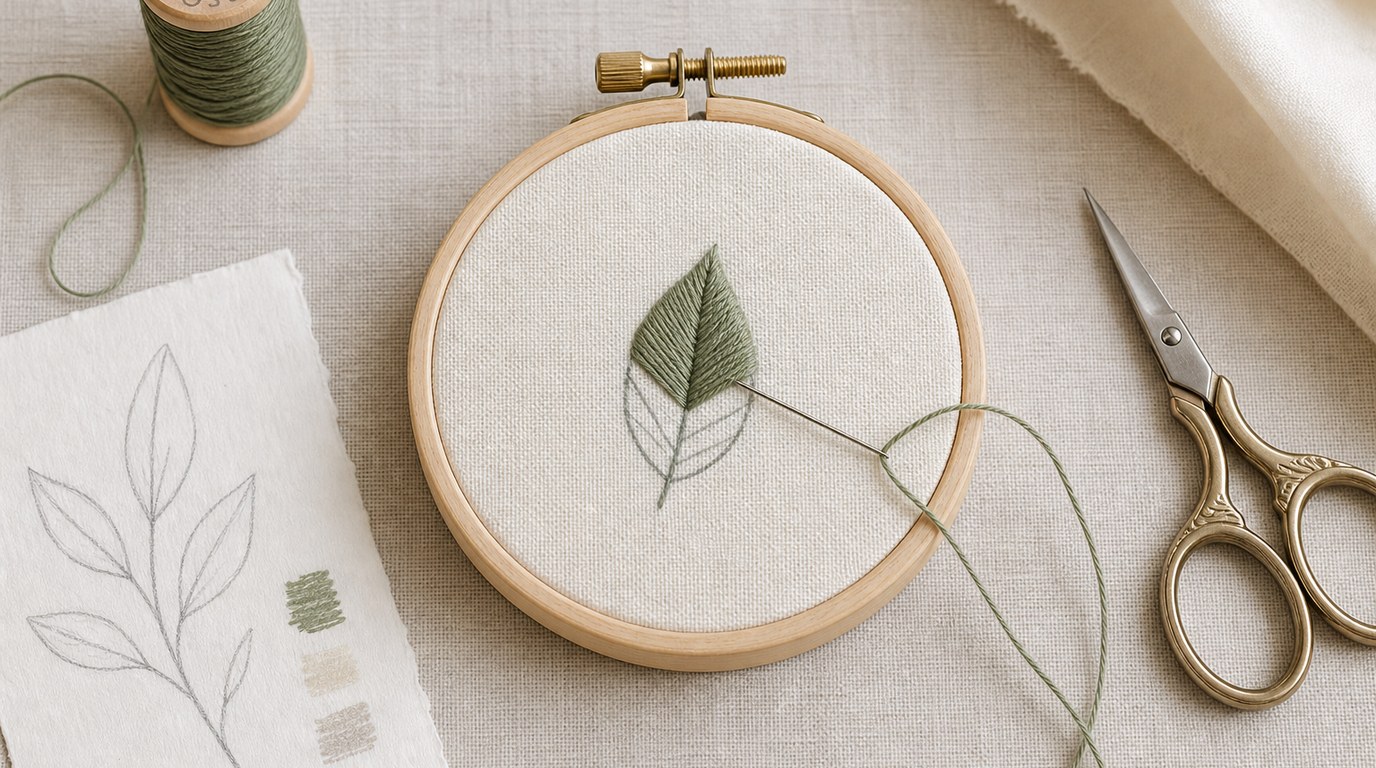
Start with a small shape, such as a leaf, oval, heart, or petal. Satin stitch is easier to learn on a shape that is no wider than about half an inch.
- Draw the shape clearly. Use a fine, removable marking tool. A clean outline gives you a clear target for the edges of your stitches.
- Choose your stitch direction. Decide which way the stitches should travel across the shape. For a leaf, stitches often run from one side edge to the other, angled slightly along the leaf. For a circle, you might work straight across the widest point.
- Bring the needle up on one edge. Come up just inside or directly on the outline. Pull the thread through gently.
- Take the needle down on the opposite edge. Cross the shape with one straight stitch. Keep the thread flat and smooth, but do not pull hard.
- Bring the needle up beside the first stitch. Place the next stitch very close to the first, with little or no fabric showing between them.
- Continue filling the shape. Work across the design, placing each stitch parallel to the last. Adjust the length slightly as the shape widens or narrows.
- Follow the contour. On curved shapes, the stitches may need to fan slightly. Keep the spacing even at the outer edge so the shape stays clean.
- Finish securely on the back. Weave the thread under nearby stitches on the back. Avoid bulky knots if the area is small or delicate.
For very small shapes, you may fill from one side to the other in a single pass. For symmetrical shapes, some stitchers start in the center, place one stitch, then fill one side and the other. This helps keep the direction balanced.
How to Make Satin Stitch Look Smooth
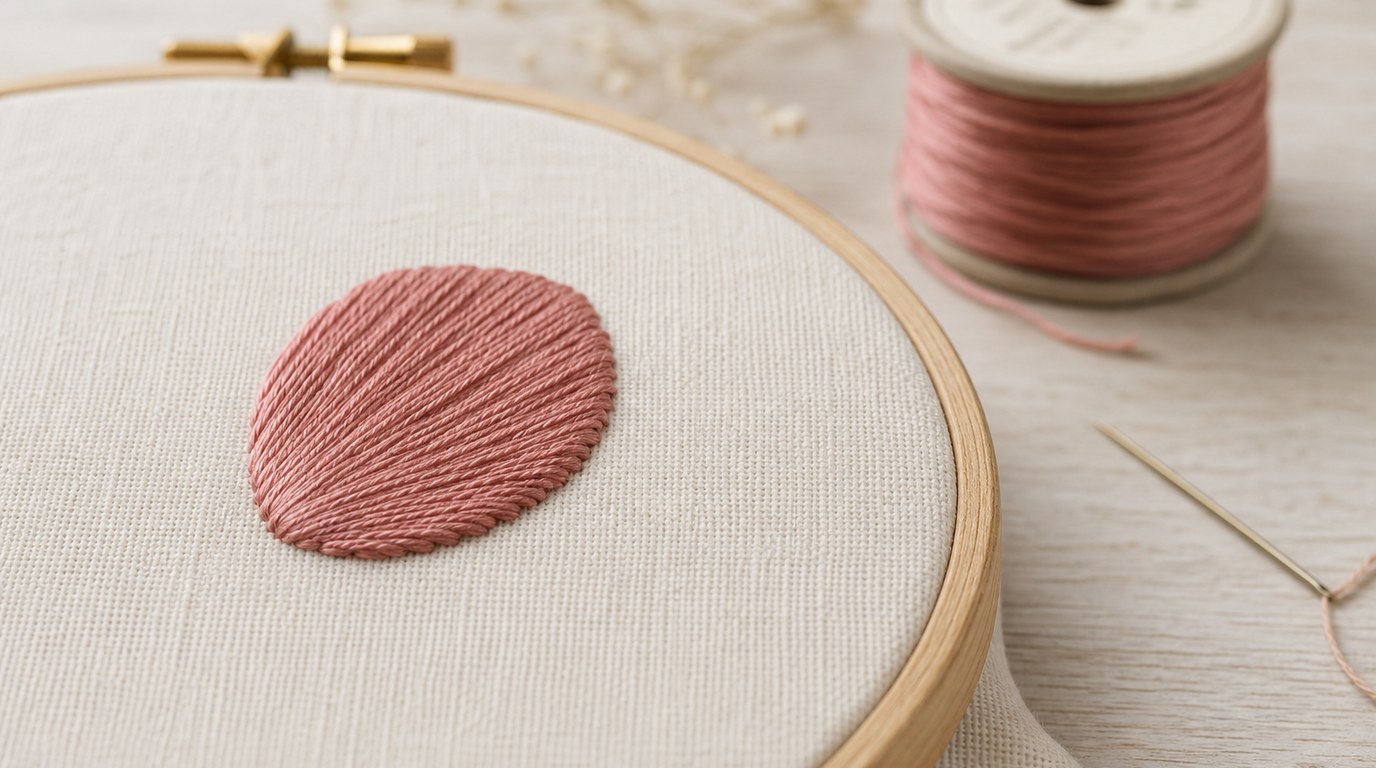
Smooth satin stitch comes from consistent habits. First, keep your tension gentle. The thread should rest on the fabric, not pull the fabric inward. If the edges pucker, your tension is too tight or the fabric is loose in the hoop.
Second, keep each stitch flat. Let the floss untwist occasionally by dropping the needle and allowing it to spin. Twisted floss creates a rope-like texture instead of a satin finish.
Third, use fewer strands for small shapes. Two strands usually create a cleaner edge than six strands, especially in modern embroidery designs with fine details.
Fourth, place stitches close together without stacking them. If stitches overlap too much, the fill becomes bulky. If they are too far apart, fabric shows through.
For extra-crisp edges, outline the shape first with split stitch or backstitch, then satin stitch over the outline. This padding gives the edge a raised, tidy finish.
Common Satin Stitch Problems and Fixes
| Problem | Likely Cause | Quick Fix |
|---|---|---|
| Fabric puckers | Tension is too tight or hoop is loose | Re-tighten fabric and pull thread more gently |
| Gaps show between stitches | Stitches are spaced too far apart | Place each stitch directly beside the last |
| Edges look jagged | Needle placement is inconsistent | Aim for the same outline line each time |
| Thread looks twisted | Floss is over-twisted or too long | Use shorter thread and let the needle dangle |
| Long stitches snag | Shape is too large for basic satin stitch | Divide the area or use another fill stitch |
If one or two stitches look wrong, remove them right away with the needle tip and restitch. Do not keep stitching over a messy area; satin stitch becomes harder to correct once the shape is full.
When the outline looks uneven, slow down at the edges. The outside edge matters more than the middle because it defines the shape.
Satin Stitch Variations to Try
Once the basic stitch feels comfortable, try a few simple variations.
Padded satin stitch uses an underlayer of stitches or an outline beneath the final satin stitches. It creates a raised, dimensional finish, useful for berries, petals, and monograms.
Slanted satin stitch angles the stitches instead of placing them straight across. This can make leaves and petals look more natural.
Split satin areas divide a larger shape into smaller sections. For example, a large leaf can be split by a center vein, with satin stitch worked on each side. This keeps stitches shorter and neater.
Use variations only when they improve the shape. The basic version is often enough for clean modern designs.
Practice Project: Small Satin Stitch Leaf
Draw a simple leaf about half an inch long. Add a center vein line if you want a guide. Thread your needle with two strands of floss and tighten your fabric in the hoop.
Start near the top of one side of the leaf. Bring the needle up on the left outline and take it down on the right outline, making a short angled stitch. Continue placing stitches side by side, letting them angle slightly toward the leaf tip and base.
As the leaf widens, make the stitches longer. As it narrows, shorten them again. Keep the edges smooth and the tension relaxed. When finished, secure the thread on the back by weaving it under existing stitches.
FAQ
What Should a Beginner Know First About Learn How to Stitch Modern Embroidery Satin Stitch?
A beginner should know that satin stitch is a small-area filling stitch. It looks simple, but it depends on even tension, close spacing, and clean edge placement. Start with small shapes and two strands of floss before trying larger or more detailed motifs.
What Matters Most When Evaluating Learn How to Stitch Modern Embroidery Satin Stitch?
The most important things are smooth coverage, tidy edges, and relaxed fabric. Check whether the stitches lie flat, sit closely together, and follow the shape. A good satin stitch fill should look solid without puckering, gaps, or bulky overlapping thread.
What Mistakes Should Readers Avoid with Learn How to Stitch Modern Embroidery Satin Stitch?
Avoid using stitches that are too long, pulling the thread too tightly, and working on loose fabric. Also avoid using too many strands on tiny shapes. These mistakes can cause puckering, snagging, uneven edges, and a rough finish.
What Is the Next Logical Step After Learning About Learn How to Stitch Modern Embroidery Satin Stitch?
After learning basic satin stitch, practice on small leaves, petals, and lettering. Then try padded satin stitch for raised details or split larger shapes into smaller sections. This builds control while keeping the same core stitch mechanics.