
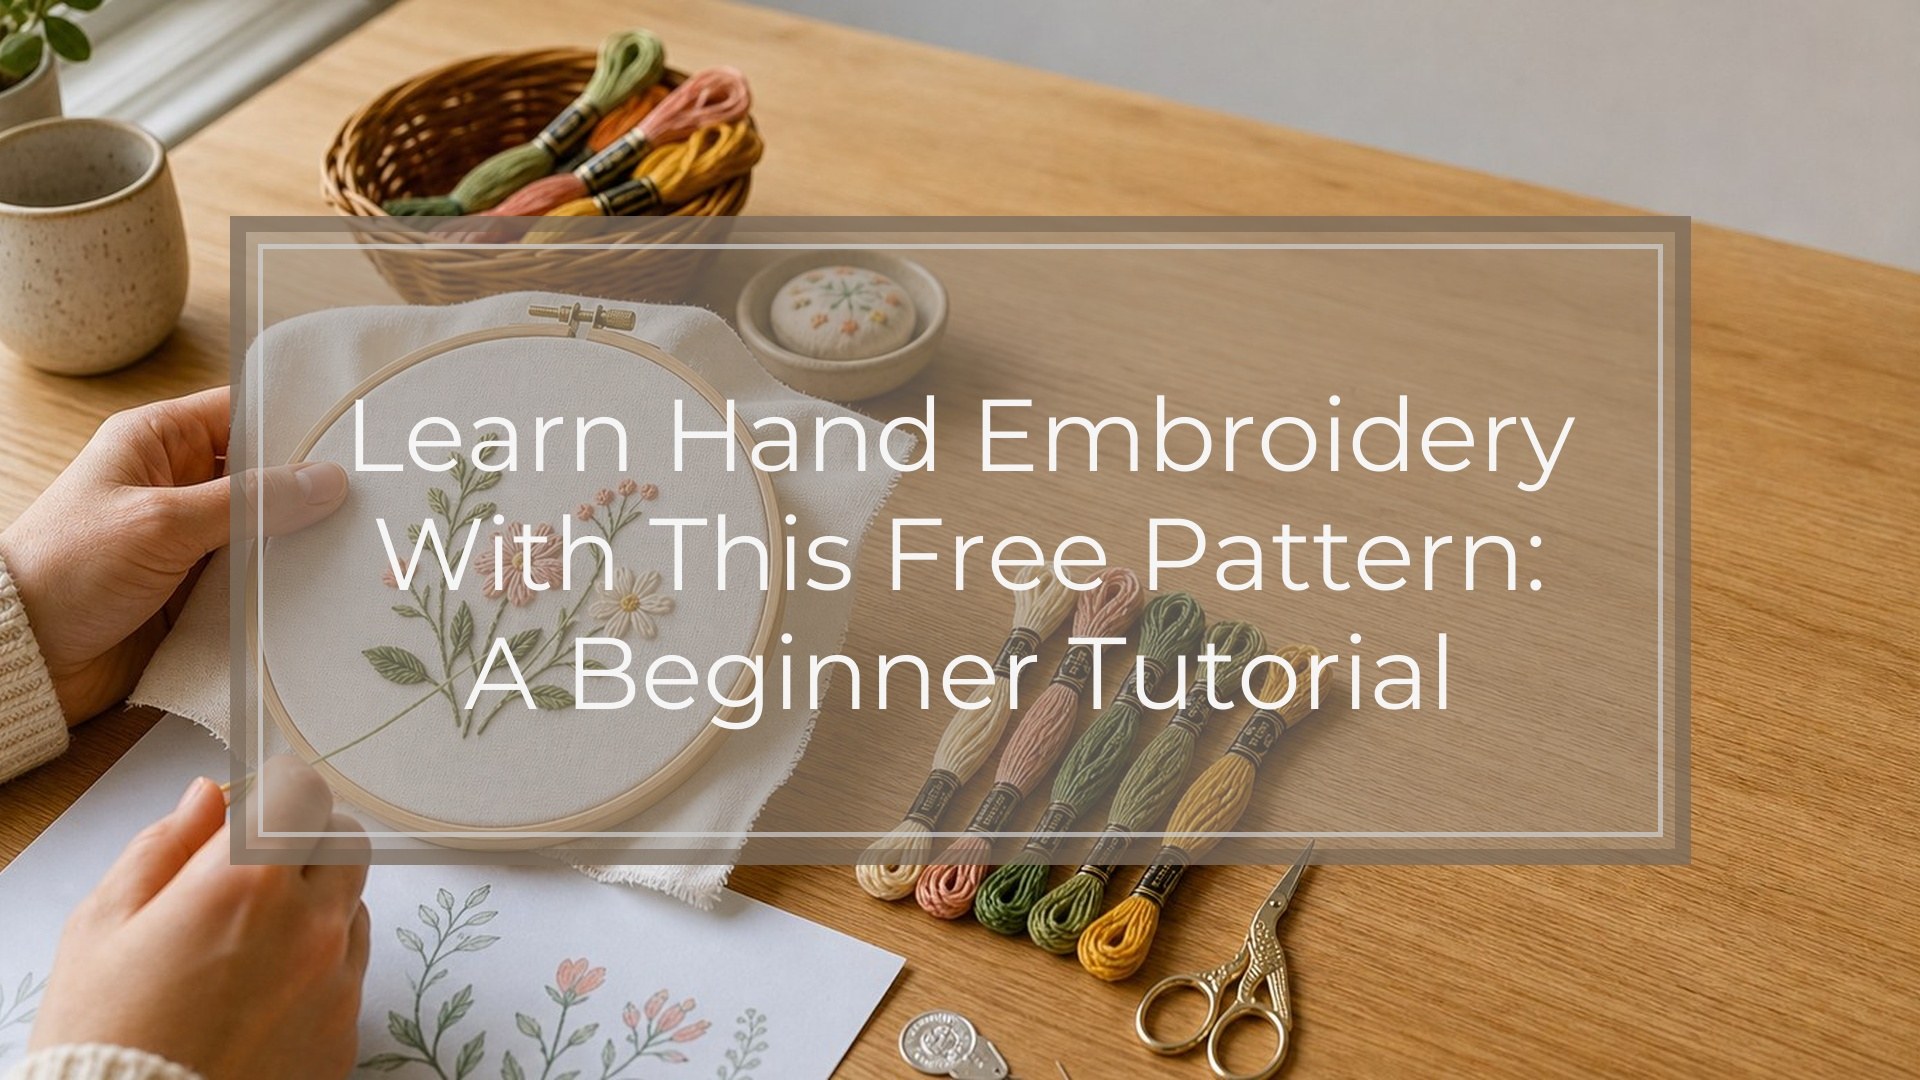
If you want to learn hand embroidery with this free pattern, start with a small design that uses only a few beginner stitches: back stitch for outlines, stem stitch for curved stems, satin stitch for small filled shapes, and French knots for dots or flower centers. A simple floral sprig, tiny wreath, or short word with accents is ideal because it teaches control without becoming overwhelming.
This tutorial walks you through the project from supplies to finishing. You will prepare your fabric, transfer the pattern, hoop it correctly, stitch each part in a sensible order, fix common problems, and finish the back neatly. By the end, you will understand not just what to stitch, but why each step matters.
Quick Answer
The easiest way to learn hand embroidery with this free pattern is to treat the design as a small practice sampler with a finished result. Choose a beginner-friendly pattern with clear lines, simple shapes, and limited detail. Transfer it onto cotton or linen, place the fabric in an embroidery hoop, and stitch from the background structure toward the small details.
For a first project, use these basic supplies:
| Supply | What it does | Essential? |
|---|---|---|
| Embroidery hoop | Holds fabric taut while stitching | Yes |
| Cotton or linen fabric | Gives stitches a stable base | Yes |
| Embroidery floss | Creates the stitched design | Yes |
| Embroidery needle | Carries floss through fabric | Yes |
| Small scissors | Trims thread cleanly | Yes |
| Transfer pen or pencil | Marks the pattern on fabric | Yes |
| Needle minder | Holds your needle when you pause | Optional |
| Backing fabric or felt | Covers the back for a neat finish | Optional |
A good free beginner pattern might include one curved stem, three leaves, two small flowers, and a few dots. Stitch the stem first, then the leaves, then the flowers, then the accent dots. This order keeps the design organized and helps you avoid crowding small details.
Use two or three strands of six-strand embroidery floss for most beginner work. Two strands create fine, tidy lines; three strands look slightly bolder and are easier to see. Cut floss about 18 inches long so it does not tangle as easily.
The main takeaway: do not try to master every embroidery stitch at once. Learn hand embroidery with this free pattern by completing one small design carefully. Focus on even tension, clean line direction, and comfortable hand movement. A finished simple pattern teaches more than an unfinished complicated one.
How to Think About This Topic
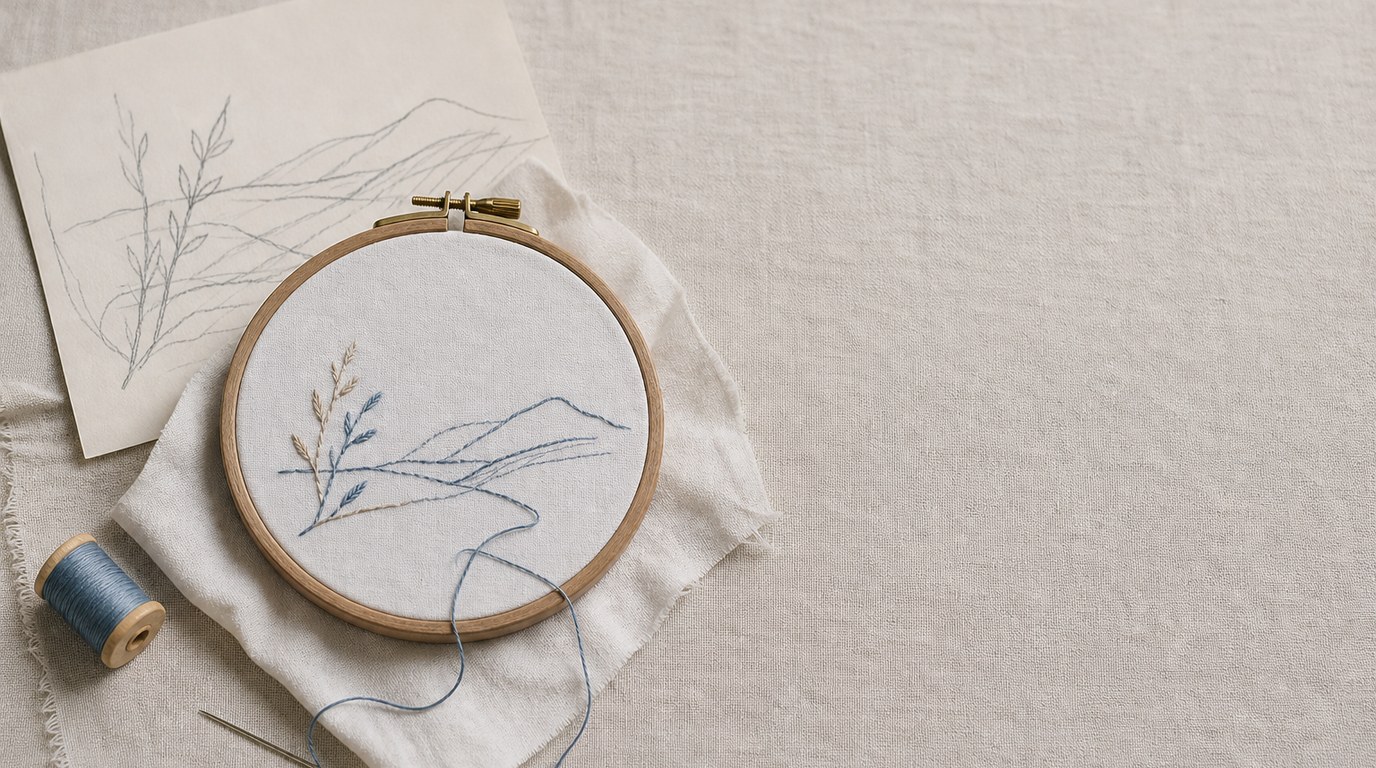
Hand embroidery becomes easier when you think of it as drawing with thread. The fabric is your paper, the pattern is your pencil sketch, and each stitch is a small mark that builds the finished image. Your goal is not speed. Your goal is control: placing stitches where you want them, keeping the thread smooth, and making choices that match the shape of the pattern.
For this free beginner pattern, imagine a small floral sprig. The stem is the main line of the drawing. Leaves branch from it. Flowers and dots add detail. That structure tells you how to stitch it. Long, flowing parts need line stitches. Small filled shapes need filling stitches. Tiny accents need knots or short straight stitches.
Here are the core stitches to understand before you begin:
- Back stitch: Best for outlines, lettering, and crisp drawn lines. Each stitch goes backward into the end of the previous stitch, creating a continuous line.
- Stem stitch: Best for curved stems and vines. The thread sits slightly to one side, giving the line a twisted, rope-like look.
- Satin stitch: Best for small filled shapes, such as leaves or petals. Parallel stitches sit side by side to cover the fabric.
- French knot: Best for dots, flower centers, berries, and texture. The thread wraps around the needle to form a raised knot.
- Straight stitch: Best for tiny accents, simple petals, spark marks, and short decorative lines.
A beginner mistake is thinking the stitch choice is random. It is not. Match the stitch to the job. If the pattern has a word such as “grow” or “joy,” use back stitch for the letters. If it has a curved vine, use stem stitch. If it has small teardrop leaves, use satin stitch. If it has little circles or centers, use French knots.
Fabric tension also matters. A hoop should hold the fabric firm like a drum, but not so tight that the weave distorts. Loose fabric causes uneven stitches because the needle pulls the cloth as you work. Over-tight fabric can leave marks or stretch the design. Tighten the hoop screw, then gently tug the fabric edges until the surface is smooth.
Thread tension is different from hoop tension. Every stitch should lie flat against the fabric, not float above it and not dig into it. If your stitches pucker the fabric, you are pulling too hard. If loops appear on the surface, you are not pulling enough. The best tension is gentle and consistent.
Think of the pattern in layers. First, transfer the whole design clearly. Second, stitch the longest guide lines. Third, add medium shapes. Fourth, finish with small details. This order keeps your hands from rubbing finished knots and helps you judge spacing as the design fills in.
When you learn hand embroidery with this free pattern, the pattern is not just decoration. It is a lesson plan. It teaches how to prepare fabric, follow lines, fill shapes, control floss, and finish a project. Once you understand that mental model, every future pattern becomes easier to read.
Practical Guidance
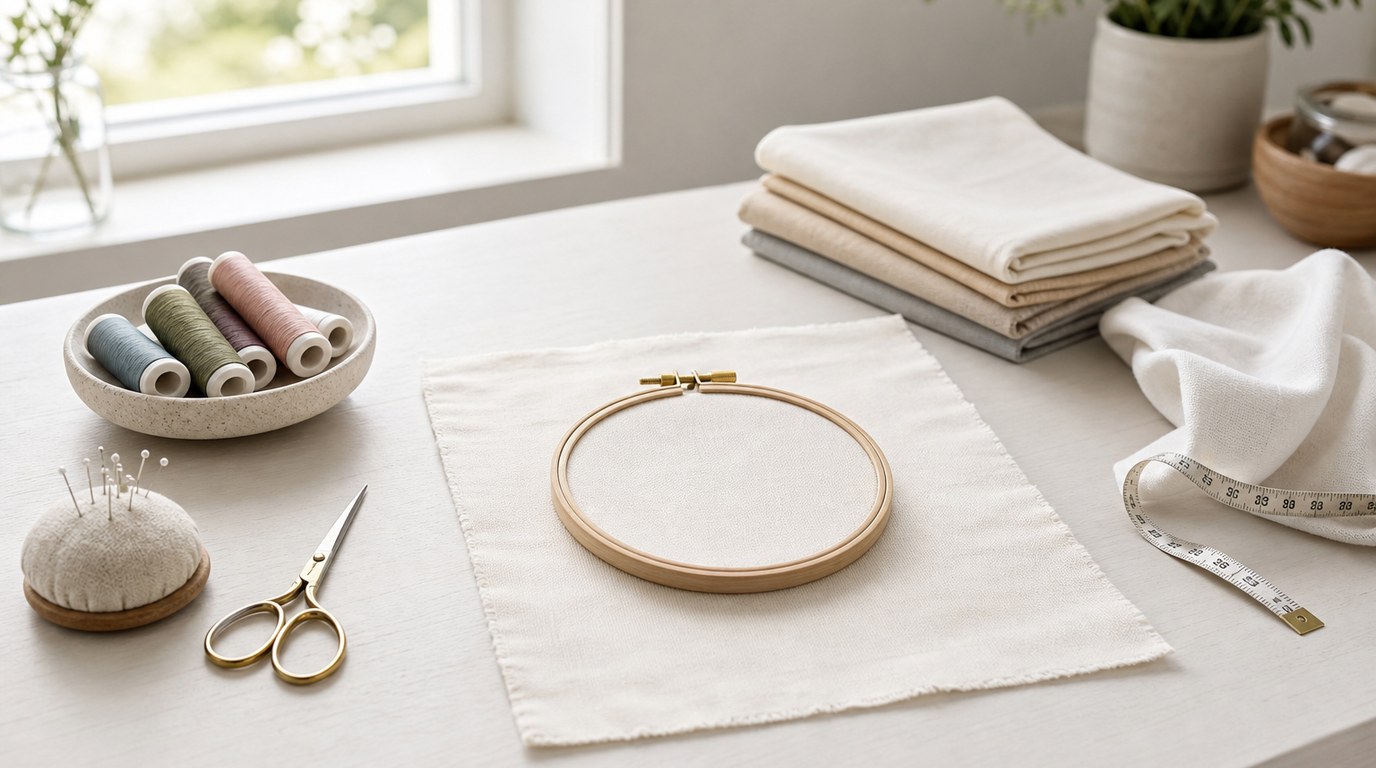
Start by gathering your materials and choosing a calm work area with good light. Wash and dry your hands before handling light fabric. If your fabric wrinkles easily, press it first. Cut a fabric square at least two inches larger than your hoop on every side. For a 6-inch hoop, an 11-inch square is comfortable.
Print the free pattern at its intended size. If the lines look too tiny, enlarge it slightly. Beginner embroidery is easier when shapes are not cramped. A small floral sprig between 3 and 5 inches tall is a good size.
To transfer the pattern, place the printed design under light-colored fabric and trace it with a water-soluble pen, heat-erasable pen, or sharp pencil used lightly. A window or light box helps. If your fabric is dark, use white transfer paper or a light-colored washable pencil. Keep lines thin. Heavy marks can show between stitches.
Next, hoop the fabric. Place the inner hoop under the fabric and the outer hoop over it. Press the outer hoop down, tighten the screw, and pull the fabric edges gently until smooth. Make sure the pattern is centered and straight before you start stitching.
Thread your needle with two or three strands of floss. Embroidery floss separates into six strands, so cut a length first, then separate one strand at a time and recombine the number you need. This reduces twisting. Tie a small knot at the end if you are new, or use a waste knot if you want a cleaner back.
Now stitch the free pattern in this order:
- Stem or main outline: Use stem stitch for a curved flower stem or back stitch for a straight outline. Keep stitch lengths short around curves. Shorter stitches make smoother lines.
- Leaves: Use satin stitch for small leaves. Bring the needle up on one edge of the leaf and down on the opposite edge. Keep the stitches close together. Angle them slightly to follow the leaf shape.
- Flower petals: Use lazy daisy stitch if the pattern has looped petals, or satin stitch for solid petals. For lazy daisy, form a small loop and anchor it with a tiny stitch at the tip.
- Lettering or decorative lines: Use back stitch. On curves, shorten each stitch so the letters do not look squared off.
- Dots and centers: Add French knots last. Wrap the thread once or twice around the needle, hold the working thread snug, then pull the needle through slowly.
If the thread tangles, stop pulling. Let the needle dangle so the floss can untwist. If a knot forms, loosen it with the needle tip instead of yanking. Shorter thread lengths prevent many tangles.
If your satin stitch looks messy, check three things: the stitches may be too long, the shape may be too large, or your tension may be uneven. Satin stitch is easiest on small areas. For larger leaves or petals, split the shape with a center vein or use long-and-short stitch later, after you have more practice.
If your back stitch lines look jagged, use smaller stitches and place the needle exactly at the end of the previous stitch. For lettering, follow the center of the transferred line rather than trying to cover both sides of a thick mark.
If the fabric puckers, loosen your pulling hand. The thread should rest on the surface, not squeeze it. Puckering can also happen when the hoop is loose, so check fabric tension as you work.
When the stitching is finished, remove any visible transfer marks according to the tool instructions. Water-soluble marks need a gentle rinse or damp cloth. Heat-erasable marks disappear with an iron, but test first because some marks can return in cold temperatures.
To finish the hoop, trim the fabric to about one inch beyond the hoop. Run a simple gathering stitch around the extra fabric on the back, pull it snug, and knot it. For a cleaner finish, cover the back with felt cut to fit and stitch or glue it in place. If the embroidery will become a patch, ornament, or card, press it carefully from the back on a towel.
Your finished beginner pattern does not need to be perfect. Look for progress: smoother curves, fewer tangles, more even stitches, and better control. That is the real purpose of a starter design.
FAQ
What Should a Beginner Know First About Learn Hand Embroidery with This Free Pattern?
Start small. A beginner pattern should use clear lines, simple shapes, and only a few stitches. Learn the basic motion of each stitch before worrying about speed. Good fabric tension, short thread lengths, and steady stitch placement matter more than a complicated design.
What Matters Most When Evaluating Learn Hand Embroidery with This Free Pattern?
Look for a pattern that matches your current skill level. The best beginner design has open spacing, readable lines, and stitch suggestions. Avoid tiny details at first. A useful free pattern should help you practice outlines, small fills, curves, and accents in one manageable project.
What Mistakes Should Readers Avoid with Learn Hand Embroidery with This Free Pattern?
Avoid using thread that is too long, pulling stitches too tightly, and choosing fabric that is stretchy or flimsy. Do not start with an overly detailed pattern. Also avoid heavy transfer lines, because they can be hard to hide under fine beginner stitches.
What Is the Next Logical Step After Learning About Learn Hand Embroidery with This Free Pattern?
After finishing the pattern, repeat it with one change: try different floss colors, cleaner lettering, or a new stitch for the leaves. Then move to a slightly larger pattern with more curves or layered flowers. Repeating basics builds confidence faster than rushing into advanced designs.