
To tie off your thread, turn your work to the back, pass the needle under several nearby stitches, pull the thread snug, and trim the tail close to the fabric. For embroidery and cross stitch, weaving the tail under existing stitches is usually the neatest finish because it avoids bulky knots. For hand sewing or seams that need strength, you can make a small knot or secure the end with a few backstitches before trimming.
The goal is simple: anchor the thread so the final stitches cannot loosen, while keeping the front of your work smooth, clean, and free from visible thread ends.
What It Means to Tie Off Thread
Tying off thread means securing the loose end after you finish stitching. Think of it as locking the last stitch in place. If the thread tail is left loose, movement, washing, or handling can slowly pull stitches out.
A good tie-off does two things: it grips the thread against the fabric or nearby stitches, and it hides the tail. In decorative needlework, the finish should be flat and invisible from the front. In practical hand sewing, it should also be strong enough to hold up to use.
What You Need Before You Finish a Thread
You only need a few basics:
- Your stitched project
- The needle still threaded
- Small sharp scissors or embroidery snips
- Enough thread tail to work with, ideally 2 to 4 inches
- Good lighting so you can see the back of the stitches
Before tying off, stop stitching on the back of the fabric if possible. If your needle is on the front, pass it through to the back in a natural place, then secure the thread from there.
Method 1: Weave the Thread Under Existing Stitches
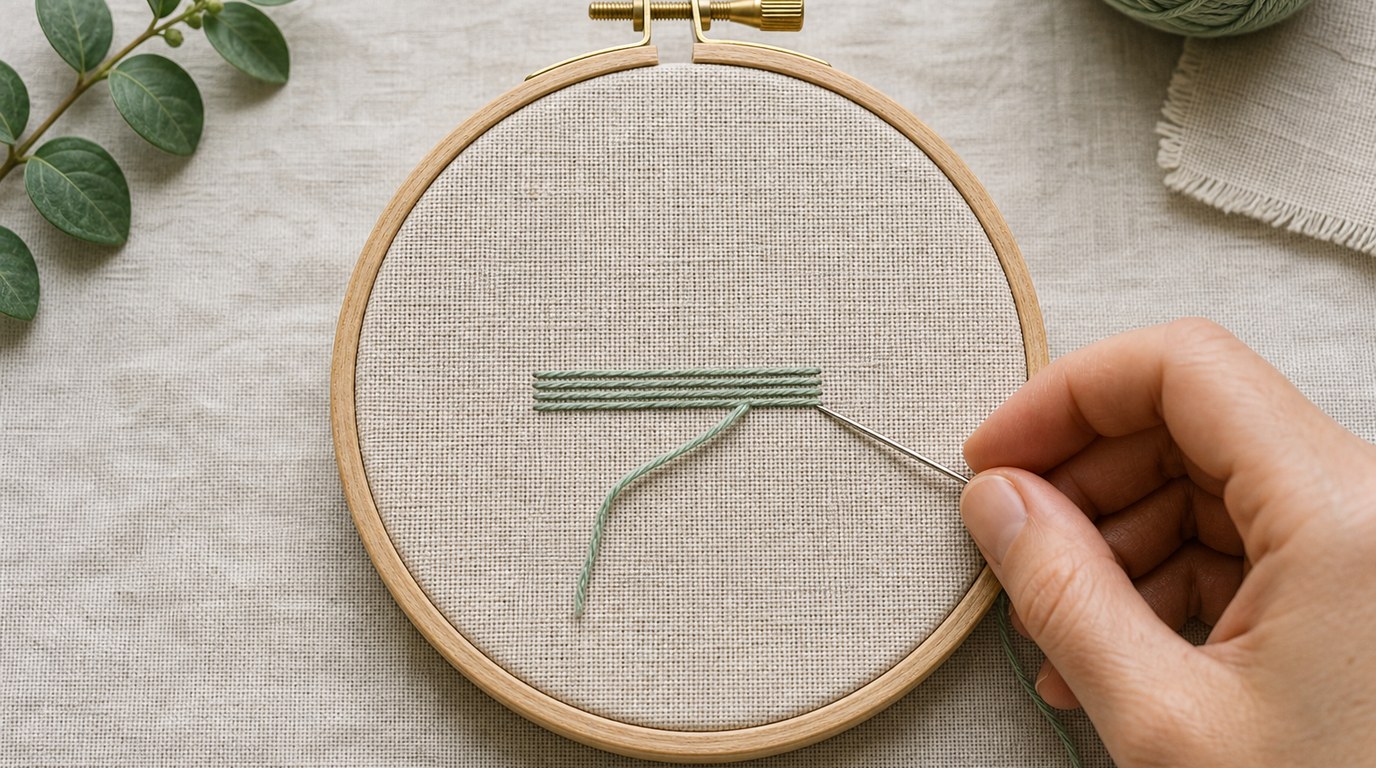
This is the cleanest method for embroidery, cross stitch, and other decorative needlework. It avoids knots, keeps the back flatter, and is less likely to show through the fabric.
- Turn your work over so you are looking at the back.
- Find several nearby stitches in the same color area or a dense stitched section.
- Slide the needle under 3 to 5 stitches on the back, without piercing the front fabric.
- Pull the thread through gently until it lies flat.
- For extra security, change direction and pass the needle under 2 or 3 stitches again.
- Trim the thread tail close to the stitches, being careful not to cut the stitching.
Do not pull so tightly that the fabric puckers. The thread should be secure, not strained. In cross stitch, it is best to weave under stitches of the same or similar color so no dark tail shows behind pale fabric. In embroidery, follow the direction of the stitched area when possible for a smoother back.
Method 2: Make a Small Knot at the Back
A small knot can be useful for hand sewing, repairs, hidden seams, or areas where the back will not be seen. It is not always the best choice for fine embroidery or cross stitch because knots can create bumps, but it works well when strength matters more than a perfectly flat back.
- Bring the needle to the back of the fabric after the final stitch.
- Slide the needle under a nearby stitch or catch a tiny bit of fabric on the back.
- Before pulling the thread all the way through, pass the needle through the loop to form a knot.
- Pull gently until the knot sits against the fabric.
- Repeat once if the item will be handled often.
- Trim the tail, leaving a tiny end rather than cutting into the knot.
Keep the knot small and close to the fabric. If it sits far from the surface, it can snag or loosen. For delicate fabrics, avoid making repeated large knots in the same place because they can distort the fabric.
Method 3: Tie Off with Backstitches for Strong Seams
For functional hand sewing, such as closing a seam, mending clothing, or attaching fabric pieces, backstitching is a strong way to tie off without relying only on a knot.
- Finish your final stitch at the back or inside of the seam.
- Take one small stitch backward over the previous stitch line.
- Pull the thread snug.
- Take a second small backstitch in the same area.
- If needed, make a tiny knot after the backstitches.
- Trim the thread tail close to the seam.
Backstitches lock the thread into the seam line, spreading the tension across more than one point. This is especially helpful for fabric items that will be worn, washed, pulled, or opened and closed.
Choosing the Right Tie-off Method
The best way to tie off your thread depends on the project. Decorative work usually benefits from a flat, hidden finish. Practical sewing often needs extra strength. The fabric also matters: thin fabric can show bulky knots, while heavier fabric can handle a sturdier tie-off.
| Project or Situation | Best Tie-Off Method | Why It Works |
|---|---|---|
| Cross stitch | Weave under existing stitches | Keeps the back flat and avoids visible knots |
| Surface embroidery | Weave under nearby stitches | Hides the tail without adding bulk |
| Hand sewing a hidden seam | Small knot or backstitches | Adds strength where the finish is not visible |
| Clothing repair | Backstitches, then optional knot | Holds up better to wear and washing |
| Thick or heavy fabric | Small knot or backstitches | Gives a firmer anchor in sturdy material |
| Pale or sheer fabric | Weave carefully under matching stitches | Reduces shadowing and visible thread tails |
When in doubt, choose the flattest method that still gives enough security for how the item will be used.
Common Mistakes to Avoid
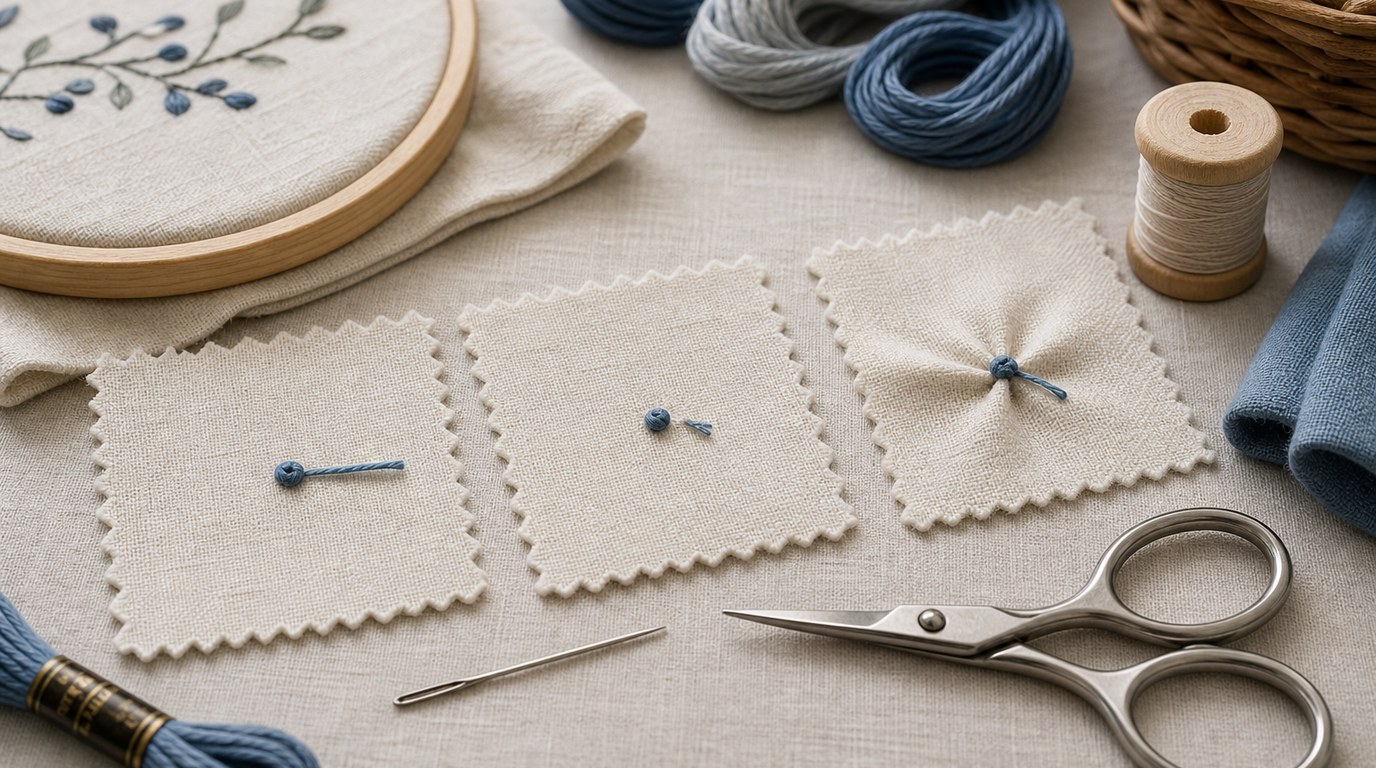
The most common mistake is trimming the thread too soon. Always secure the tail before cutting it. A very short tail is difficult to weave or knot, and it may pop loose.
Avoid pulling too tightly when tying off. Tight thread can pucker the fabric, distort cross stitches, or make embroidery look uneven from the front. The finish should be firm but relaxed.
Do not leave long thread tails on the back. They can tangle, show through light fabric, or catch during framing and finishing. Also avoid large knots in decorative work unless the back will be covered and the fabric can handle the bulk.
Finally, check the front before trimming. If the tie-off has pulled a stitch out of shape, it is easier to fix before the tail is cut.
Quick Tips for a Neater Finish
Use sharp scissors so the trimmed tail is clean, not fuzzy. Weave thread under stitches in a similar color area whenever possible. For slippery thread, weave in one direction, then reverse direction to add grip.
Keep the back of your work tidy as you stitch, not just at the end. Shorter thread lengths are easier to control and less likely to fray. If the thread starts looking worn, tie it off and begin with a fresh length.
FAQ
What Should a Beginner Know First About How to Tie Off Your Thread?
A beginner should know that tying off is simply securing the thread tail so stitches do not unravel. For embroidery and cross stitch, the easiest clean method is weaving the tail under several stitches on the back, then trimming it neatly.
What Matters Most When Evaluating How to Tie Off Your Thread?
The most important factors are security, appearance, and fabric type. A good tie-off should hold the final stitch firmly, stay hidden from the front, and avoid creating lumps. Decorative projects usually need a flatter finish than heavy-use hand sewing.
What Mistakes Should Readers Avoid with How to Tie Off Your Thread?
Avoid cutting the thread before it is secured, making bulky knots on delicate work, or pulling so tightly that the fabric puckers. Also avoid leaving long tails on the back, especially on pale fabric where they may show through.
What Is the Next Logical Step After Learning About How to Tie Off Your Thread?
Practice each method on a scrap piece of fabric before using it on a finished project. Try weaving under stitches, making a small knot, and securing with backstitches so you can feel which method suits embroidery, cross stitch, and hand sewing.