
A cross stitch pattern is a map. Each square on the chart stands for a stitch, each symbol points to a thread color, and the grid tells you exactly where to place everything on the fabric. To read one well, start by finding the center, matching the chart legend to floss colors, and checking whether the design uses full crosses, backstitch, or specialty stitches. Then work in small sections, counting carefully from nearby landmarks instead of jumping across the page. Once you understand the chart key, grid lines, and stitch symbols, a pattern becomes much easier to follow and much less intimidating before you take your first stitch.
| Pattern part | What it tells you | What to do with it |
|---|---|---|
| Grid of squares | Where stitches go | Count each square as one stitch space |
| Symbols or colors | Which floss to use | Match them to the legend or key |
| Legend/key | Thread number and stitch type | Gather the right color and check if it is full cross, half stitch, or backstitch |
| Bold grid lines | Larger counted blocks, often every 10 stitches | Use them as landmarks to stay oriented |
| Arrows or center marks | Pattern midpoint | Match to the fabric center before starting |
| Backstitch lines | Outlines or details | Add them after the main cross stitches unless the pattern says otherwise |
Quick Answer
The main takeaway is simple: reading a cross stitch pattern means translating a chart into stitches one square at a time.
Most patterns include three basic parts: a chart, a key, and thread information. The chart is the picture broken into a grid. The key explains what each symbol means. The thread list tells you which floss color matches each symbol. If you can match symbol to color and count squares accurately, you can read the pattern.
Start by locating the center of the chart and the center of your fabric. Many beginners find this easier than starting in a corner because it reduces counting errors. Next, look for bold lines that mark every 10 stitches. These act like road lines on a map and help you keep your place.
Then read in small zones. For example, if a flower petal has six blue squares beside three white squares, stitch that cluster first instead of scanning the whole page at once. Check the chart often, count twice before placing a stitch, and treat the pattern like step-by-step coordinates rather than a finished picture.
How to Think About This Topic
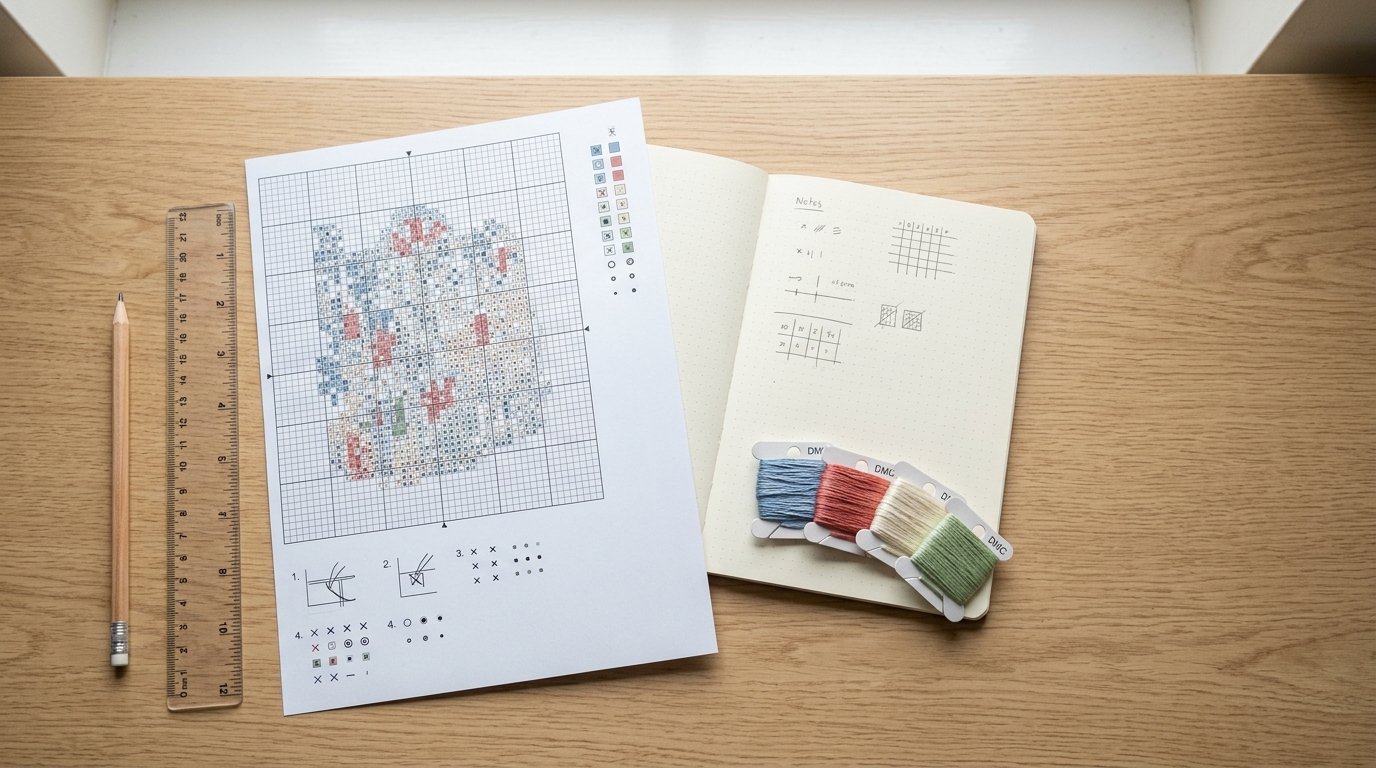
The easiest mental model is to think of a cross stitch pattern as graph paper with instructions layered on top. The design is not meant to be “read” like a drawing first. It is meant to be decoded square by square.
That matters because most confusion comes from looking at the pattern as a whole image instead of as counted locations. If you focus on the finished bird, house, or floral border, your eye jumps around. If you focus on the grid, you can always answer three practical questions: where am I, what symbol is here, and what stitch does this mark require?
Here is the progression most patterns follow:
- Grid position: Find the row and column area.
- Symbol recognition: Identify the symbol in each square.
- Legend match: Check which floss or stitch type that symbol means.
- Placement: Stitch it in the matching spot on your fabric.
In most beginner-friendly charts, one square equals one full cross stitch. That is the default assumption unless the pattern notes say otherwise. Some charts also include quarter stitches, half stitches, French knots, or backstitch lines. Those are usually marked differently from the regular grid squares, often with partial symbols, diagonal marks, or line overlays.
It also helps to separate chart features into two groups:
- Location tools: center arrows, page numbers, margins, bold 10×10 lines
- Stitch tools: symbols, floss numbers, blended thread notes, backstitch markings
When you lose your place, location tools help you recover. When you are unsure what to sew, stitch tools give the answer.
Tie this back to the core goal of learning how to read a cross stitch pattern: you are not just identifying symbols. You are building a reliable system for moving from chart to fabric without miscounts. That is why experienced stitchers use landmarks, work in blocks, and re-check the key instead of relying on memory too early. Good pattern reading is less about speed and more about accuracy, especially at the start of a project.
Practical Guidance
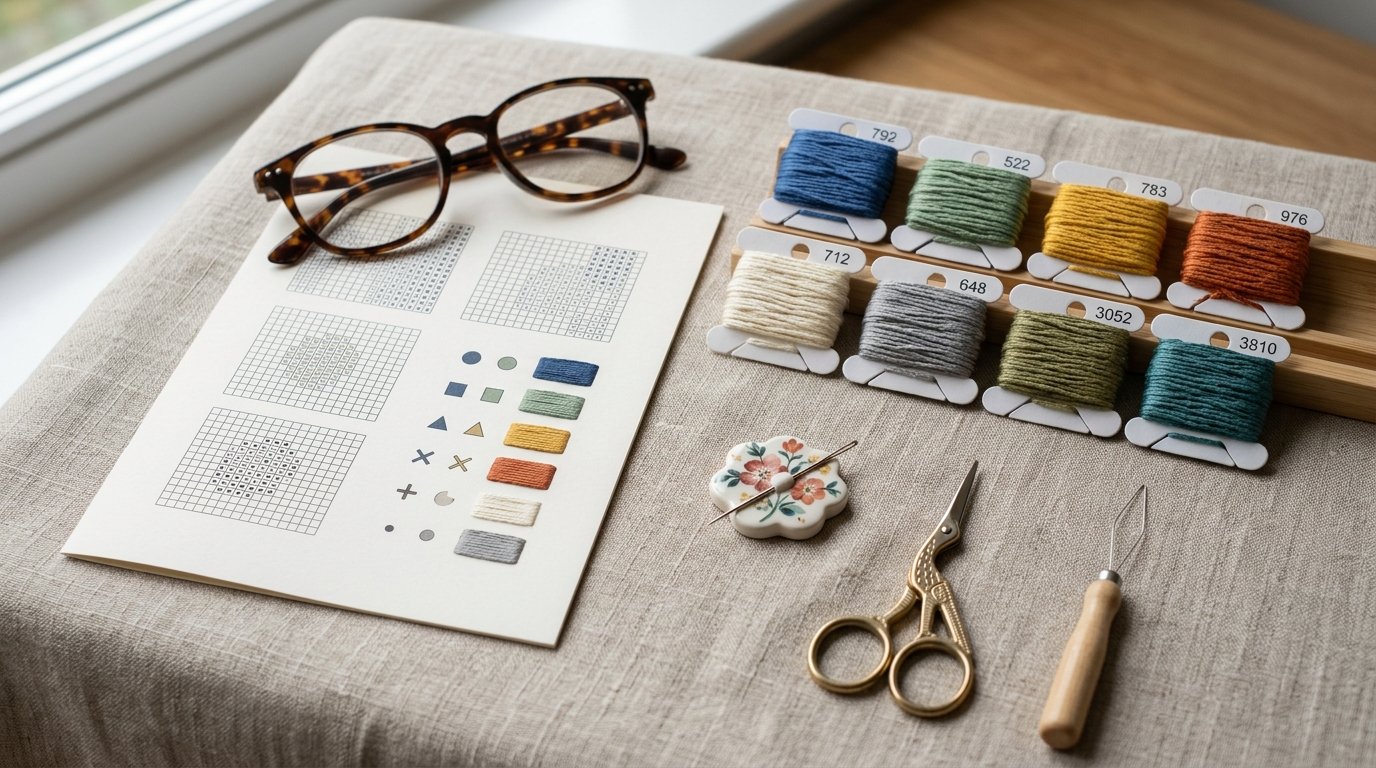
Use a repeatable routine each time you start a new pattern or a new section of one.
First, study the key before threading your needle. If symbol ◆ is DMC 321 and symbol ○ is DMC 699, make sure you know that before you begin counting. Some charts use very similar shapes, so do not assume from a quick glance. On black-and-white charts especially, a triangle, solid square, and diamond can blur together.
Next, find the center of both chart and fabric. Fold the fabric in half vertically and horizontally to mark the midpoint. Then locate the center arrows on the chart. Starting from center is especially helpful for standalone motifs, ornaments, and framed designs because it prevents the design from drifting off the fabric.
After that, stitch by landmarks rather than by long jumps. Suppose the chart shows a cluster of 4 red stitches, then 2 blank spaces, then 3 green stitches. Work the 4 red, count the 2 spaces, then place the 3 green. That is safer than counting 18 spaces to another motif on the opposite side of the chart.
A few practical rules make patterns easier to decode:
- Use the bold 10-stitch lines. If you are at line 30 horizontally and line 20 vertically, you can confirm your position quickly.
- Mark your progress. Highlighter tape, a magnetic board, or a pencil mark on a printed copy can stop repeat counting.
- Read the stitch notes. Some patterns use two strands for crosses but one strand for backstitch.
- Check page transitions. On multi-page charts, symbols may continue across the break, so verify the overlap marks or page guides.
- Watch for blended threads. If the key lists two floss numbers together, that means stitch with one strand of each color.
If your pattern is digital, zoom in until symbols are clearly distinct. If it is printed and cramped, enlarge the copy before you start. A readable chart is not a luxury; it reduces mistakes.
Backstitch and specialty marks deserve separate attention. Full cross stitches fill squares, but backstitch usually runs along square edges or diagonally across them. For example, a face outline or lettering may not appear as filled boxes at all. Many stitchers save these detail lines until the main cross stitch is finished because the chart is easier to read that way.
When something seems off, stop early. If a motif should line up with a bold grid line but misses by two stitches, recount before continuing. Correcting four stitches is easy; correcting forty is not. The goal is not to memorize the pattern. The goal is to keep translating it accurately, section by section, until the chart becomes fabric.
FAQ
Does Every Square on a Cross Stitch Pattern Equal One Stitch?
Usually, yes. In most standard charts, one square equals one full cross stitch on the fabric. The main exceptions are specialty stitches such as quarter stitches, half stitches, and some embellishments, which are normally marked differently in the chart key or notes.
How Do I Find the Center of a Cross Stitch Pattern?
Look for arrows on the top, bottom, and sides of the chart; they usually point to the center lines. On your fabric, fold it in half both ways to find the midpoint. Match those two centers before you begin stitching.
What Do Bold Lines on a Cross Stitch Chart Mean?
Bold lines usually divide the chart into blocks of 10 stitches by 10 stitches. They help you count faster, confirm your location, and reduce mistakes. Think of them as grid landmarks that make it easier to track small sections accurately.
How Do I Read a Multi-page Cross Stitch Pattern?
Start by checking the page numbers, overlap areas, and any alignment marks. Work to the edge of one page, then confirm the matching symbol placement on the next page before stitching onward. It helps to highlight the finished area so transitions stay clear.
What Should I Do If Two Symbols Look Almost the Same?
Do not guess. Enlarge the chart, zoom in on a digital file, or mark each symbol in a different color on a working copy. If needed, write the floss number beside the tricky symbols. Clear labeling is much better than unpicking later.