
To pull embroidery floss from a skein without knotting, find the correct loose tail, hold the skein label area steady, and draw one full length out slowly from the end meant to release. Do not unwrap the whole skein or pull from a random loop. If the floss bunches, stop, loosen the twist near the label, and let the strand slide free before continuing.
Quick Answer
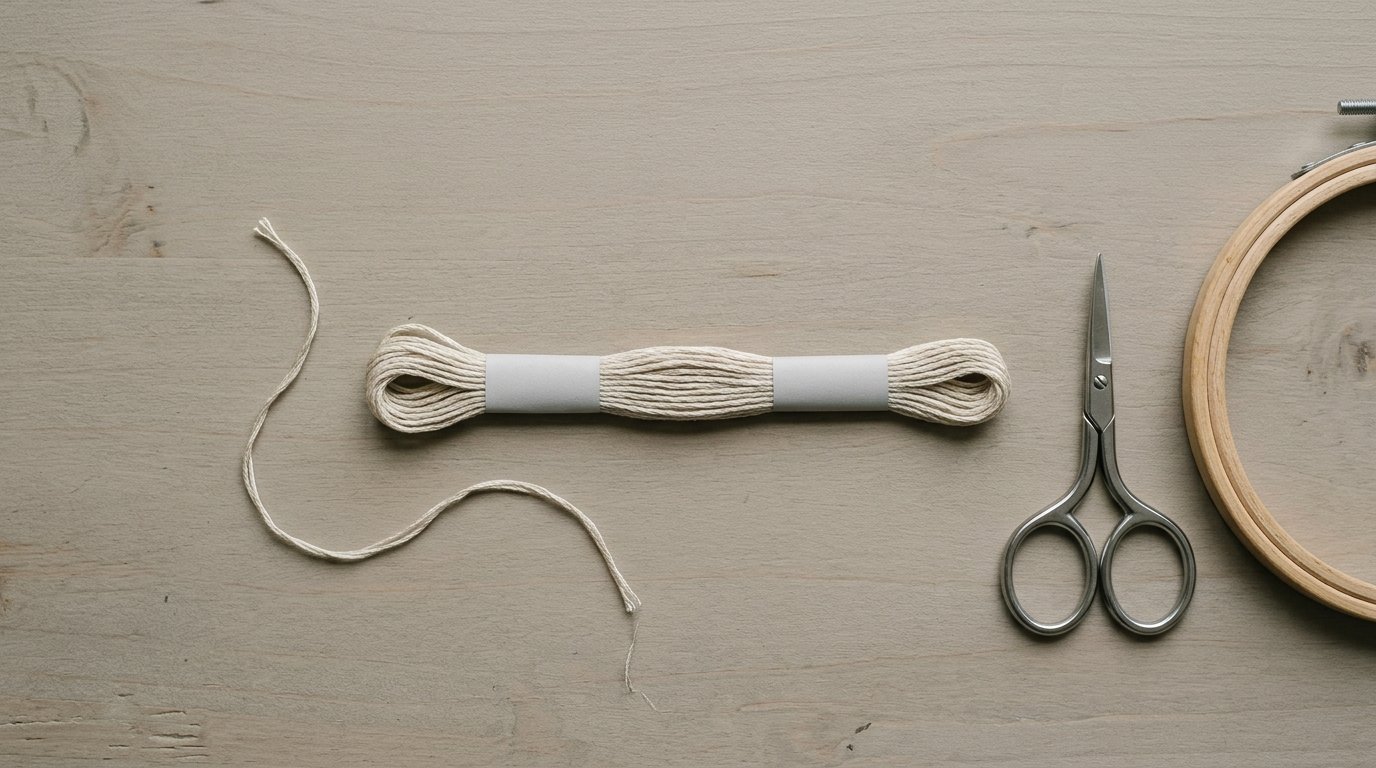
The simplest way to remove embroidery floss cleanly is to treat the skein like a bundled loop, not like a ball of thread. Most standard skeins are wound so one end releases smoothly while the other can drag the whole bundle into a knot.
Start by gently squeezing the skein near the paper labels and locating the two loose ends. One end is usually tucked or shorter; the other is the pull end. Test with a small, gentle tug rather than a hard pull. When you find the releasing end, hold the skein at the center and pull one full arm-length strand out slowly. As it comes free, let the floss untwist naturally.
If a loop starts forming at the opposite end, pause right away. Push the extra loop back in, straighten the skein, and continue more slowly. The main takeaway: pull one strand at a time from the correct end, with the skein supported at the middle, and you will prevent most tangles before they start.
How to Think About This Topic
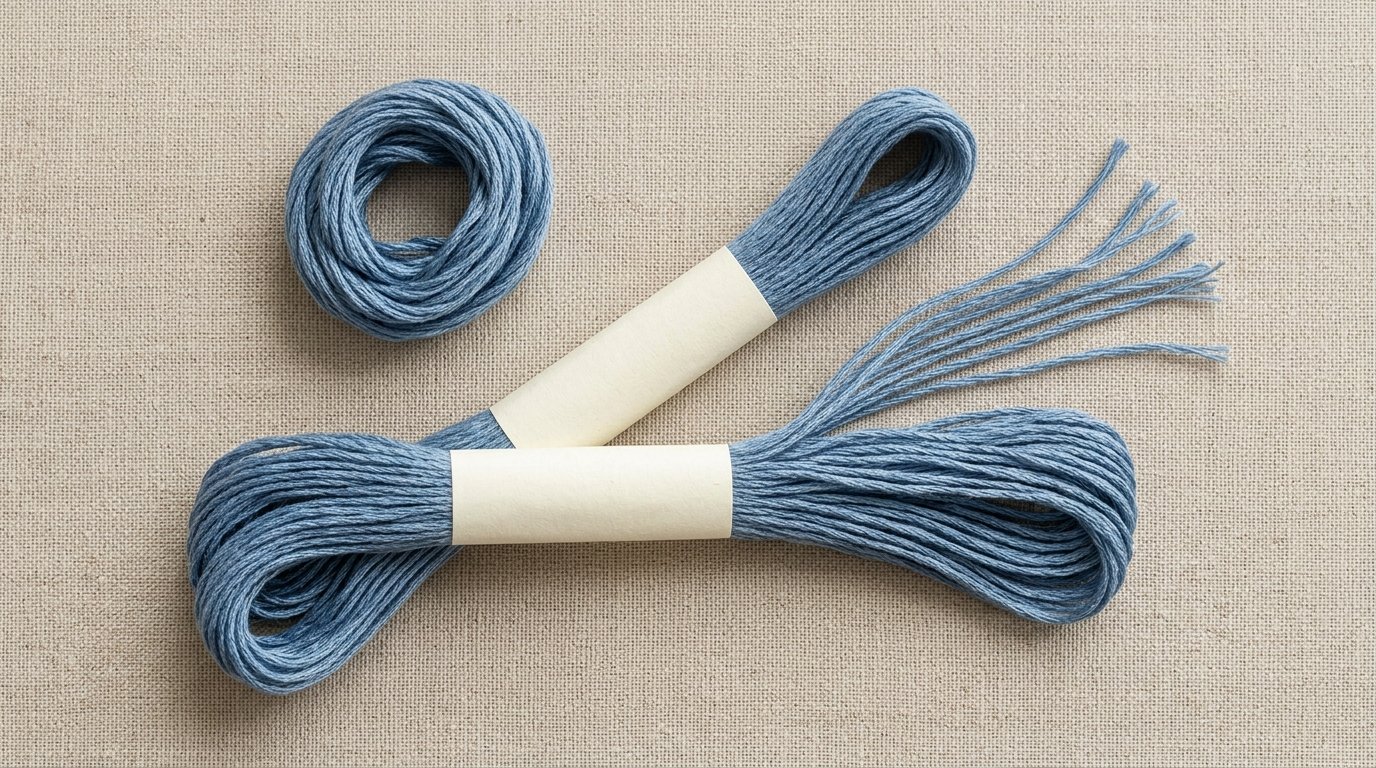
Understanding how to pull embroidery floss from a skein without knotting gets much easier once you know what a skein is doing physically. A standard six-strand cotton skein is usually made from long loops of floss folded and bundled under two paper labels. It is not wound to be stripped from any point at random.
That matters because tangles usually happen for one of three reasons:
- You pull from the wrong end.
- You pull too fast and tighten a forming loop.
- You let the skein collapse instead of supporting it.
A useful mental model is to imagine the floss stored in orderly folded paths inside the skein. Your job is not to drag the whole bundle apart. Your job is to let one path slide out while the rest stay stacked. When stitchers say a skein “exploded,” what often happened is that a loop was pulled tight before it could slip back into place.
This is why beginners sometimes get conflicting advice. One person says “find the number end,” another says “pull from the shorter tail,” and another says “remove the labels first.” The exact visual cue can vary by brand or how the skein was handled in the shop, but the principle stays the same: identify the end that lets a single length feed out while the bundle stays intact.
Tie this back to your real goal. You are not just trying to remove floss. You are trying to remove a clean, usable length that you can separate into strands, thread onto a needle, and stitch with immediately. A smooth pull now prevents knots later, especially when you begin separating two or three strands from the full six.
Practical Guidance
Set up the Skein Before You Pull
Keep the paper labels on while removing your first lengths. They help the skein hold its shape. Hold the skein horizontally at the center with one hand. With the other, find the loose ends and test each gently.
If the end slides and the skein stays neat, that is your working end. If the whole bundle starts bunching, stop and try the other end.
Pull Floss Step by Step
- Find the releasing end with a gentle test pull.
- Pinch the skein lightly at the paper labels or center.
- Pull one full length slowly and steadily.
- Let the floss untwist as it comes out.
- Cut the length you need only after it is fully free.
- Return the remaining skein to shape before pulling another length.
For example, if you need 18 inches for cross stitch, do not cut first and then fight a half-freed strand. Pull the full length cleanly from the skein, then measure and cut.
If You Are Not Sure Which End Is Right
Some skeins show one loose tail tucked into an end and another more exposed tail. Sometimes the exposed tail is the one that releases; sometimes it is not, especially if the skein has been handled. The safest approach is always the same: use a light test pull and watch the bundle’s reaction.
Mistakes That Cause Knotting
Common mistakes include removing both labels too early, yanking fast, pulling multiple lengths at once, or letting the skein dangle freely. Another frequent issue is tightening a small snag into a real knot. If you feel resistance, do not pull harder.
Quick Troubleshooting
| Problem | Likely cause | What to do |
|---|---|---|
| Whole skein bunches up | Pulling from the wrong end | Stop, ease the strand back, test the other end |
| Loop forms at the far end | Pulling too fast | Pause, loosen the loop, continue slowly |
| Snarl near the label | Skein twisted or compressed | Rotate the skein gently and separate the crossed section |
| Multiple strands come out | Grabbed more than one length | Feed extras back before continuing |
| Knot already formed | Resistance was pulled tight | Loosen from the outside first; never yank the center |
If the Skein Is Already Tangled
Lay it on a flat table with good light. Find the tightest point and loosen around it instead of pulling directly on it. Work small loops backward with a needle tip or your fingers. Once freed, reshape the skein and go back to pulling one strand at a time.
Store It so It Stays Manageable
After pulling what you need, keep the labels on or transfer the floss to a bobbin or floss drop. The best storage method is the one that keeps the remaining lengths aligned and easy to identify. Good storage is really just tangle prevention for next time.
FAQ
What Should a Beginner Know First About How to Pull Embroidery Floss from a Skein Without Knotting?
Know that a skein has a correct releasing end. Do not unwrap it like yarn or pull hard from the first loose tail you see. Hold the center steady, test gently, and remove one full length at a time to keep the bundle organized.
What Matters Most When Evaluating How to Pull Embroidery Floss from a Skein Without Knotting?
The most important factors are end identification, support, and speed. If the floss slides out while the skein keeps its shape, you are doing it right. If the bundle compresses, twists, or forms loops, pause and correct before continuing.
What Mistakes Should Readers Avoid with How to Pull Embroidery Floss from a Skein Without Knotting?
Avoid taking the labels off too soon, pulling several lengths together, yanking against resistance, and letting a forming loop tighten into a knot. Most bad tangles start small, so early stopping and gentle adjustment save far more time than force.
What Is the Next Logical Step After Learning About How to Pull Embroidery Floss from a Skein Without Knotting?
Next, learn how to separate the six strands cleanly and choose a practical storage method, such as bobbins or floss drops. Once you can pull and store floss neatly, setup becomes faster and you spend more time stitching than untangling thread.