
To prepare the edges of linen and Aida for cross stitch or embroidery, first cut your fabric with enough margin around the design, then finish the raw edges before you begin stitching. The easiest durable option is a sewing machine zigzag stitch around all four sides. If you have a serger, serging gives the strongest finish. Without a machine, hand overcasting works well, especially on smaller pieces. Tape can be used for short, temporary projects, while fray-prevention liquid should be used sparingly and tested first.
The goal is simple: stop the woven threads at the edge from loosening while the fabric is handled, hooped, folded, or rolled during stitching.
Why Edge Preparation Matters Before You Stitch
Linen and Aida are woven fabrics, which means their edges are made of individual warp and weft threads. Once the fabric is cut, those raw threads can slip out, especially when you handle the fabric repeatedly.
Cross stitch and embroidery projects often take days, weeks, or months. During that time, the fabric may go in and out of a hoop, be clipped to a frame, folded into a project bag, or brushed by your hands. Even a small amount of fraying can reduce your working margin or make the edges messy and weak.
Finishing the edges before stitching is much easier than trying to repair unraveling later.
Before You Finish the Edges: Cut and Measure the Fabric Correctly
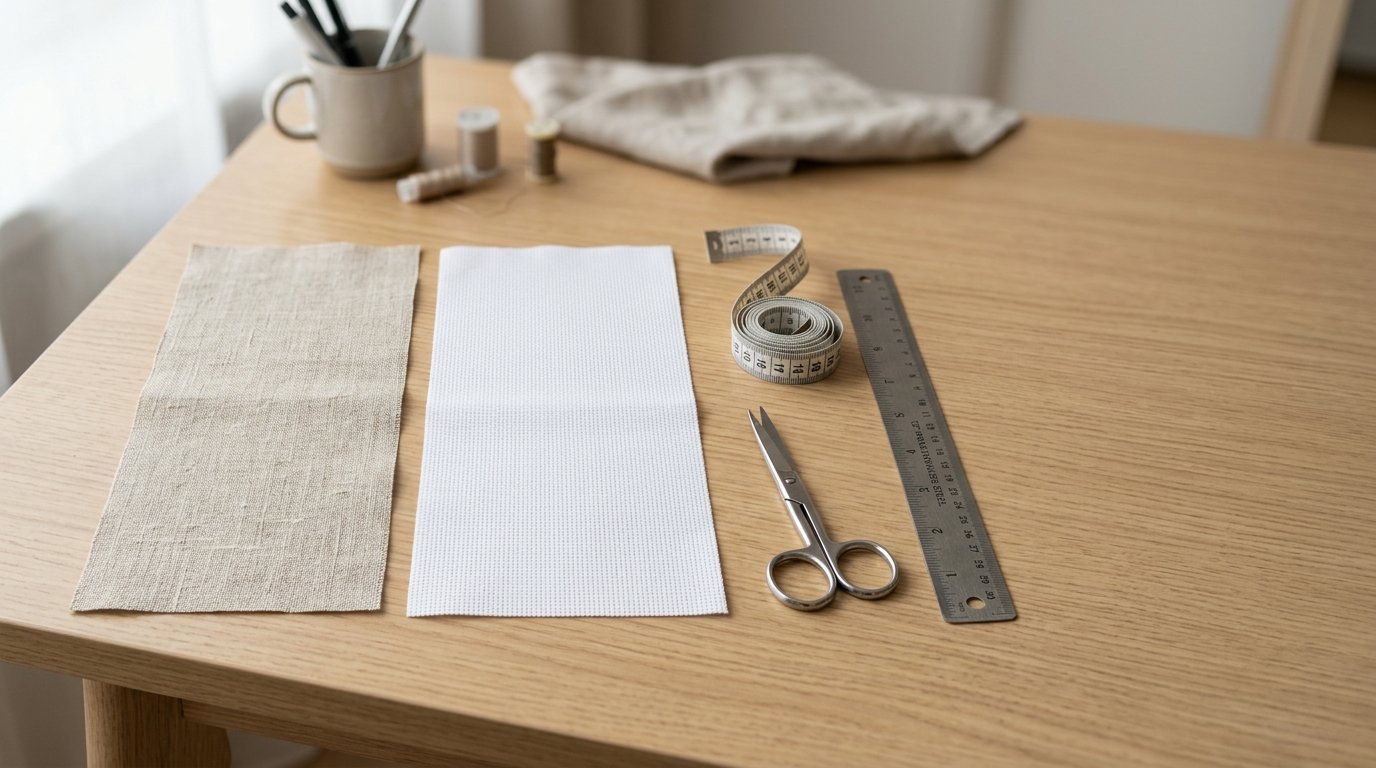
Edge preparation starts before the actual edge finish. First, confirm the design size and add enough extra fabric on all sides. For most cross stitch projects, leave at least 2 to 3 inches beyond the stitched design on each side. Larger framed pieces may need 3 inches or more.
Cut the fabric straight along the weave whenever possible. On Aida, follow the visible grid. On linen, gently pull one thread near the cutting line if you want a perfectly straight guide, then cut along that channel.
If the fabric is very wrinkled, press it before edge finishing so the sides lie flat. Avoid stretching linen out of shape. Once the fabric is cut, handle it lightly until the edges are secured.
Method 1: Finish Edges with a Sewing Machine Zigzag Stitch
A sewing machine zigzag stitch is one of the best all-purpose ways to prepare linen and Aida edges. It is quick, durable, and suitable for most medium and large projects.
Set your machine to a medium zigzag stitch. Test on a scrap if you have one, especially with linen. Stitch close to the raw edge without letting the needle fall completely off the fabric. The zigzag should wrap near the edge and hold the threads in place.
Sew around all four sides, turning carefully at the corners. Backstitch briefly at the beginning and end to secure the thread. Use a neutral sewing thread if possible, especially if your fabric is light colored.
This method is ideal for projects that will be handled often, worked in a hoop, or stored between stitching sessions.
Method 2: Serge the Edges for the Strongest Finish
If you have access to a serger, it gives a very secure edge finish. A serger trims and wraps the edge at the same time, creating a neat, professional-looking border that resists fraying extremely well.
Use this method for large projects, long-term pieces, linen that frays easily, or fabric that will be rolled on a frame. Keep the cutting blade aligned carefully so you do not remove too much of your fabric margin.
Serging is strong, but it is less forgiving than zigzag stitching because it can trim as it sews. Measure first, and do not serge too close to the design area.
Method 3: Overcast the Edges by Hand
Hand overcasting is the best no-machine method for preparing embroidery fabric edges. It takes longer, but it gives you good control and works well for smaller pieces of linen or Aida.
Thread a needle with regular sewing thread. Knot the end, then bring the needle up near the edge. Work simple diagonal stitches over the raw edge, spacing them about 1/4 inch apart. The stitches do not need to be decorative; they only need to catch the edge threads and keep them from slipping out.
Do not pull too tightly. Tight overcasting can curl or distort the fabric edge, especially on linen. Keep the fabric flat in your hand as you work.
This method is especially useful if you are traveling, do not own a machine, or want a quiet preparation step before starting a small project.
Method 4: Use Tape for a Quick Temporary Edge
Tape is a fast way to control fraying, but it is best treated as temporary. Painter’s tape, low-tack masking tape, or artist’s tape can be folded over the raw edge to cover the threads.
This method can work for short projects, practice fabric, or pieces that will not be stored for long. Press the tape gently, and avoid covering any area that may later be stitched or framed visibly.
The drawback is residue. Some tapes leave adhesive behind, dry out, or discolor fabric over time. For heirloom work, gifts, or large projects, choose stitching or serging instead.
Method 5: Use Fray-prevention Liquid Carefully
Fray-prevention liquid can seal raw fabric edges, but it must be used cautiously. It can stiffen the fabric, darken the edge, or bleed farther than expected.
If you want to use it, test first on a scrap or on a tiny corner outside your needed margin. Apply a thin line only along the raw edge. Let it dry completely before placing the fabric in a hoop, frame, or project bag.
This option is convenient for small areas, awkward corners, or quick repairs. It is not always the best choice for fine linen or heirloom embroidery.
Choosing the Best Method for Linen Vs Aida
Aida is usually more stable than linen because its grid structure is firmer, but it can still fray during handling. Linen often sheds edge threads more easily, especially if it is loosely woven or frequently moved in a hoop.
Use the project length, fabric type, and tools you have to choose the finish.
| Situation | Best edge method |
|---|---|
| Most cross stitch projects | Machine zigzag |
| Large or long-term project | Serge or zigzag |
| Small project, no machine | Hand overcast |
| Quick practice piece | Low-tack tape |
| Tiny repair or awkward spot | Fray-prevention liquid, tested first |
| Fine linen or heirloom work | Zigzag, serge, or careful hand overcast |
When in doubt, choose a sewn finish. It is cleaner, safer, and more reliable than adhesive methods.
Common Edge-preparation Mistakes to Avoid
Do not start stitching with too little fabric margin. Even perfectly finished edges cannot help if the design is too close to the border.
Avoid pulling edge stitches too tightly, because this can pucker the fabric. Do not use strong adhesive tape on valuable fabric, and do not assume fray liquid is invisible without testing it first.
Another common mistake is finishing only two sides. All raw edges can fray, so secure all four sides before the project begins.
Quick Edge-prep Workflow Before Starting a Project
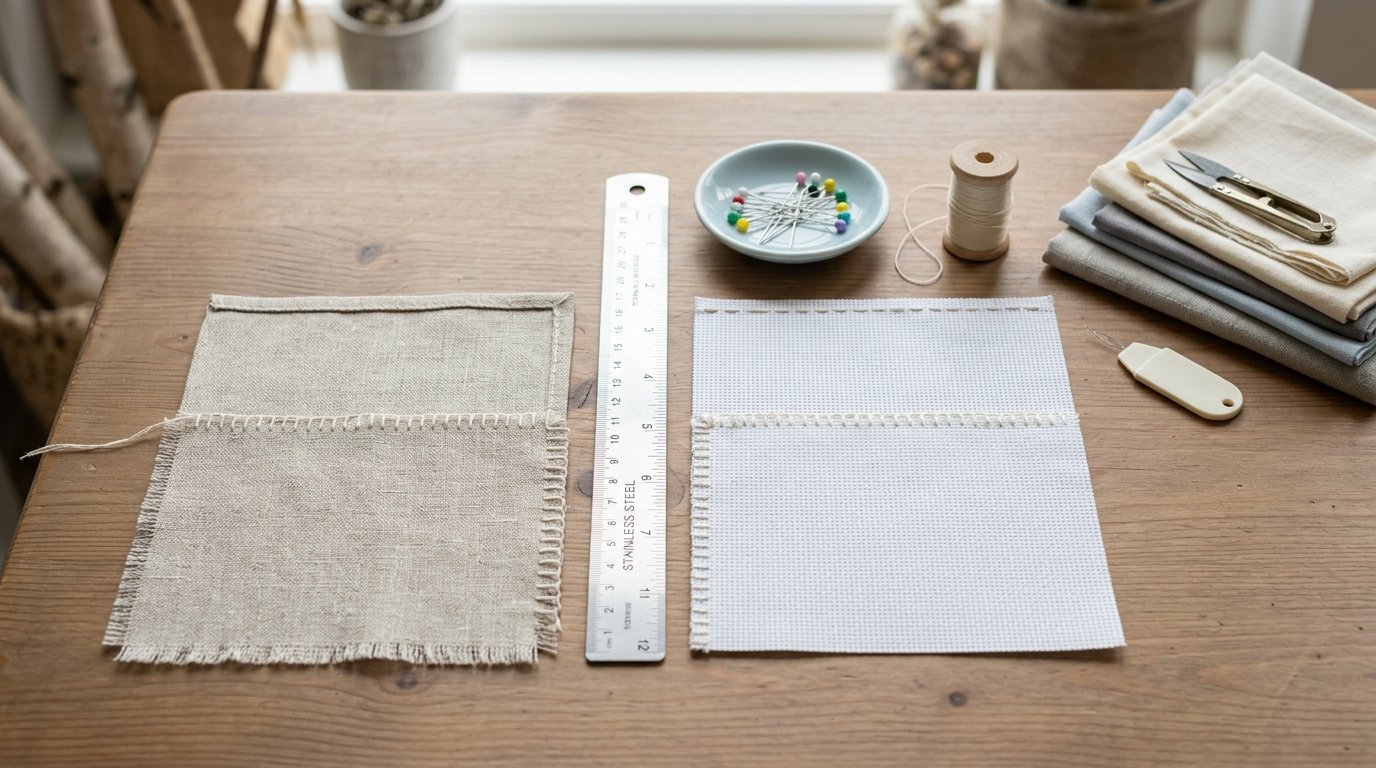
Use this simple workflow before you stitch:
- Confirm the finished design size.
- Add at least 2 to 3 inches of fabric on every side.
- Cut the fabric straight along the weave.
- Press gently if needed.
- Choose an edge finish: zigzag, serge, hand overcast, tape, or fray liquid.
- Finish all four sides.
- Check that the fabric still lies flat.
- Mark the center or starting point and begin stitching.
A few minutes of edge preparation can save a lot of frustration later.
FAQ
Do I Have to Finish the Edges of Aida Before Cross Stitch?
You do not always have to, but it is strongly recommended. Aida is fairly stable, yet the cut edges can still fray as you handle the fabric. For anything larger than a very quick practice piece, finish the edges before stitching.
What Is the Best Way to Stop Linen from Fraying?
The best general method is a sewing machine zigzag stitch around all four sides. It holds the woven threads securely without adding much bulk. For very large linen projects, serging is even stronger if you have access to a serger.
Can I Use Masking Tape on Embroidery Fabric Edges?
You can use low-tack masking tape or painter’s tape for short-term projects, but avoid it for heirloom work or fabric that will be stored a long time. Tape can leave residue, dry out, or discolor the fabric.
Should I Wash Linen or Aida Before Preparing the Edges?
Usually, do not wash before edge finishing unless the fabric or pattern instructions specifically call for it. Washing raw fabric can increase fraying. If you need to prewash, finish the edges first with a zigzag, serger, or hand overcast stitch.
How Much Extra Fabric Should I Leave Around a Cross Stitch Design?
Leave at least 2 to 3 inches on each side of the stitched design. This gives you room for hooping, framing, and edge finishing. Larger designs, professional framing, or linen projects often benefit from a wider margin.