
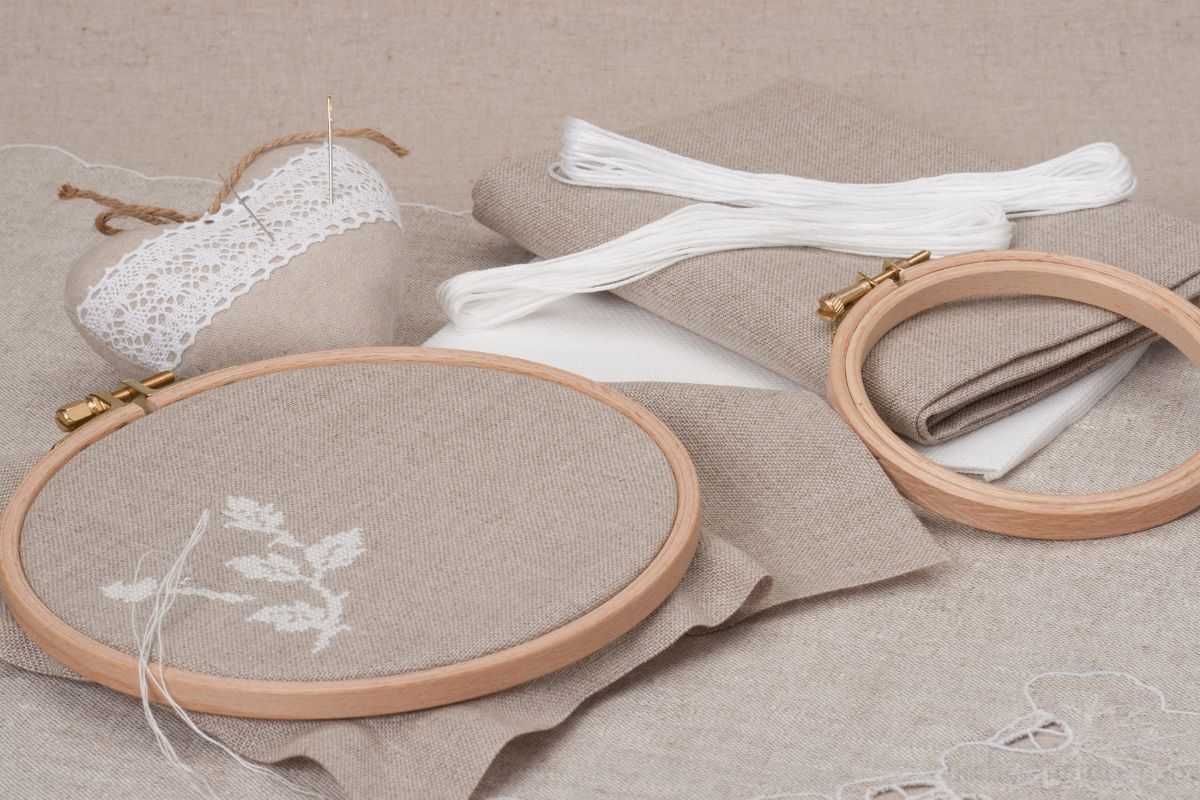
Embroidery kits are a fantastic way to introduce newcomers to the art of stitching. This guide will walk you through the process of creating your own embroidery kits, from fabric preparation to final assembly. Whether you’re a crafting enthusiast or a budding entrepreneur, you’ll find valuable insights to help you create high-quality, beginner-friendly embroidery kits.
Key Takeaways
- Fabric preparation and design transfer are crucial first steps
- Video tutorials enhance the learning experience for beginners
- Quality control ensures kit durability and user satisfaction
- Travel-friendly options cater to on-the-go crafters
- Feedback from novice embroiderers improves kit design
Introduction to Embroidery Kits
Embroidery kits are all-in-one packages that contain everything a beginner needs to start stitching. They typically include fabric with a pre-printed design, embroidery floss, needles, and instructions. These kits make it easy for newcomers to dive into the world of embroidery without feeling overwhelmed by the need to gather supplies separately.
Step-by-Step Guide: How to Make Embroidery Kits
Fabric Preparation
The first step in creating embroidery kits is preparing the fabric. This involves:
- Selecting high-quality fabric suitable for embroidery
- Cutting the fabric into appropriate sizes for each kit
- Washing and ironing the fabric to ensure a smooth surface for stitching
💡 Tip: Always cut more fabric than you think you’ll need to account for any mistakes or adjustments.
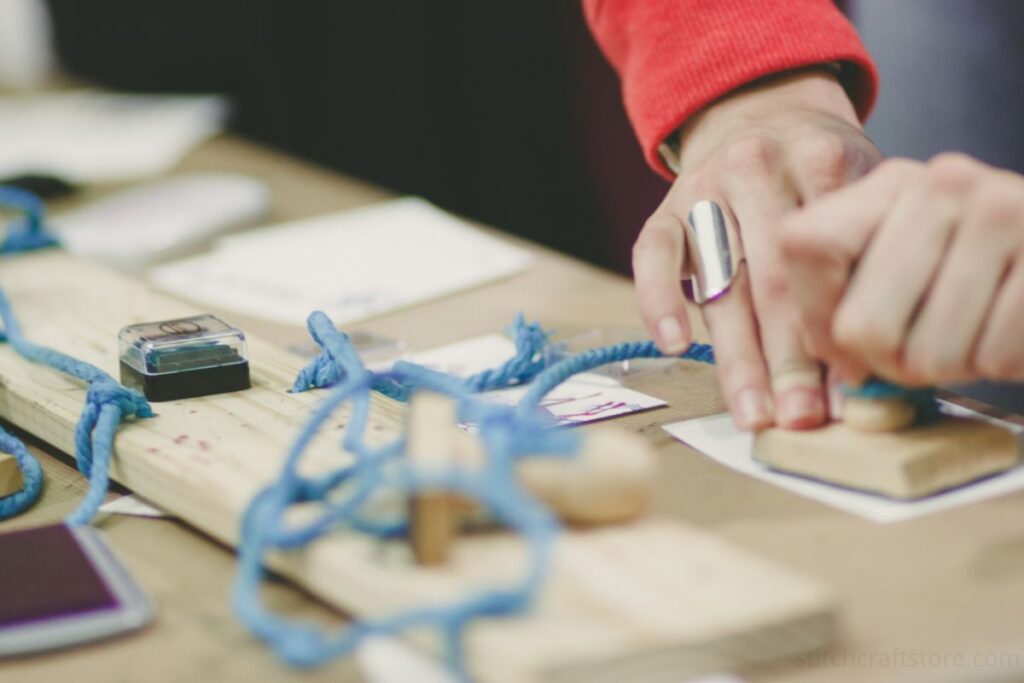
Design Transfer Using Rubber Stamps
Transferring the design onto the fabric is a crucial step. Here’s how to do it:
- Create rubber stamps of your designs
- Use heat-erasable ink to stamp the design onto the prepared fabric
- Allow the ink to dry completely before moving on to the next step
Hooping the Fabric
Hooping helps keep the fabric taut for easier stitching:
- Place the stamped fabric in an embroidery hoop
- Tighten the hoop to create tension in the fabric
- Trim any excess fabric around the edges of the hoop
Design Touch-up with Heat-Erasable Ink
After hooping, it’s time to refine the design:
- Inspect the stamped design for any flaws or faint areas
- Use a heat-erasable ink pen to touch up the design by hand
- Ensure all lines are clear and visible for easy stitching
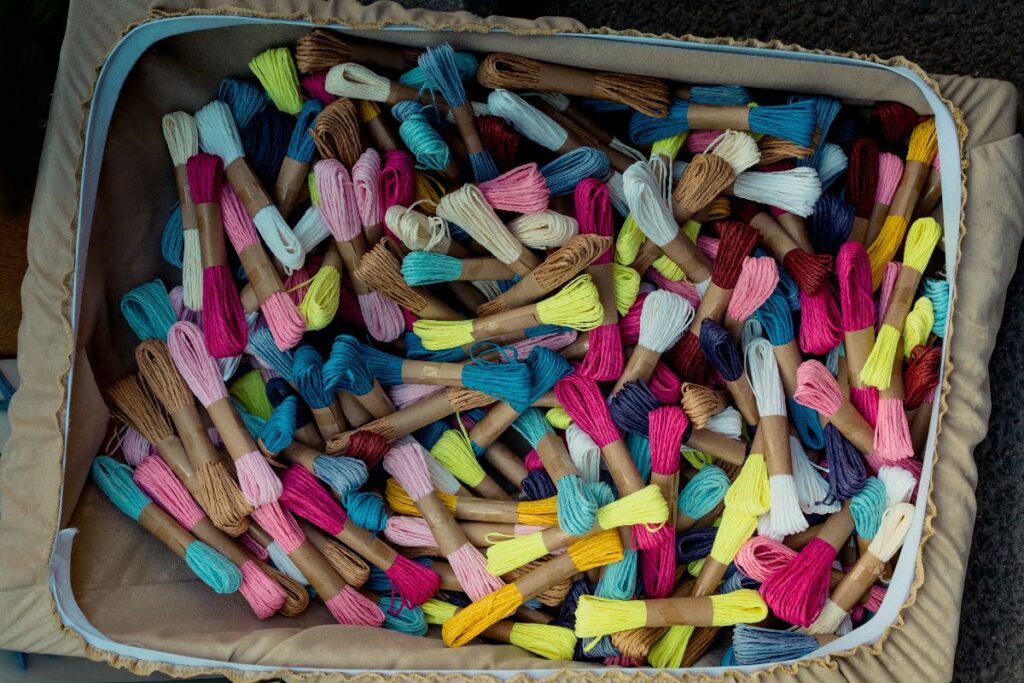
Thread Bundling
Preparing the embroidery floss is next:
- Select the appropriate colors for your design
- Cut the floss into manageable lengths
- Bundle the threads together, organizing them by color
Needle Preparation
Don’t forget the needles:
- Choose needles suitable for embroidery (typically sizes 3-9)
- Insert the needles into a piece of felt for safe storage
- Include a needle threader for beginner convenience
Kit Assembly
Finally, bring all the components together:
- Package the hooped fabric, bundled threads, and needles
- Include any additional tools like scissors or thread organizers
- Add printed instructions and a link to the video tutorial
Creating Beginner-Friendly Tutorials
Developing Step-by-Step Video Guides
Video tutorials are essential for beginners:
- Plan your tutorial content carefully
- Film each step clearly, focusing on important details
- Edit the video to include on-screen text and close-ups
Ensuring Clear Instructions for Novices
Written instructions should complement the video:
- Use simple language and avoid jargon
- Include diagrams or illustrations where helpful
- Break down complex steps into smaller, manageable tasks
Incorporating Multi-Format Instructions
Cater to different learning styles:
- Provide both written and video instructions
- Consider adding audio descriptions for accessibility
- Include a quick-start guide for experienced crafters
Essential Components of an Embroidery Kit
A well-stocked embroidery kit should include:
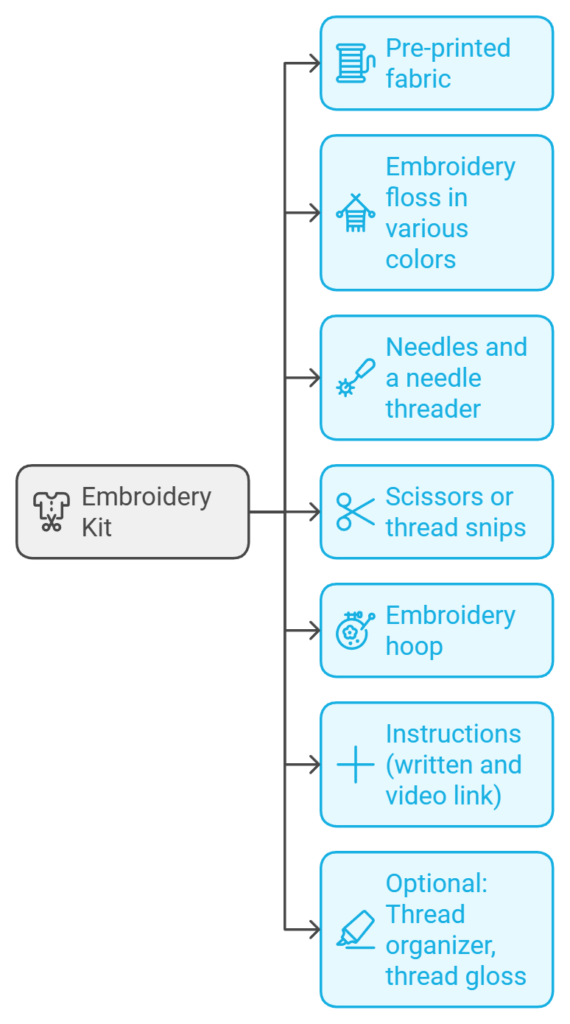
- Pre-printed fabric
- Embroidery floss in various colors
- Needles and a needle threader
- Scissors or thread snips
- Embroidery hoop
- Instructions (written and video link)
- Optional: Thread organizer, thread gloss
Advanced Design Techniques
Digitizing Designs for Embroidery
To create professional-looking designs:
- Use software like Adobe Illustrator to create digital patterns
- Set brush sizes that match typical stitch widths
- Create color swatches that correspond to available thread colors
Using Adobe Illustrator for Pattern Creation
Illustrator tips for embroidery designs:
- Use the pen tool for smooth curves
- Create separate layers for different stitch types
- Test print your design to ensure proper sizing
Setting Brush Sizes and Color Swatches
Fine-tune your digital designs:
- Match brush sizes to common stitch widths (e.g., 1-2 pt for backstitch)
- Create a custom color palette based on your thread inventory
- Use consistent line weights for a cohesive look
Alternative Transfer Methods
Using Sulky Sticky Fabri-Solvy Paper
This water-soluble stabilizer is great for intricate designs:
- Print your design onto the Fabri-Solvy paper
- Stick the paper onto your fabric
- Stitch through both layers
- Dissolve the paper with water when finished
Peel-and-Stick Designs
For a quick and easy transfer method:
- Print designs on adhesive-backed paper
- Cut out the design
- Peel and stick onto the fabric
- Remove after stitching is complete
Pros and Cons of Different Transfer Techniques
| Method | Pros | Cons |
|---|---|---|
| Rubber Stamps | Reusable, consistent | Initial cost, storage |
| Fabri-Solvy | Detailed designs, easy to use | Cost per use, water needed |
| Peel-and-Stick | Quick, no special tools needed | Single-use, potential residue |
Creating Travel-Friendly Embroidery Kits
Compact Packaging Solutions
Make your kits portable:
- Use small project bags or pouches
- Include a collapsible hoop
- Opt for travel-sized scissors or thread snips
Selecting Travel-Appropriate Tools
Choose tools that are TSA-friendly and compact:
- Wooden or plastic hoops instead of metal
- Blunt-tipped needles
- Small, foldable scissors
Organizing Threads for Portability
Keep threads tidy on the go:
- Use thread cards or bobbins
- Organize with binder rings
- Include a small thread organizer case
Quality Control and Testing
Fabric Durability Tests
Ensure your fabric can withstand stitching and washing:
- Test fabric with different needle sizes
- Check for color fastness when wet
- Wash and dry test pieces to check for shrinkage
Color Fastness and Washing Instructions
Provide care instructions for finished pieces:
- Test threads for bleeding
- Develop washing guidelines (e.g., hand wash, lay flat to dry)
- Include care instructions with each kit
Trial Runs with Novice Embroiderers
Get real-world feedback:
- Recruit beginners to test your kits
- Observe their process and note any difficulties
- Adjust your kit contents and instructions based on feedback
Business Considerations for Embroidery Kit Makers
Gathering and Implementing Customer Feedback
Continuously improve your product:
- Send follow-up surveys to customers
- Monitor social media for mentions and reviews
- Use feedback to refine kit contents and instructions
Pricing and Packaging Strategies
Price your kits competitively:
- Calculate material and labor costs
- Research competitor pricing
- Consider offering different kit sizes or complexity levels
Marketing Your Embroidery Kits
Spread the word about your kits:
- Use social media to showcase finished projects
- Offer beginner workshops to introduce your kits
- Partner with craft bloggers or influencers for reviews
Conclusion and Final Tips
Creating embroidery kits is a rewarding process that combines creativity with practicality. By focusing on quality materials, clear instructions, and user feedback, you can craft kits that inspire and delight beginners. Remember to test your kits thoroughly and always be open to improvements. Happy kit-making! 🎨🧵