
A tassel scissor fob is a small weighted ornament that hangs from the handle of embroidery scissors so they are easier to spot, easier to grab, and a little more personal. To make one, you usually gather embroidery floss or pearl cotton into a small tassel, bind the top tightly, trim the ends even, and attach it to scissors with a loop, jump ring, ribbon, or beaded connector. The best version is light enough that it does not pull awkwardly on small scissors, but substantial enough to help you find them in a project bag. Once you understand that balance, the project is quick, beginner-friendly, and easy to customize.
Quick Answer
The simplest way to make a tassel scissor fob is to wrap thread around a card, slide it off, tie one end to form the hanging loop, bind the tassel neck, cut the opposite end, trim it even, and attach it to the scissor handle. For needlework scissors, aim for a finished tassel about 2 to 3 inches long so it looks neat and stays practical.
| Item | Essential or Optional | Notes |
|---|---|---|
| Embroidery floss, pearl cotton, or fine cord | Essential | Floss is soft and easy; pearl cotton gives more body. |
| Small piece of card or ruler | Essential | Use as a wrapping guide for even length. |
| Sharp scissors | Essential | Needed for clean trimming. |
| Strong sewing thread or matching floss | Essential | For tying the top and neck securely. |
| Jump ring, lobster clasp, ribbon, or cord loop | Optional | Makes attachment easier and removable. |
| Beads or charms | Optional | Add weight and decoration, but keep them light. |
| Fray check or clear glue | Optional | Helpful for extra security at knots. |
If you want a fast, reliable result, keep the design simple: one tassel, one secure top tie, one neat attachment point.
How to Think About This Topic
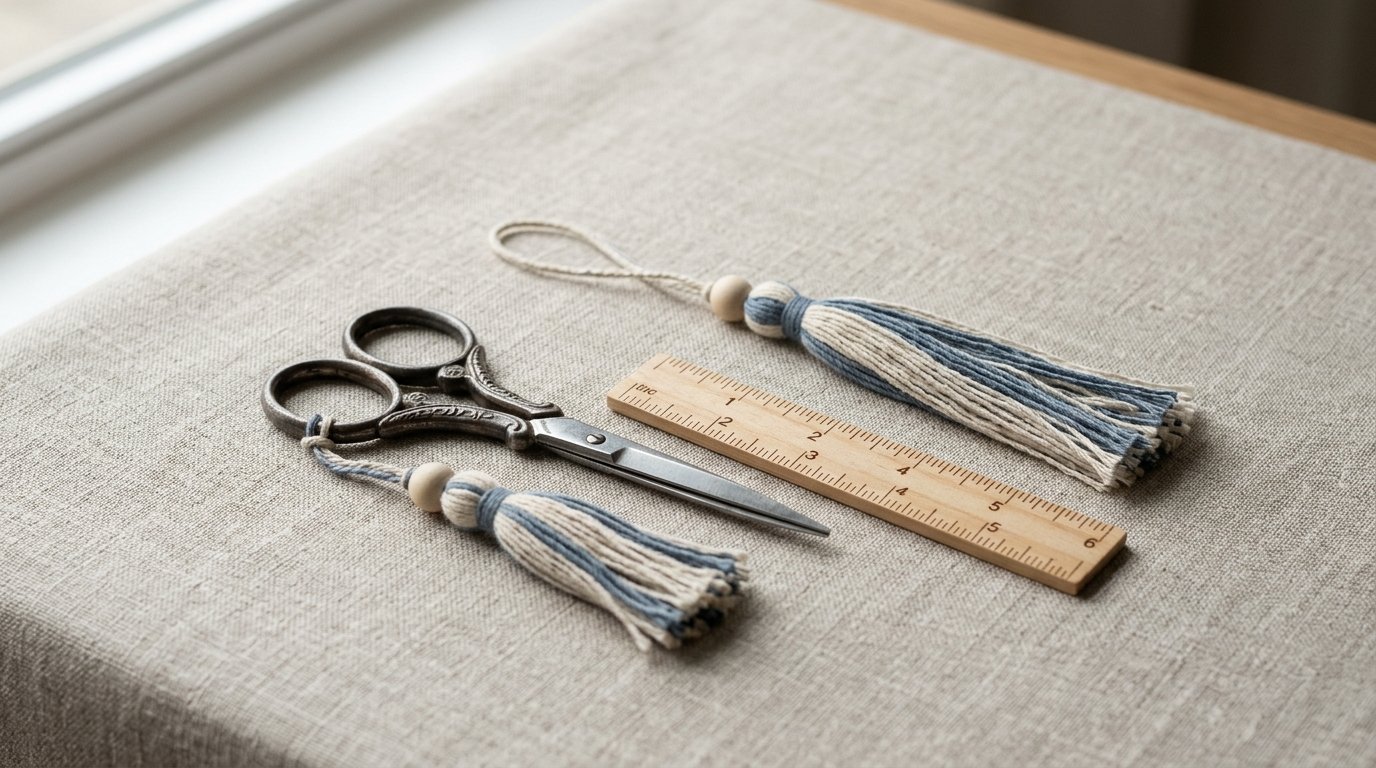
A scissor fob is not just decoration. It has three jobs: help you locate your scissors, give you something easy to grab, and stay out of the way while you stitch. That mental model makes the project easier to plan.
First, think about size. Very tiny embroidery scissors can look overwhelmed by a long, heavy tassel, while larger stork or sewing scissors can carry more visual weight. For most cross stitch or embroidery scissors, a tassel body around 2 to 2.5 inches works well. If you add beads or a connector above it, the total hanging length can be closer to 3 to 4 inches. Longer than that may tangle with fabric, zipper pulls, or thread.
Next, think about weight and flexibility. Soft thread tassels move nicely and are gentle on your scissors. Heavy metal charms or many glass beads can make the fob swing too much or pull on one finger ring. If your main goal is function, use thread as the main body and keep hard embellishments near the top.
Then think about attachment. Some scissors have large handles that can take a tied cord or narrow ribbon. Others work better with a small jump ring or clasp so the fob can be removed. If you switch fobs between tools, removable hardware is helpful. If you want a permanent, soft attachment, a floss loop tied directly to the handle is often enough.
Finally, tie this back to why you are making it. If you lose small scissors in a project bag, choose a brighter color and slightly fuller tassel. If you want a gift, match thread to the recipient’s sampler colors or add a single initial bead. Good scissor fobs are practical first, pretty second.
Practical Guidance
Choose the Right Length and Fullness
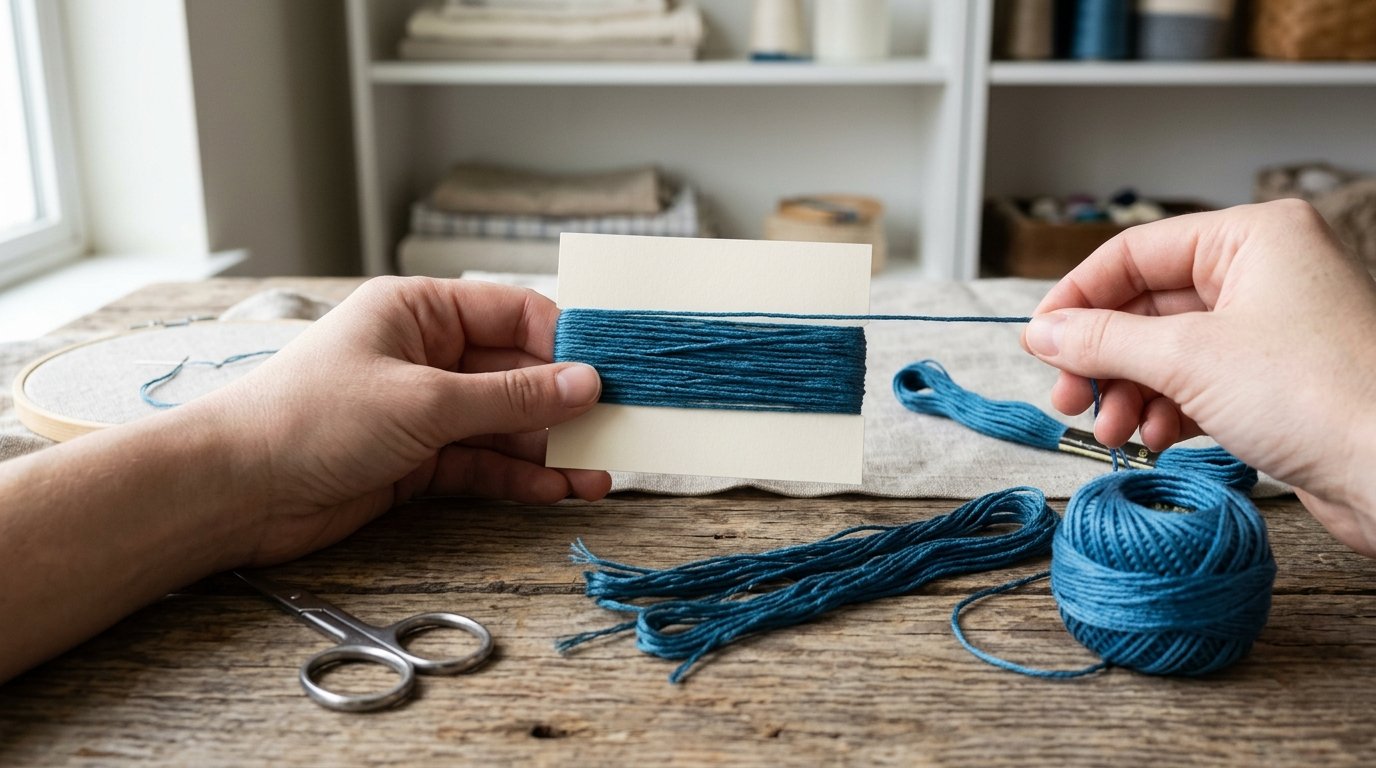
Cut a piece of card to the finished tassel length you want, or use a small ruler. Wrap your floss around it 20 to 40 times, depending on how full you want the tassel and how thick your thread is. Six-strand embroidery floss makes a softer tassel; pearl cotton gives more body with fewer wraps.
For example:
- Use 20 to 25 wraps for a small, fine tassel on tiny embroidery scissors.
- Use 30 to 40 wraps for a fuller tassel on standard needlework scissors.
- Reduce wraps if you plan to add beads at the top.
Build the Tassel Cleanly
Slide the wrapped bundle off the card carefully so it keeps its shape. Cut a separate piece of strong thread or floss, about 8 inches long, and tie one end of the bundle tightly. This tied point becomes the top of the tassel and can also form your hanging loop if you leave long ends.
Next, cut another piece of thread and wrap it around the bundle about 1/4 to 1/2 inch below the top. Tie it firmly to create the tassel neck. Double-knot it. If you want extra security, add a tiny dot of clear craft glue or fray check on the knot only.
Now cut through the folded bottom loops. Comb the strands gently with your fingers and trim across the ends until they are even. Trim a little at a time; overcutting is hard to fix.
Attach It to the Scissors
You have a few practical options:
- Direct loop: Tie a floss or cord loop through one scissor handle. Soft, simple, and light.
- Jump ring: Good if the handle opening is small and you want a neat join.
- Lobster clasp: Useful if you want to remove the fob for cleaning or swapping.
- Ribbon or narrow cord: Nice for a softer look, but knot it tightly.
Test the fob by holding and opening the scissors. It should hang freely without hitting your hand constantly.
Fix Common Problems and Personalize
If the tassel looks sparse, add more wraps next time or combine two shades of floss. If it flares out oddly at the neck, your binding point may be too loose; rewrap it tighter. If the strands separate, trim again and secure the neck knot. If the whole fob feels awkward, shorten the top connector before remaking the tassel.
For personalization, keep it simple and useful. Mix two coordinating thread colors, add one small bead above the tassel, or match the fob to a project bag or scissor sheath. A small charm is fine, but avoid anything sharp, oversized, or heavy enough to knock against delicate scissor tips.
FAQ
What Thread Works Best for a Tassel Scissor Fob?
Embroidery floss is the easiest choice because it is soft, affordable, and comes in many colors. Pearl cotton works well if you want a fuller, more polished tassel. For a sturdier fob, use a strong sewing thread or doubled floss for the tying knots.
How Long Should a Scissor Fob Be?
For most embroidery or cross stitch scissors, keep the tassel itself around 2 to 3 inches long. With the loop or connector included, a finished fob often lands around 3 to 4 inches. Long enough to spot easily, short enough to avoid tangling.
Can I Make a Scissor Fob Without Beads or Jewelry Hardware?
Yes. A basic tassel scissor fob only needs thread, something to wrap it around, and a way to tie it on. You can attach it directly with a floss loop or narrow cord, which keeps the project light, soft, and very beginner-friendly.
How Do I Stop My Tassel from Coming Apart?
Tie the top and neck tightly with strong thread, use double knots, and trim the ends neatly. If needed, add a tiny amount of fray check or clear glue to the neck knot only. Avoid soaking the tassel, since loose strands can shift over time.