
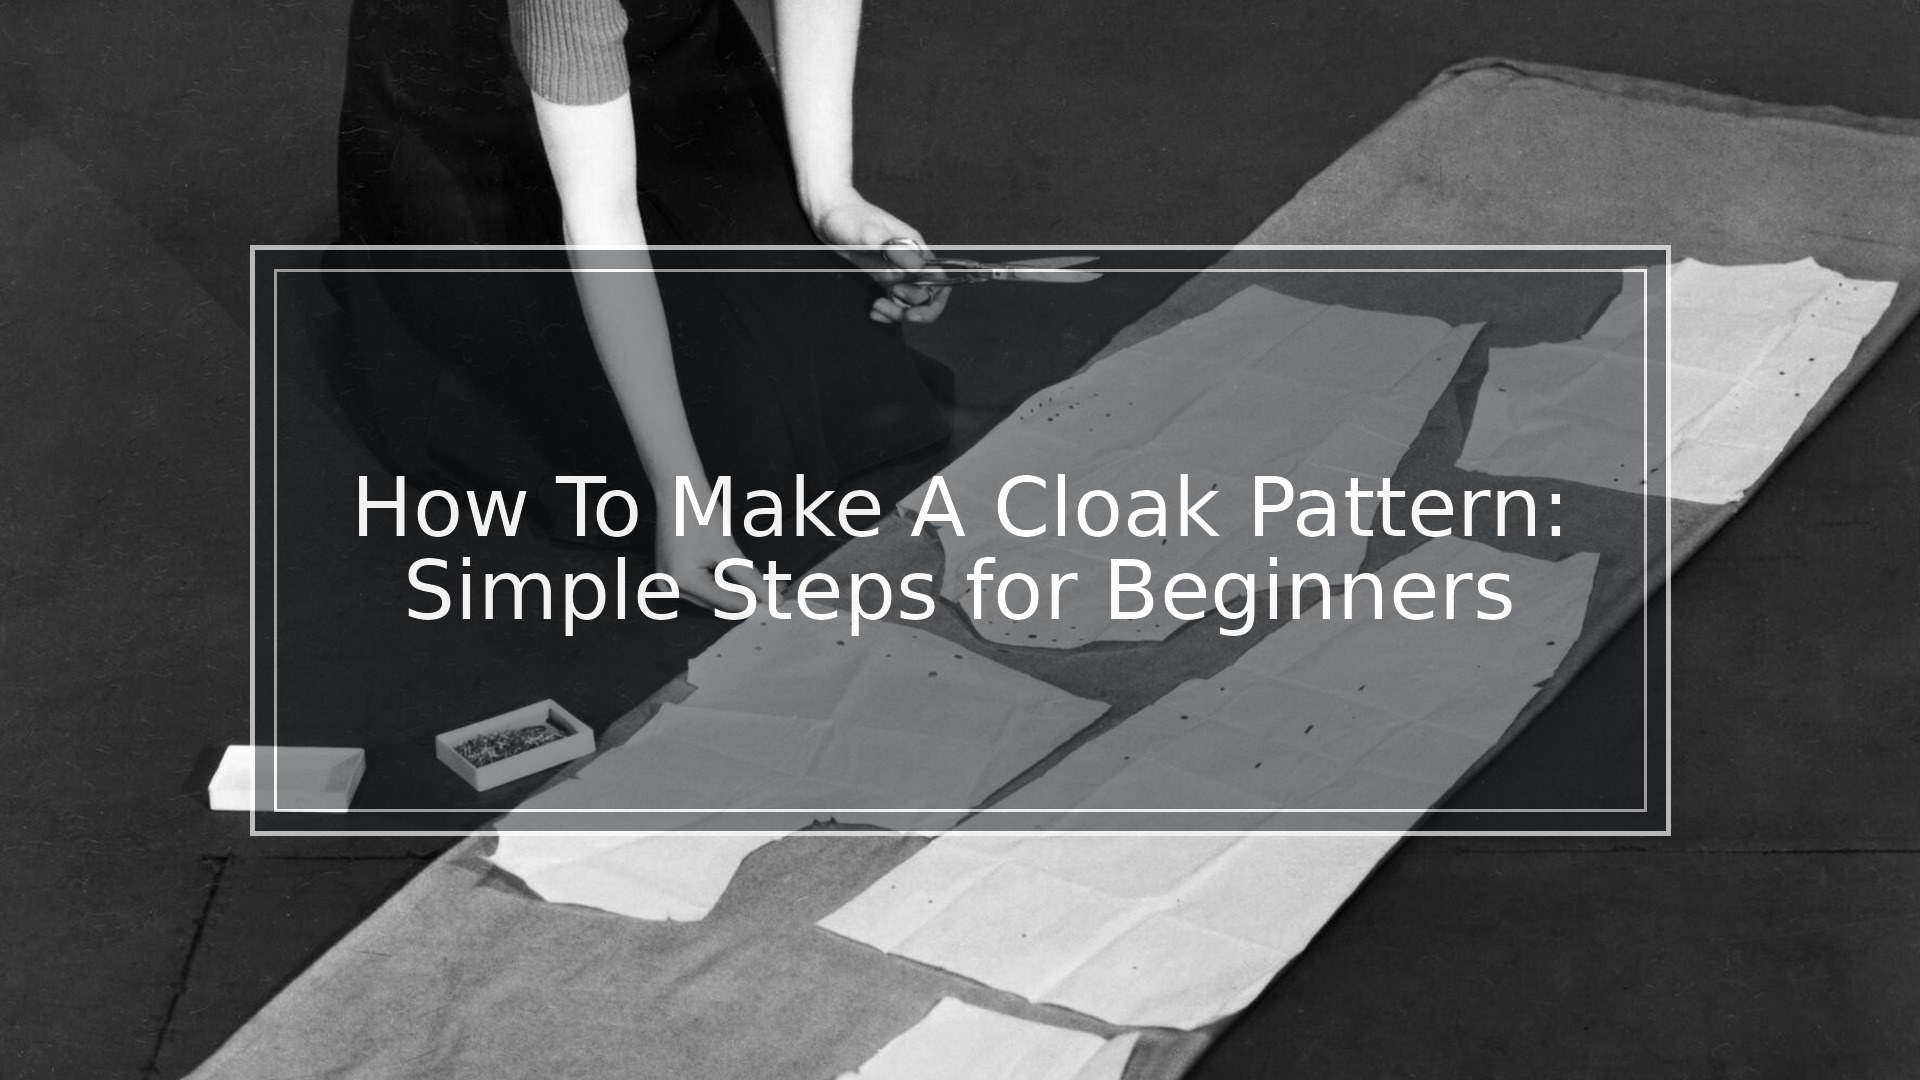
Making a cloak pattern doesn’t have to be complicated! Whether you’re planning for Halloween, cosplay, or just want something cozy to wear, a simple rectangular cloak can be sewn in under 30 minutes – even if you’re a beginner.
Creating your own cloak pattern starts with a basic measurement from your collarbone to your desired length, which will determine how much fabric you’ll need. This straightforward approach lets you customize your cloak exactly how you want it without needing fancy sewing skills or expensive materials.
With just a few simple cuts and seams, you can transform plain fabric into a magical garment that makes you feel like you’ve stepped out of a fantasy world. You can even add special touches like a hood, lining, or decorative moon phase ribbon along the edges to make your cloak uniquely yours.
Choosing the Right Fabric
Selecting the perfect fabric for your cloak can make all the difference in how it looks, feels, and functions. The right material will determine your cloak’s drape, warmth, and overall appearance.
Exploring Fabric Options
When making a cloak, you have many fabric choices to consider. Wool is a traditional and excellent option that provides warmth and natural water resistance. It drapes beautifully and creates that classic cloak look.
For a more affordable option, try broadcloth. This tightly woven cotton fabric offers a smooth finish and moderate weight that works well for lighter cloaks.
Linen creates breathable summer cloaks but wrinkles easily. For something fancy, velvet or brocade adds luxury and visual interest.
The search results suggest fleece as a comfortable modern alternative, though it’s not historically accurate for medieval styles. Some crafters also recommend tartan patterns for distinctive looks.
Determining Fabric Weight
Fabric weight directly impacts how your cloak hangs and functions. For a flowing, dramatic cloak, choose medium to heavyweight fabrics that hold their shape well.
Light fabrics work for summer or costume cloaks but won’t provide much warmth. Medium-weight materials offer a good balance between drape and warmth.
Search for fabric widths around 57-60 inches from selvage to selvage. This width ensures your fabric reaches from shoulders down to calves or ankles without needing extra seams.
Consider adding lining fabric for extra warmth and a polished look. Cotton, silk, or synthetic linings can complement your outer fabric while adding comfort against your skin.
The quality of your fabric matters too! Pick colors and materials you truly love, as a well-made cloak can last for years.
Taking Accurate Measurements
Before cutting any fabric, you’ll need precise measurements to create a cloak that fits well and hangs correctly. Good measurements will ensure your finished cloak looks professional and feels comfortable to wear.
Measuring Body Length
First, grab a measuring tape and find a friend to help you. Stand straight with your arms relaxed at your sides. Have your friend measure from your shoulder to where you want the cloak to end – ankle, calf, or knee length are common choices.
Next, measure from your shoulder to your sternum (about 8 inches for most adults). This measurement is crucial for the neck area of your cloak.
Don’t forget to measure from your shoulder to your neck. Add about 3 inches to both your length and neck measurements to allow for hemming.
For a hooded cloak, measure around your head where the hood will sit. Make sure it’s loose enough to be comfortable but not so loose that it falls off.
Calculating Fabric Width
The width of your cloak determines how full and dramatic it will look. For a half-circle cloak, measure your shoulder width and multiply by 2.
For a fuller cloak, measure around your outstretched arms in a T-pose. This gives you the minimum width needed for movement.
Remember to add extra width if you plan to wear bulky clothing underneath your cloak. About 6-10 inches of extra width is usually sufficient.
For fabric requirements, multiply your width by your length measurements. Then add 10-15% extra for hemming, mistakes, and pattern matching if your fabric has a design.
Use a string to test the drape around your shoulders before cutting your fabric. This helps you visualize how the finished cloak will hang.
Designing the Pattern
Creating your own cloak pattern is easier than you might think! The right design will ensure your finished cloak hangs properly and fits just how you want it.
Drafting the Cloak Shape
Start with the basic shape of your cloak. For beginners, a rectangular cloak is the simplest option. Take your height measurement and add 4-6 inches for the length. For width, measure from wrist to wrist with your arms outstretched, then add 10-12 inches for movement.
Draw your pattern on large paper or newspaper. You can create a half-pattern if your fabric will be folded. For a more dramatic look, consider a semicircle or full circle design. These designs use more fabric but create beautiful draping.
Don’t forget to add seam allowances! A 5/8 inch allowance works well for most cloak projects. Mark where you’ll attach closures like buttons or ties.
Creating a Hood Pattern
A hood adds both style and function to your cloak. For a basic hood, measure from the center back of your neck, over your head, to your forehead. Add 2 inches for comfort.
Draw a rectangle with this measurement as the length. Make the width about 15 inches for an adult. Curve the top corners slightly for a better fit around your head.
For a more dramatic pointed hood, extend the back point by 4-6 inches. You can also create a lined hood for extra warmth by making two identical pieces.
Test your hood pattern with scrap fabric before cutting your final material. This lets you adjust the fit and shape to frame your face perfectly. Remember that different fabrics will drape differently!
Cutting the Fabric
Once you have your pattern ready, it’s time to prepare your fabric for cutting. This step requires careful attention to detail to ensure your cloak turns out just right.
Outlining the Cutting Lines
Position your fabric on a large, flat surface like a floor or large table. Smooth out any wrinkles or folds before you begin. For rectangular cloaks, fold your fabric in half to create symmetry. If you’re using a pattern, pin it securely to your fabric to prevent shifting.
Use tailor’s chalk or washable fabric markers to trace your pattern onto the fabric. These marks will wash out later. Make sure to add seam allowances (usually ½ inch to 1 inch) around all edges that will be sewn.
For a beginner-friendly approach, you can simply measure and mark a large rectangle or semi-circle directly onto your fabric. Remember that most cloaks require between 2-4 yards of fabric depending on your height and desired length.
Ensuring Clean Edges
Before cutting, double-check all your measurements and markings. It’s better to measure twice and cut once! Use sharp fabric scissors to cut along your marked lines. Dull scissors can damage your fabric and create jagged edges.
Cut with long, smooth strokes rather than small, choppy ones to create cleaner edges. Hold the fabric taut as you cut to prevent bunching and inaccuracies.
If you’re working with delicate or slippery fabrics, consider using pattern weights and rotary cutters for more precise cuts. For wool and heavier fabrics, good quality fabric scissors work best.
After cutting, handle your fabric pieces carefully to avoid stretching or distorting the shapes before sewing. Keeping your edges clean now will make hemming and finishing much easier later.
Assembling the Basic Cloak Structure
Now that you have your pattern pieces cut out, it’s time to bring your cloak to life! The assembly process is straightforward and perfect for beginners.
Joining the Fabric Sections
Start by laying out all your fabric pieces on a clean, flat surface. If your cloak has multiple panels, pin them together along the edges with right sides facing each other. This helps prevent shifting while sewing.
Using your sewing machine, stitch the panels together with a straight stitch about 1/2 inch from the edge. A medium stitch length works best for most fabrics. If you’re working with a heavy material, consider using a stronger needle.
Press all seams open with an iron to create a flat, professional finish. This step might seem small, but it makes a huge difference in how your cloak hangs.
For curved seams, clip small notches into the seam allowance to help the fabric lay flat when turned right side out.
Attaching the Hood
If your cloak includes a hood, this is where your project really takes shape! Fold your hood piece in half (right sides together) and sew along the curved top edge.
Turn the hood right side out and press the seam flat. Then, pin the bottom edge of your hood to the neckline of your cloak with right sides together.
Match the center of your hood to the center back of your cloak neckline. This ensures even distribution around the neck.
Sew the hood to the cloak using a 1/2 inch seam allowance. Go slowly around curves for the best results. If your fabric is thick, you might need to hand-crank your sewing machine in tricky spots.
Finish the raw edge with a zigzag stitch or serger to prevent fraying. Your cloak is now taking its final form!
Constructing the Cloak’s Hem
The hem is what gives your cloak a professional finish and prevents fraying. A well-constructed hem can add weight to your cloak, helping it to drape beautifully while also protecting the fabric edges.
Creating a Clean Hemline
First, decide on your preferred hem length. Lay your cloak flat on the floor and measure from the neckline to ensure even length all around.
Use chalk or pins to mark where you want your hem to fall. For a high-low hem (shorter in front, longer in back), mark different lengths accordingly.
Trim any excess fabric if needed, leaving about 1-2 inches of extra fabric for the hem allowance. Try to cut in smooth, continuous motions to avoid jagged edges.
For curved edges, you might need to clip small notches in the seam allowance. This helps the fabric lay flat when folded. Be careful not to cut too close to where your stitches will be!
Hemming Techniques
Double-fold hem: This is perfect for most cloaks. Fold the edge over ¼ inch, press with an iron, then fold again ½-1 inch and press. Pin in place and sew close to the inner fold. This technique works great on the side edges (the 60-inch width mentioned in the search results).
Fabric glue option: If you’re not comfortable with sewing, fabric glue can work for lightweight fabrics. Apply a thin line of glue to the first fold, press, then repeat for the second fold.
Decorative hem: Add personality with a contrasting thread color or decorative stitch. You could even add small weights inside the hem to improve how your cloak hangs.
Remember to test your hemming technique on a scrap piece of fabric first!
Finishing the Neckline and Front Opening
The neckline and front edges of your cloak determine both its appearance and functionality. These areas need special attention to ensure your cloak hangs properly and stays secure while wearing.
Customizing the Neckline Fit
Start by trying on your cloak to check how the neckline sits. If it’s too loose, pinch and pin the excess fabric at the shoulders or center back. For a more contoured fit, use small darts at the shoulders.
Finish the raw edge with bias tape for a clean look. Fold the tape over the edge and pin it in place. You can hand sew this for more control or use your sewing machine with a straight stitch about 1/8 inch from the inner edge of the tape.
For hooded cloaks, make sure the neckline transitions smoothly into the hood. You might need to ease in fullness with gathering stitches where they meet.
Quick Tip: Use a facing for a professional finish! Cut a strip of fabric following your neckline shape, about 2-3 inches wide.
Securing the Front Edges
Your cloak’s front opening needs proper finishing to prevent fraying and add structure. Turn under the edges by 1/2 inch, then another 1/2 inch to create a clean hem. Press with an iron and stitch close to the inner fold.
For closures, you have several options:
- A simple button and loop
- Decorative clasps or brooches
- Ribbon ties (place them about 3-4 inches down from the neckline)
- Hidden snaps for a seamless look
If you want your cloak to close completely, overlap the front edges by about 2-3 inches when designing your pattern. This prevents gaps when the cloak is fastened.
For added weight and stability, consider sewing a strip of twill tape or lightweight interfacing along the inside of each front edge before hemming.
Adding Closures and Embellishments
Once your cloak’s main body is complete, it’s time to add functional closures and personal touches. The right fasteners will make your cloak practical to wear, while embellishments can transform a simple design into something truly special.
Selecting Appropriate Clasps
Clasps are perfect for creating a secure closure while adding visual interest to your cloak. Metal clasps with medieval or Celtic designs work wonderfully for fantasy-inspired cloaks. You can find these at craft stores or online specialty shops.
For a vintage look, try toggle closures or frog fasteners that loop around decorative buttons. These add an elegant touch and are surprisingly functional.
When selecting clasps, consider the weight of your fabric. Heavier fabrics like wool need sturdy metal clasps, while lighter materials might work better with small hook-and-eye closures.
Place your clasps about 3-4 inches from the neckline for comfort. Test the placement before permanently attaching them to make sure your cloak hangs properly when fastened.
Attaching Buttons
Buttons offer both functionality and style for your cloak. For a beginner-friendly option, try self-fabric button closures as mentioned in the search results. These look seamless and professional!
To attach buttons, mark their positions along the opening of your cloak. Space them 3-4 inches apart for good coverage. Use a thimble to push the needle through thicker fabrics without hurting your fingers.
Button loops can be made from thin fabric strips, braided embroidery floss, or purchased cord. Cut them slightly smaller than needed as they’ll stretch with use.
Velcro is another option for a quick, easy closure, especially for kids’ cloaks. Just glue or sew small squares at the top of your cloak opening as mentioned in the search results.
Personalizing with Embroidery
Embroidery transforms a simple cloak into something uniquely yours. Start with basic stitches like running stitch, chain stitch, or French knots along the hem or hood.
For beginners, try iron-on embroidery patterns or use washable fabric markers to draw your design first. Nature motifs like leaves, stars, or simple geometric patterns work beautifully on cloaks.
Consider the fabric color when choosing embroidery thread. High contrast creates bold statements, while similar tones create subtle, elegant details.
Embroidery looks stunning along edges, around the hood, or as a decorative border. Keep designs symmetrical for a balanced look, or create a focal point on one side for dramatic effect.
Don’t forget about beadwork! Adding small beads to your embroidery catches the light beautifully when you move, creating a magical effect perfect for fantasy-inspired cloaks.
Lining Your Cloak
Adding a lining to your cloak makes it warmer and gives it a more professional finish. A good lining also helps the cloak hang better and protects your skin from rough outer fabrics.
Choosing a Lining Fabric
When selecting a lining fabric, consider both function and comfort. Satin or silk creates a smooth surface that slides easily over clothing. These fabrics feel luxurious but can be slippery to work with.
For warmth, try flannel or lightweight fleece. These cozy options add insulation without too much bulk.
Cotton is another good choice—it’s breathable and easy to sew. For a budget-friendly option, look for anti-static lining fabrics at your local fabric store.
The lining color can match your outer fabric or provide a fun contrast when the cloak moves. Remember to pre-wash your lining fabric to prevent shrinkage later.
Assembling the Lined Cloak
Start by cutting your lining pieces using the same pattern as your outer fabric. For “flatlining,” pin or baste the lining to the main fabric pieces and treat them as one layer when sewing.
For a traditional lined cloak, sew the outer cloak and lining separately. Then place them right sides together, sew along the bottom edge and up the front openings. Leave a small gap for turning.
Turn the cloak right side out through the gap and press the edges flat. Close the gap with slip stitching or topstitching.
For the hood, sew the lining to the outer hood along the face opening, then attach this assembled hood to the cloak body.
Care and Maintenance Tips
Taking care of your cloak will help it last for years to come. Different fabrics need different care, so always check the fabric guidelines first.
For wool cloaks, gentle hand washing is best. Wool can shrink or felt if washed incorrectly, so be extra careful.
Cotton and linen cloaks are more forgiving. You can usually machine wash these fabrics on a gentle cycle with cold water.
Storage Tips:
- Hang your cloak on a sturdy hanger to prevent wrinkles
- Store in a cool, dry place to prevent mold
- Use a garment bag to protect from dust
- Add cedar blocks to deter moths (especially for wool)
Spot clean small stains quickly before they set. For velvet or delicate fabrics, consider professional cleaning rather than washing at home.
If your cloak has metal clasps or decorative elements, polish them occasionally to maintain their shine. Remove them before washing if possible.
Air out your cloak regularly, especially after wearing it in damp weather. This prevents musty smells from developing.
For hooded cloaks, stuff the hood with acid-free tissue paper during storage to help it keep its shape. This prevents awkward creases that can be hard to remove later.
Styling Your Cloak
Once you’ve created your cloak, styling it is the fun part! The right accessories and wearing techniques can transform your cloak from a simple garment into a statement piece.
Wearing a Short Capelet
A capelet is a shorter version of a cloak that typically ends at or above the elbow. These mini-cloaks are versatile and perfect for adding drama without overwhelming your outfit.
Try wearing your capelet slightly off-center for an asymmetrical look. This creates visual interest and shows off more of your outfit underneath.
For a formal event, position your capelet evenly on both shoulders and secure with a decorative brooch or pin at the center of your collarbone.
Capelets pair beautifully with both casual and dressy outfits. For everyday wear, try it with jeans and a simple top. For evening events, layer it over a dress or formal outfit.
You can also experiment with different heights. Some capelets look best sitting high on the shoulders, while others create a dramatic effect when positioned lower.
Accessorizing a Long Cloak
Long cloaks make a bold statement and offer many styling possibilities. The right accessories can enhance their dramatic effect while adding personal flair.
Belts are perfect for cinching your cloak at the waist. Choose a wide leather belt for a medieval look or a thin, decorative one for a more modern style. This creates shape and prevents your cloak from overwhelming your figure.
Brooches and pins aren’t just functional—they’re decorative too! Use them at the neckline to secure your cloak while adding a personal touch. Vintage brooches, nature-inspired pins, or geometric clasps all create different vibes.
Consider adding a hood liner in a contrasting fabric or color. This creates a striking effect when the hood is up or folded back.
Arm slits can be highlighted with decorative trim or buttons. This practical feature becomes a design element while allowing easy access to pockets.