
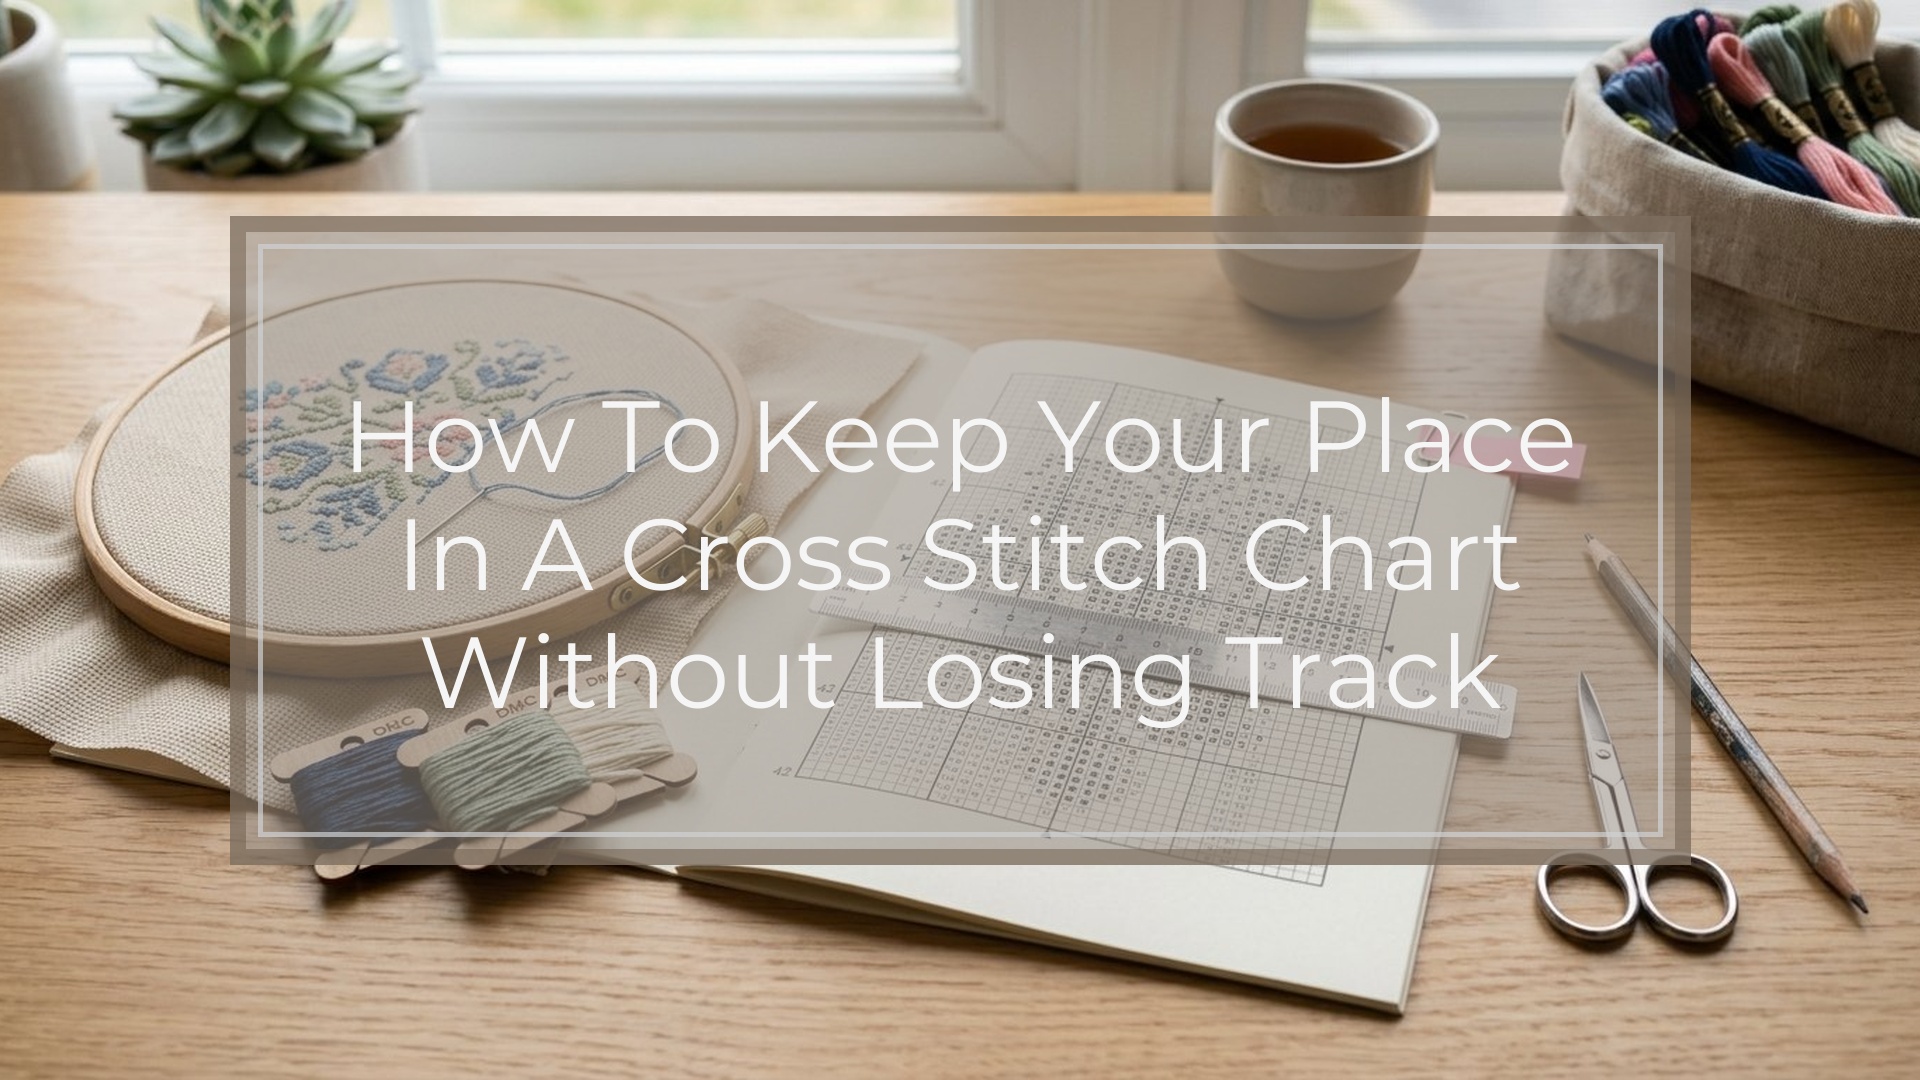
The easiest way to keep your place in a cross stitch chart is to use one clear reference point and one tracking method at the same time. Start by finding the chart center or a marked grid line on both the chart and fabric. Then follow each row with a tool that suits your chart style, such as a magnetic line guide, sticky note, ruler, highlighted stitches, or a digital app marker. Count in small groups instead of long jumps, pause often to confirm your last completed stitch, and mark progress as you go. Good chart tracking is less about perfect memory and more about giving your eyes a dependable path to follow.
Why It’s so Easy to Lose Your Place in a Cross Stitch Chart
Losing your place usually happens because you are tracking three things at once: your position on the paper or screen, your position on the fabric, and the symbol you are stitching. If any one of those slips, the others can follow.
Cross stitch charts are especially easy to misread when symbols are similar, color changes are frequent, or the design has long counting gaps. Even experienced stitchers can drift a row too high or one block too far left.
A helpful mental model is this: your chart place is not one point, but a relationship between chart, fabric, and current stitch. The more clearly you anchor that relationship, the fewer mistakes you make.
Start with a Reliable Reference Point Before You Stitch
Before the first stitch, decide what your main anchor will be. For most patterns, that is the center point or a clearly marked 10-by-10 grid intersection. Match that point on the chart to the same point on your fabric.
If you grid your fabric, even with a few temporary guide lines, keeping your place becomes much easier because your chart and fabric are speaking the same visual language. If you do not want to full-grid, mark at least the center lines or a few major blocks around your starting area.
It also helps to identify your first working zone before threading the needle. Instead of thinking, “I’m starting somewhere near the middle,” think, “I’m stitching the top-left quarter of the center block.” That smaller, precise reference reduces wandering right away.
Best Ways to Keep Your Place While Reading the Chart
The best method is the one you will actually use every few minutes, not just at the start of a project. Most stitchers do well with one physical guide and one marking habit.
Here are some practical options:
| Method | Best for | Main benefit | Watch for |
|---|---|---|---|
| Magnetic line guide | Paper charts on a board | Keeps your eye on the current row | Can slip if moved often |
| Sticky note or index tab | Printed charts | Cheap and quick to reposition | May cover nearby symbols |
| Clear ruler | Dense charts | Lets you see the line above and below | Easy to set down and forget |
| Highlighter or pencil marks | Printed charts you can write on | Shows completed areas clearly | Hard to undo if you mark too early |
| Digital chart marker | Tablet or app users | Fast scrolling and exact progress marking | Needs zoom discipline |
| Needle minder plus “last stitch” note | Parking or multi-color work | Helps reconnect chart to fabric | Not enough alone for complex charts |
A simple setup is to place a guide under the current row and highlight only after stitches are complete. Another good approach is to box off small stitched sections, such as one 10-by-10 square at a time.
Try not to rely on memory alone, especially if you stop and restart often. If you stand up mid-row, leave yourself a visible clue about the exact symbol or stitch where you paused.
How to Count Without Constantly Losing Track
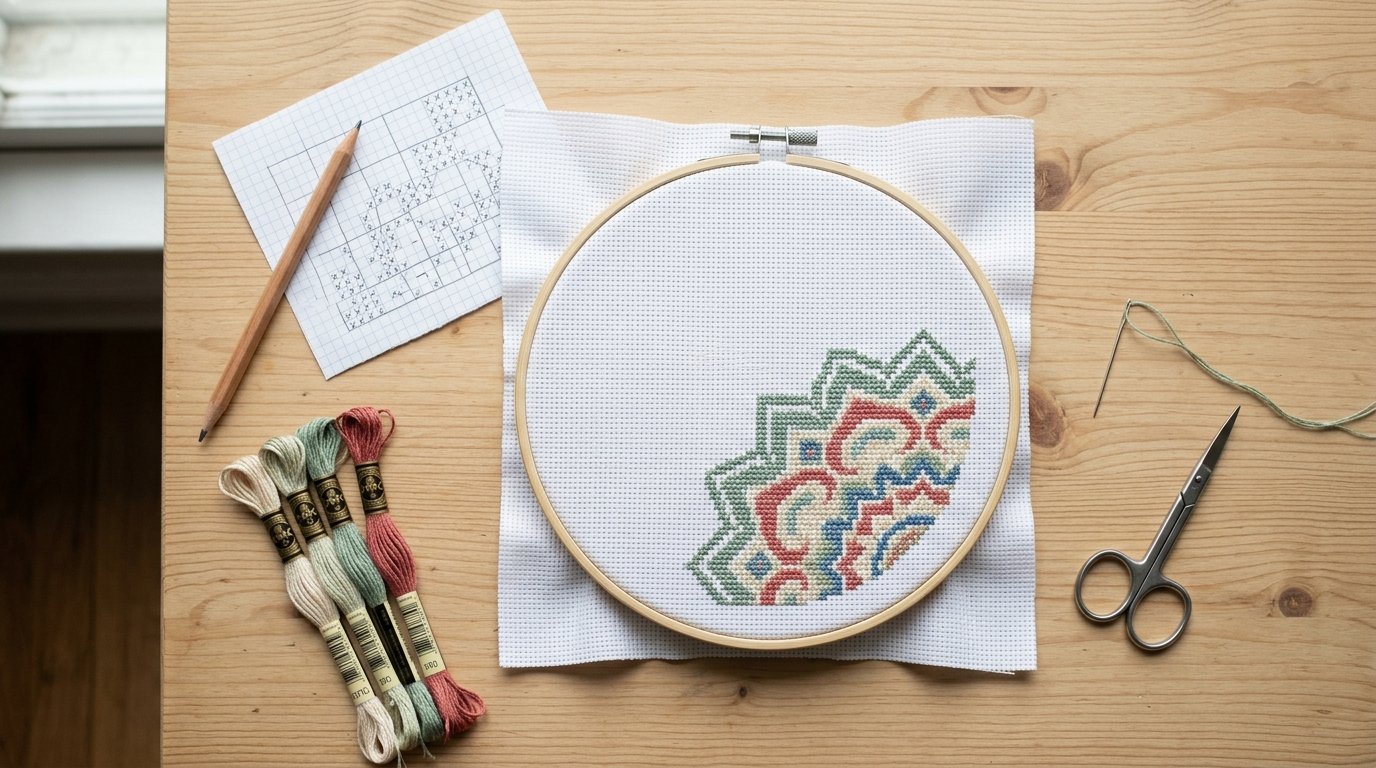
Long counts create many chart errors, so make your counting smaller and more physical. Count in groups of two, three, five, or ten instead of trying to hold a long number in your head. If the chart shows seven stitches to the next motif, count five first, then two.
Use the grid whenever possible. Counting from one grid line to the next is easier than counting across an open area with no landmarks. On ungridded fabric, some stitchers lightly touch the holes with the needle tip while counting to avoid skipping a space.
Also, count twice before a long jump and once after placing the first confirming stitch. That quick double-check is faster than unpicking a mistake later.
Match Your Method to the Type of Chart You’re Using
Different charts need different tracking habits.
For printed charts, a magnetic board, ruler, or sticky note usually works best because it creates a firm visual line. For digital charts, zoom in enough to read symbols clearly, but not so far that you lose surrounding context.
For full-coverage designs, gridding and marking completed sections matter more because there are fewer open spaces to orient yourself. For simpler patterns with larger color blocks, you may only need a row guide and light highlighting.
Multi-page charts need extra planning. Mark page joins clearly and note where the design continues before you reach the edge.
Common Mistakes That Make You Lose Your Place
One common mistake is marking stitches before they are fully completed. That creates false progress on the chart. Another is counting from the wrong stitched area because it is nearby, not because it is confirmed.
Many stitchers also move their chart guide too soon, especially in a busy row with symbol changes. And when symbols look alike, poor lighting can turn a readable chart into a guessing game.
Quick fix: slow down at transitions, not everywhere. Most place-keeping errors happen when changing rows, pages, or color blocks.
What to Do If You Lose Your Place Mid-project
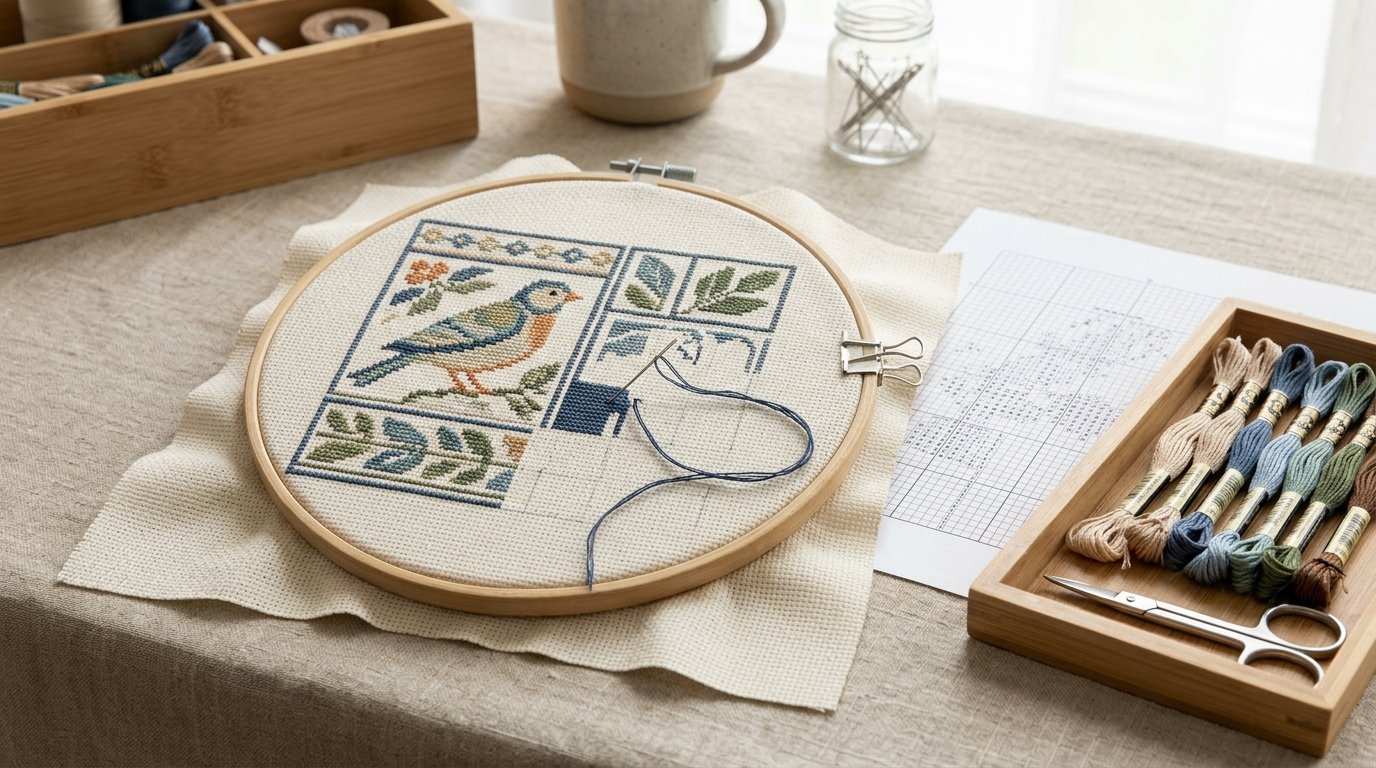
First, stop stitching. Guessing usually spreads the problem.
Go back to the last point you know is correct, such as a completed motif, a grid intersection, or a clearly counted color block. Then compare that stitched area to the chart and work outward one small section at a time.
If needed, count horizontally and vertically from that confirmed point to your current location. Check both directions, not just one. If the mistake still is not obvious, look for a “signature” shape in the design, such as a corner, line, or isolated symbol cluster.
Only unpick after you know where the mismatch starts. That keeps the repair small and controlled.
A Simple Routine That Makes Chart Tracking Easier Every Session
Use the same short routine every time you sit down to stitch:
- Confirm your last completed stitch.
- Set your row guide or digital marker.
- Identify the next small target area.
- Count the path before stitching.
- Mark progress only after completion.
- Recheck your position before stopping.
This routine takes less than a minute, but it prevents the “Where was I?” feeling that causes many chart mistakes. Consistency is what turns chart reading from stressful to automatic.
FAQ
What Is the Easiest Way to Keep Your Place in a Cross Stitch Chart?
The easiest method is to pair a visual guide with progress marking. Use a magnetic line guide, sticky note, or ruler to hold your row, then highlight or mark only the stitches you have actually finished. That gives you both current position and completed progress.
Should You Highlight a Cross Stitch Chart Before or After Stitching?
Usually after stitching is safer. Marking completed stitches prevents you from thinking a section is done when it is not. Some stitchers lightly pre-mark small working areas, but the actual completion mark should come only after the stitches are in place.
How Do You Keep Your Place on a Multi-page Cross Stitch Chart?
Mark page edges, overlaps, and continuation points before you reach them. It helps to note the row or grid block where the next page begins. On digital charts, use bookmarks if available. On paper, add tabs so transitions are quick and visible.
Do Digital Cross Stitch Chart Apps Make It Easier to Avoid Mistakes?
They can, especially for zooming, marking progress, and tracking across large charts. They work best when you keep a sensible zoom level and mark carefully. An app helps with visibility and organization, but it does not replace counting habits or a good reference point.
What Should You Do If Your Stitching No Longer Matches the Chart?
Pause and return to the last area you know is correct. Recount from that point in both directions and compare the stitched shapes to the chart. Find where the mismatch begins before removing anything. Controlled checking usually saves more work than immediate unpicking.