
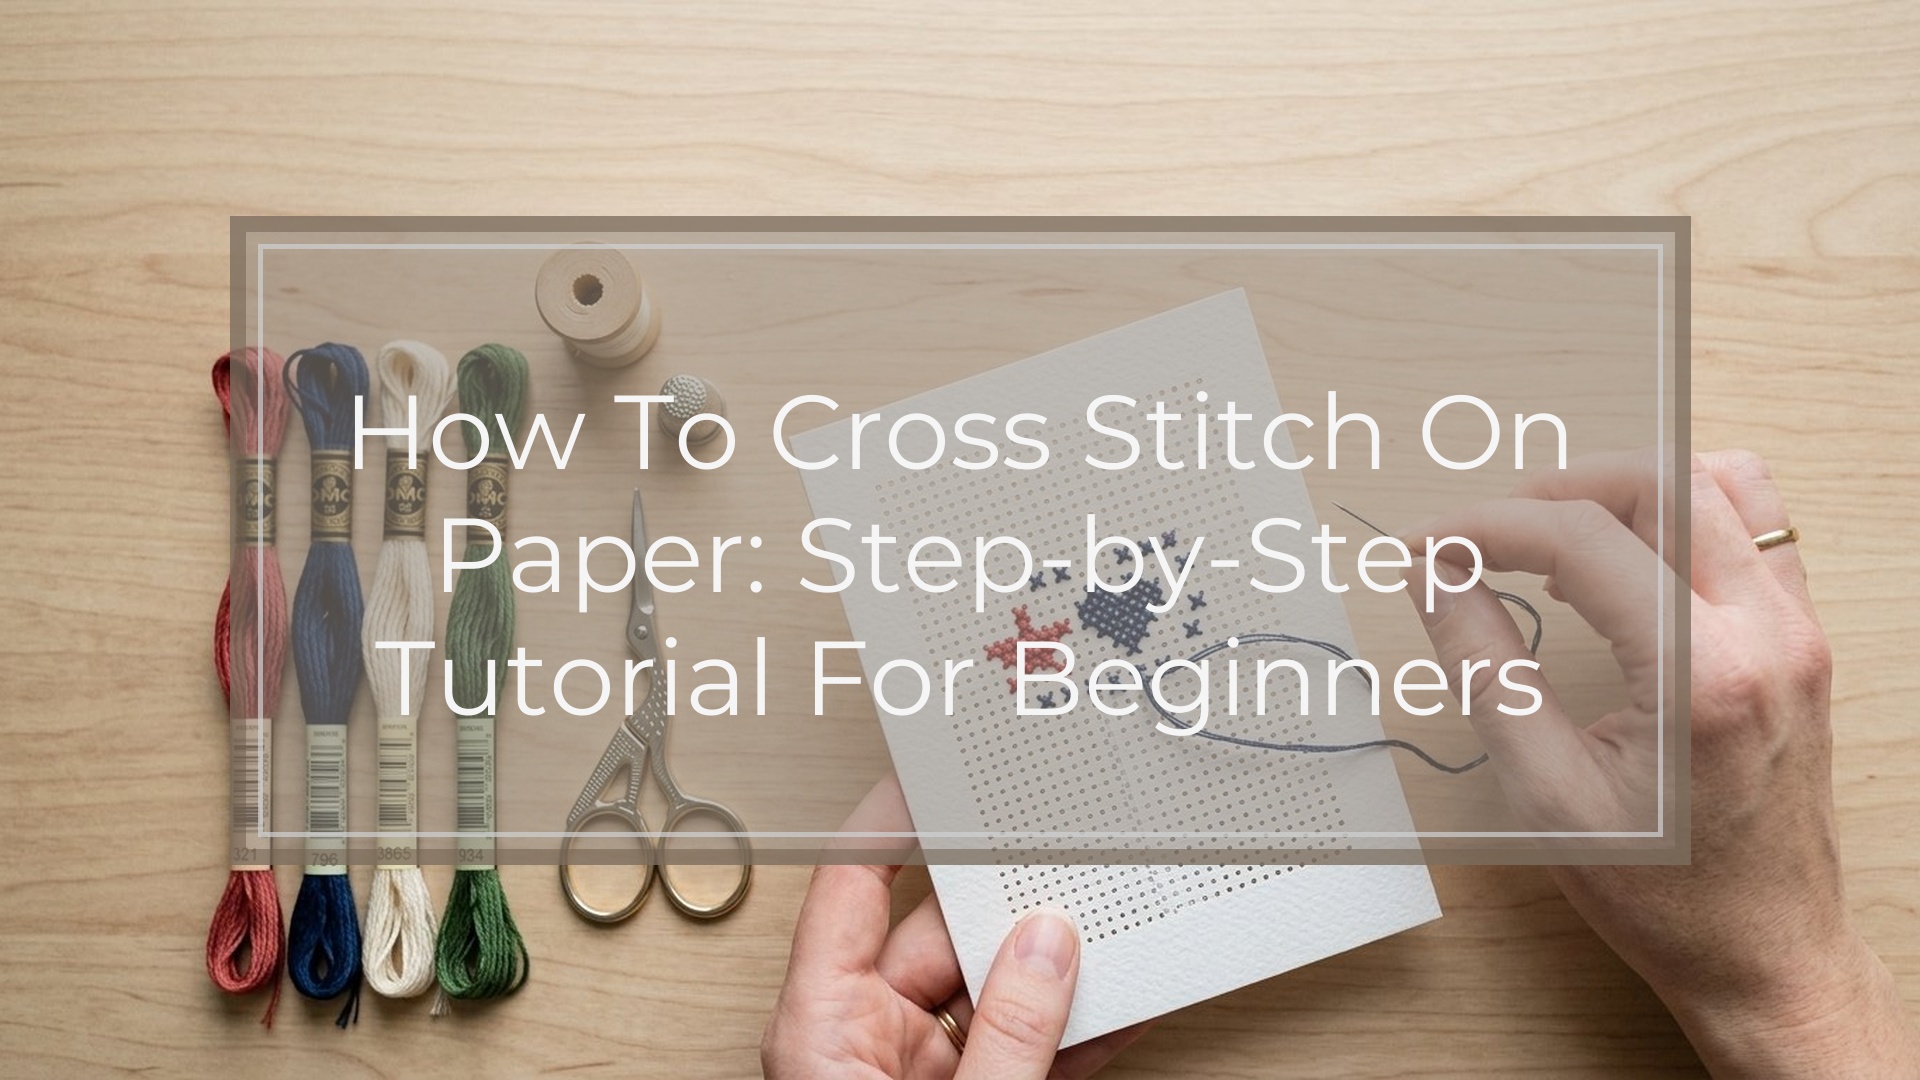
Cross stitch on paper uses the same X-shaped stitches as fabric cross stitch, but you work through holes punched into cardstock or heavy paper instead of woven cloth. The technique is simple, but paper behaves differently: it does not stretch, holes cannot be reused endlessly, and tight tension can tear the surface. The easiest way to succeed is to use sturdy paper, a small pattern, short lengths of floss, and gentle tension. Paper cross stitch is especially good for greeting cards, gift tags, bookmarks, and small framed art because it gives a crisp, graphic finish with minimal supplies.
What Cross Stitch on Paper Is and How It Differs from Stitching on Fabric
Paper cross stitch is counted stitching worked through evenly spaced holes in paper or cardstock. On fabric, the weave creates a ready-made grid. On paper, you either punch that grid yourself or use pre-punched paper.
The main difference is forgiveness. Fabric bends, stretches, and tolerates some restitching. Paper stays firm, shows every hole, and can crease or tear if handled roughly. That means preparation matters more, tension must stay lighter, and unpicking should be minimal.
Think of paper cross stitch as a more structured version of regular cross stitch: same stitch, less flexibility, cleaner graphic results.
Supplies You Need for Cross Stitching on Paper
You only need a few basic tools:
- Paper or cardstock: Heavy, smooth paper is easiest for beginners.
- Embroidery floss: Standard six-strand floss works well; use one to three strands for most projects.
- Tapestry needle: A blunt needle slides through holes without cutting the paper.
- Piercing tool: Try an awl, push pin, paper piercer, or sturdy needle.
- Ruler and pencil: For marking straight, even spacing.
- Foam pad, cork board, or cutting mat: Protects your surface while punching holes.
- Pattern: Small counted motifs are best to start with.
- Low-tack tape: Helpful for holding a template in place or securing thread tails.
If one supply matters most, it is the paper. Strong paper prevents tearing, stretched holes, and sloppy-looking stitches.
How to Choose the Right Paper for Your Project
Choose paper based on how the finished piece will be used.
| Project | Best paper choice | Why it works |
|---|---|---|
| Greeting cards | Heavy cardstock | Strong, neat, and easy to fold |
| Gift tags | Kraft or smooth cardstock | Durable and decorative |
| Bookmarks | Thick cardstock or layered paper | Holds shape with handling |
| Framed mini art | Watercolor paper or heavyweight cardstock | Stable and polished |
Avoid thin printer paper, soft handmade paper, or anything fibrous and flimsy. Smooth paper is usually easier to pierce evenly. Textured paper can be attractive, but it often creates less consistent holes and slightly rougher stitches.
How to Prepare Paper for Cross Stitch
Cut the paper to size first, leaving enough border around the design. If you are making a folded card, fold it before stitching so the stitched area will not distort later.
Lightly mark the grid on the back or in a hidden area. The spacing does not have to match a specific fabric count, but it must stay consistent throughout the design.
Place the paper on a foam pad or cork board, then punch the holes at each grid point. Press straight down so the holes stay round instead of torn. If you are using a printed chart or template, tape it over the paper and pierce through both layers.
Before you start stitching, check that the holes are evenly spaced and fully open. A few extra minutes here makes stitching much easier.
Step-by-step: How to Cross Stitch on Paper
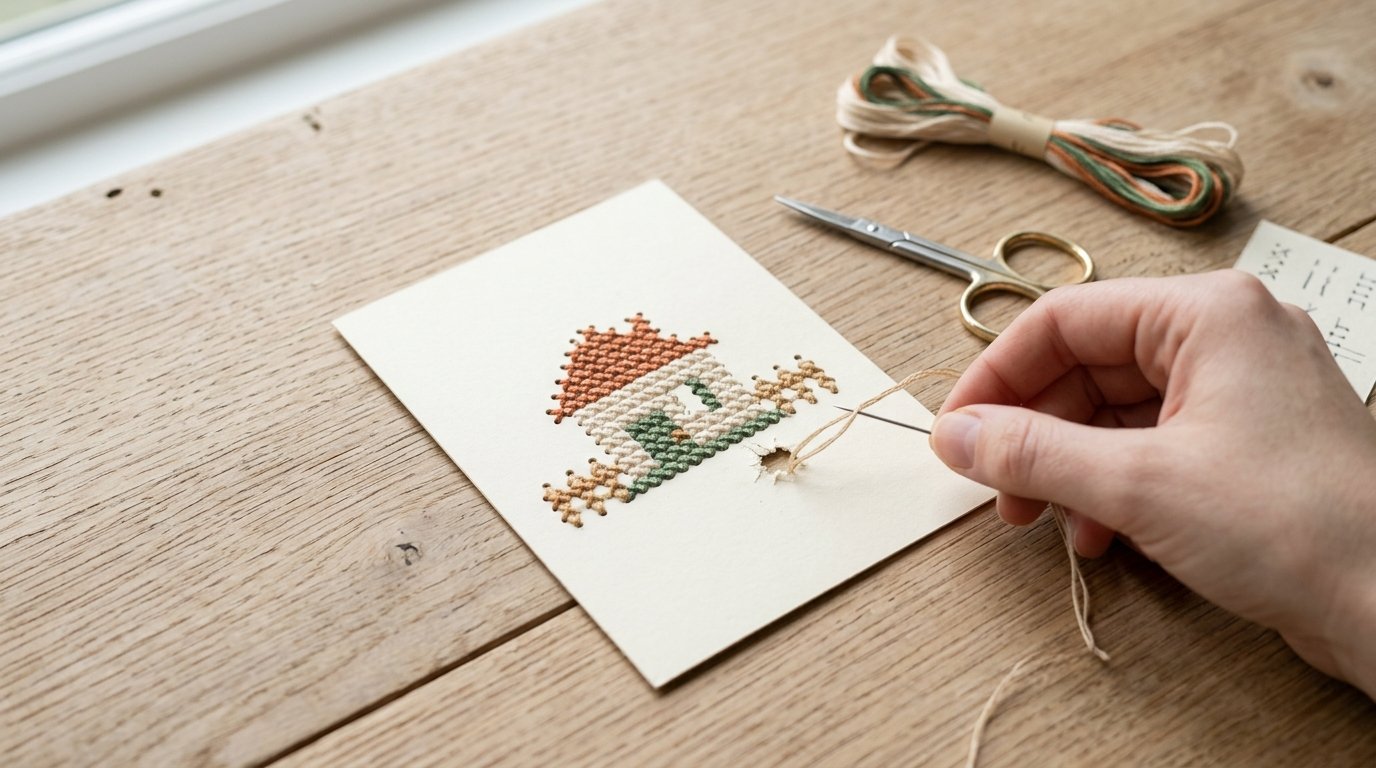
- Pick a small design. Hearts, stars, initials, flowers, and geometric shapes are ideal first projects.
- Prepare the paper. Cut, mark, and punch all holes before threading your needle.
- Use short floss lengths. About 12 to 18 inches helps reduce tangles and friction.
- Choose the right strand count. One or two strands often look cleaner on paper than all six.
- Thread the needle and secure the tail. Avoid bulky knots if possible. Tape the tail lightly on the back or weave it under later stitches.
- Make the first diagonal. Bring the needle up through the lower left hole and down through the upper right hole.
- Complete the X. Come up through the lower right hole and go down through the upper left hole.
- Keep stitch direction consistent. Make sure the top leg of every cross slants the same way.
- Work in rows or small blocks. You can stitch a row of half crosses first, then return to complete them, as long as you keep tension gentle.
- Pull snug, not tight. The floss should lie flat on the paper without denting it or widening the holes.
- Finish the thread neatly. Run the needle under completed stitches on the back and trim close.
- Check your work as you go. Fixing one stitch early is much safer than unpicking a large area on paper.
If you do make a mistake, remove the thread slowly and carefully. Repeated friction in the same hole can weaken the paper.
Tips for Neat Stitches and Clean Holes
Use the same stitch direction throughout the design for a smooth, even look. Keep thread lengths short so the floss does not fray or drag against the paper. If the thread starts looking fuzzy, switch to a fresh piece.
Handle the paper by the edges when possible to avoid fingerprints and creases. Punch holes straight down rather than at an angle. Most importantly, use light, even tension. On paper, neat results come from consistency, not tight pulling.
Common Mistakes When Stitching on Paper and How to Fix Them
The most common problem is paper that is too thin. If holes stretch or tear, switch to heavier cardstock and use fewer floss strands.
Uneven stitches usually come from uneven hole spacing. Mark more carefully next time and use a ruler or template. If a hole tears during stitching, stop pulling tightly and reinforce the back with a small piece of acid-free tape if needed.
Another frequent issue is repeated unpicking. Unlike fabric, paper weakens quickly when a hole is used over and over. If you notice an error, correct it gently and as early as possible. Messy thread tails can also create bumps, so keep starts and finishes flat on the back.
Easy Paper Cross Stitch Projects for Beginners
Start with small projects that use simple motifs and limited color changes, such as:
- greeting cards with hearts or stars
- gift tags with initials
- bookmarks with a repeated border
- mini framed flowers or geometric shapes
- holiday ornaments made from stitched cardstock
These projects let you practice spacing, tension, and finishing without a large time commitment.
How to Finish and Display Paper Cross Stitch
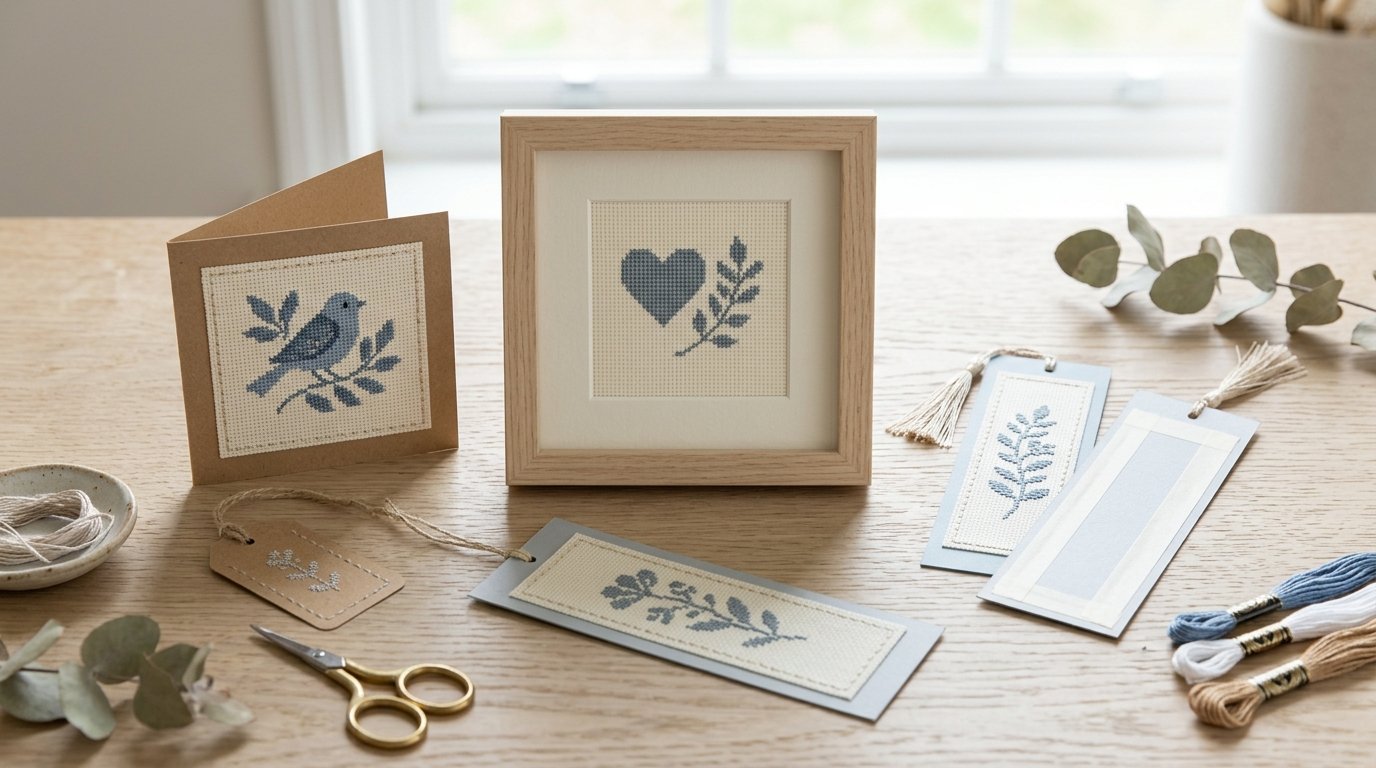
For cards and tags, trim the edges neatly and leave the stitching visible. If the back looks messy, cover it with a second piece of paper or cardstock.
For bookmarks, glue or tape a backing layer behind the stitched piece for extra strength. For framed work, mount the paper on acid-free backing and place it behind glass or acrylic to protect it from bending, dust, and moisture.
Store finished pieces flat in a dry place so the paper stays smooth and supported.
FAQ
What Should a Beginner Know First About How to Cross Stitch on Paper?
Start small and use sturdy cardstock. Paper is less forgiving than fabric, so even hole spacing and gentle tension matter more than speed.
What Matters Most When Evaluating How to Cross Stitch on Paper?
Paper strength, clean hole placement, and light tension matter most. If those three are right, the project usually looks neat.
What Mistakes Should Readers Avoid with How to Cross Stitch on Paper?
Avoid thin paper, long thread, oversized floss, tight pulling, and repeated unpicking in the same holes.
What Is the Next Logical Step After Learning About How to Cross Stitch on Paper?
Try one small finished item, such as a gift tag, card, or bookmark, then move on to slightly larger framed designs once your spacing and tension feel consistent.