
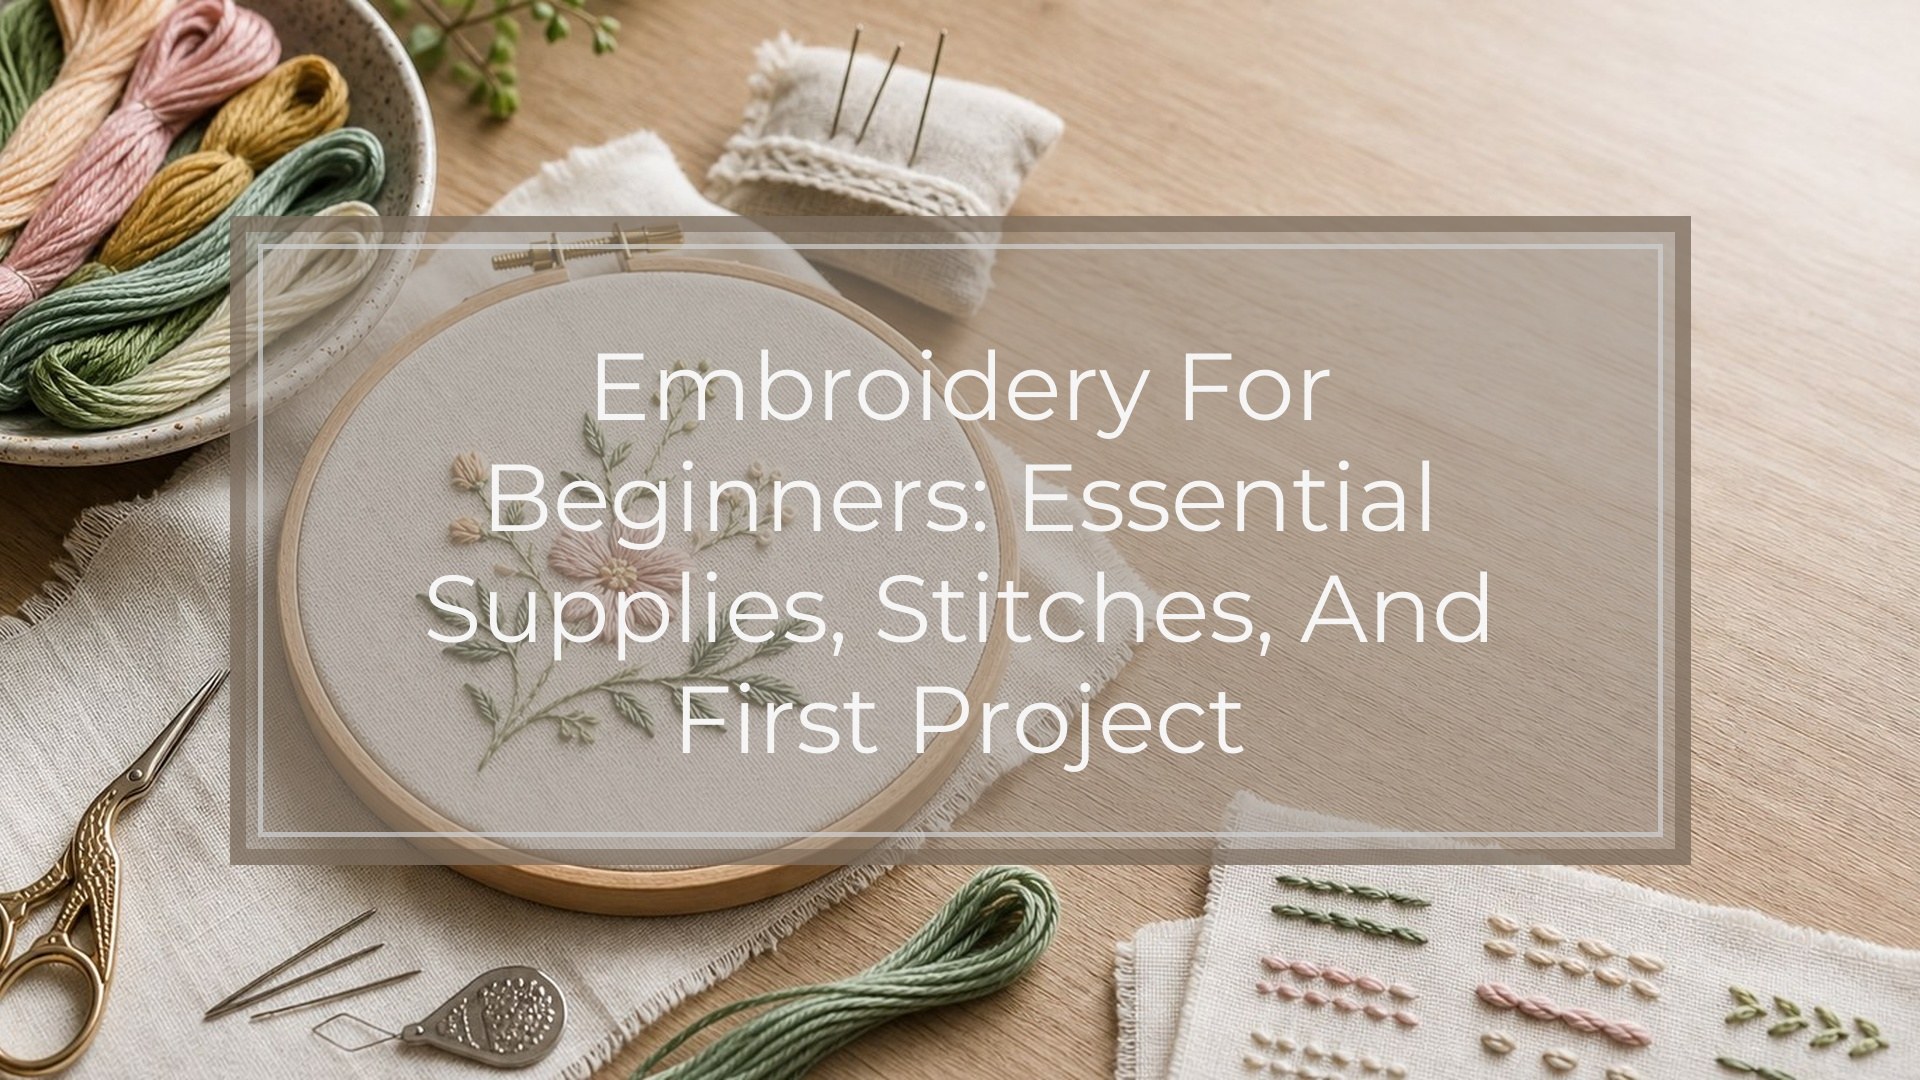
Embroidery for beginners is simply learning how to decorate fabric with thread, one stitch at a time. You do not need expensive tools or advanced drawing skills to start. A small hoop, cotton fabric, embroidery floss, needles, scissors, and a simple pattern are enough for your first project.
The best beginner approach is to learn a few useful stitches, practice even tension, and choose a design with clear lines rather than tiny details. Start with flowers, leaves, borders, initials, or short lettering. Once you understand how to prepare fabric, thread the needle, make basic stitches, and finish the back neatly, embroidery becomes a calm, flexible craft you can build on project by project.
What Is Embroidery? a Simple Mental Model
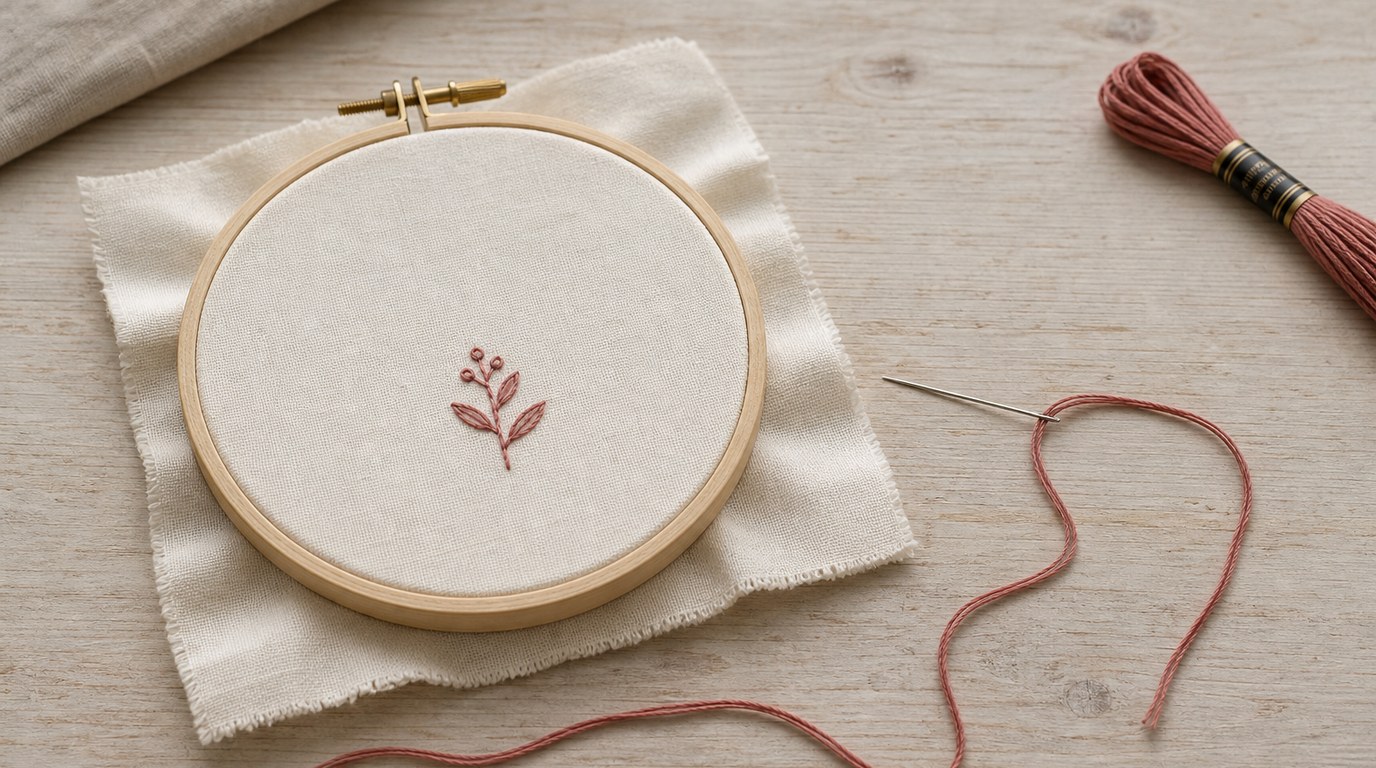
Embroidery is decorative stitching on fabric. Think of it as drawing with thread: the fabric is your paper, the needle is your pencil, and each stitch is a small mark that builds the design.
For beginners, the goal is not perfection. The goal is control. You are learning how thread behaves, how tightly to pull it, how to follow a line, and how different stitches create different textures.
Most hand embroidery designs are made from a small stitch vocabulary. A stem might use back stitch, a leaf might use satin stitch, and a flower center might use French knots. Once you know the basic stitches, you can combine them in many ways.
Essential Embroidery Supplies for Beginners
You only need a small set of tools to begin. Avoid buying large thread collections, specialty hoops, or advanced transfer supplies until you know what you enjoy stitching.
| Supply | Beginner recommendation | Why it matters |
|---|---|---|
| Fabric | Cotton, linen-cotton blend, or muslin | Stable fabric is easier to stitch |
| Hoop | 5- or 6-inch wooden or plastic hoop | Keeps fabric taut while you work |
| Embroidery floss | Stranded cotton floss | Easy to separate and widely available |
| Needles | Embroidery needles, sizes 5–9 | Sharp point and larger eye for floss |
| Scissors | Small sharp embroidery scissors | Clean thread cuts prevent fraying |
| Marking tool | Water-soluble pen or pencil | Helps transfer simple designs |
| Pattern | Simple line design | Easier to follow as you learn |
Stranded cotton floss usually has six strands twisted together. Beginners often stitch with two or three strands because it gives good coverage without being bulky. For fabric, choose something tightly woven enough to hold stitches but not so dense that pulling the needle feels difficult.
Choosing Your First Embroidery Pattern
A beginner-friendly embroidery pattern should have clean lines, open shapes, and limited tiny details. Look for designs that use only three to five stitches and a small number of colors.
Good first patterns include a single flower, a leafy sprig, a simple border, a small monogram, or a short word in large lettering. Avoid realistic portraits, dense florals, tiny lettering, heavy fill areas, and complicated shading for your first project.
Also consider size. A design that fits in a 4- to 6-inch hoop is ideal. It is large enough to practice several stitches but small enough to finish before you lose momentum.
How to Prepare Your Fabric and Hoop
Start by cutting your fabric larger than the hoop. Leave at least 2 inches of extra fabric around all sides so you can tighten and finish it later.
Transfer your pattern before hooping if that feels easier. Place the pattern under light-colored fabric and trace it with a water-soluble pen or a sharp pencil using light pressure. If your fabric is darker or thicker, use transfer paper or a stick-on embroidery stabilizer.
To hoop the fabric, loosen the screw and separate the two rings. Place the inner ring on a table, lay the fabric over it, then press the outer ring down around it. Tighten the screw and gently pull the fabric edges until the surface feels firm like a drum, not stretched out of shape.
Check the front before stitching. The design should sit straight, and the fabric should not sag.
How to Thread the Needle and Start Stitching
Cut a length of embroidery floss about 18 inches long. Longer pieces tangle more easily, especially for beginners. Separate the number of strands you need by pulling one strand out at a time, then recombining them.
Thread the needle by flattening the floss end between your fingers and pushing it through the eye. If the end frays, trim it cleanly. A needle threader can help, but it is not required.
To start, many beginners use a small knot at the end of the thread. This is acceptable for practice projects. For a neater back, use a waste knot or secure the thread under nearby stitches after you have a few in place.
As you stitch, pull the thread until it lies flat against the fabric. Do not yank. If the fabric puckers, your tension is too tight.
7 Basic Embroidery Stitches to Learn First
These seven stitches give beginners enough range to outline, fill, add texture, and create simple motifs.
1. Running Stitch
Running stitch is the simplest stitch: the needle goes up and down through the fabric at even intervals. It creates a dashed line.
Use it for borders, guide lines, simple decorative seams, or light texture. Try to keep the stitch length and gap length consistent.
2. Back Stitch
Back stitch creates a solid line and is one of the most useful embroidery stitches for beginners. Bring the needle up, make one stitch backward, then bring the needle up ahead of the previous stitch and go back into the same hole or close beside it.
Use back stitch for outlines, stems, lettering, shapes, and small details.
3. Stem Stitch
Stem stitch makes a slightly twisted, rope-like line. It is excellent for curved stems and flowing outlines.
Bring the needle up, make a short forward stitch, and bring the needle back up halfway along that stitch, keeping the working thread on the same side each time. Consistency is what gives stem stitch its smooth look.
4. Split Stitch
Split stitch is another outlining stitch. Make a small stitch, then bring the needle up through the middle of that stitch, splitting the thread.
It works well for curved lettering and soft outlines. It can also be used in rows to fill small areas with texture.
5. Satin Stitch
Satin stitch fills a shape with smooth, parallel stitches. Bring the needle up on one edge of the shape and down on the opposite edge, placing stitches close together.
Use satin stitch for small leaves, petals, dots, and block letters. Keep shapes small at first; large satin stitch areas can snag or look uneven.
6. French Knot
French knots create raised dots. Bring the needle up, wrap the thread around the needle once or twice, hold the thread gently taut, and insert the needle close to where it came up. Pull through slowly.
Use French knots for flower centers, berries, eyes on simple motifs, or dotted texture.
7. Lazy Daisy Stitch
Lazy daisy stitch forms a looped petal or leaf. Bring the needle up, insert it close to the same spot, and bring it up at the tip of the petal while the thread loops under the needle. Pull gently, then make a tiny stitch over the loop to anchor it.
Use it for small flowers, leaves, and decorative borders.
A Simple Beginner Embroidery Project Plan
For your first project, choose a 5-inch hoop design with one flower, two leaves, a curved stem, and a short word or initial.
Use cotton fabric and three floss colors: green for the stem and leaves, one color for petals, and yellow or dark brown for the flower center. Stitch the stem with stem stitch or back stitch. Use lazy daisy stitch for petals and leaves. Add French knots in the center. If you include a word or initial, use back stitch.
Work from the center of the design outward when possible. This keeps your hands from rubbing over finished areas too much. Stitch one color at a time if that helps you stay organized, but do not feel forced to finish every part in a strict order.
Keep the project small enough to complete in one or two relaxed sessions.
Common Beginner Embroidery Mistakes and How to Fix Them
Uneven stitches are normal at first. Slow down, mark shorter guide lines, and practice keeping stitch lengths similar rather than perfect.
Puckered fabric usually means the thread tension is too tight or the fabric is loose in the hoop. Re-tighten the hoop and pull each stitch only until it rests on the surface.
Knotted or tangled floss often comes from using thread that is too long. Cut shorter lengths and let the needle dangle occasionally to untwist the thread.
Messy backs happen when threads travel long distances behind the fabric. End the thread and restart closer to the next area instead.
If a stitch looks wrong, remove it gently with the needle tip. Fixing a few stitches is part of learning.
How to Finish and Display Your Embroidery
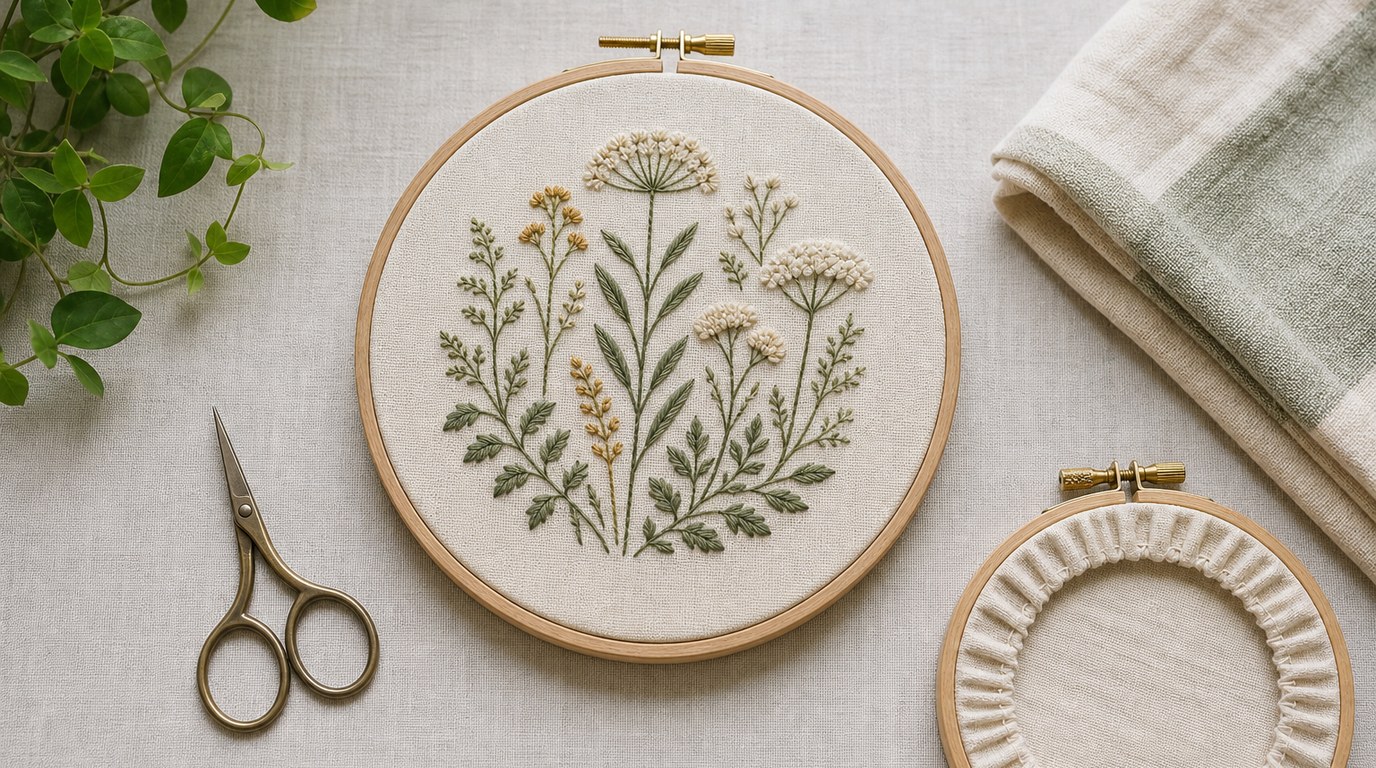
When the stitching is complete, remove any visible pattern marks according to the marking tool instructions. Let the fabric dry fully if you used water.
To display in the hoop, center the design, tighten the fabric, and trim the excess fabric to about 1 inch around the back. Gather the edge with running stitch or glue it neatly to the inner back of the hoop. You can also frame the finished piece or sew it onto a pouch, patch, or fabric cover.
What to Learn Next After Your First Project
After your first project, practice smoother curves, cleaner lettering, and small filled shapes. Try adding chain stitch, long and short stitch, or woven wheel flowers.
You can also repeat the same pattern with different colors. This helps you improve without learning everything at once. Once the basics feel comfortable, choose a slightly more detailed design with more texture or shading.
FAQ
What Should a Beginner Know First About Embroidery for Beginners?
A beginner should know that embroidery is built from simple stitches, not complicated techniques. Start with stable fabric, a small hoop, cotton floss, and an easy line pattern. Learn back stitch, running stitch, satin stitch, French knots, and lazy daisy before attempting detailed designs.
What Matters Most When Evaluating Embroidery for Beginners?
The most important factors are simplicity, clear instructions, and manageable project size. A good beginner pattern uses basic stitches, has visible lines, and avoids tiny details. Supplies should be easy to find, affordable, and suitable for hand embroidery rather than specialty techniques.
What Mistakes Should Readers Avoid with Embroidery for Beginners?
Avoid starting with a large or highly detailed pattern, using thread that is too long, pulling stitches too tightly, or stitching on loose fabric. Beginners should also avoid buying too many supplies before practicing. A small, finished project teaches more than an overloaded kit.
What Is the Next Logical Step After Learning About Embroidery for Beginners?
The next step is to complete a small project using three to five stitches, then repeat or try a slightly harder pattern. Focus on improving tension, curves, and neat starts and finishes. After that, explore more stitches, color blending, and textured floral designs.