
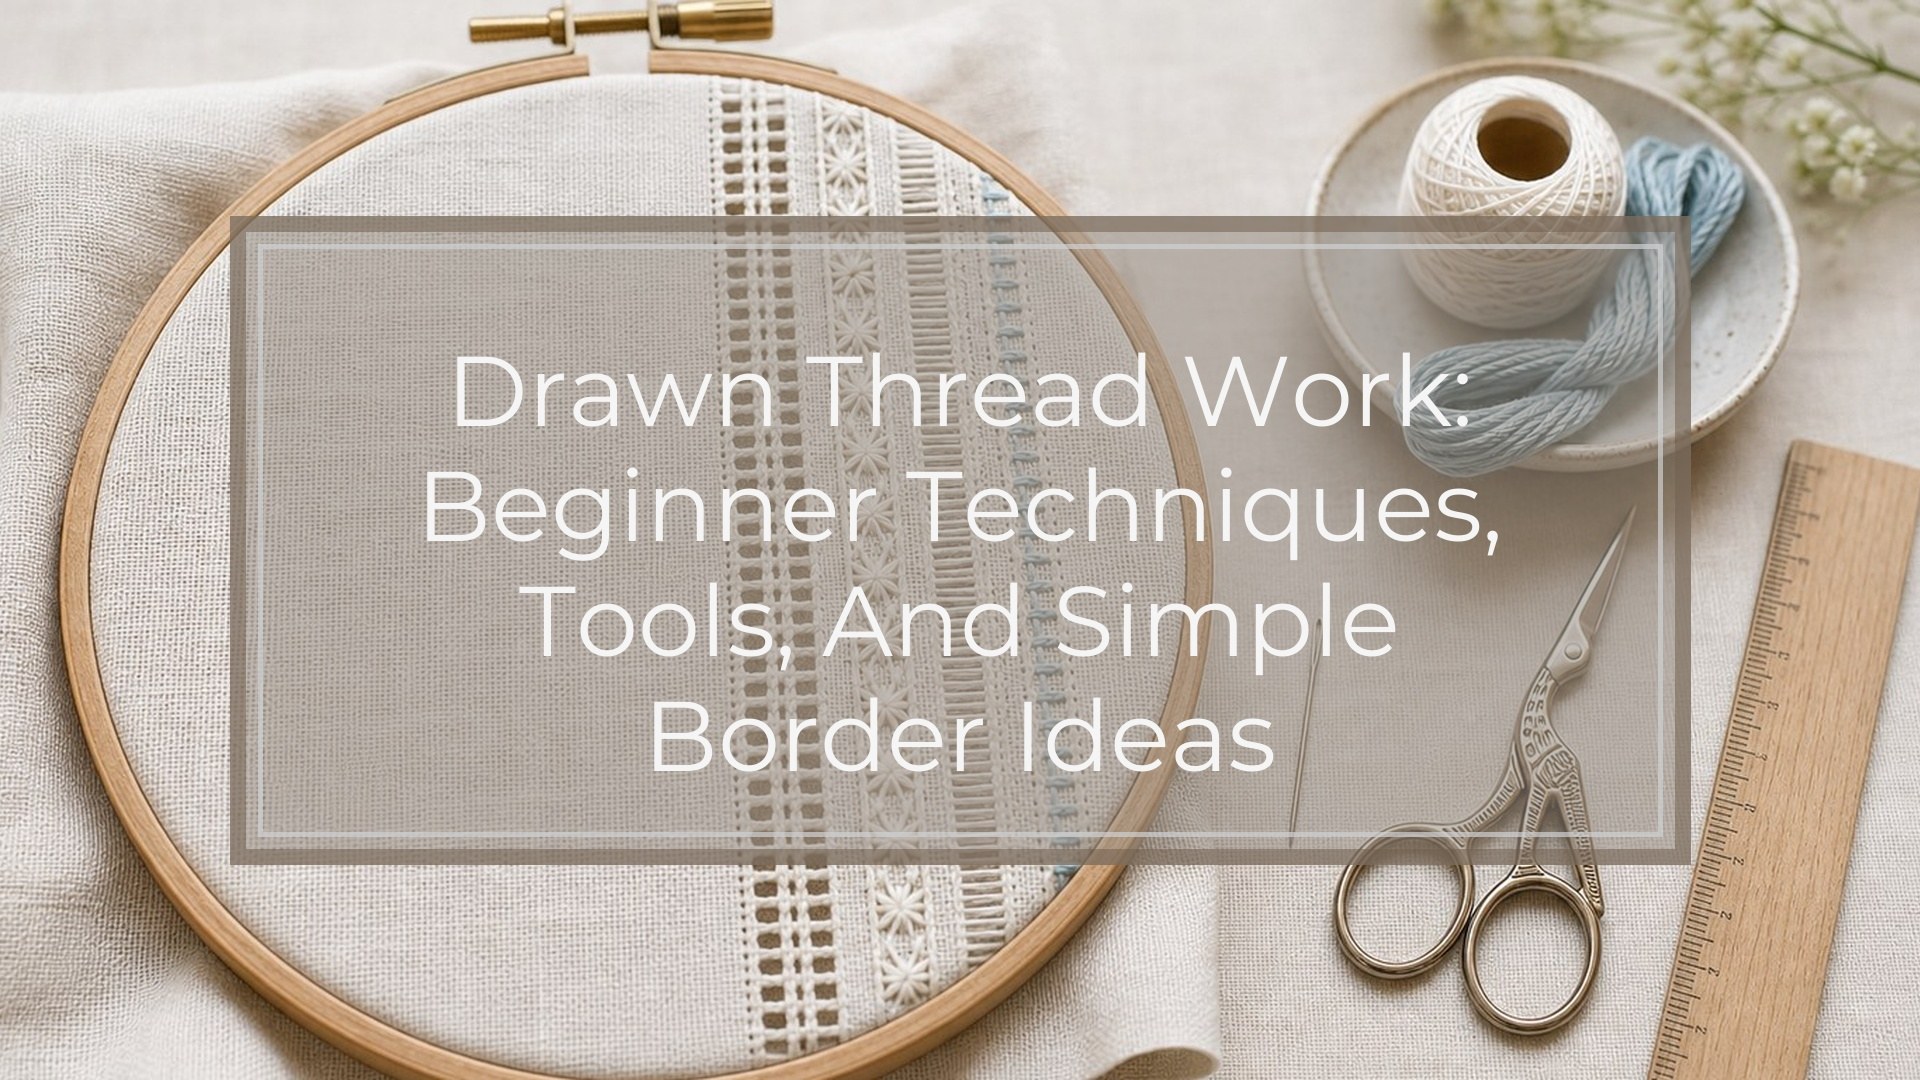
Drawn thread work is an embroidery technique where selected fabric threads are removed, then the remaining threads are grouped, wrapped, or stitched to create decorative open spaces. Instead of adding a design only on top of the fabric, you reshape the fabric structure itself.
The easiest way to understand it is this: you count threads, withdraw a few in one direction, and stitch around the threads left behind. This creates neat ladders, bars, bundles, and borders. Drawn thread work is often used on linen hems, table linens, samplers, handkerchiefs, and delicate decorative panels.
For a first project, you do not need a complex pattern. You need an even-weave fabric, a sharp pair of scissors, a needle, matching thread, and patience with counting. Start with a narrow border before attempting larger openwork designs.
What Is Drawn Thread Work?
Drawn thread work is a counted embroidery technique made by pulling out selected warp or weft threads from woven fabric. The remaining threads are then secured and decorated with stitches. This creates a lacy, open effect while keeping the fabric stable.
It belongs to the wider family of openwork embroidery, but it is not the same as cutwork or needle lace. In cutwork, areas of fabric are cut away and the edges are heavily stitched. In drawn thread work, the design depends on removing individual threads from the weave and arranging what remains.
Traditional drawn thread work often appears on linen household textiles, especially hems and borders. For beginners, its appeal is practical: the fabric grid guides your stitching, so careful counting matters more than freehand drawing.
How Drawn Thread Work Is Built: the Simple Mental Model
Think of woven fabric as a grid. Threads run vertically and horizontally. In drawn thread work, you remove a controlled number of threads from one direction, usually across a straight line or border.
Once those threads are removed, the threads running the other way are exposed. Your stitches gather them into bundles, wrap them into bars, or connect them into patterns. The beauty comes from contrast: solid fabric beside open spaces, and plain fabric threads transformed by neat stitching.
Most beginner work follows three actions:
- Count the fabric threads.
- Withdraw selected threads.
- Stitch the remaining threads into an orderly design.
If your counting is accurate, the technique becomes much easier.
Materials and Tools You Need
You only need a small set of tools for a first drawn thread work sample.
- Even-weave fabric: Linen or cotton even-weave is best because the threads are visible and evenly spaced.
- Embroidery needle: Choose a needle that passes smoothly through the fabric without enlarging the holes too much.
- Embroidery thread: Stranded cotton, cotton perle, or fine linen thread can work. Match the weight to the fabric.
- Small sharp scissors: Use embroidery scissors with fine points for snipping only the threads you intend to remove.
- Tweezers: Helpful for gently pulling withdrawn threads.
- Hoop or frame: Keeps the fabric under light, even tension.
- Ruler and removable marker: Useful for marking the border area, though counting remains more important than drawing.
- Good lighting: Essential for seeing individual threads clearly.
A magnifier is optional, but it can help if you are working on fine linen.
Best Fabrics and Threads for Drawn Thread Work
Choose materials that make the structure easy to see. Beginners usually do better with medium-count even-weave fabric rather than very fine linen. Avoid loosely woven fabric that shifts too much, and avoid dense fabric where individual threads are hard to remove.
| Material choice | Good beginner option | Why it helps |
|---|---|---|
| Fabric | 28-count linen or cotton even-weave | Threads are visible but not too coarse |
| Practice fabric | Aida or even-weave scrap | Good for learning counting and tension |
| Thread | Cotton perle size 8 or 12 | Smooth, strong, and easy to control |
| Alternative thread | 1–2 strands of embroidery floss | Easy to find and color-match |
| Needle | Tapestry or embroidery needle | Choose one that suits the fabric count |
Before You Start: Counting, Marking, and Securing the Fabric
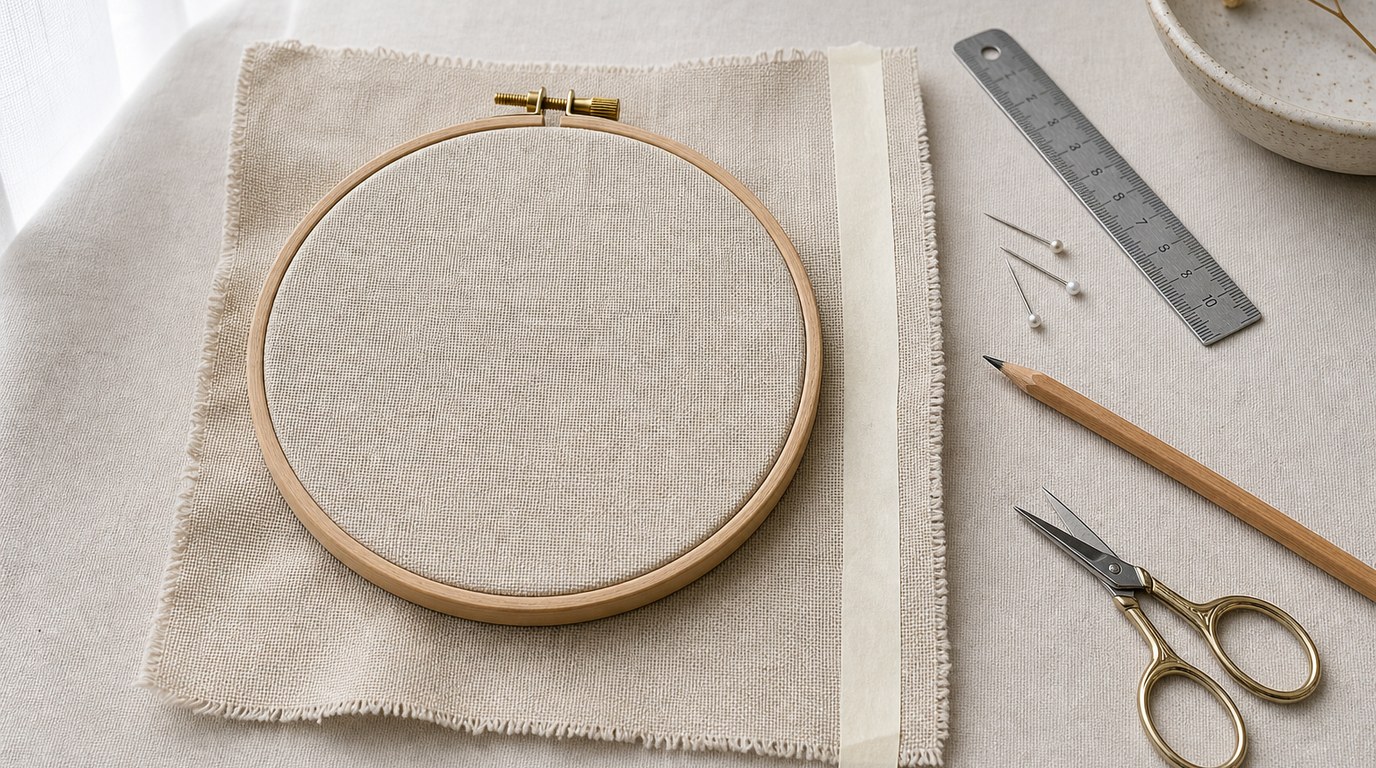
Preparation prevents most beginner problems. First, cut a fabric piece larger than your planned sample so you have room to hold it and finish the edges. If the fabric frays, overcast the raw edges or use masking tape temporarily.
Place the fabric in a hoop or frame with gentle tension. Do not stretch it hard; pulled fabric can distort the openwork later.
Decide where your border will sit. Count from a fabric edge or a center point, then mark the start and end of the drawn area with a removable marker or a tiny basting stitch. For a first sample, choose a narrow band: remove 2 to 4 horizontal threads across a short line.
Before cutting, count twice. Snip one thread near the edge of the marked area, then use a needle or tweezers to tease it out slowly. If you pull too hard, nearby threads can distort.
Basic Drawn Thread Work Stitches for Beginners
You can make attractive drawn thread work with only a few simple stitches.
Hemstitch is the classic beginner stitch. It groups exposed fabric threads into small bundles along the edge of a drawn area. The stitch both decorates and secures the openwork, which makes it ideal for borders and hems.
Ladder hemstitch is made when both sides of a withdrawn band are stitched in matching bundles. The result looks like a tiny ladder, with open spaces between the grouped threads.
Wrapped bars are made by wrapping thread around exposed fabric threads to cover and strengthen them. This gives a cleaner, corded look and can be used in slightly wider open areas.
Four-sided stitch is often used near drawn thread work because it pulls fabric threads into small square openings without necessarily removing threads. It pairs well with borders and samplers.
Overcast or satin edge stitches help secure areas where threads have been cut or withdrawn. They are especially useful at the ends of a border so the open section does not loosen.
For practice, focus first on hemstitch. Once you can make even bundles with consistent tension, other stitches feel more manageable.
Beginner Practice Project: a Simple Drawn Thread Border
This practice project creates a small straight border on a fabric scrap. It is suitable for learning the basic rhythm of counting, withdrawing, and hemstitching.
You will need: a 6-inch square of even-weave fabric, cotton perle or embroidery floss, a needle, small scissors, tweezers, and a hoop.
- Prepare the fabric. Place the fabric in a hoop. Choose a straight line about 1 inch from one edge. This will become your border.
- Mark the length. Count a short border length, such as 3 inches. Mark the start and end with tiny basting stitches or a removable marker.
- Choose the band width. For your first attempt, remove 3 horizontal fabric threads. Keep the band narrow so it stays stable.
- Snip carefully. At one end of the marked area, isolate one horizontal thread. Snip it only inside the border length. Do not cut the vertical threads.
- Withdraw the thread. Use a needle tip or tweezers to pull the snipped thread out across the marked length. Repeat until all 3 chosen threads are removed.
- Secure your sewing thread. Thread the needle and anchor it in the solid fabric at one end of the open band. Avoid bulky knots if the back will show; use small anchoring stitches instead.
- Make the first hemstitch. Bring the needle up near the lower edge of the open band. Scoop under a small group of exposed vertical threads, such as 3 or 4 threads. Pull gently to gather them into a bundle.
- Anchor the bundle. Take the needle into the fabric just below the bundle to hold it in place. Keep the tension firm but not tight.
- Repeat across the band. Continue grouping the same number of fabric threads each time. Consistency matters more than speed.
- Stitch the opposite side. Turn the work and hemstitch the other edge of the withdrawn band. Match the bundles to create a ladder effect.
- Finish the ends. Add a few small overcast stitches at both ends of the open band to secure the cut thread ends.
- Review your sample. Look for even spacing, smooth bundles, and fabric that still lies flat. If one bundle is loose, add a small securing stitch rather than pulling the whole row tighter.
This small sample teaches the essential movement used in many drawn thread borders.
Design Ideas and Where to Use Drawn Thread Work
Drawn thread work is especially effective where a straight decorative border makes sense. Use it along napkin hems, handkerchief edges, table runners, cuffs, bookmarks, sachets, or sampler bands.
For a subtle look, use thread that matches the fabric. For a more modern effect, try a soft contrast color, such as blue thread on white linen or cream thread on natural flax. Keep early designs simple: one narrow hemstitched band can look elegant without extra motifs.
Once comfortable, combine drawn thread work with cross stitch initials, small floral embroidery, or a row of four-sided stitch.
Common Mistakes and How to Fix Them
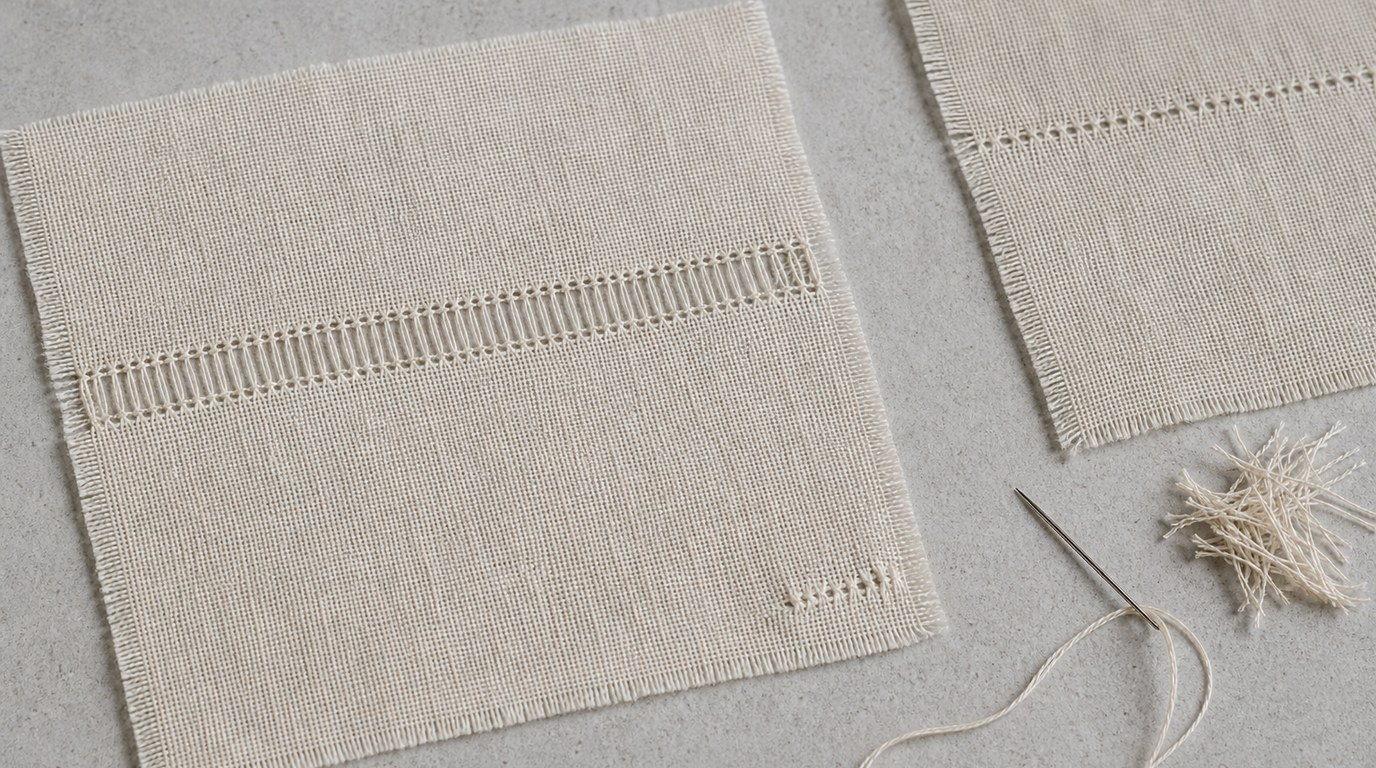
Cutting the wrong thread: Stop immediately. If the cut is small, secure it with tiny overcast stitches in matching thread. For practice pieces, leave it as a lesson and continue.
Removing too many threads: A wide open band is harder to control. Begin with 2 to 4 withdrawn threads. If the area feels unstable, stitch both edges before adding decoration.
Uneven bundles: This usually comes from inconsistent counting. Decide on a bundle size, such as 3 fabric threads, and repeat it across the row. If the fabric count does not divide evenly, adjust at the ends rather than in the middle.
Tension too tight: Tight stitching makes the fabric pucker. Hold the thread snug enough to gather the bundle, but stop before the fabric bends.
Frayed thread ends: Secure the ends of the drawn area with overcast stitches. Work gently and avoid repeatedly dragging thread through the same holes.
Hard-to-see fabric threads: Switch to a lower-count even-weave fabric or use stronger lighting.
Care and Finishing Tips
When the stitching is finished, remove any markings according to the marker instructions. Press the work from the back on a padded towel so the openwork is not flattened harshly. Use a clean pressing cloth if needed.
Hand wash delicate drawn thread pieces in mild soap, then lay flat to dry. Avoid wringing, twisting, or scrubbing the open areas. Store finished pieces flat or rolled rather than sharply folded through the openwork.
FAQ
What Should a Beginner Know First About Drawn Thread Work?
A beginner should know that drawn thread work is based on counting and removing selected fabric threads, not cutting out large fabric shapes. Start with even-weave fabric, a narrow band, and simple hemstitch. Accuracy and gentle tension matter more than complicated stitches.
What Matters Most When Evaluating Drawn Thread Work?
Look for clean counting, even bundles, secure edges, and fabric that lies flat. Good drawn thread work should look open and delicate without appearing loose or distorted. The withdrawn area should be stable, and the stitch tension should be consistent across the design.
What Mistakes Should Readers Avoid with Drawn Thread Work?
Avoid rushing the cutting stage, using fabric that is too fine for your skill level, and pulling stitches too tightly. Do not start with a wide open band. A small practice border is the safest way to learn control before trying decorative projects.
What Is the Next Logical Step After Learning About Drawn Thread Work?
After learning the basics, make several small border samples using different bundle sizes and thread weights. Then try a practical item, such as a napkin edge or bookmark. Once hemstitch feels natural, explore wrapped bars, four-sided stitch, and simple sampler bands.