
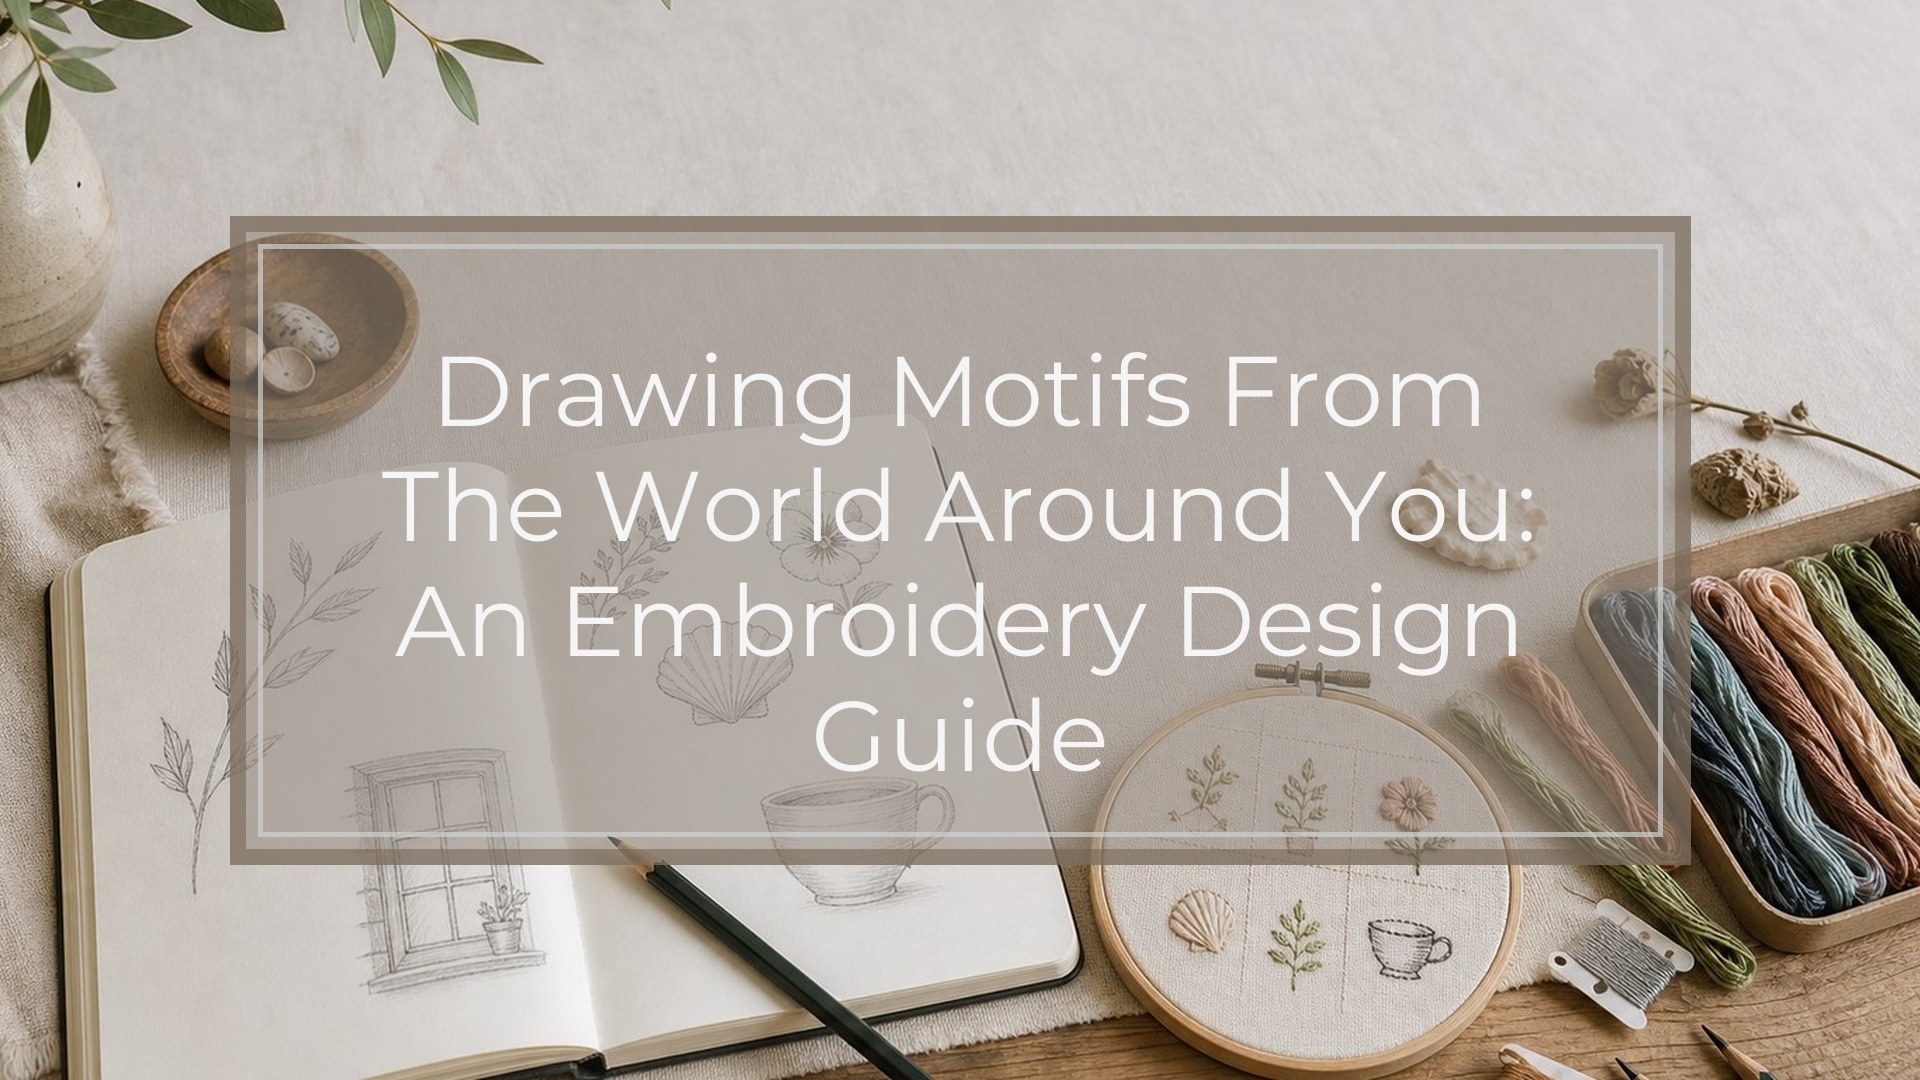
Quick Answer
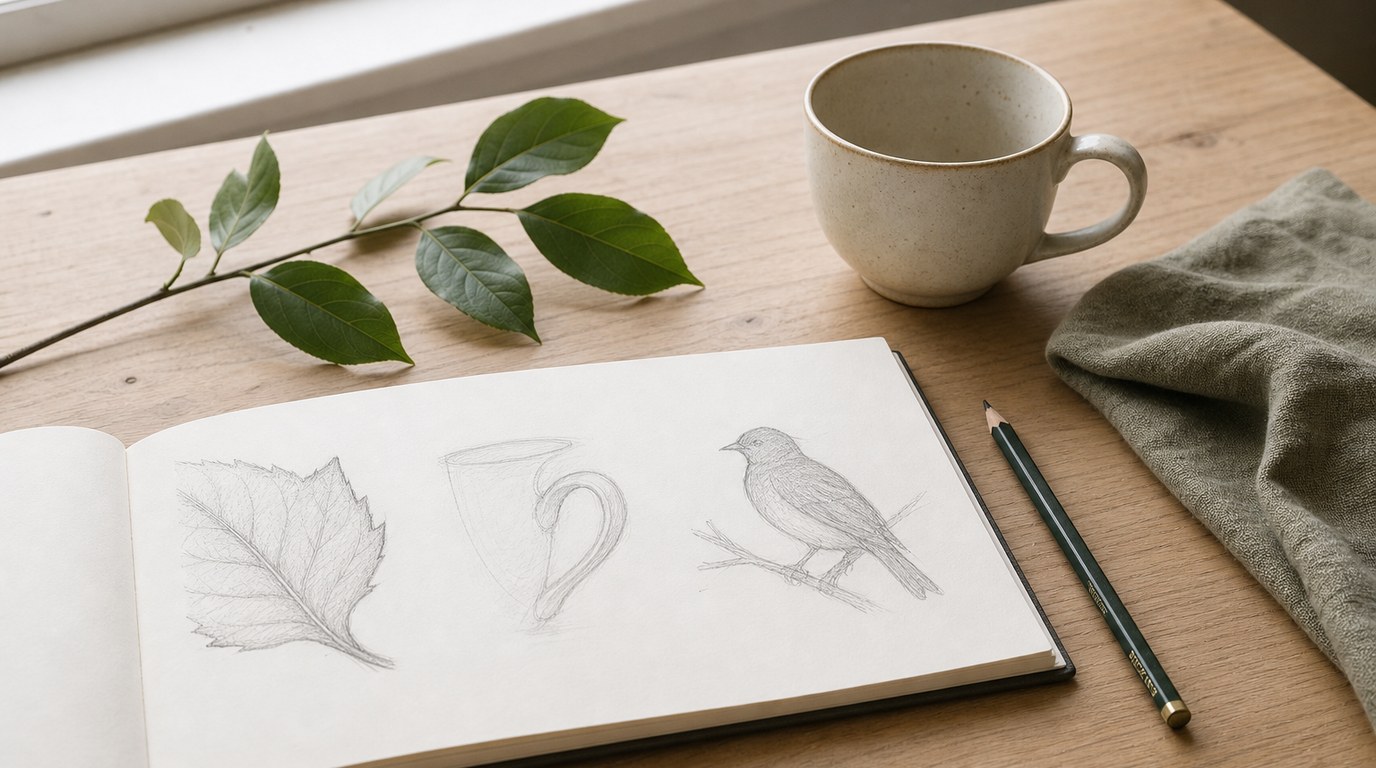
Drawing motifs from the world around you means noticing shapes, textures, and small details in everyday life, then simplifying them into stitchable designs. The main takeaway: do not try to copy everything you see. Look for one strong visual idea—a leaf edge, a roofline, a teacup handle, a bird silhouette, a window pattern—and turn that into a clear motif that can be stitched.
A practical process looks like this:
- Observe your surroundings with embroidery in mind.
- Collect quick photos, sketches, or notes.
- Choose one detail with a strong outline or repeatable shape.
- Draw it loosely, not perfectly.
- Simplify the drawing so it suits thread, fabric, and stitch scale.
- Plan stitches based on line, fill, texture, and color.
- Test the motif at the size you want to stitch.
For embroidery, a motif can be more organic and textured: a fern frond in stem stitch, a shell in satin stitch, or cobblestones in seed stitch. For cross stitch, the motif needs to translate into a grid: a flower becomes blocks of color, a cat becomes a pixel-like silhouette, and a mug becomes a simple shape with limited shading.
The goal is not realism. The goal is recognition, balance, and stitchability. If someone can glance at your design and understand the idea, and if you can imagine how the stitches will form it, you have a usable motif.
How to Think About This Topic
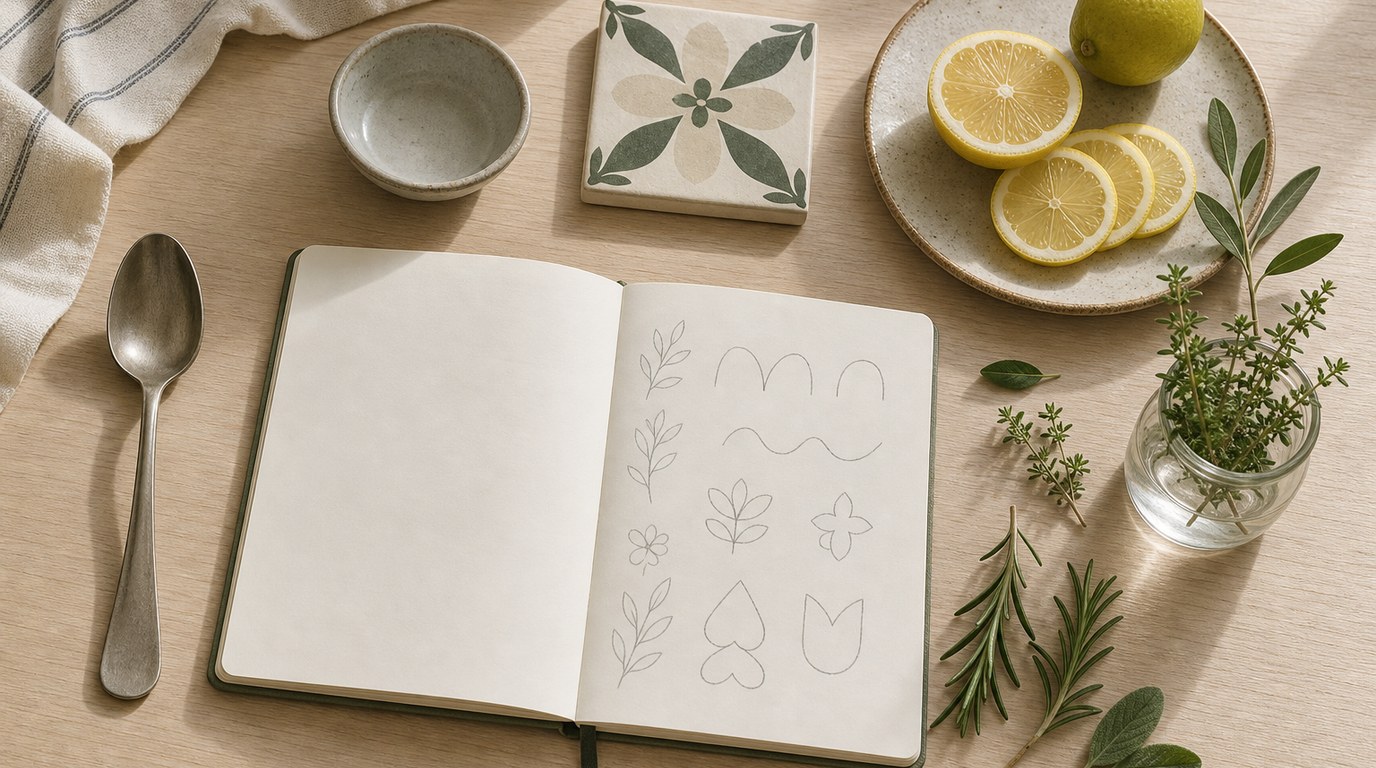
The best mental model for drawing motifs from the world around you is observe, reduce, translate.
First, you observe. This means looking at ordinary things as potential design material. A walk around the kitchen might give you spoon shapes, fruit slices, tile patterns, herb leaves, jar labels, and steam curls from a cup. A garden might offer seed pods, petals, fence shadows, insects, and uneven stones. You are not looking for a finished design yet. You are gathering visual ingredients.
Second, you reduce. Real objects are usually too detailed for embroidery or cross stitch. A rose has many petals, shadows, folds, and color shifts, but your motif may only need five petal shapes and a center. A bicycle may be difficult as a full realistic drawing, but two wheels, a frame triangle, and handlebars can read clearly. Reduction is what makes a motif usable.
Third, you translate. Thread is not pencil, paint, or a camera. Stitches have direction, thickness, texture, and limits. A fine pencil line may need to become back stitch. A soft shaded area may become long and short stitch, satin stitch, or a few stepped colors in cross stitch. A dotted surface, like strawberry seeds or gravel, may become French knots, seed stitch, or single cross stitches.
This is especially useful for embroidery and cross stitch because both crafts reward clear shapes. A motif does not have to be complicated to feel original. In fact, many strong stitched designs come from simple observations: the curve of a handle, the shape of a houseplant leaf, the scalloped edge of a shell, or the repeating diamonds in a woven basket.
When choosing an everyday subject, ask three questions:
- Can I recognize it from its outline?
- Can I simplify it without losing its character?
- Can I stitch it at the size I want?
A good motif often has one memorable feature. For a monstera leaf, it may be the split edges. For a robin, it may be the round body and colored breast. For a row of houses, it may be the roof shapes. For a favorite mug, it may be the handle and steam. Focus on that feature first.
Scale also matters. A tiny cross stitch motif needs fewer details than a four-inch embroidery hoop design. If you are stitching on high-count fabric or using one strand of floss, you can include finer lines. If you are stitching on linen with thicker thread, the design should be bolder.
Think of your drawing as a bridge between real life and thread. You are not proving that you can draw perfectly. You are making decisions so the final stitched piece feels intentional, readable, and pleasant to work.
Practical Guidance
Start by collecting ideas in a low-pressure way. Take a short “motif walk” through one room, your garden, a street, or a local shop window. Photograph or sketch anything with an interesting outline, repeat, texture, or color combination. Do not judge the ideas yet. A chair back, cookie cutter, lampshade, leaf shadow, or pair of boots can all become embroidery motifs.
Next, choose one subject and make several fast drawings. Keep them small, about the size of a sticky note. Quick sketches prevent you from getting trapped in detail. Draw the object three ways: its outline, its main inner lines, and its simplest possible version. For example, if you choose a lemon slice, draw the circle, then the wedge divisions, then a simplified version with only six segments and a few seed shapes.
Use this table to connect what you notice with design choices:
| Real-world observation | Motif decision | Stitch idea |
|---|---|---|
| Fern with repeating leaflets | Use one curved stem and paired small leaves | Stem stitch for the spine, lazy daisy for leaflets |
| Brick wall or tiled floor | Turn the repeat into a border pattern | Back stitch grid or cross stitch blocks |
| Cat sleeping in a circle | Focus on silhouette, tail, and ear points | Outline stitch with small satin stitch details |
| Orange peel spiral | Use the curl as the whole motif | Chain stitch or couching for a bold line |
| Teacup with steam | Simplify cup shape and add three rising curves | Back stitch outline, split stitch steam |
| Pebbles on a path | Use scattered irregular dots | French knots, seed stitch, or single crosses |
After you choose the motif, clean up the drawing. Remove lines that do not help recognition. If two details compete, keep the stronger one. A bird motif may not need every feather; wing shape and beak direction may be enough. A house motif may not need bricks, curtains, and doorknobs; roof, door, and windows will usually carry the idea.
For embroidery, plan the design by stitch function:
- Outlines: back stitch, stem stitch, split stitch
- Small dots or texture: French knots, seed stitch
- Filled shapes: satin stitch, long and short stitch
- Bold decorative lines: chain stitch, couching
- Petals and leaves: lazy daisy, fishbone stitch, satin stitch
For cross stitch, convert the drawing into a grid. Use graph paper or digital charting software. Block in the silhouette first, then add only the details that still read clearly at that scale. Limit colors at the beginning. A three-color mushroom, bird, flower, or cup is often stronger than a ten-color version that becomes muddy.
Test the motif before committing to a full project. Trace it at the final size, then place it near your fabric and thread. Ask whether the lines are too close together, whether the smallest areas can actually be stitched, and whether the design still reads from arm’s length. If not, enlarge it, remove detail, or thicken the shapes.
Finally, think about arrangement. A single motif can sit in the center of a hoop, repeat around a border, scatter across a sampler, or combine with related motifs. If your inspiration is a kitchen shelf, you might stitch a mug, spoon, lemon, and herb sprig as a small collection. If your inspiration is a walk in the park, you might combine a leaf, acorn, feather, and little boot print.
The most common problem is over-detailing. When in doubt, simplify again. Another issue is drawing lines that are too delicate for the thread. Embroidery needs breathing room. Cross stitch needs clear grid shapes. A motif is successful when it keeps the spirit of the original object while becoming practical for the needle.
FAQ
What Should a Beginner Know First About Drawing Motifs from the World Around You?
Start with simple shapes from familiar objects. Leaves, mugs, fruit, shells, keys, flowers, and pets are good subjects because their outlines are easy to recognize. Do not aim for a perfect drawing. Aim for a clear shape that can be stitched without too many tiny details.
What Matters Most When Evaluating Drawing Motifs from the World Around You?
Stitchability matters most. A motif should be recognizable, balanced, and suitable for the size and technique you plan to use. Check whether the outline is clear, the details are not too crowded, and the stitches can realistically create the texture or shape you want.
What Mistakes Should Readers Avoid with Drawing Motifs from the World Around You?
Avoid copying every detail from real life. Too many lines, colors, or tiny features can make a stitched motif look cluttered. Also avoid choosing a subject only because it is pretty. Choose one with a strong shape, repeat, texture, or feature that will translate well into thread.
What Is the Next Logical Step After Learning About Drawing Motifs from the World Around You?
Create a small motif library. Fill a page with simplified drawings from your home, garden, walks, or travels. Then choose three favorites and stitch quick samples. Testing your own motifs teaches you which shapes, sizes, stitches, and levels of detail work best.