
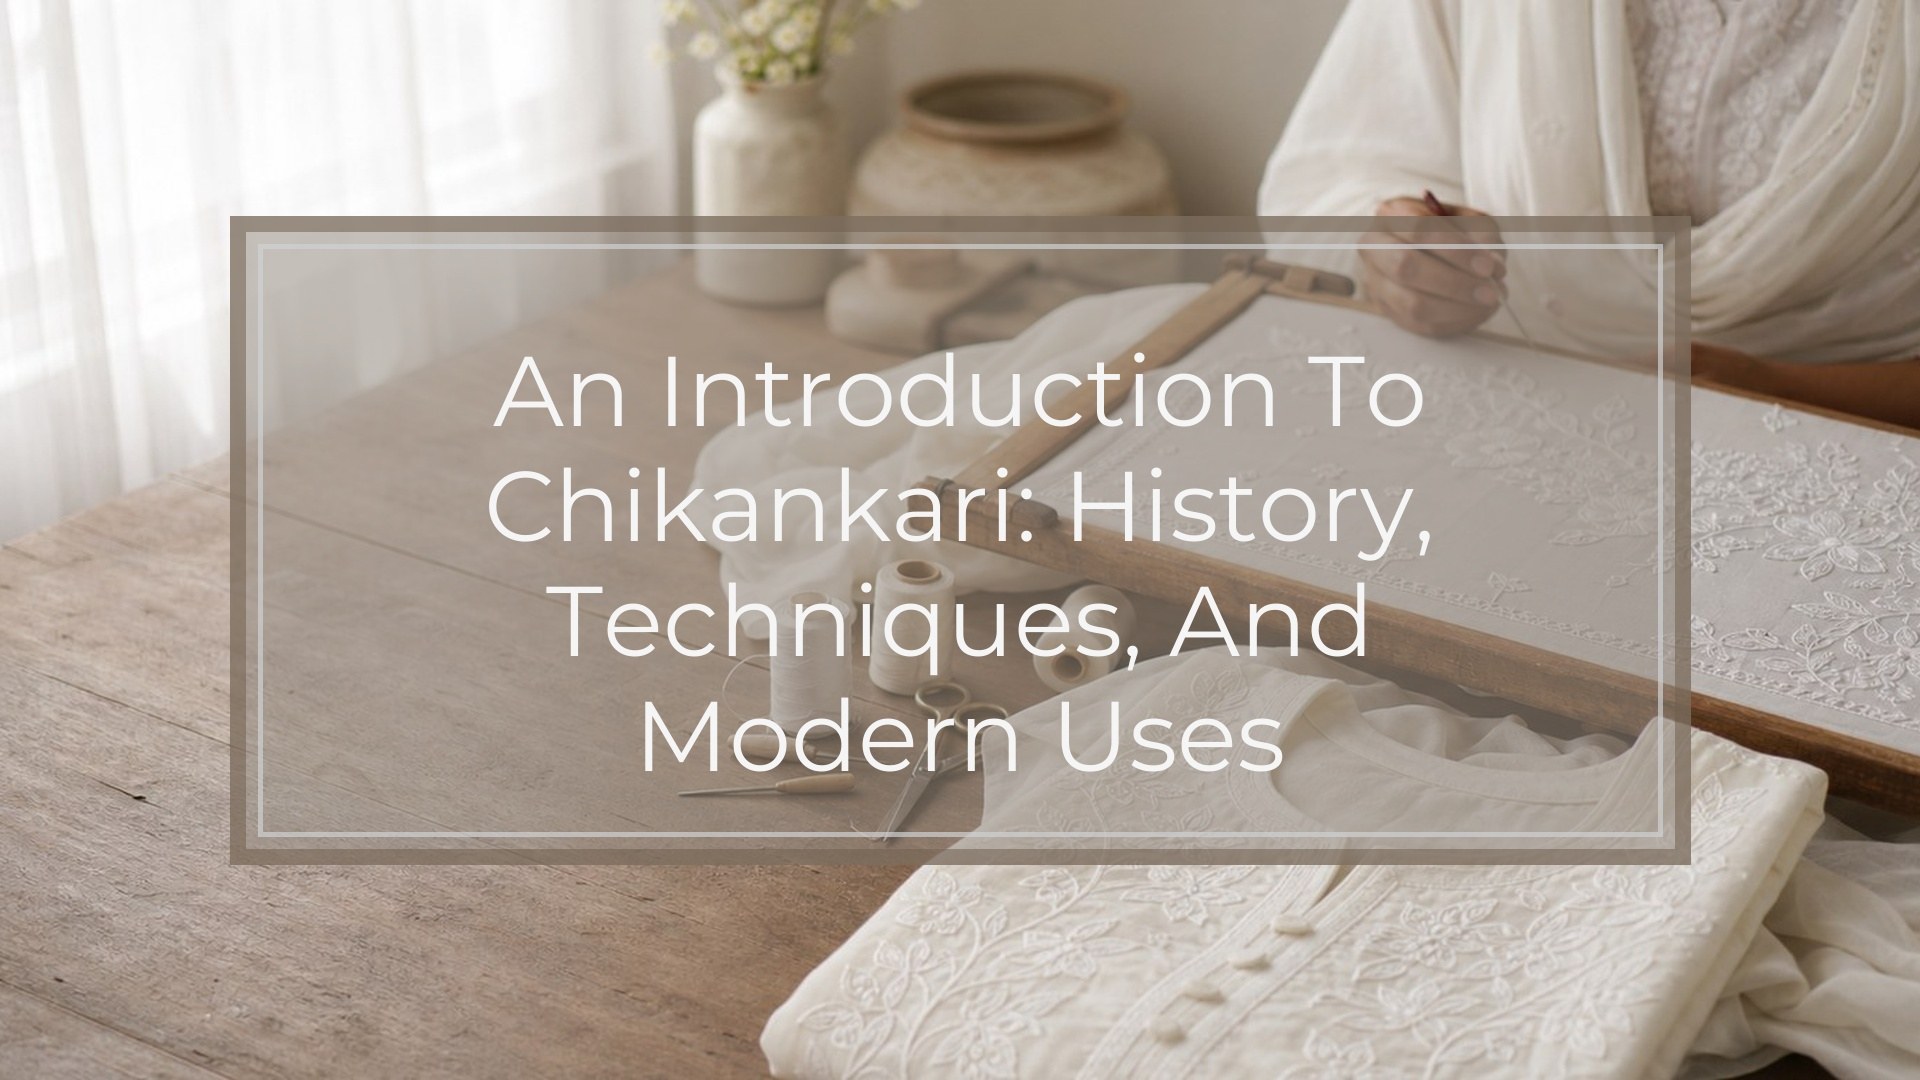
Chikankari is a delicate hand embroidery tradition best known for fine white threadwork, airy floral motifs, and subtle texture on lightweight fabric. It is often associated with Lucknow, India, and appears on kurtas, scarves, dupattas, cuffs, borders, and home textiles. For a beginner, the key idea is simple: chikankari is not one stitch, but a family of stitches used together to create shadow, outline, filling, and raised detail.
Quick Answer
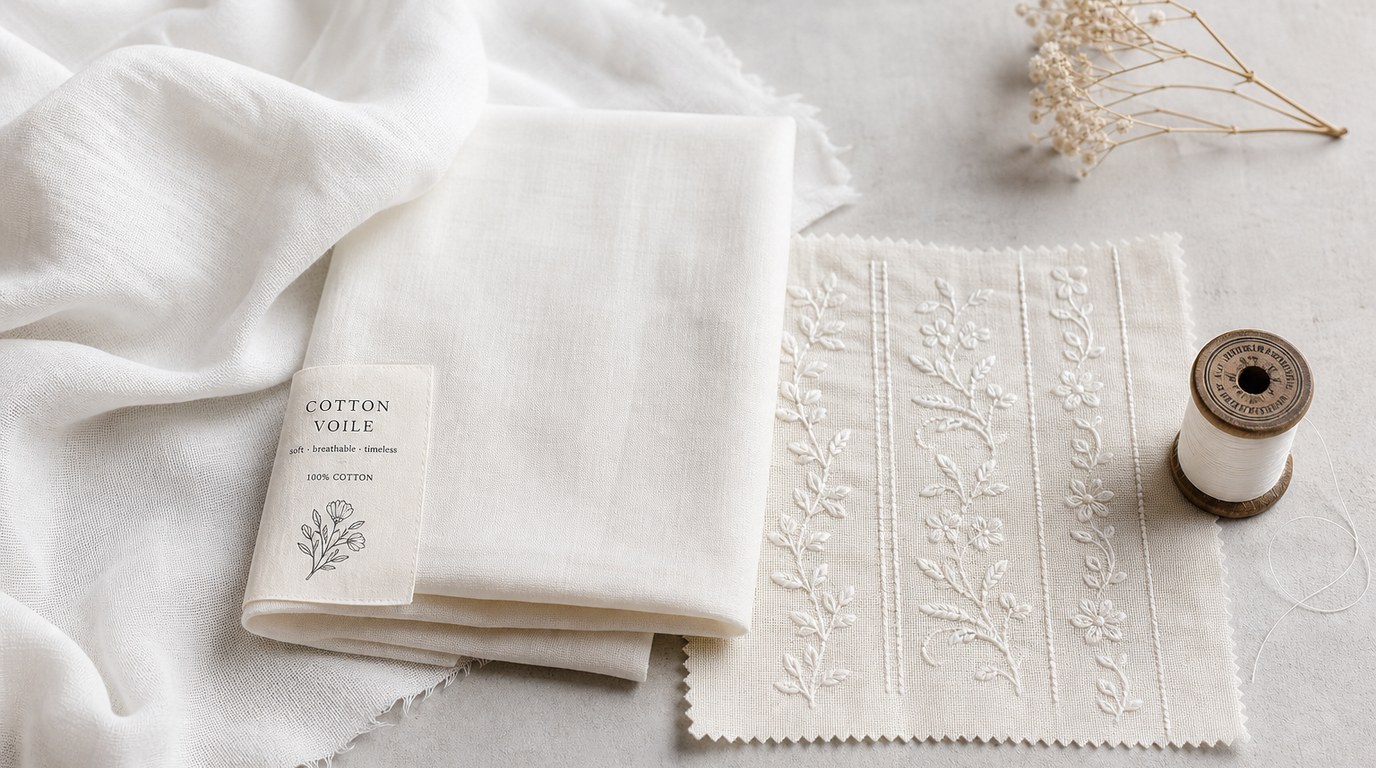
The main takeaway: chikankari is a refined embroidery style built from small, controlled stitches that create soft patterns rather than heavy decoration. Traditional chikankari often uses white cotton thread on white muslin, cotton, voile, or other light fabrics, though modern work may use colored threads and fabrics.
What makes chikankari distinctive is its restrained beauty. Instead of bold blocks of color, it often relies on tone-on-tone stitching, tiny outlines, open fillings, and shadow effects. A floral sprig might include a stem in stem stitch, petals filled with shadow work, a center made with knots, and small leaves shaped with buttonhole or satin-like stitches.
Historically, chikankari is linked most strongly with Lucknow, where artisans developed a wide vocabulary of stitches and motifs. You do not need to memorize the whole history to appreciate the craft, but it helps to know that chikankari is valued for lightness, precision, and graceful spacing.
A beginner should look for three things: the fabric, the stitch effect, and the motif layout. On a scarf, for example, chikankari may appear as scattered floral butis. On a kurta, it may be arranged around the neckline, cuffs, hem, and front panel. On a sampler, you might practice one small flower, one border, and one leaf spray before trying a garment.
How to Think About This Topic
A practical way to understand chikankari is to think of it as layered drawing with thread. First comes the design: usually floral, leafy, paisley, vine, or geometric. Then the outline establishes the shape. After that, different stitches add texture, transparency, dots, ridges, or filled areas.
This mental model helps because chikankari can seem confusing if you approach it as a list of unfamiliar stitch names. Instead, ask what each stitch is doing. Is it outlining a petal? Filling a leaf? Creating a shadow from the back of the fabric? Making a tiny dot? Once you see the function, the style becomes easier to recognize and practice.
Chikankari is especially known for effects that suit light fabric. Shadow work, for instance, is stitched on the reverse side so a soft filled shape shows through on the front. Fine outlines keep the motif crisp without making it stiff. Small knots or raised stitches add detail in flower centers or borders. The best pieces balance decoration with breathability, so the fabric still feels graceful.
Here is a beginner-friendly comparison of common chikankari stitch effects:
| Stitch or Effect | What It Looks Like | Common Use | Beginner Difficulty |
|---|---|---|---|
| Tepchi | Simple running stitch line | Outlines, borders, guide-like detail | Easy |
| Bakhiya / shadow work | Soft filled shape seen through fabric | Petals, leaves, large light areas | Moderate |
| Phanda | Small knot-like dot | Flower centers, dotted accents | Moderate |
| Murri | Rice-grain raised stitch | Tiny buds, textured centers | Moderate to hard |
| Hool | Small eyelet or hole | Flower centers, airy detail | Moderate |
| Keel kangan | Fine decorative line or filling | Leaves, petals, borders | Moderate |
| Buttonhole-style edging | Firm edge around a shape | Leaves, cutwork-like forms | Moderate |
Materials also shape the result. Traditional-looking chikankari works best on fine cottons, muslin, voile, lawn, mulmul, or lightweight linen blends. The thread is usually cotton, often white or a soft pastel. A tight, heavy fabric can make the work look cramped, while a very slippery fabric can frustrate beginners.
Motifs matter too. Chikankari favors elegant repetition: a small buti scattered across a scarf, a vine running along a cuff, or a denser yoke panel on a kurta. The empty space is part of the design. If every inch is filled, the work may lose the airy character that makes chikankari recognizable.
Practical Guidance
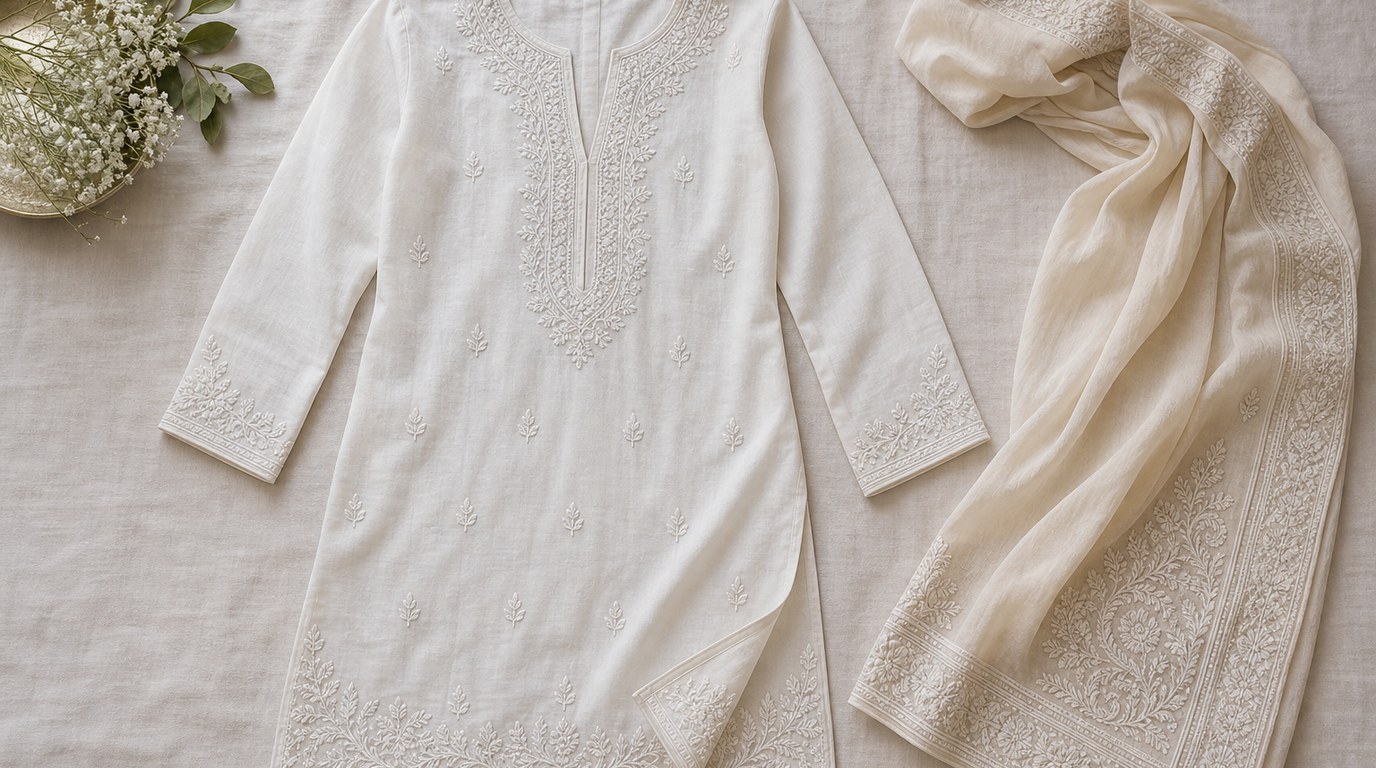
If you want to start recognizing chikankari, begin with everyday textile zones: neckline, cuffs, hems, borders, and all-over small motifs. On a kurta, check whether the embroidery follows the shape of the garment instead of sitting randomly on top. On a scarf, notice whether the corners and border are planned. Good chikankari usually has rhythm, not just scattered stitches.
To try the technique, start with a small sampler rather than a garment. Choose lightweight cotton in a pale color, cotton embroidery thread, a fine needle, and an embroidery hoop. Draw a simple motif: one stem, three leaves, one flower, and a narrow border. Practice tepchi for the outline, then add one shadow-work leaf and a few knot-like dots. This teaches the main logic without overwhelming you.
For fabric, choose something stable enough to hold in a hoop but light enough for shadow effects. Cotton voile, lawn, or fine muslin are good choices. Avoid stretchy knits, thick denim, loosely woven gauze, and shiny slippery cloth for your first attempt. They make stitch tension harder to control.
For thread, use stranded cotton or fine cotton embroidery thread. Beginners often use too many strands, which makes the work bulky. Chikankari looks best when the thread sits lightly on the cloth. If the motif looks heavy, reduce the strand count or make the stitches smaller.
A simple beginner process looks like this:
- Wash and press the fabric if needed.
- Transfer a small floral or vine design lightly.
- Hoop the fabric without distorting the weave.
- Stitch the main outlines first.
- Add one filling effect, such as shadow work.
- Add dots, knots, or small details last.
- Press gently from the reverse side.
When evaluating finished chikankari, look for neat tension, clean spacing, and a soft hand. The back should not be chaotic, especially on light fabric where thread trails may show through. Motifs should look intentional, with balanced areas of stitching and plain cloth. Raised details should be small and controlled, not lumpy.
Common beginner mistakes include choosing a design that is too dense, pulling the thread too tightly, using thick thread, or trying too many stitch types at once. Another mistake is treating chikankari like general surface embroidery with heavy filling. The charm is often in restraint: a fine outline, a translucent leaf, a neat dot, and enough open fabric for the motif to breathe.
FAQ
What Should a Beginner Know First About an Introduction to Chikankari?
A beginner should know that chikankari is a family of delicate embroidery stitches, not a single stitch. It is known for light fabrics, fine thread, floral motifs, shadow effects, and graceful spacing. Start by learning stitch function: outline, filling, dot, texture, and border.
What Matters Most When Evaluating an Introduction to Chikankari?
The most important qualities are neatness, lightness, and balance. Look for even stitches, controlled tension, clean motif placement, and fabric that still feels soft. Good chikankari should enhance the cloth without making it stiff, crowded, or overly heavy.
What Mistakes Should Readers Avoid with an Introduction to Chikankari?
Avoid starting with a large garment, dense design, thick thread, or difficult fabric. Do not pull stitches too tight, because puckering is very visible on light cloth. Beginners should practice a small flower, leaf, and border before attempting a full kurta or scarf.
What Is the Next Logical Step After Learning About an Introduction to Chikankari?
The next step is to make a small sampler. Choose lightweight cotton, transfer a simple floral motif, and practice tepchi, one shadow-work area, and a few dots or knots. This gives you a practical feel for chikankari’s texture, spacing, and stitch control.