
Embroidery hoops are simple tools, but they affect nearly every part of stitching: fabric tension, stitch neatness, hand comfort, project portability, and even how the finished piece is displayed. The right hoop holds fabric firm without distorting it, gives your needle a stable surface to work through, and suits the scale of your design.
For most stitchers, the best starting point is a smooth wooden or plastic hoop in a size slightly larger than the area being stitched. Beginners often do well with a 5-inch to 7-inch hoop for embroidery and cross stitch, while larger designs may need repositioning rather than one oversized hoop. Good hoop use is less about owning many hoops and more about matching size, material, and tension to the fabric and project.
Quick Answer
The main takeaway: choose an embroidery hoop that holds your fabric evenly taut, feels comfortable in your hand, and fits the portion of the design you are actively stitching. A hoop is not just a frame; it is a tension tool. When it works well, your stitches sit evenly, your fabric does not pucker, and your hands do less fighting with loose cloth.
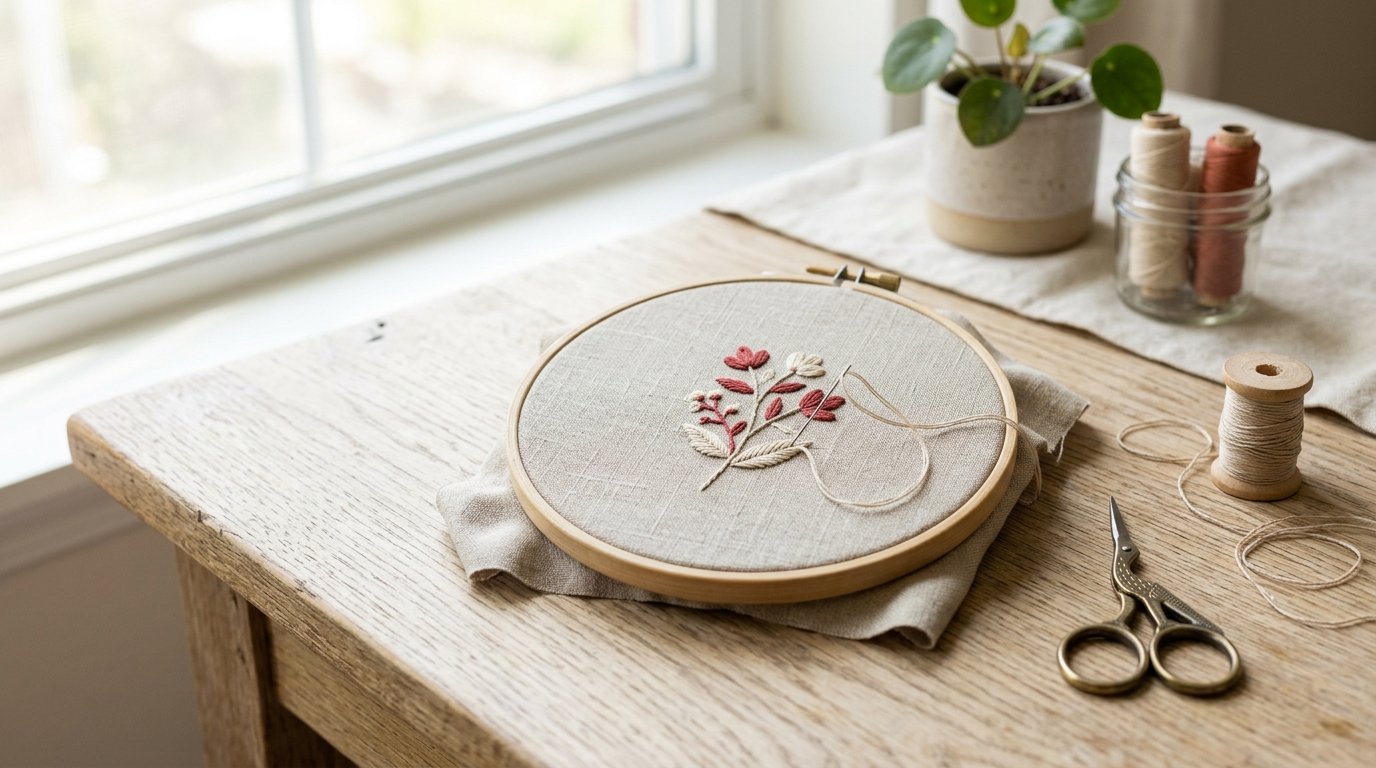
Most embroidery hoops have two rings: an inner ring and an outer ring with a screw or tightening mechanism. The fabric sits over the inner ring, the outer ring presses down over it, and the screw tightens to hold everything in place. The fabric should feel firm, like a drum, but not stretched so hard that the weave distorts.
Common hoop materials include wood, bamboo, plastic, and metal spring hoops. Wooden hoops are popular because they grip fabric well and are pleasant to hold. Bamboo hoops are lightweight and affordable, though quality varies. Plastic hoops are durable and easy to clean, often with good grip. Spring hoops are fast to set up but can feel strong or awkward for some users.
Size matters. A small hoop is easier to control and keeps tension more consistent, but it may need to be moved around a larger design. A large hoop covers more area but can be heavier and may lose tension faster. For most hand embroidery, 4-inch to 8-inch hoops are practical everyday sizes.
If you are buying your first hoop, pick a smooth, well-finished hoop with a sturdy screw, no splinters, and enough depth to grip your fabric. If you plan to display the finished embroidery in the hoop, choose one that also looks attractive and sits flat.
How to Think About This Topic
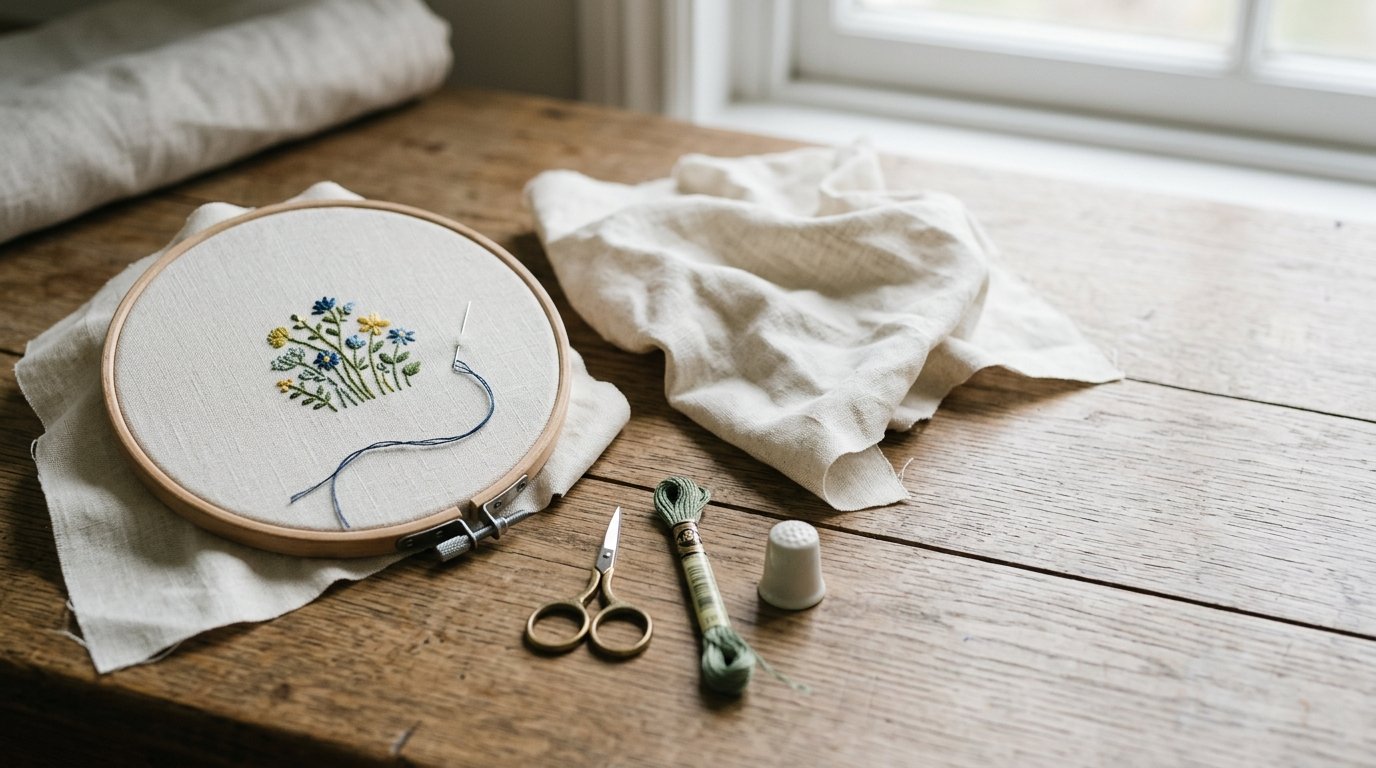
The easiest way to understand embroidery hoops is to think of them as fabric stabilizers. Needlework depends on repeated small movements: the needle goes down, comes up, pulls thread through, and forms a stitch. If the fabric shifts or sags during that process, your stitches can become uneven. A hoop gives the fabric a controlled working surface.
This matters for embroidery, cross stitch, needle painting, crewel work, punch needle preparation, and many other forms of surface stitching. The exact hoop choice changes with the project, but the purpose stays the same: keep the fabric stable enough that the thread can do its job cleanly.
There are three main decisions to make: material, size, and fabric compatibility.
Material affects grip, comfort, and durability. A high-quality wooden hoop grips many natural fabrics well and feels traditional in the hand. It is a strong choice for linen, cotton, and evenweave. Bamboo hoops are common in starter kits and can work nicely, but very cheap ones may have rough edges or weak screws. Plastic hoops can be excellent for regular use because they are washable, less prone to warping, and often hold slippery fabric well. Metal spring hoops use pressure rather than a screw and are useful when you want quick setup, though they are not everyone’s favorite for long sessions.
Size affects stitching control. It is tempting to buy a hoop large enough to fit the whole design, but that is not always best. A huge hoop can be tiring to hold and may not maintain even tension. Many stitchers use a smaller hoop and move it as they work. This is normal. If your stitches are already completed, protect them before moving the hoop over them, especially with raised embroidery, beads, or delicate threads.
Fabric compatibility affects tension. Thin cotton, linen, and evenweave usually sit well in a standard hoop. Very delicate fabric may need extra care so the hoop does not mark or strain it. Thick fabric can be harder to secure unless the hoop is deep enough. Slippery fabric may benefit from a hoop with better grip or from binding the inner hoop with cotton tape.
Hoop depth is often overlooked. The depth is the thickness of the ring from front to back. A shallow hoop is fine for many small projects, but a deeper hoop can grip better and feel sturdier, especially with heavier fabric. For fine work, the hoop must be smooth enough that it does not snag threads.
Tension is the central mental model. Good tension is even, firm, and temporary. You want the fabric taut while stitching, but you do not want to permanently stretch it. Tighten the hoop enough to stabilize the cloth, smooth the fabric gently from the center outward, and retighten as needed. If you hear advice to make the fabric “drum tight,” treat that as a useful image, not permission to wrench the screw as hard as possible.
Embroidery hoops also serve two different roles: working hoops and display hoops. A working hoop is chosen for comfort and tension. It may get handled, tightened, loosened, and moved many times. A display hoop is chosen for appearance and finishing. One hoop can do both jobs, but it does not have to. Many stitchers use a reliable working hoop and then mount the finished piece in a cleaner decorative hoop.
Practical Guidance
Start by matching the hoop to the project size. For a small floral motif, monogram, patch, or beginner sampler, a 4-inch to 6-inch hoop is usually easy to manage. For a cross stitch piece with a larger stitched area, a 6-inch to 8-inch hoop may feel more efficient. For large embroidery, use a hoop that fits the active stitching area and move it section by section. Avoid choosing a very large hoop only because the full design is large.
Next, match the hoop to the fabric. Cotton, linen, and evenweave generally work well in wood or plastic hoops. If the fabric slips, try a plastic hoop with a textured inner edge, a better-quality wooden hoop, or bind the inner ring. Binding means wrapping the inner hoop with cotton twill tape or bias tape. This adds grip, cushions the fabric, and can reduce hoop marks.
Here is a quick comparison for choosing hoop material:
| Hoop material | Best for | Watch out for |
|---|---|---|
| Wood | General embroidery, linen, cotton, display | Rough edges, weak screws, warping |
| Bamboo | Budget projects, kits, light use | Variable quality and grip |
| Plastic | Frequent use, washable projects, slippery fabrics | Some styles feel bulky |
| Metal spring | Fast setup, quick repositioning | Strong pressure, less display-friendly |
To set up a hoop, loosen the screw so the outer ring separates easily. Place the inner ring on a flat surface. Lay the fabric over it, keeping the grain as straight as possible. Press the outer ring down over the fabric and inner ring. Tighten the screw partway, then gently pull the fabric edges to remove slack. Tighten again until the fabric is firm. Do not pull so aggressively that printed designs, counted fabric squares, or woven threads distort.
While stitching, check tension occasionally. Fabric can loosen as your hands warm the hoop or as thread movement shifts the cloth. A quick edge tug and screw adjustment is usually enough. If the hoop keeps slipping, the hoop may be poor quality, the fabric may be too slippery, or the screw may not be tightening securely.
For cross stitch, keep the fabric square. Because cross stitch depends on counted threads or grid-like weave, distortion is more noticeable. Make sure the fabric is not pulled diagonally in the hoop. If you move the hoop over completed stitches, avoid crushing heavily textured areas. Some stitchers place a thin clean cloth between the stitches and hoop edge for protection.
For surface embroidery, consider stitch type. Flat stitches such as back stitch, stem stitch, satin stitch, and split stitch usually tolerate hoop movement well if handled carefully. Raised stitches, woven wheels, turkey work, beads, sequins, and dimensional embroidery need more caution. If possible, stitch raised details after the hoop no longer needs to press over that area.
For finishing in a hoop, use a clean display hoop that complements the design. Center the finished piece, tighten evenly, and trim the excess fabric at the back after securing it. Common finishing methods include gathering the back fabric with running stitch or covering the back with felt. The front should be smooth, centered, and firm, with no ripples at the edge.
When buying, inspect the details. The ring should be smooth all the way around. The outer hoop should close evenly. The screw should turn cleanly and hold tension. The hoop should not feel warped when placed on a flat surface. If buying online, check the diameter, depth, and material, not just the product photo.
Care is simple but important. Keep wooden hoops dry and store them flat so they do not warp. Wipe plastic hoops when needed. Remove fabric from the hoop between long stitching sessions, especially if the fabric is delicate or tightly stretched. This helps prevent hoop marks and long-term distortion.
A good basic hoop collection might include a 4-inch hoop for small motifs, a 6-inch hoop for everyday embroidery, and an 8-inch hoop for larger areas. Add specialty hoops only when a project calls for them. The best hoop is the one that makes your fabric stable, your stitches consistent, and your stitching time comfortable.
FAQ
What Should a Beginner Know First About an Essential Guide to Embroidery Hoops?
A beginner should know that an embroidery hoop’s main job is to hold fabric taut while stitching. Start with a smooth 5-inch or 6-inch hoop, use cotton or linen fabric, and focus on even tension rather than buying many sizes immediately.
What Matters Most When Evaluating an Essential Guide to Embroidery Hoops?
The most important factors are grip, smoothness, size, and comfort. A good hoop should hold fabric firmly without snagging, slipping, or warping it. The screw should tighten reliably, and the hoop should suit the area you are actively stitching.
What Mistakes Should Readers Avoid with an Essential Guide to Embroidery Hoops?
Avoid using a hoop that is too large, leaving delicate fabric tightly hooped for long periods, or forcing fabric until the weave distorts. Also avoid rough hoops with splinters or weak hardware, because they can damage fabric and make stitching frustrating.
What Is the Next Logical Step After Learning About an Essential Guide to Embroidery Hoops?
Choose one project and test hoop size, material, and tension in practice. Try stitching a small sampler in a quality wood or plastic hoop. Notice how the fabric feels, whether it slips, and whether the hoop remains comfortable during a full session.