
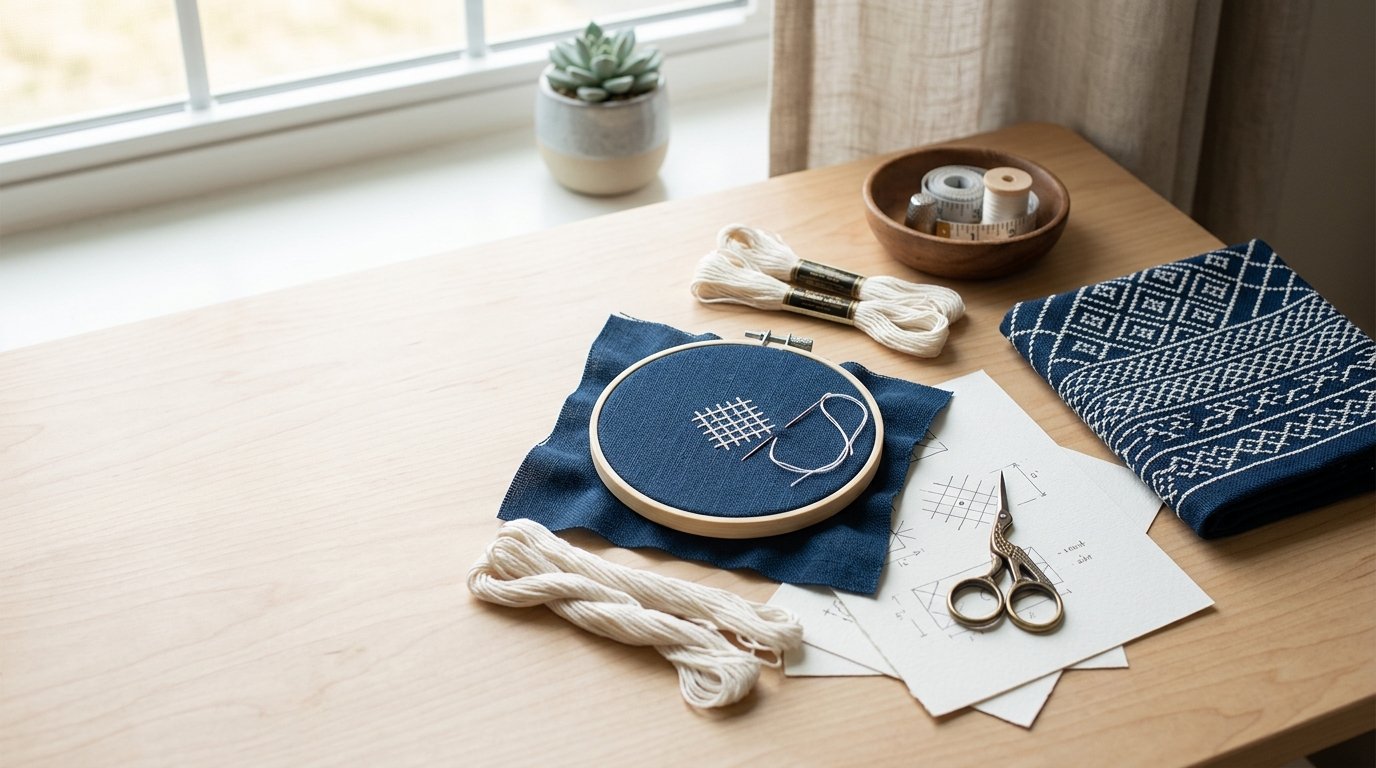
Kogin embroidery is a counted-thread Japanese stitching style built from simple running stitches. Instead of drawing a design on fabric, you follow a chart and stitch over counted fabric threads to create geometric patterns. For beginners, the appeal is that the basic stitch is easy, but the finished result looks crisp, textured, and intricate.
To start, you need even-weave fabric, suitable thread, a blunt tapestry needle, scissors, and a simple chart. The main skill is learning to count consistently: each stitch passes over a set number of fabric threads, and the pattern grows row by row. Begin with a small motif, use high-contrast materials, and check your count often.
What Is Kogin Embroidery?
Kogin embroidery is a traditional form of Japanese counted embroidery from the northern Tōhoku region, especially Aomori. Historically, it was stitched on indigo hemp work clothing with white cotton thread, adding warmth, strength, and decoration. Today, crafters use kogin for coasters, bookmarks, pouches, framed samples, ornaments, and decorative panels.
Unlike freehand embroidery, kogin is not usually stitched from drawn lines. It is counted from the fabric itself. The designs are made with horizontal running stitches arranged into repeated geometric motifs. This gives kogin its distinctive rhythm: rows of straight stitches build diamonds, bars, crosses, and stepped shapes.
Kogin is often compared with cross stitch because both use charts and counting. The difference is the stitch structure. Cross stitch forms X-shaped stitches in a grid, while kogin uses straight running stitches of varying lengths across the fabric threads.
The Basic Mental Model: How Kogin Stitching Works
The simplest way to understand kogin is to think of it as patterned darning. Your needle travels in horizontal rows, going over and under the fabric threads. The visible sections of thread create the design, while the hidden sections pass behind the fabric.
Most kogin patterns are based on odd-numbered stitch lengths, such as stitching over 1, 3, 5, or 7 fabric threads. These lengths stack and shift from row to row to create symmetrical shapes. You are not inventing each line as you go; you are translating a chart into counted movements.
A kogin chart usually shows where the thread should appear on the front of the fabric. Each mark represents a visible stitch over a specific number of threads. Your job is to keep the rows straight, count carefully, and maintain even tension. If the count is right, the motif will emerge naturally.
Beginner Supplies for Kogin Embroidery
You do not need many tools for your first kogin project, but the right materials make learning much easier. Choose supplies that help you see the fabric threads clearly and control your tension.
| Supply | What it does | Beginner tip |
|---|---|---|
| Even-weave fabric | Gives you threads to count evenly | Start with a medium-count fabric, not very fine linen |
| Kogin thread or cotton thread | Creates the visible pattern | Use a thread thick enough to show clearly |
| Tapestry needle | Passes through fabric without splitting threads | Choose a blunt needle that fits your thread |
| Embroidery hoop or frame | Holds fabric steady | Optional, but helpful for beginners |
| Sharp scissors | Cuts thread cleanly | Small embroidery scissors are ideal |
| Chart or pattern | Guides stitch placement | Pick a small, symmetrical motif |
| Ruler or fabric marker | Helps find the center | Mark lightly or use temporary methods |
Traditional kogin uses thicker cotton thread, but beginners can also practice with pearl cotton or multiple strands of embroidery floss. Avoid thread that is too fuzzy or slippery at first, as it can make counting and tension harder.
Choosing Fabric and Thread for Your First Project
Your first project should be easy to count. Look for even-weave fabric where the vertical and horizontal threads are evenly spaced. Aida can work for practice, but many stitchers prefer even-weave cotton, linen blends, or kogin-specific fabric because the finished texture looks more traditional.
Avoid very dark fabric for your first attempt unless your lighting is excellent. Dark cloth can make the thread intersections harder to see. A light or medium fabric with a contrasting thread is easier.
Thread thickness matters. If the thread is too thin, the design may look weak. If it is too thick, it may crowd the fabric and distort the weave. As a beginner, test a short row before committing. The stitches should sit neatly on the surface without pulling the fabric out of shape.
How to Read a Kogin Embroidery Chart
A kogin chart is a map of visible stitches. It does not usually show every movement of the needle on the back. Instead, it shows the parts of the thread that should appear on the front of the fabric.
Begin by finding the center of the chart and the center of your fabric. Many kogin designs are symmetrical, so starting in the middle helps keep the motif balanced. Read the chart row by row, usually from one side to the other. Each line of the chart corresponds to one horizontal row of stitching.
Pay attention to stitch length. A mark may show that you stitch over three fabric threads, then pass under one, then stitch over five. The exact chart style varies, so read any pattern notes before starting.
It helps to use a pencil, magnetic board, or sticky note to track your current row. Beginners often make mistakes when they look away and return to the wrong line.
Step-by-step: How to Start Kogin Embroidery
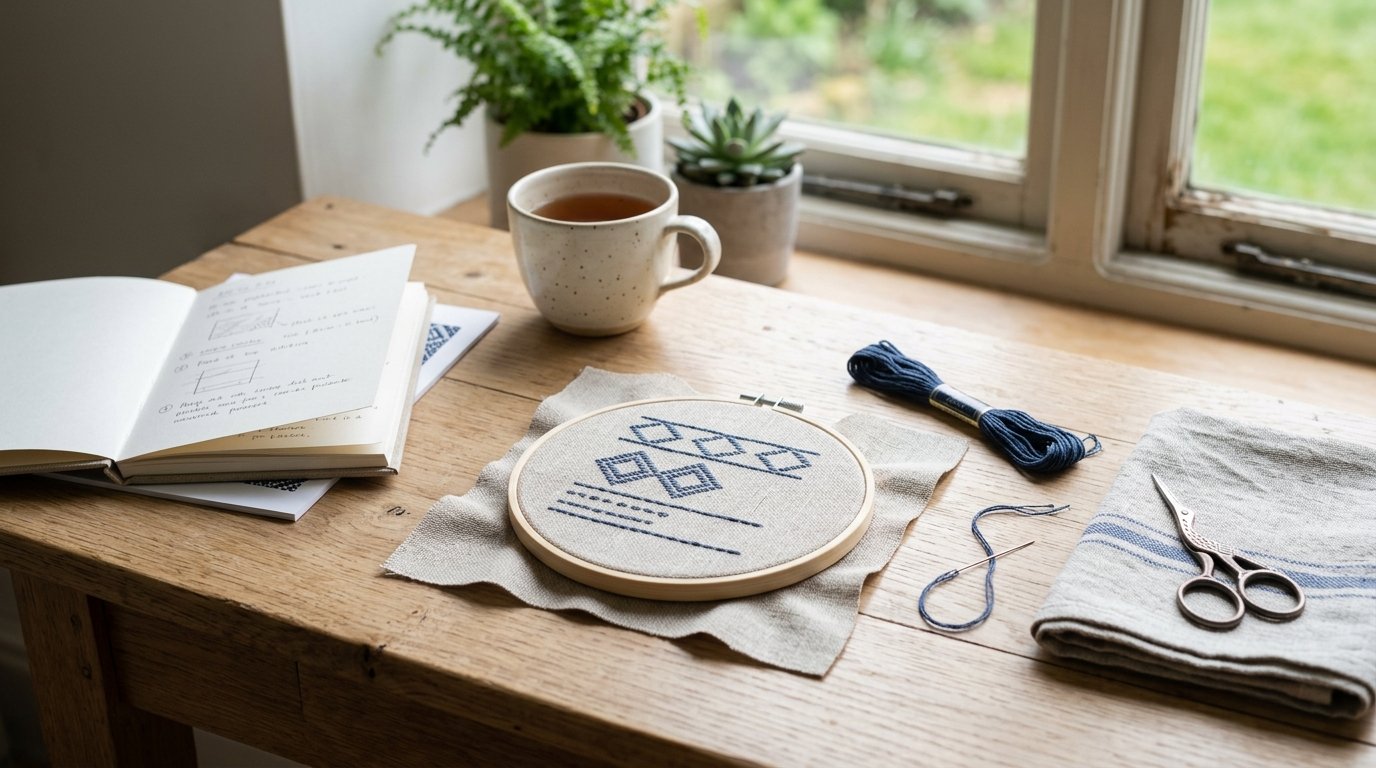
- Prepare your fabric. Cut a piece larger than your design so you have room for handling and finishing. If the fabric frays easily, secure the edges with masking tape, a zigzag stitch, or temporary binding.
- Find the center. Fold the fabric gently in half vertically and horizontally, or count from the edges if your fabric is already squared. Mark the center with a removable marker or a small temporary thread.
- Thread your needle. Cut a manageable length of thread, around 18 inches. Very long thread tangles more easily and wears down as it passes through the fabric.
- Start without a bulky knot. Many kogin stitchers avoid knots because they can create bumps. Instead, leave a short tail on the back and secure it under later stitches. For practice, a small knot is acceptable, but try learning the neater method early.
- Stitch the first row slowly. Follow the chart and count fabric threads before pulling the needle through. Keep your needle moving horizontally. Make sure the visible stitches match the chart.
- Check your tension. Pull the thread until it lies flat, but do not tug tightly. Tight tension puckers the fabric and makes the motif uneven.
- Move to the next row. Kogin designs build through alignment. Check how the new row relates to the row above it. The spaces and stitch lengths should form the intended shape.
- Correct mistakes early. If a stitch is off by one thread, unpick it as soon as you notice. Small counting errors can shift the whole pattern.
- Secure the end. When the thread gets short, run it under several stitches on the back. Trim close, but do not cut the fabric.
Work in good light and take breaks. Kogin is simple in motion, but it asks for steady attention.
Simple Kogin Patterns That Are Good for Beginners
The best beginner kogin patterns are small, symmetrical, and repetitive. Look for single motifs rather than large all-over designs. Good first choices include a small diamond, a stepped triangle, a simple border, or a narrow band pattern.
A coaster-sized sample is ideal because it is useful but not overwhelming. Bookmarks and small framed motifs also work well. Avoid patterns with many long rows, frequent direction changes, or dense areas until you feel comfortable reading charts.
If you are unsure, choose a design with only two colors: one fabric color and one thread color. Adding extra thread colors can be beautiful, but it also adds more decisions while you are still learning to count.
Common Beginner Mistakes and How to Fix Them
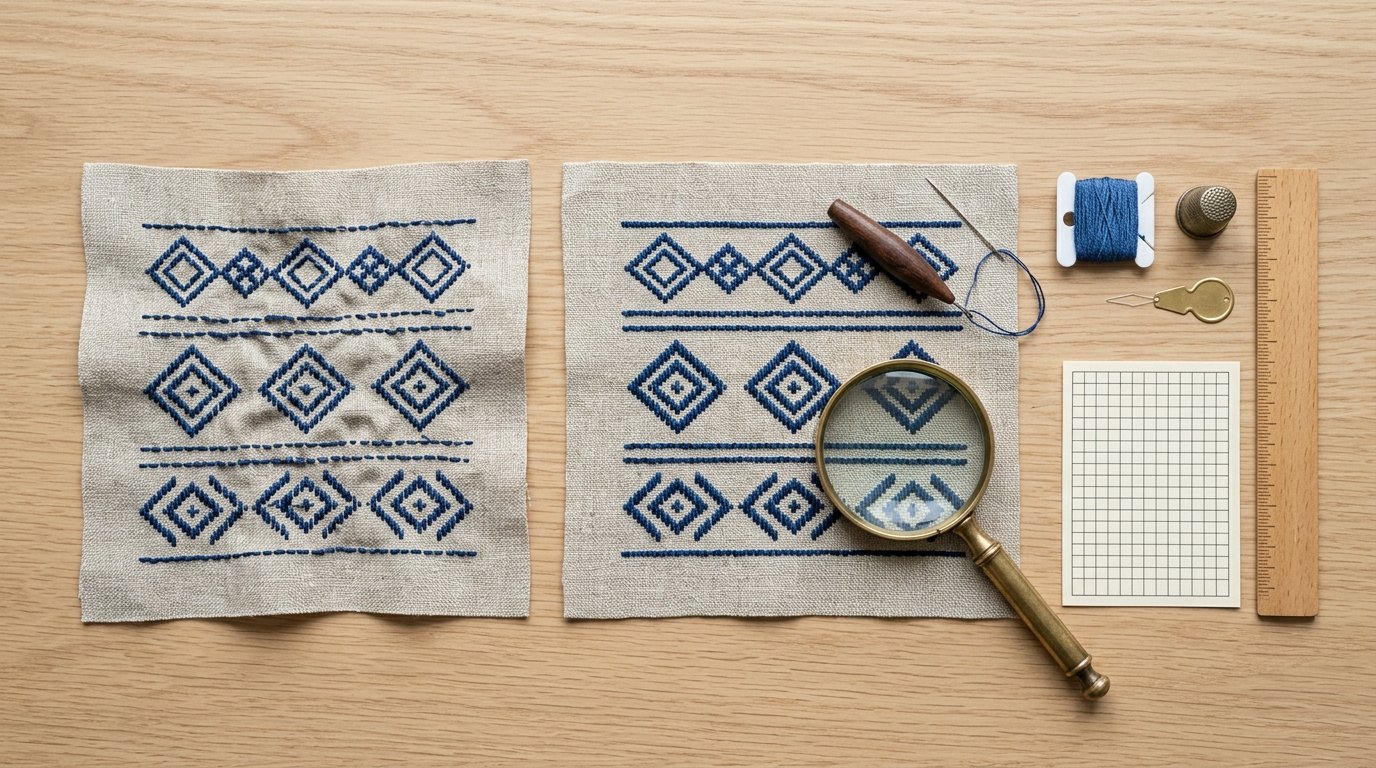
Miscounting fabric threads is the most common problem. Fix it by checking each row against the chart before moving on. If the motif looks slightly skewed, stop and compare the row to the one above it.
Pulling too tightly causes puckering. Relax your grip and let the thread rest on the surface. If the fabric is already distorted, gently smooth the area and loosen the last few stitches if needed.
Using unsuitable fabric makes kogin frustrating. If you cannot clearly see the weave, switch to a more open even-weave fabric for practice.
Starting with a complex chart can lead to discouragement. Save large repeating patterns for later and begin with one centered motif.
Splitting fabric threads can happen with a sharp needle. Use a blunt tapestry needle so it passes between threads rather than piercing them.
Losing your place on the chart is easy. Mark completed rows lightly or cover the rows you are not stitching.
Finishing and Using Your Kogin Embroidery
Once your stitching is complete, finish the back neatly by securing loose thread ends under nearby stitches. If the fabric is wrinkled, press it from the back on a soft towel, using a cloth between the iron and embroidery.
You can turn a small kogin sample into a coaster, sachet, bookmark, patch, pincushion, or framed piece. For items that will be handled often, consider backing the fabric with cotton or felt to protect the stitches and hide the reverse side.
What to Try Next After Your First Kogin Project
After one small project, try a slightly larger motif or a repeating border. Practice keeping rows aligned across a wider area. You can also experiment with different fabric counts, traditional indigo-and-white color schemes, or modern color combinations.
The next useful skill is consistency: even tension, accurate counting, and neat thread starts and finishes. Once those feel natural, more complex kogin patterns become much less intimidating.
FAQ
What Should a Beginner Know First About a Beginners Guide to Kogin Embroidery?
A beginner should know that kogin embroidery is counted, not drawn freehand. You follow a chart and stitch horizontal running stitches over fabric threads. The basic stitch is simple, but accurate counting, suitable fabric, and even tension are what make the final design look clean.
What Matters Most When Evaluating a Beginners Guide to Kogin Embroidery?
The most important thing is whether the guide helps you start confidently. It should explain the stitch structure, supplies, fabric choice, chart reading, and a first project in practical terms. A good beginner guide should reduce confusion, not overwhelm you with advanced variations.
What Mistakes Should Readers Avoid with a Beginners Guide to Kogin Embroidery?
Avoid starting with fabric that is too fine, thread that is too thin, or a chart that is too complex. Do not rush the counting. Many beginner problems come from being off by one thread, pulling too tightly, or continuing after a mistake instead of fixing it early.
What Is the Next Logical Step After Learning About a Beginners Guide to Kogin Embroidery?
The next step is to stitch a small sample, such as a coaster, bookmark, or single motif. Choose high-contrast fabric and thread, follow one simple chart, and focus on counting accurately. After that, move to borders, repeated motifs, or slightly larger decorative projects.