

Looking to add some cute and cozy flair to your crochet projects? A cat hat is a perfect choice! Whether you’re making it for yourself, a friend, or even your furry pet, crocheting a cat hat is a fun and rewarding project. With just some yarn, a crochet hook, and a few hours of your time, you can create an adorable beanie with playful cat ears on top.
This project is great for beginners and experienced crocheters alike. You can customize your cat hat with different colors and yarn types to match your style. The design is straightforward – you’ll create a basic beanie shape and then add those cute pointed ears that give it character. Some patterns use a simple rectangle method while others work in rounds from the top down.
Don’t worry if you’re new to crochet! The techniques needed are basic, and you’ll learn as you go. You can choose from various styles, from a classic beanie with cat ears to a bucket hat style that even fits on cats or small dogs. Ready to get started? Let’s gather our supplies and begin this purrfect project!
If you need a quick checklist, this guide covers essential crochet supplies.
Understanding Crochet Basics
Before diving into making your cat hat, it’s helpful to understand some crochet fundamentals. Learning these basics will make the project more enjoyable and help you create a cat hat you’ll be proud of.
Types of Crochet Stitches
The most common stitches you’ll need for a cat hat include the slip stitch, single crochet, and double crochet. Slip stitches are tiny and flat, perfect for joining rounds or moving across your work without adding height.
Single crochet creates a tight, sturdy fabric ideal for the main part of your cat hat. This stitch is simple but effective – just insert your hook, yarn over, pull through, yarn over again, and pull through both loops.
Double crochet works up faster and creates a more flexible fabric. It’s taller than single crochet and can be used for faster progress or decorative sections of your hat.
Chain stitches form the foundation of most crochet projects. For a cat hat, you might start with a magic ring (also called a magic circle) instead, which creates a tight center that won’t leave a hole at the top of your hat.
Selecting the Right Crochet Hook
Your hook size greatly affects the final size of your cat hat. Smaller hooks (2.5-4mm) create tighter, stiffer fabric, while larger hooks (5-6.5mm) make looser, stretchier hats.
For beginners, a 5mm (H/8) hook is a friendly size that’s comfortable to hold and works well with worsted weight yarn – the most common choice for cat hats.
Metal hooks slide smoothly through stitches, while wooden or plastic hooks might grip the yarn better if you’re struggling with tension. Ergonomic hooks with thicker handles reduce hand fatigue during longer crafting sessions.
Always check your pattern for recommended hook sizes. Remember that your natural tension matters too – if you crochet tightly, you might need to size up your hook to match the pattern gauge.
Choosing Your Yarn
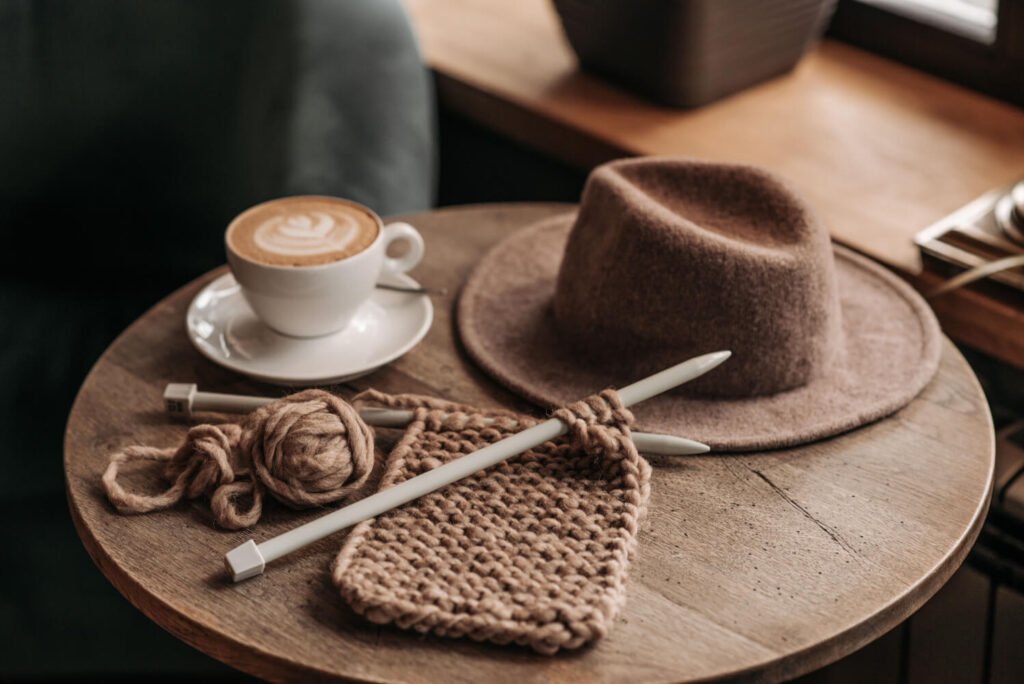
Picking the right yarn for your cat hat project makes all the difference in how it looks and feels. The yarn you select affects both the hat’s appearance and how comfortable it will be for wearing.
If you’re planning your project, it also helps to know how many yards are in a skein of yarn.
Yarn Types and Weights
Worsted weight yarn (size 4) is perfect for cat hats! This medium-weight option creates a sturdy but soft hat that holds its shape well. From the search results, we can see that worsted weight is considered the most versatile choice for hat making in general.
Acrylic yarn works great for beginners because it’s affordable and comes in many colors. Plus, it’s easy to wash if your hat gets dirty. Wool blends add warmth for winter hats but might be a bit itchy for some people.
Cotton yarn creates lighter cat hats for warmer weather. It doesn’t stretch much, which helps your cat ears stay perky!
For complete beginners, choose a smooth yarn without fuzzy textures. This makes it easier to see your stitches as you work.
Color Selection
For a classic black cat hat, choose a deep black yarn as your main color. You might want pink or light tan yarn for the inner ears to create contrast.
You can get creative with colors too! Gray for a tabby cat, orange for a ginger cat, or white for a snowy kitty. Some crafters use scraps of different colors – the search results mention a “Scrappy Cat Hat” tutorial that uses leftover yarn.
Consider adding stripes or spots with contrasting colors to make your cat hat unique. Small amounts of white yarn are perfect for whisker details.
Choose colors that complement your skin tone if you’re making the hat for yourself. Dark colors like black look great on almost everyone!
Preparing to Crochet the Cat Hat
Before you start crocheting your cat hat, you’ll need to get a few things ready. Proper preparation will ensure your finished hat fits perfectly and uses the right amount of yarn.
Measuring for Size
First, you’ll need to measure the head of the person who will wear the cat hat. Wrap a flexible measuring tape around the head, just above the ears where the hat will sit.
Here are some typical head measurements to help you:
- Toddler: 18-19 inches
- Preschooler: 19-20 inches
- Child: 20-21 inches
- Teen: 21-22 inches
- Adult: 22-23 inches
Write down this measurement as it will guide your pattern. If you’re making the hat as a gift and can’t measure directly, use these standard sizes as a guide.
Remember that cat hats often sit a bit snugly, so don’t make it too loose. You want it to stay in place when the wearer moves their head.
Creating a Swatch for Gauge
Testing your gauge is super important for getting the right size hat. Using your chosen worsted weight yarn and the hook size suggested in your pattern, crochet a small square (about 4×4 inches).
Count how many stitches and rows fit in one inch of your swatch. Compare this to what your pattern recommends. For example:
- Pattern gauge: 14 stitches and 16 rows = 4 inches
- Your gauge: 16 stitches and 18 rows = 4 inches
If your stitches are smaller (more per inch), try a larger hook. If they’re bigger (fewer per inch), try a smaller hook. This might seem like extra work, but it’s worth it!
Make sure your tension while creating the swatch matches how you’ll crochet the actual hat. This helps ensure your finished cat hat will fit just right.
Crocheting the Base of the Hat
Creating the base of your cat hat is the first step in your crochet journey! You’ll start with a simple ring that will expand into a circle—this forms the top of your hat.
Begin by making a magic ring, or you can chain 4 and join with a slip stitch to form a ring. This creates the center of your hat.
Next, work single crochet stitches into your ring. For most hat patterns, you’ll start with 6-8 single crochets in the first round.
Increase Rounds
To make your circle grow wider, you’ll need to increase your stitches. The basic pattern for increasing is:
- Round 2: 2 single crochets in each stitch (doubles your stitch count)
- Round 3: 1 single crochet, 2 single crochets in next stitch repeat around
- Round 4: 2 single crochets, 2 single crochets in next stitch repeat around
Keep increasing in this pattern until your circle reaches the right size for your head. Most adult hats reach about 5-6 inches across before you stop increasing.
Once your circle is the right size, you’ll simply crochet one stitch in each stitch without increasing. This creates the straight sides of your hat.
Remember to check your gauge! If your stitches are too tight, your hat might be too small. Too loose, and it might be floppy.
Adding Cat Ears to Your Hat
The cat ears are what transforms your simple beanie into an adorable cat-themed creation! These triangular shapes can be crocheted separately and then attached to give your hat that distinctive feline look.
Shaping the Ears
Start by making a small chain of about 10-12 stitches for each ear. This will form the base of your triangle-shaped ear. Work half double crochet stitches across this chain.
For the next row, decrease at the beginning and end to create the triangular shape. You can do this by crocheting two stitches together. Continue this pattern of decreasing on both ends of each row.
Keep working rows while decreasing until you have only 1-2 stitches left at the top of the triangle. This gradual narrowing creates the pointed cat ear shape that’s so recognizable!
If you want stiffer ears that stand up better, you can make them with a smaller hook than what you used for the hat. This creates a firmer fabric that holds its shape.
Attaching the Ears
Position your cat ears on the hat while it’s flat. Place them about 2-3 inches apart on the top seam of your beanie. This spacing creates that perfect cat-like appearance!
Thread your tapestry needle with the same yarn you used for your project. Start sewing the base of each ear to the hat with small, even stitches. Make sure to catch both the ear piece and the hat fabric with each stitch.
Go all the way around the base of each ear, securing it firmly. If the ears seem floppy, you can add a bit of stuffing inside before completing the attachment.
Double-check that both ears are evenly placed and facing the same direction. Nothing ruins a cute cat hat faster than lopsided ears! Give your hat a gentle shake to ensure the ears are securely attached before wearing.
Decorative Elements and Personal Touches
Adding personal touches to your cat hat makes it unique and special. You can transform a basic hat into something truly eye-catching with just a few creative additions.
Adding Stripes or Patterns
Want to make your cat hat more interesting? Try adding stripes! You can create stripes by changing yarn colors after completing specific rows. For Halloween costumes, black and orange stripes make a festive choice that’s perfect for the season.
You might also consider adding simple patterns like polka dots by using the surface crochet technique. This allows you to “draw” on your finished hat with yarn.
For a cool weather option, consider making an earflap cat hat. Simply add triangular or rounded flaps to the sides before attaching the ears. These not only look cute but keep your ears warm too!
Tip: When changing yarn colors, try carrying the unused yarn along the inside of your work rather than cutting it each time. This saves time and reduces loose ends to weave in later.
Creating a Whimsical Look
Make your cat hat more playful by adding whiskers! Use pipe cleaners or stiff yarn to create whiskers that stick out from the sides of the hat. You can secure them with a few stitches or glue.
For a Halloween costume cat hat, consider adding glow-in-the-dark eyes or sparkly buttons. These small touches make your hat stand out in dim lighting.
Add a cute nose by crocheting a small triangle or using a button. Place it on the front of the hat just below the space between the ears.
Fun idea: Crochet a small fish or mouse to attach to the side of your hat! This playful addition makes it look like your cat hat has caught something.
You can also add ribbons, bows, or small flowers near the ears for extra charm. These touches make your cat hat more personalized and fun to wear.
Crocheting for Different Ages
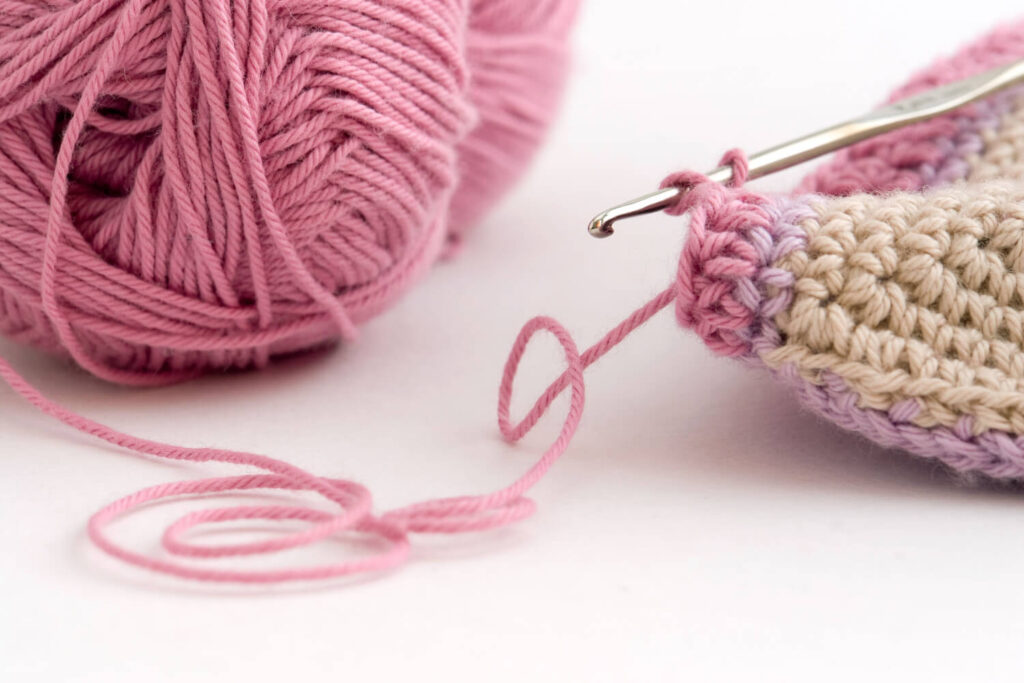
Cat hats can be customized to fit people of all ages! Making size adjustments is easy once you understand a few basic principles about head measurements and yarn choices.
Modifications for Children
When crocheting cat hats for children, you’ll need to adjust the size for their smaller heads. For toddlers (ages 1-3), aim for a hat circumference of 18-19 inches. Preschoolers (ages 3-5) typically need about 19-20 inches around.
Use softer, lighter weight yarns for kids’ hats to keep them comfortable. Child-friendly acrylics are perfect because they’re washable and come in bright colors kids love!
You might want to make the cat ears slightly smaller for children’s hats. This creates a more proportional look. Try making the ears about 2-3 inches tall instead of the 3-4 inches you’d use for adults.
For extra cuteness, consider adding colorful buttons or small embroidered details like whiskers or a nose. Just make sure any added items are securely attached for safety.
Adjustments for Adults
Adult cat hats typically need a circumference between 21-23 inches. Teens usually fit at the smaller end of this range. For a better fit, you can add a ribbed band at the bottom that stretches comfortably.
You can get creative with adult versions by using fancier yarns like wool blends or yarns with subtle sparkle. These add texture and visual interest to your project.
Consider adjusting the ear placement for adults. Positioning the ears slightly further apart (about 2-3 inches) creates a more sophisticated look. You might also make the ears taller or more pointed for a dramatic effect.
For a fun twist, try making multi-colored ears or adding ear linings in contrasting colors. This works especially well for teens who often appreciate more expressive styles.
Finishing Techniques
The final steps in creating your cat hat can make all the difference between a homemade-looking project and a professional one. Proper finishing not only improves appearance but also ensures your hat will last through many wears.
Weaving in Ends
When you finish crocheting your cat hat, you’ll notice loose yarn ends that need to be hidden. Grab your yarn needle (also called a tapestry needle) and thread each loose end through it. Work the needle under several stitches on the inside of your hat, weaving in a zigzag pattern for security.
Don’t pull too tight or your hat might pucker! Go about 2-3 inches in different directions with each end to ensure it won’t come undone.
Once you’ve woven in all loose ends, give them a gentle tug to test if they’re secure. Then take your scissors and carefully snip off any excess yarn, cutting close to the fabric but not so close that the ends might work themselves out.
Creating a Professional Finish
For that store-bought look, blocking your cat hat can work wonders. You can dampen your finished hat slightly and shape it over a balloon or ball that’s roughly head-sized.
Add any final embellishments now, like button eyes or whiskers, using your yarn needle to attach them securely. Make sure everything is symmetrical for the best look!
Give your hat a final inspection, checking for any missed ends or loose stitches. Gently stretch the brim to ensure it has good elasticity. A light steaming can help set the shape if you have a handheld steamer.
Remember to trim any fuzzy bits with your scissors for a clean finish. Your cat hat is now ready to wear or gift!
Caring for Your Crochet Cat Hat
Taking good care of your crochet cat hat will help it last longer. With a few simple steps, you can keep it looking great for many wears!
Washing Instructions
- Hand wash your cat hat in cold water with mild soap
- Gently squeeze out excess water (don’t wring!)
- Lay flat on a towel to dry
- Avoid machine washing, which can damage the stitches
Remember that different yarn types need different care. Acrylic yarn is easiest to clean, while wool may need special wool wash.
Storage Tips
- Store your cat hat flat in a drawer or box
- Keep away from direct sunlight to prevent fading
- Don’t hang your hat, as this can stretch it out
- Place tissue paper inside to help maintain its shape
If your hat gets a bit misshapen, you can lightly steam it back into shape. Just be careful not to get too close with the iron or steamer!
For stubborn stains, spot clean with a gentle detergent before washing the whole hat. This helps protect the yarn from unnecessary wear.
Your crochet cat hat is special! With proper care, your kitty will look adorable in it for a long time.
Learning Resources and Patterns
Finding the right resources can make your cat hat crochet project so much easier. There are plenty of free patterns and helpful tutorials available online to guide you through the process.
Finding Free Crochet Patterns
Many crochet enthusiasts share their cat hat patterns online for free. Etsy shops like “mindfulknotsbykate” offer written patterns for adorable strawberry-style cat hats. These patterns often include detailed instructions suitable for beginners.
When searching for patterns, look for ones that clearly list:
- Materials needed
- Hook size recommendations
- Stitch abbreviations
- Difficulty level
WikiHow offers a simple 7-step pattern for cat hats that’s perfect for beginners. The pattern starts with crocheting a ring and then working around it to expand the circle.
Don’t forget to check if the pattern is sized for cats, humans, or both! Some patterns, like the cat ear beanie/sack hat mentioned in the search results, can be modified for different sizes.
Video Tutorials for Visual Learners
If you learn better by watching, YouTube is filled with helpful crochet cat hat tutorials. These videos walk you through each step of the process, making it easier to understand complex techniques.
Look for tutorials that:
- Break down the process by rounds (Round 1, 2, 3, etc.)
- Show close-ups of stitch techniques
- Demonstrate color changes
- Include timestamps for different sections
Many tutorials are specifically labeled “beginner-friendly” and offer slower demonstrations of each step. Some even feature themed designs like Pete the Cat characters that kids will love.
The best videos show the crocheting from multiple angles, helping you understand exactly how to position your hook and yarn. Most tutorials also mention the exact materials you’ll need at the beginning, so you can gather everything before starting.