
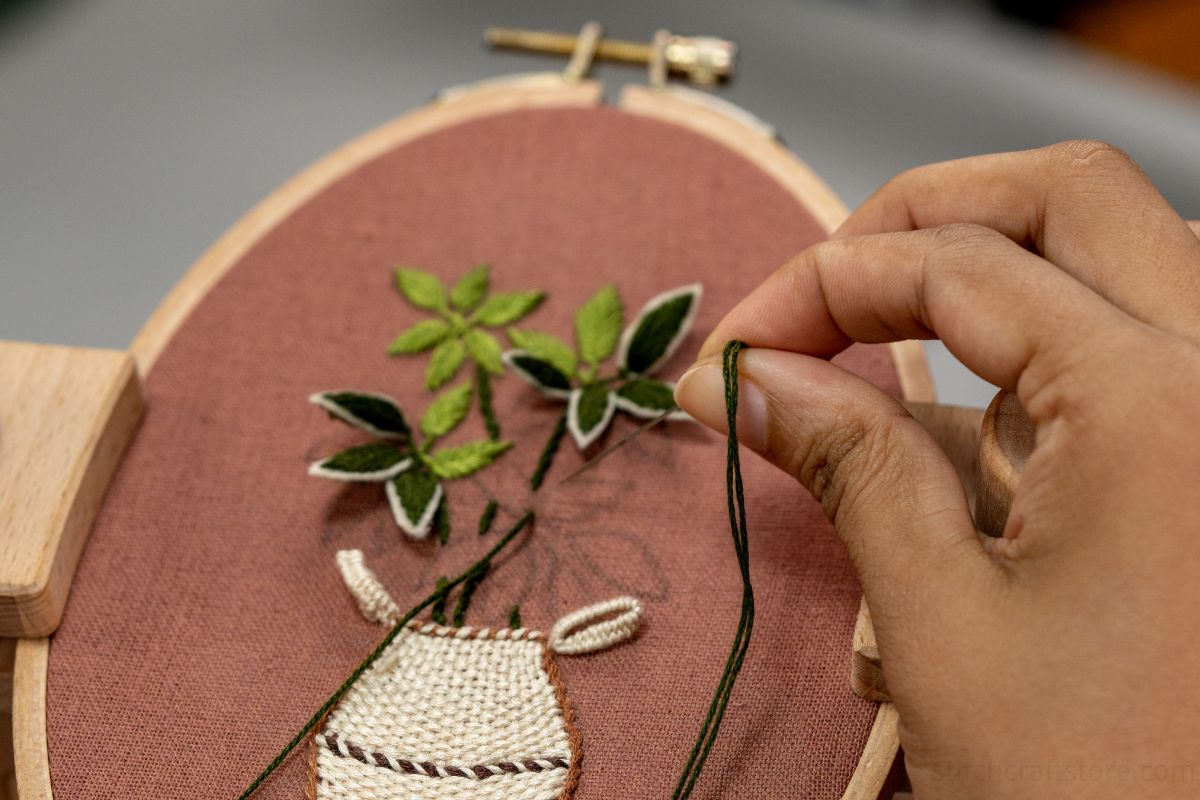
Embroidery kits are a great way to start your stitching journey. They provide all the necessary materials and instructions to create beautiful designs. This guide will walk you through the process of using an embroidery kit, from setting up your workspace to finishing your project.
For broader context, see our make your own embroidery kit.
Key Takeaways:
- Prepare your materials carefully before starting
- Learn basic stitches like satin stitch and French knot
- Follow the pattern closely for best results
- Take your time and enjoy the process
- Finish your work neatly for a professional look
Introduction to Embroidery Kits
Embroidery kits are perfect for beginners and experienced crafters alike. They typically include:
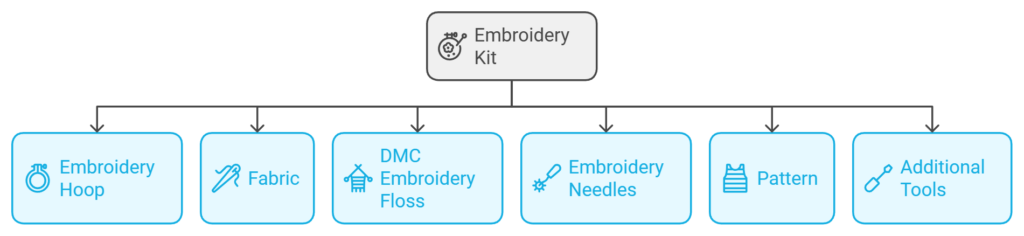
- Embroidery hoop
- Fabric (often cheesecloth)
- DMC embroidery floss
- Embroidery needles
- Pattern
- Additional tools (like pliers or screwdriver)
These kits provide everything you need to create a specific design, making it easy to get started with embroidery.
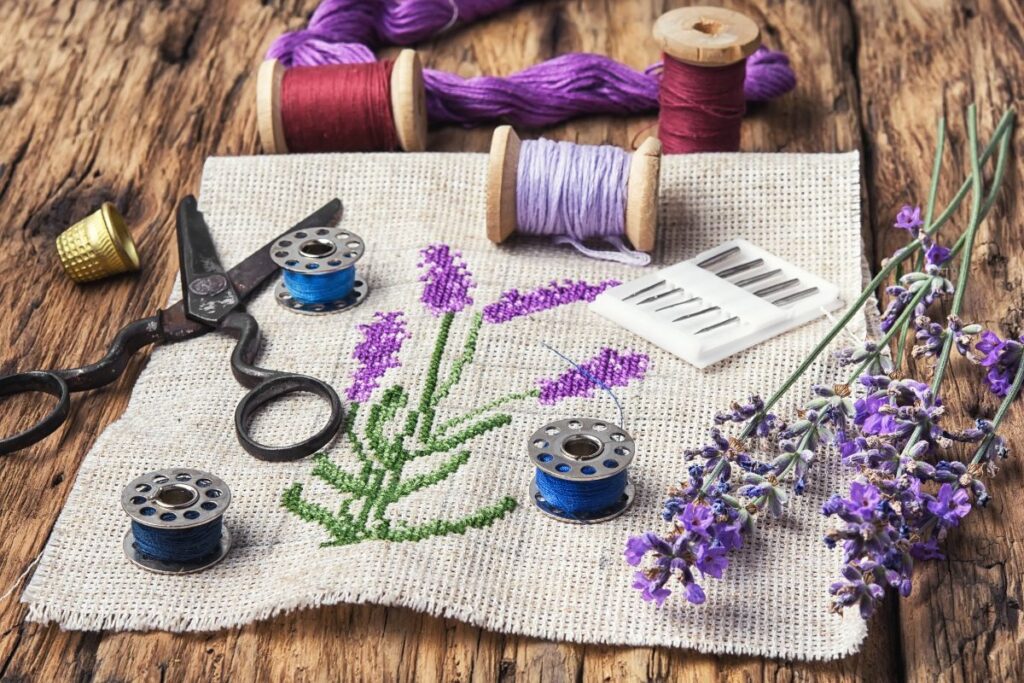
How to Use an Embroidery Kit: A Step-by-Step Guide
Step 1: Prepare Your Workspace
Before you begin, set up a comfortable workspace with good lighting. Gather all your materials from the kit and any additional tools you might need.
Step 2: Set Up the Embroidery Hoop
- Unscrew the outer ring of the hoop.
- Place the fabric over the inner ring.
- Put the outer ring back on and tighten it.
- Use pliers or a screwdriver to ensure the fabric is taut.
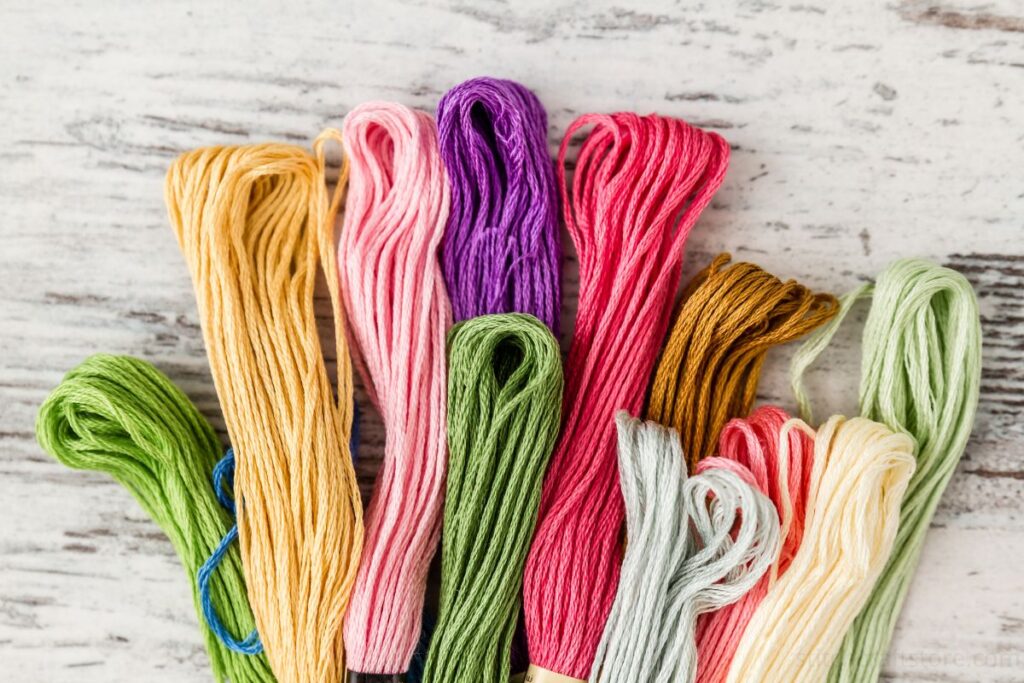
Step 3: Prepare the Embroidery Floss
- Find the number on the DMC floss wrapping.
- Pull out the tail to untangle the floss.
- Cut a piece about the length of your forearm.
- Split the 6-strand floss into 3 strands for most projects.
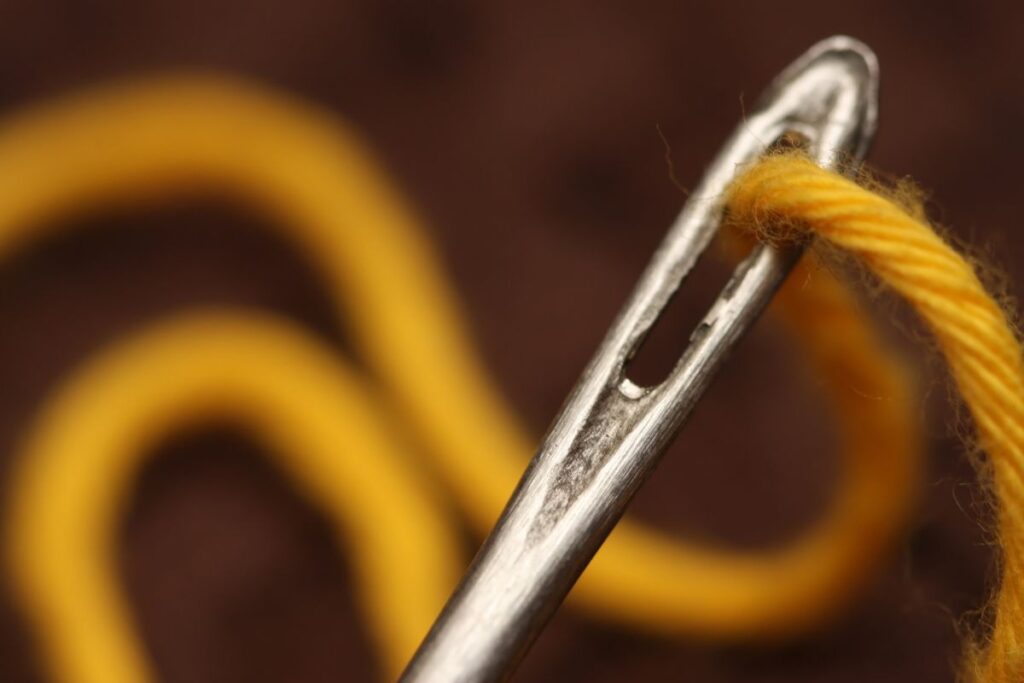
Step 4: Thread the Needle
- Choose a thin needle suitable for 3 strands.
- Make a knot at one end of the thread.
- Wet the other end to make threading easier.
- Pass the thread through the needle eye.
Step 5: Transfer the Pattern
- Cut out the pattern provided in the kit.
- Use masking tape to secure the pattern to the back of the fabric.
- Trace the pattern onto the fabric with a pencil.
- Make sure the pattern aligns properly with the fabric edges.
Step 6: Start Embroidering
Now that you’re set up, it’s time to start stitching! Let’s look at two basic stitches you’ll often use:
Satin Stitch
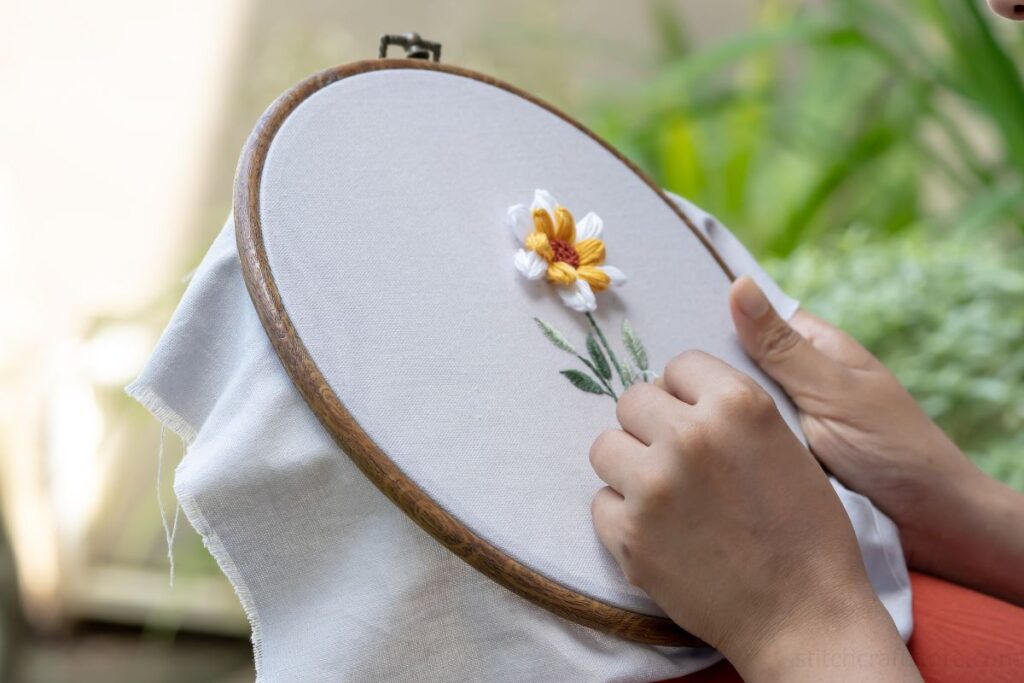
The satin stitch is used to fill in areas with solid color.
- Come up from the back just below the pencil line.
- Go back down on the other side of the area you’re filling.
- Come up again next to your first stitch.
- Continue making parallel stitches until the area is filled.
Tips for satin stitch:
- Keep your stitches close together for a smooth look.
- Maintain even tension to prevent gaps or puckering.
- Adjust stitch length and spacing based on the fabric and design.
French Knot
French knots are great for adding texture and small details.
- Come up through the fabric where you want the knot.
- Wrap the thread around the needle twice.
- Insert the needle back into the fabric close to where it came out.
- Hold the wraps with your thumb as you pull the needle through.
Tips for French knots:
- Don’t pull the wraps too tight, or your knot will be very small.
- Practice controlling knot size by adjusting how tightly you hold the wraps.
- If a knot doesn’t turn out right, it’s okay to redo it!
Step 7: Follow the Pattern
- Start with the satin stitch for larger areas like petals.
- Add French knots for flower centers or small details.
- Change colors as indicated in the pattern.
- Take your time and enjoy the process!
Step 8: Finish Your Work
Once you’ve completed all the stitching:
- Cut excess fabric, leaving a 1-2 inch border.
- Stitch around the edge to gather the fabric.
- Pull the threads to tighten, knot, and trim.
Troubleshooting and Tips
- Tangled floss? Gently untangle it or cut and re-thread if necessary.
- Made a mistake? Don’t worry! Most stitches can be carefully removed and redone.
- Fabric too loose? Re-tighten your hoop for better tension.
Care and Display
To keep your finished embroidery looking great:
- Gently hand wash if needed.
- Iron on low heat from the back side.
- Frame or mount your work to display proudly!
Conclusion
Using an embroidery kit is a fun and rewarding way to create beautiful handmade art. With practice, you’ll gain confidence and skill. Remember, embroidery is about enjoying the process as much as the final product. Happy stitching! 🧵🌼