
To backstitch a star, transfer a simple star outline onto fabric, secure the fabric in a hoop, and stitch along each line with small, even backstitches. Bring the needle up one stitch length ahead on the line, then insert it back into the end of the previous stitch. At each star point, end a stitch exactly at the corner, then begin the next side from that same point. This keeps the outline crisp, balanced, and easy for beginners to control.
What Backstitch Does on a Star Shape
Backstitch is an outline stitch. Instead of filling the star, it draws the star’s edges with a continuous line of thread. Think of it like tracing the shape with tiny connected dashes.
On a star, backstitch works well because it handles straight lines and sharp changes in direction. Each stitch should sit on the drawn line, touching the stitch before it. The neatness comes from consistent stitch length and careful turns at the points, not from speed.
Supplies You Need
For a beginner backstitched star, use simple materials that are easy to control:
- Cotton or linen fabric with a medium weave
- Embroidery hoop, about 4 to 6 inches
- Embroidery needle, size 7 or 8
- Stranded cotton embroidery floss
- Small sharp scissors
- Washable fabric pen, pencil, or transfer paper
- A simple star template
Use two or three strands of embroidery floss for a clear outline. Two strands look delicate; three strands look bolder. Choose a smooth, light-colored fabric if you are still learning because it makes your marked line and stitches easier to see.
Prepare the Star Pattern
Start with a simple five-point star, especially if this is your first try. Avoid tiny stars with narrow points because they are harder to stitch cleanly.
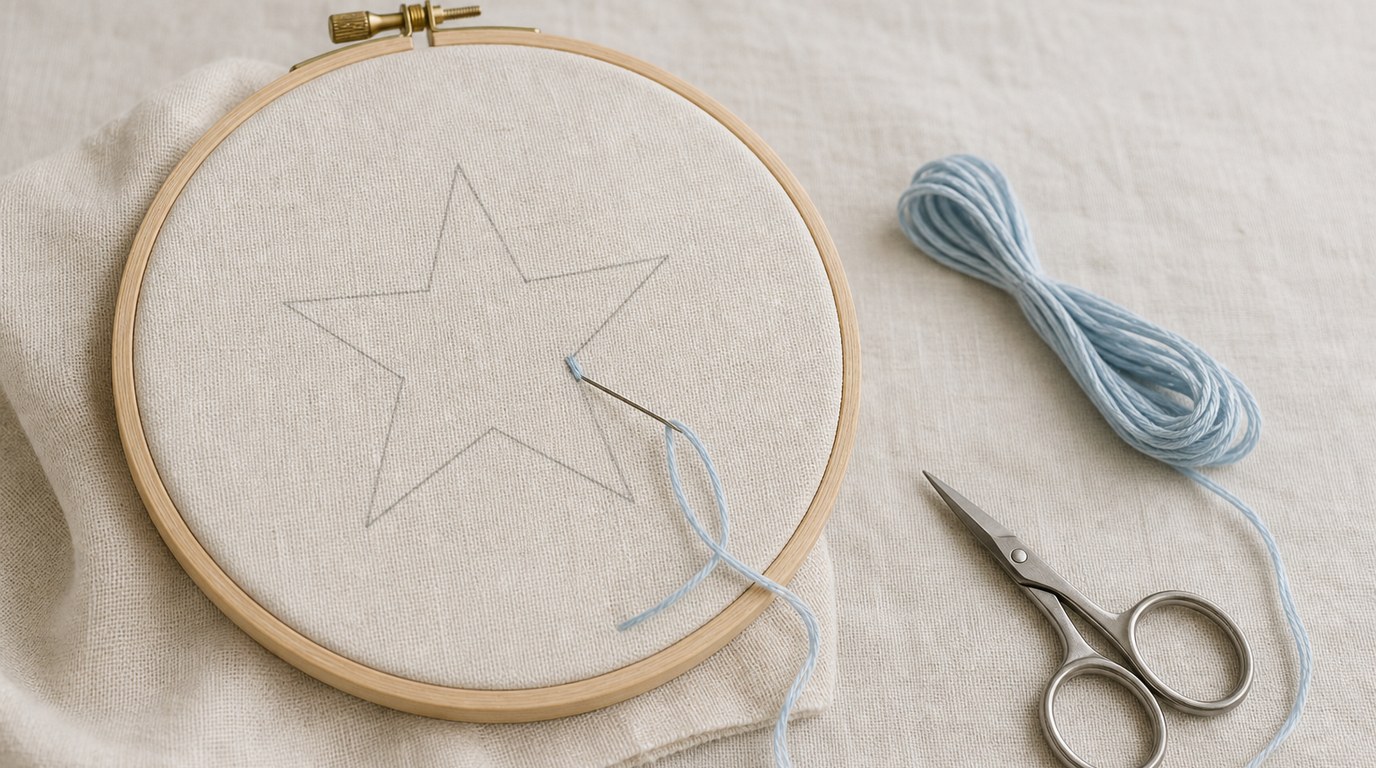
Place your fabric over the template and trace the outline with a washable fabric pen or pencil. If the fabric is too thick to see through, use transfer paper or draw the star lightly by hand. Keep the lines thin; thick markings can make it harder to know exactly where the stitch should sit.
Put the fabric in the hoop with the star centered. Tighten the hoop so the fabric is smooth and firm, like a drum, but not stretched out of shape. A stable surface helps your stitches stay even.
How to Backstitch a Star Step by Step
- Cut and thread your floss.
Cut a piece of embroidery floss about 14 to 18 inches long. Separate out two or three strands, thread the needle, and knot one end if you are comfortable using knots. If you prefer a cleaner back, leave a tail and secure it under later stitches.
- Choose a starting point.
Start at an inside corner or along one straight side of the star. Beginners often find it easiest to start on a straight edge rather than at an outer point.
- Make the first stitch.
Bring the needle up from the back of the fabric on the drawn line. Move forward one small stitch length, then take the needle down on the line. This first stitch sets your stitch size.
- Bring the needle up ahead.
From the back, bring the needle up one stitch length ahead of the first stitch. Keep the needle on the marked line.
- Stitch backward into the previous hole.
Insert the needle back down into the same hole where the first stitch ended. This creates a connected line with no gap.
- Repeat along the side.
Continue the rhythm: come up ahead, go back into the end of the last stitch. Try to keep each stitch about the same length. Shorter stitches are better around corners; slightly longer stitches are fine on straight sides.
- Stop exactly at each point.
When you reach a star point, plan your last stitch so it ends at the corner. Do not stitch past the point and try to correct it later.
- Turn the direction.
After ending at the point, bring the needle up on the next side of the star, one stitch length away from the corner. Then stitch back down into the corner hole. This makes the two sides meet neatly.
- Continue around the star.
Work side by side until the entire outline is complete. Rotate the hoop as needed so your hand stays comfortable and your stitches follow the line naturally.
- Finish the thread.
On the back of the fabric, slide the needle under several nearby stitches and trim the thread. If you used a knot, still secure the tail neatly so it does not loosen.
How to Make the Star Points Look Sharp
Sharp points are the main challenge when backstitching a star. The key is to treat every point as a planned stopping place.
As you approach a corner, shorten your stitch length so you can land exactly on the point. If your usual stitch is too long, the line may overshoot or look rounded. End one side at the point, then begin the next side by stitching back into that same point.
Do not pull the thread too tightly at corners. Tight thread can pinch the fabric and distort the star. The stitches should lie flat, with enough tension to sit neatly but not enough to pucker.
Common Backstitch Star Mistakes and Fixes
- Gaps between stitches: Make sure each new stitch goes back into the end hole of the previous stitch. If a gap is obvious, remove a few stitches and redo that section.
- Uneven stitch lengths: Use the drawn line as a guide and slow down. On a small star, shorter stitches usually look smoother than long ones.
- Rounded points: Shorten the stitches before each point and land directly on the corner. Turn only after the point has been stitched.
- Puckered fabric: Loosen your thread tension. Also check that the fabric is firm in the hoop but not stretched too tightly.
- Messy back: Use shorter thread lengths and avoid carrying thread across open areas. Secure thread tails under nearby stitches.
- Visible pattern marks: Test your marking tool before stitching. Use washable or removable marks and keep the outline thin.
Simple Variations Once You Know the Basic Star
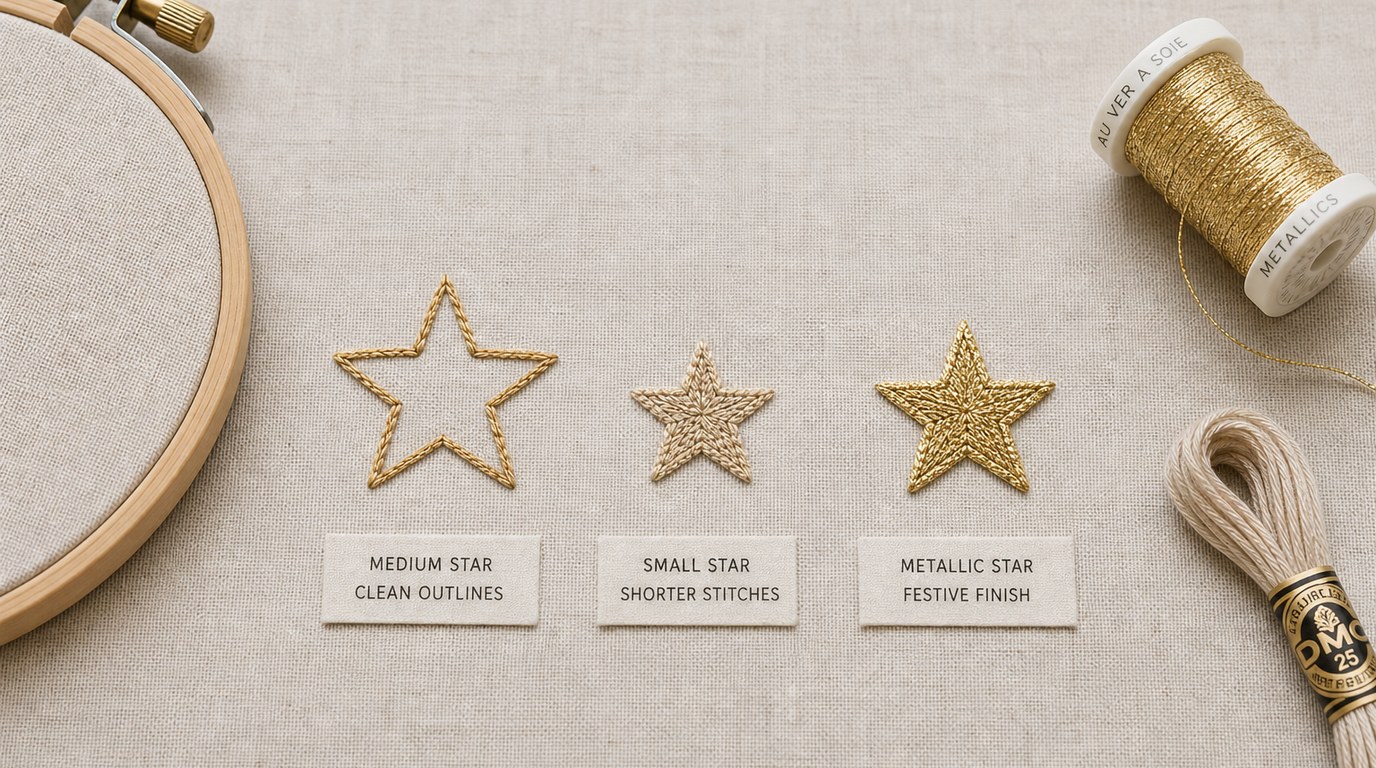
After you can backstitch a clean outline, try small changes while keeping the same method.
You can stitch a larger star with longer straight sections, or make a tiny star using very short stitches. Try metallic floss for a festive look, but use shorter lengths because metallic thread tangles easily. You can also backstitch a second line just inside the first for a double-outline star.
For a fuller design, add small straight stitches, French knots, or seed stitches inside the star. Keep the backstitched outline as the main structure so the shape stays clear.
FAQ
What Should a Beginner Know First About How to Backstitch a Star?
A beginner should know that backstitch is simply a connected outline stitch. For a star, the most important habit is stitching to each point cleanly before changing direction. Use a simple pattern, short stitches, and steady tension.
What Matters Most When Evaluating How to Backstitch a Star?
The finished star should have connected stitches, smooth straight sides, and sharp points. Look for even stitch length, no visible gaps, and corners where both sides meet at the same point. A neat outline matters more than a perfectly fast process.
What Mistakes Should Readers Avoid with How to Backstitch a Star?
Avoid using stitches that are too long, pulling the thread too tightly, and turning before you reach the actual point. Also avoid thick pattern lines, because they can make the final outline look less precise or leave marks after stitching.
What Is the Next Logical Step After Learning About How to Backstitch a Star?
The next step is to practice the same backstitch technique on other outline shapes, such as hearts, letters, borders, or simple flowers. You can also add filling stitches inside the star once the outline feels consistent and controlled.