
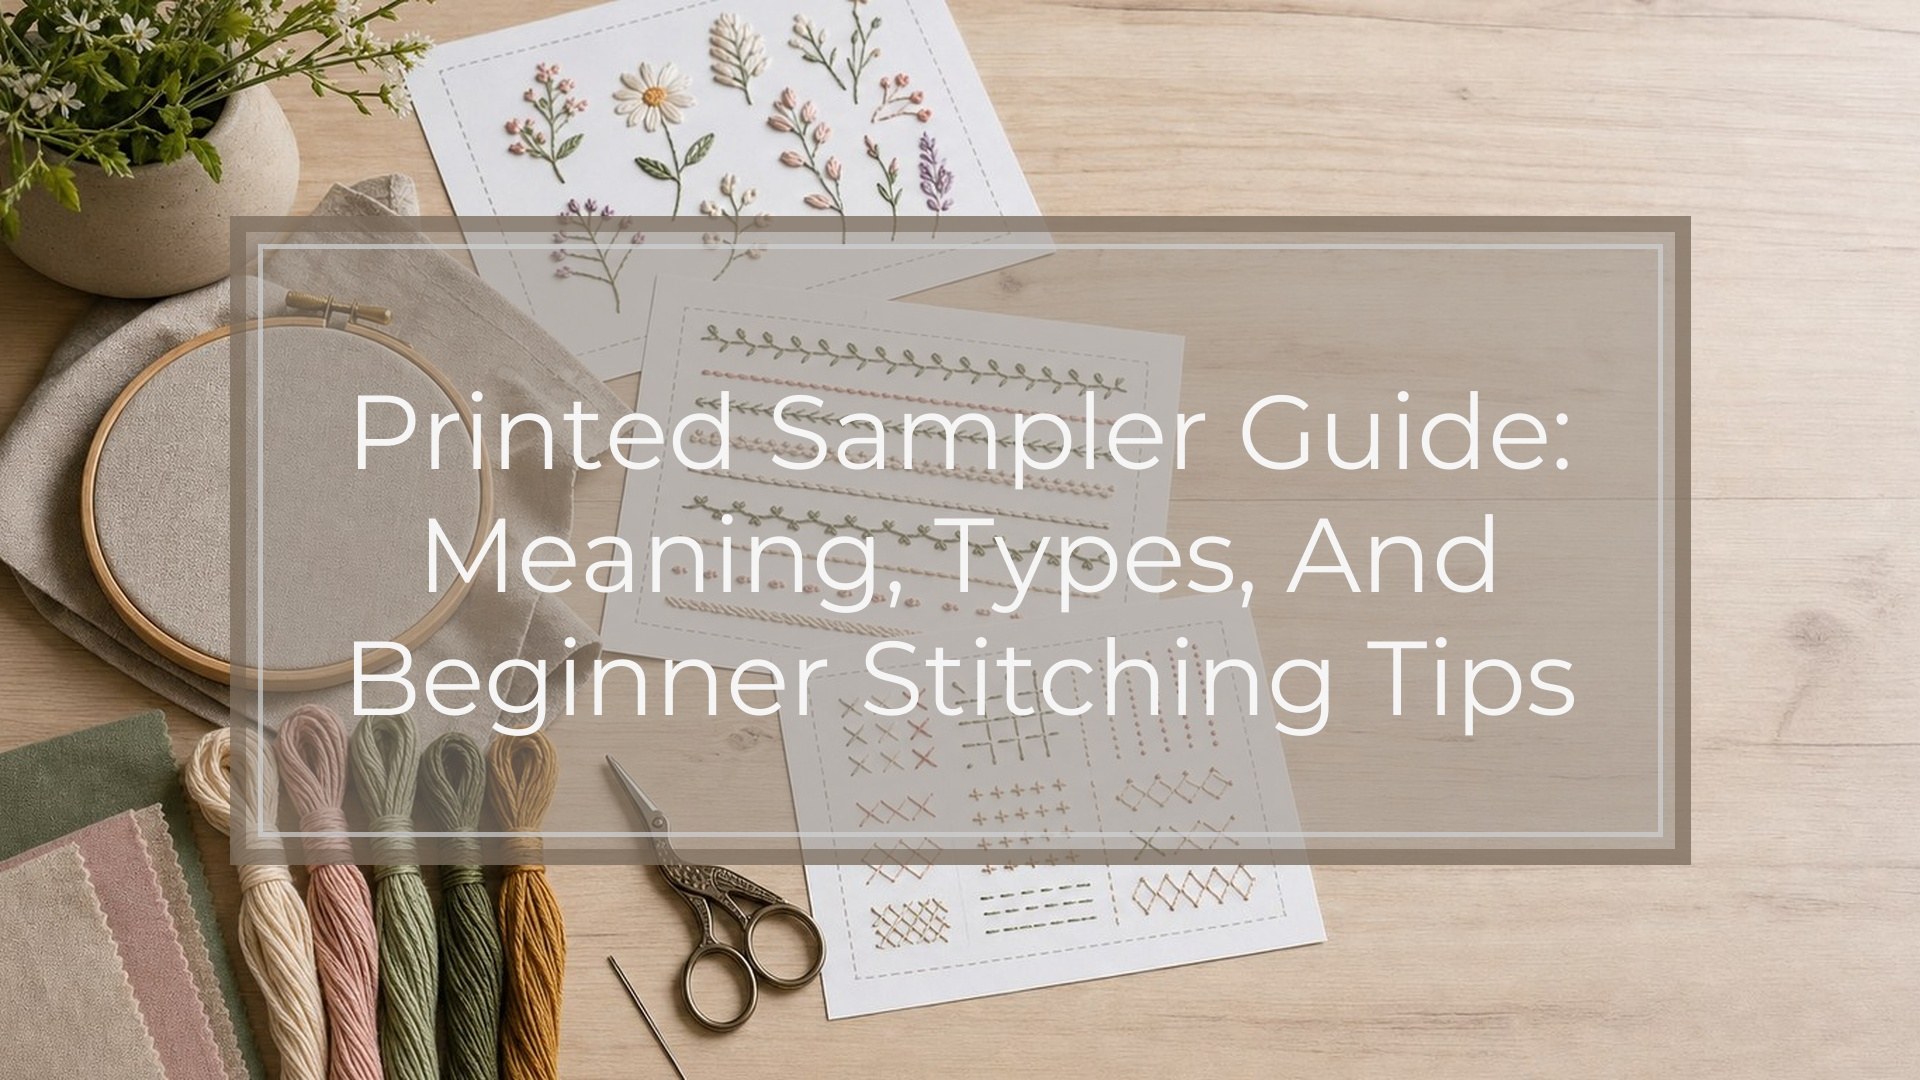
A printed sampler is an embroidery project where the design is already printed or stamped directly onto the fabric. Instead of counting threads or transferring a pattern yourself, you stitch over the marked lines, shapes, symbols, or color areas. For beginners, this creates a clear path: place the fabric in a hoop, choose the indicated thread, and follow the printed guide stitch by stitch.
Printed samplers are often used to learn embroidery because they combine practice and structure. A sampler may include several stitch types, a decorative alphabet, flowers, borders, or small motifs. Some are washable, so the printed marks disappear after stitching; others are meant to remain hidden under the thread. The main appeal is simple: you can focus on learning neat stitches without first solving the layout.
What a Printed Sampler Means
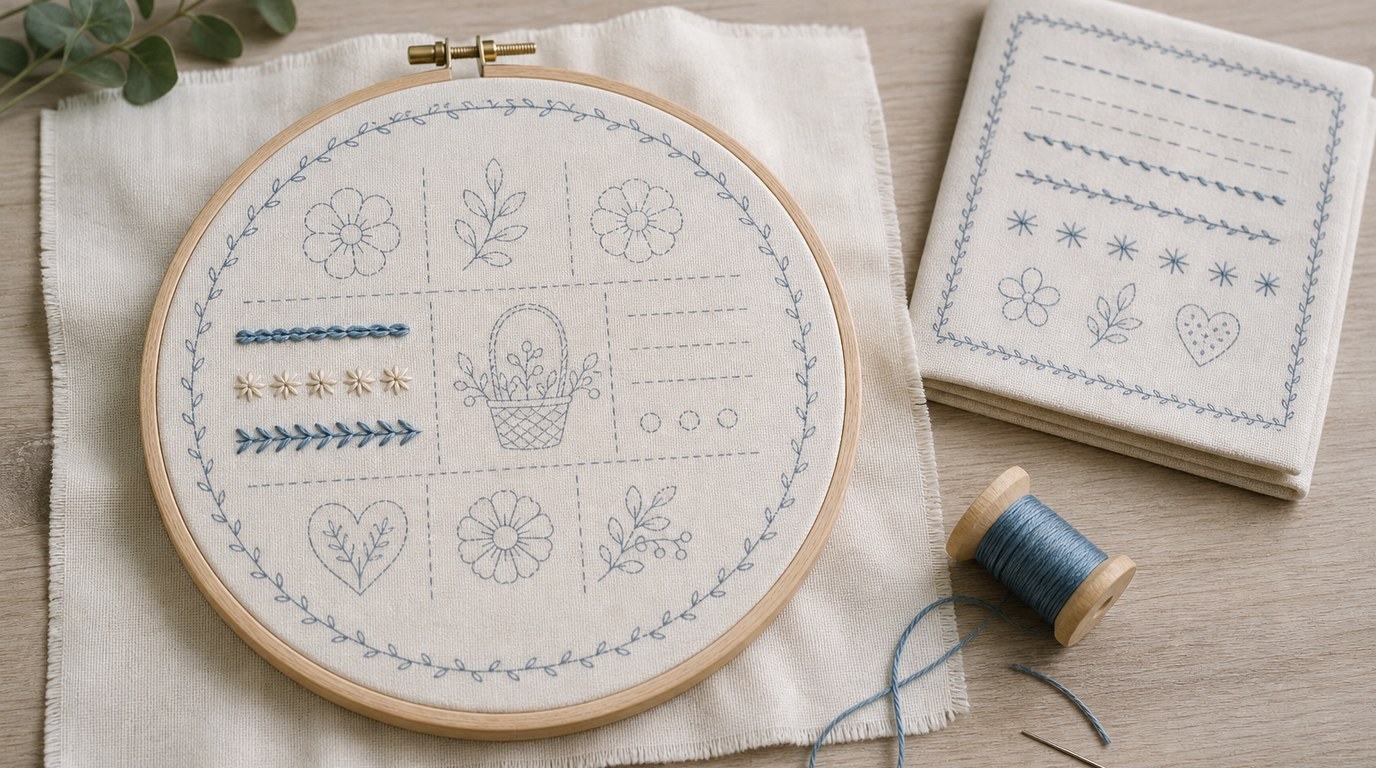
In embroidery, a sampler is a practice piece that shows stitches, motifs, letters, or borders in one finished design. Historically, samplers helped stitchers record skills and patterns. A printed sampler keeps that learning purpose but removes much of the measuring and planning.
“Printed” means the design is already on the fabric before you begin. The marks may show outlines, stitch direction, color numbers, or small symbols. Your job is to cover or follow those marks with embroidery stitches.
Think of it like a coloring page for thread: the design is there, but the texture, color, and finish come from your stitching.
How a Printed Sampler Works
Most printed sampler kits include fabric with the design printed on it, embroidery floss, a needle, and basic instructions. Some also include a hoop. You start by checking the thread colors against the guide, separating floss strands if needed, and placing the fabric smoothly in the hoop.
Then you stitch directly over the printed areas. Lines may call for back stitch, stem stitch, or chain stitch. Filled shapes may use satin stitch, long and short stitch, or simple straight stitches. A stitch sampler may label each section so you can practice one technique at a time.
After stitching, some printed fabrics are washed to remove blue, gray, or colored guidelines. Always check the kit instructions first, because not every printed mark is designed to wash out.
Printed Sampler Vs Counted Sampler Vs Blank Practice Cloth
These three options can all teach embroidery, but they feel different in use. A printed sampler gives the most visual guidance. A counted sampler asks you to follow a chart and count fabric threads or squares. A blank practice cloth gives the most freedom but the least structure.
| Option | How the design is placed | Best for | Main challenge |
|---|---|---|---|
| Printed sampler | Design is printed on fabric | Beginners who want a guided project | Stitching neatly over the marks |
| Counted sampler | You follow a chart and count placement | Cross stitch or counted-thread learners | Keeping count accurate |
| Blank practice cloth | You draw, transfer, or improvise | Experimenting with stitches | Planning layout and spacing |
If you want to learn hand embroidery with less setup, a printed sampler is usually the easiest starting point.
Why Beginners Often Like Printed Samplers
Printed samplers are beginner-friendly because they reduce uncertainty. You do not need to draw a design, trace through fabric, or decide where every stitch should go. The printed guide helps with placement, proportion, and spacing.
They also make progress easy to see. Each finished leaf, letter, flower, or border gives a small sense of completion. That is useful when you are still building confidence with thread tension and needle control.
Another benefit is variety. A single sampler can introduce several common stitches without requiring you to design separate practice squares. The structure keeps practice from feeling random.
Common Types of Printed Embroidery Samplers
Printed samplers come in several styles. A stitch practice sampler usually includes labeled rows or sections for stitches such as running stitch, back stitch, chain stitch, French knots, satin stitch, and feather stitch. These are ideal if your main goal is learning technique.
Decorative samplers look more like finished art. They may feature florals, birds, houses, borders, or seasonal motifs while still teaching basic stitches.
Alphabet or monogram samplers focus on lettering, which is helpful for learning curves, spacing, and small detail work. Children’s or beginner kits often use bold outlines and fewer colors. More detailed printed samplers may include shading, layered stitches, or dense filled areas for a slightly bigger challenge.
What to Check Before Buying a Printed Sampler Kit
Before buying, look at the printed design and ask whether the lines are clear enough to follow. Faint or overly crowded printing can frustrate a beginner. Also check whether the marks are washable, permanent, or intended to be fully covered.
Review the included materials. A good beginner kit should list the fabric type, thread colors, needle, hoop size if included, and instructions. Clear stitch diagrams are especially valuable if you are learning without a class.
Consider the stitch list. If the sampler includes ten unfamiliar stitches, it may still be manageable if the instructions are strong. If the design has tiny lettering, dense satin stitch, or heavy shading, it may be better as a second project.
Finally, choose a design you actually like. Practice is easier when you want to finish the piece.
Basic Tips for Stitching a Printed Sampler Neatly
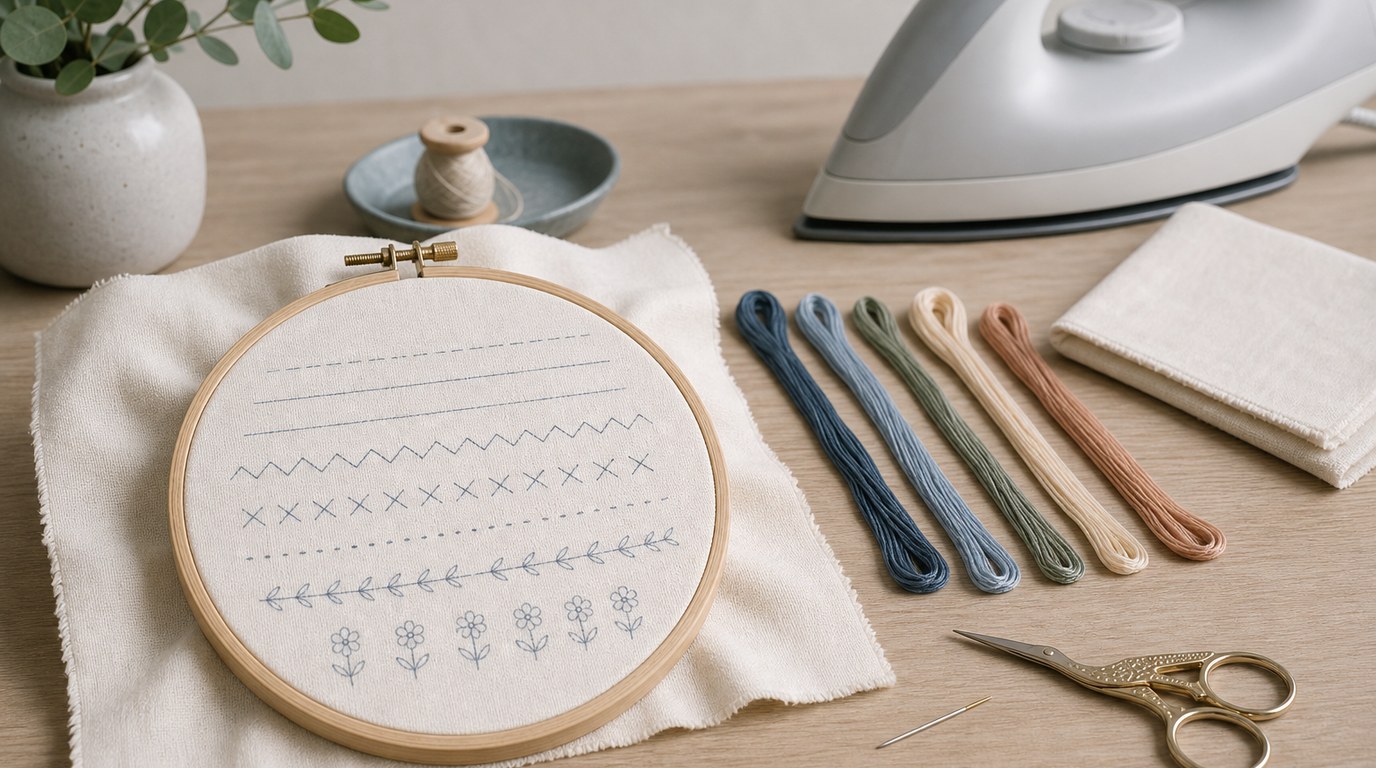
Start by ironing the fabric if the kit allows it, avoiding any heat-sensitive marks unless the instructions say it is safe. Place the fabric in the hoop so it is taut but not stretched out of shape. Loose fabric makes printed lines harder to follow.
Use the recommended number of floss strands. Too many strands can make the stitching bulky and may obscure small details; too few may not cover the printed marks.
Keep your tension even. Pull the thread until it lies flat, not so tight that the fabric puckers. For curves, use shorter stitches so the line stays smooth. For filled areas, keep stitches parallel and close enough to cover the print.
If the sampler is washable, wash gently only after all stitching is finished.
Is a Printed Sampler the Right First Embroidery Project?
A printed sampler is an excellent first embroidery project if you want guidance, visible progress, and a practical way to learn stitches. It is less intimidating than starting with blank fabric and usually simpler than counted work.
Choose a small or medium design with clear instructions, a few basic stitches, and colors you enjoy. Once you finish it, you will understand fabric tension, thread handling, stitch direction, and the rhythm of hand embroidery.
FAQ
What Should a Beginner Know First About Printed Sampler?
A beginner should know that a printed sampler already has the design marked on the fabric. You do not need to count threads or draw the layout yourself. Your main task is to follow the printed guide with the suggested stitches and thread colors.
What Matters Most When Evaluating Printed Sampler?
The most important things are clear printing, good instructions, suitable difficulty, and decent materials. Look for readable stitch diagrams, a manageable design size, and information about whether the printed marks wash out. A pretty design helps, but clarity matters more for learning.
What Mistakes Should Readers Avoid with Printed Sampler?
Avoid starting without reading the kit instructions, especially washing directions. Do not assume every printed line disappears in water. Also avoid pulling stitches too tightly, using too many floss strands, or ignoring the suggested stitch order if the design has overlapping details.
What Is the Next Logical Step After Learning About Printed Sampler?
The next step is to choose a simple printed sampler kit and practice a few basic stitches before starting the full design. After finishing one, try a more detailed sampler, transfer a small pattern yourself, or move into counted cross stitch if you enjoy structured stitching.