
The best embroidery kits for beginners make stitching feel approachable from the first thread. Look for a kit with pre-printed fabric, a small hoop, sorted embroidery floss, beginner-friendly needles, clear instructions, and a design that uses only a few basic stitches. A good first kit should teach you how to stitch, not overwhelm you with tiny details, specialty threads, or advanced shading.
If you are buying your first embroidery kit, choose a simple floral, leaf, lettering, or small motif design with open spaces and visible stitch paths. Avoid large, dense patterns until you know whether you enjoy the pace of hand embroidery. The right kit gives you everything needed to finish one satisfying project—and that finished piece is often what turns a curious beginner into a confident stitcher.
Why Beginner Embroidery Kits Are Worth Starting with
Embroidery kits for beginners remove the hardest part of starting: gathering the right materials. Instead of choosing fabric weight, hoop size, floss colors, needle types, and a pattern separately, you get a coordinated project in one package.
That matters because embroidery has a small learning curve. You need to understand how to thread a needle, separate floss strands, hold tension, and follow stitch lines. A beginner kit lets you focus on those basics without wondering whether your fabric or thread is wrong.
Kits are also helpful because they give you a clear finish line. Rather than practicing random stitches on scrap fabric, you complete a small piece you can display, gift, or keep as proof that you can do it.
What Should Be Included in an Embroidery Kit for Beginners?
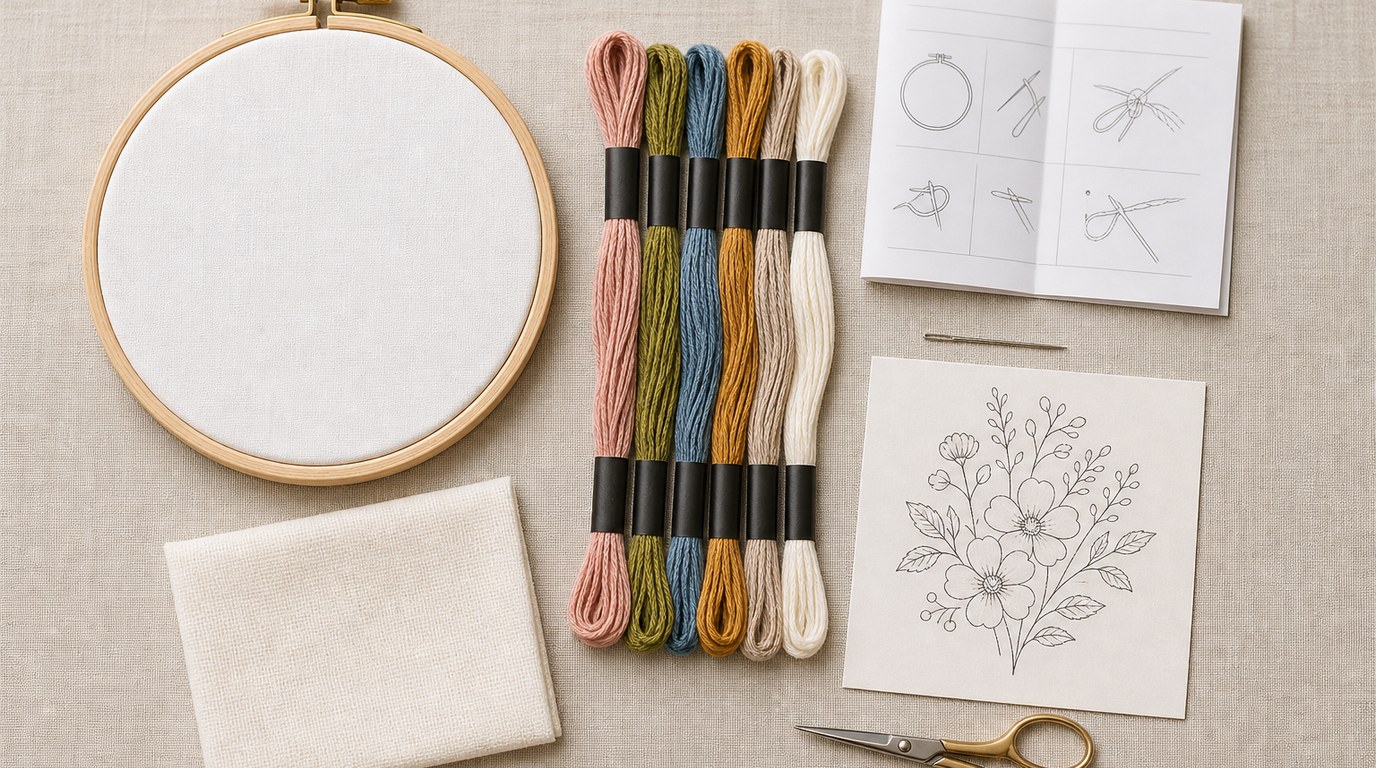
A reliable beginner embroidery kit should include the main materials needed to complete the project. At minimum, expect fabric, embroidery floss, a needle, a pattern or printed design, and instructions. Many beginner kits also include a hoop, which holds the fabric taut while you stitch and can sometimes double as a frame.
Pre-printed fabric is especially useful for first-time stitchers. It shows exactly where each stitch goes, so you do not need to transfer a pattern before starting. If the kit uses a paper pattern instead, check that it explains how to transfer the design.
Good instructions should show the stitches used in the project, not simply name them. Look for diagrams, step-by-step photos, or a link to video support. The kit should also identify floss colors clearly, either with labeled skeins or a color chart. If the threads are loose and unlabeled, the project may be harder than it needs to be.
Beginner Embroidery Kit Buying Checklist
Use this checklist when comparing embroidery kits for beginners. A kit does not need to be fancy, but it should be complete, clear, and realistic for a first project.
| Feature to Check | Best for Beginners | Be Careful If |
|---|---|---|
| Fabric | Pre-printed cotton or linen blend | Pattern transfer is required with no guidance |
| Design size | Small to medium hoop project | Large wall hanging or dense full-coverage design |
| Stitches | 3–6 basic stitches | Many specialty stitches are required |
| Instructions | Diagrams, photos, or video links | Only a brief stitch list is included |
| Thread | Sorted or clearly labeled floss | Colors are hard to identify |
| Hoop | Included and correctly sized | You must buy one separately |
| Needles | Embroidery needles included | Needle type is not specified |
Choose the Right Type of Beginner Embroidery Kit
Not all beginner kits teach the same skills. Choosing the right type helps you enjoy the process instead of fighting the project.
A stamped embroidery kit has the design printed directly on the fabric. This is usually the easiest option for a first project because you simply stitch over the marked lines.
A counted embroidery kit requires you to count spaces on fabric, more like cross stitch. It can be satisfying, but it is usually less forgiving for complete beginners who want free-flowing embroidery.
A sampler kit teaches several stitches in one design. This is a good choice if your main goal is learning technique. Samplers often include labeled stitch sections, making them practical for practice.
A decorative hoop kit is ideal if you want a finished piece for your wall. These kits often feature florals, animals, quotes, or seasonal motifs.
A clothing or tote embellishment kit can be fun, but it is better after you have stitched one flat hoop project. Fabric movement, placement, and washability add extra considerations.
How to Judge Whether a Design Is Truly Beginner-friendly
Some embroidery kits look simple in the product photo but are not easy for a beginner. The biggest clue is stitch density. If the design has many tiny areas packed close together, it will take more control and patience than a design with open lines and larger shapes.
Look at the stitches listed. Beginner-friendly kits usually rely on back stitch, running stitch, satin stitch, stem stitch, French knots, lazy daisy, and simple fill stitches. A few French knots are fine; dozens of them can be frustrating for a first project.
Check the color count, too. A kit with five to ten floss colors is usually manageable. A design with many subtle shades may require more thread changes and careful sorting.
Also consider the fabric color. Dark fabric can look beautiful, but it is harder to see stitch placement. For a first kit, light or medium fabric is easier on the eyes.
Finally, read the finished size. A small hoop project is less intimidating and more likely to be completed.
Best Embroidery Kit Styles for First-time Stitchers
The best first project is one you actually want to finish. Style matters because you will spend several hours looking closely at the design.
Floral embroidery kits are popular for beginners because petals, stems, and leaves naturally use simple stitches. A small bouquet or single wreath is easier than a dense garden scene.
Lettering kits are good if the design uses clear outlines and basic back stitch. Short words, initials, or simple quotes work better than long phrases with tiny curves.
Botanical and leaf kits are another strong choice. They often combine stem stitch, satin stitch, and lazy daisy without requiring heavy shading.
Animal kits can be beginner-friendly if they are simple line drawings. Avoid realistic fur effects or highly detailed faces for your first project.
Seasonal mini kits are useful if you want a quick win. Small ornaments, holiday hoops, or simple motifs can be finished faster than a large decorative piece.
Supplies You May Still Need Outside the Kit
Even complete embroidery kits may benefit from a few extra tools. Small sharp scissors make trimming thread easier than using household scissors. A needle threader can help if you struggle to thread embroidery floss.
You may also want a water-soluble fabric pen for marking small corrections, though you should test it first. Good lighting is more important than many beginners expect, especially when working with pale thread on pale fabric.
If your kit does not include a hoop, buy the recommended size. A hoop that is too large or too small can make the fabric harder to control.
Common Beginner Buying Mistakes to Avoid
The most common mistake is choosing a kit based only on the finished photo. A beautiful design is not always a beginner-friendly design. Check the stitch list, size, and instructions before buying.
Another mistake is starting with a large project. Bigger kits can look like better value, but they require more time and consistency. A smaller finished piece is often more rewarding.
Avoid kits with vague descriptions such as “includes materials” without listing what those materials are. You should know whether needles, hoop, thread, and instructions are included.
Do not assume embroidery and cross stitch kits are the same. Cross stitch follows a grid, while surface embroidery uses varied stitches on fabric. Both are enjoyable, but the buying criteria are different.
Finally, avoid very cheap kits if the instructions, thread quality, or fabric printing look unclear.
How Much Should Beginners Spend on an Embroidery Kit?
Most beginners can find a good starter embroidery kit at a modest price. Very low-cost kits may be fine for casual practice, but they sometimes compromise on thread quality, instructions, or printed design clarity.
A mid-range kit is often the best value because it usually includes a hoop, organized floss, better fabric, and clearer guidance. Paying more can be worthwhile for original artwork, detailed tutorials, or premium materials, but it is not necessary for your first project.
Spend enough to get a kit you trust, not so much that you feel nervous starting it.
Quick Recommendations by Beginner Type
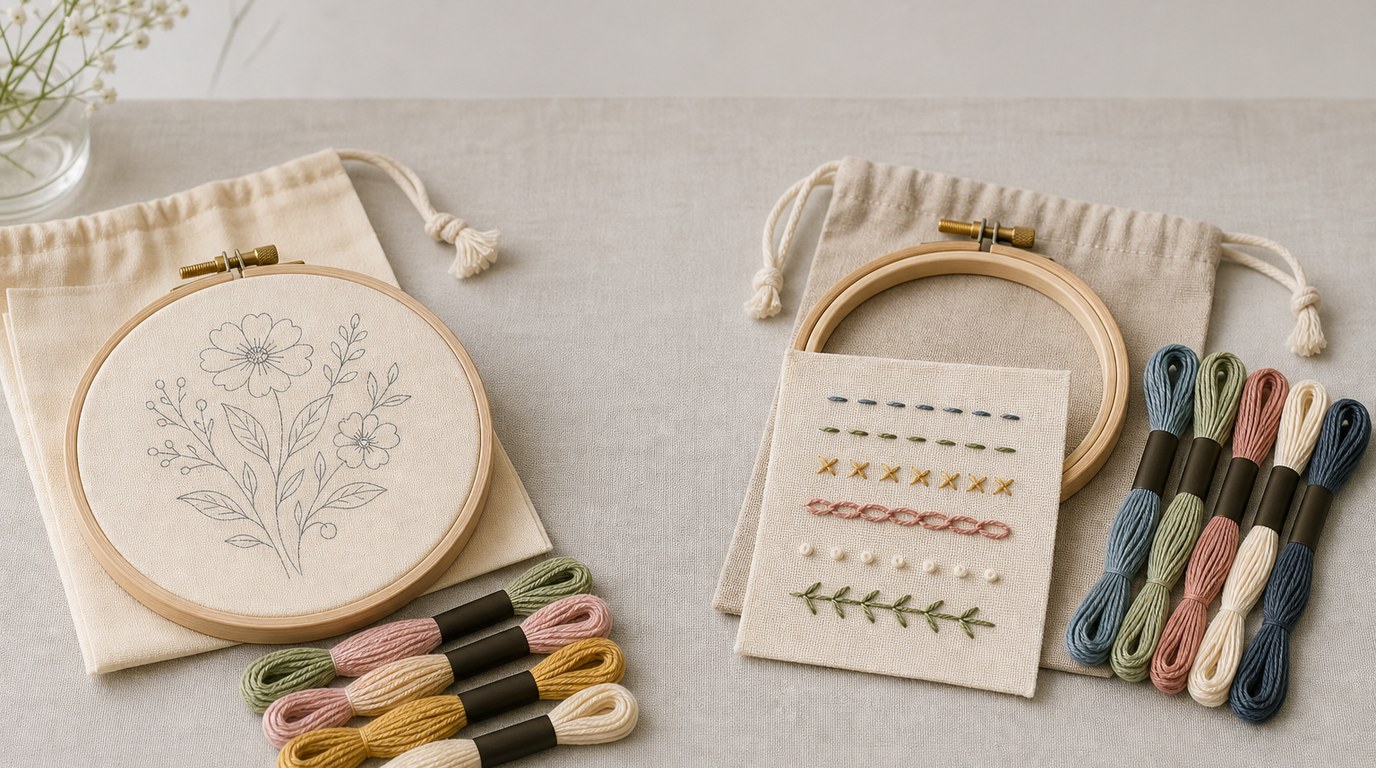
If you want the easiest start, choose a stamped hoop kit with light fabric and simple linework.
If you want to learn stitches, choose a sampler kit with diagrams for each technique.
If you want a giftable finished piece, choose a small floral, botanical, or lettering hoop.
If you are buying for a child or teen, look for larger stitch areas, fewer colors, and a blunt or beginner-safe needle where appropriate.
If you are unsure whether embroidery is for you, start with a small mini kit. Finishing one project teaches you more than buying a large bundle.
Final Buying Advice: Start Simple and Finish One Project
The best embroidery kits for beginners are not necessarily the most elaborate. They are the ones that help you start quickly, understand each step, and finish with confidence.
Choose a complete kit with clear instructions, a simple design, and materials you can handle comfortably. Once you finish one project, you will know which stitches, styles, and kit types you want to try next.
FAQ
What Should a Beginner Know First About Embroidery Kits for Beginners?
A beginner should know that embroidery kits vary widely in difficulty. The best first kit includes pre-printed fabric, clear instructions, sorted floss, a hoop, and only a few basic stitches. Start with a small design so you can practice and finish without feeling overwhelmed.
What Matters Most When Evaluating Embroidery Kits for Beginners?
Clarity matters most. Check whether the kit explains the stitches, labels the thread colors, and shows where to stitch. Design size and stitch density are also important. A simple, well-explained kit is better for learning than a complex kit with minimal guidance.
What Mistakes Should Readers Avoid with Embroidery Kits for Beginners?
Avoid buying only by the photo, choosing a project that is too large, or assuming every kit includes all supplies. Also avoid designs with many tiny details or advanced stitches. For your first project, ease and completion matter more than complexity.
What Is the Next Logical Step After Learning About Embroidery Kits for Beginners?
Choose one small kit that matches your style and skill level, then complete it before buying more. As you stitch, notice which techniques you enjoy. After that, you can try samplers, more detailed hoop art, or your own transferred embroidery patterns.