
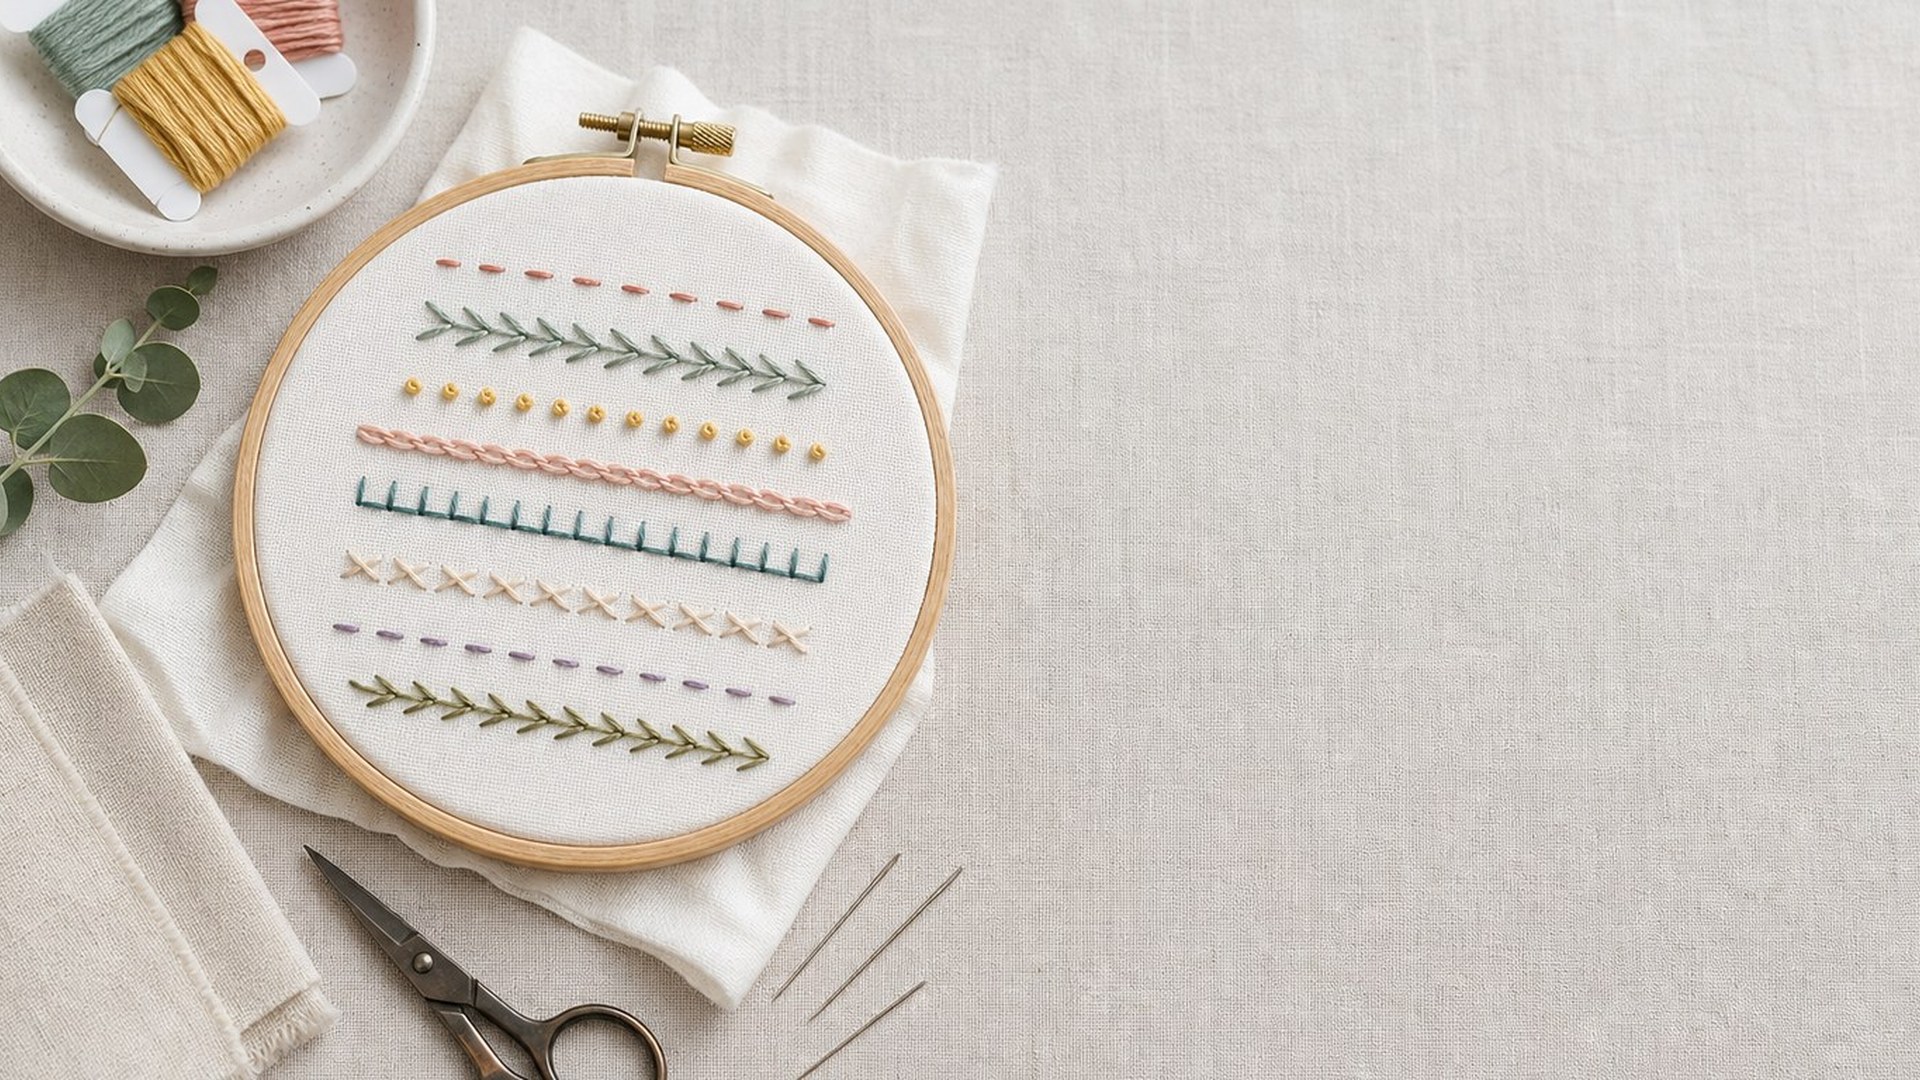
The 12 essential embroidery stitches every beginner should learn are back stitch, running stitch, split stitch, stem stitch, chain stitch, satin stitch, long and short stitch, seed stitch, French knot, lazy daisy, blanket stitch, and couching. Together, they cover the core jobs in hand embroidery: outlining, lettering, filling shapes, adding texture, making flowers, finishing edges, and attaching decorative threads.
You do not need to master them all at once. Think of them as a practical toolkit. Start with line stitches so you can control direction and spacing, then move into fills, texture, and finishing techniques. With these stitches, you can complete many beginner embroidery patterns and understand how more advanced stitches are built.
Introduction: What Makes a Stitch Essential?
An embroidery stitch is “essential” when it solves a common stitching problem. Some stitches make clean outlines. Some fill petals, leaves, and blocks of color. Others add raised dots, soft texture, or neat borders. A useful beginner list should include all of those stitch families, not just the prettiest stitches.
These 12 stitches also teach transferable skills: bringing the needle up in the right place, keeping even tension, following curves, spacing stitches, and choosing how many strands of floss to use. Once you understand those basics, new stitches feel less mysterious because many are variations of the same movements.
Quick Reference: 12 Essential Embroidery Stitches
Use this table as a quick guide before you practice. It shows what each stitch does best and where you are likely to use it in real projects.
| Stitch | Best used for | Beginner tip |
|---|---|---|
| Running stitch | Simple lines, dashed details, seams | Keep stitch length consistent |
| Back stitch | Outlines, lettering, detail lines | Place each stitch back into the previous hole |
| Split stitch | Soft outlines, curved lines, lettering | Split the previous stitch evenly |
| Stem stitch | Stems, vines, curved borders | Keep the working thread on one side |
| Chain stitch | Bold lines, decorative outlines | Make each loop the same size |
| Satin stitch | Smooth solid fills | Use short areas first |
| Long and short stitch | Shading, larger fills, petals | Stagger stitch lengths |
| Seed stitch | Scattered texture, light fills | Vary placement, not tension |
| French knot | Dots, centers, texture | Hold the thread snug while pulling through |
| Lazy daisy | Petals, leaves, small flowers | Anchor each loop with a tiny stitch |
| Blanket stitch | Edges, appliqué, borders | Keep the edge spacing even |
| Couching | Metallics, thick threads, decorative lines | Tack the surface thread neatly |
Start with Line Stitches
Line stitches are the best place to begin because they teach control. Most embroidery patterns include outlines, stems, lettering, or borders, and these stitches help you follow a drawn line confidently.
Running stitch is the simplest line stitch. The needle moves in and out of the fabric, creating a dashed line. It is useful for simple borders, sketchy details, or temporary guide lines. Practice by drawing a straight line and trying to keep every stitch and gap the same length. Once that feels easy, try a gentle curve.
Back stitch creates a solid, clean line and is one of the most useful embroidery stitches for beginners. Bring the needle up ahead of your previous stitch, then go back down into the end of the last stitch. This makes a continuous line with no gaps. Use it for lettering, outlines, faces, geometric shapes, and small details that need definition.
Split stitch looks similar to back stitch but has a softer, slightly braided texture. After making one small stitch, bring the needle up through the center of that stitch, splitting the floss. It works especially well for curved outlines, script lettering, animal shapes, and softer edges where back stitch may look too sharp.
Stem stitch is ideal for flowing lines. It is traditionally used for plant stems and vines, but it also works for borders and curved outlines. The key is to keep the working thread on the same side of the stitching line every time. If you switch sides, the twist will look uneven.
Chain stitch creates a row of linked loops. It makes a bolder line than back stitch and adds a decorative texture even before you add color changes. Use it for outlines, lettering, borders, and folk-style motifs. To practice, make each loop about the same size and secure the final loop with a tiny straight stitch.
These five stitches form the backbone of embroidery. If your lines look neat, the whole design usually looks more polished.
Add Shape with Fill Stitches
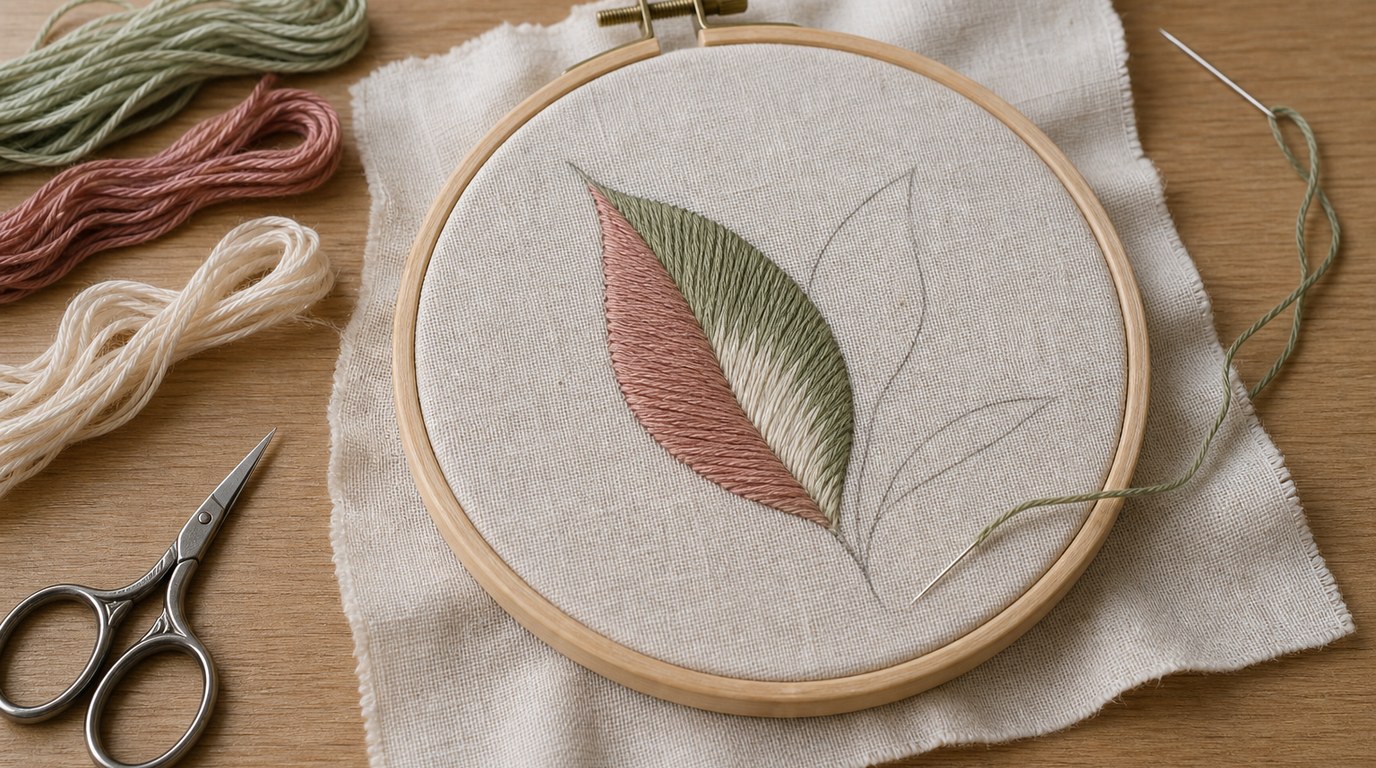
Once you can outline a shape, the next step is learning how to fill it. Fill stitches create color, weight, and shading. They require patience because tension and stitch direction are more visible across a filled area.
Satin stitch is used for smooth, solid blocks of color. The stitches lie side by side across a shape, usually from one edge to the opposite edge. It works best on small areas such as leaves, dots, flower petals, and simple shapes. For cleaner results, outline the shape first with split stitch or back stitch, then stitch over or just inside that edge.
Keep satin stitches smooth but not tight. If you pull too hard, the fabric can pucker. If the area is too large, long threads may snag, so choose another fill stitch for bigger spaces.
Long and short stitch is the beginner’s gateway to shading. Instead of making all stitches the same length, you alternate long and short stitches to create a staggered edge. Then you add another row into that uneven edge. This lets colors blend more naturally than satin stitch.
Use long and short stitch for flower petals, animal fur, leaves, and any shape that needs gradual color change. Start with one color before trying shading. Practice on a simple teardrop or leaf shape, keeping the stitches angled in the direction the form would naturally grow.
Seed stitch can also fill an area, but it creates texture instead of a smooth surface. Small straight stitches are scattered across the fabric like tiny marks. Stitch them evenly for a light fill or closer together for denser texture. It is useful for backgrounds, ground, shadows, speckled fruit, or soft visual interest behind a main motif.
Create Texture and Small Details
Texture stitches make embroidery feel lively. They are often small, but they draw the eye because they add dimension and contrast.
French knot is the classic raised dot. Bring the needle up, wrap the thread around the needle once or twice, hold the wraps snug, and insert the needle close to where it came up. Pull through slowly while maintaining tension. French knots are perfect for flower centers, eyes, berries, seeds, stars, and dotted borders.
If your knots disappear through the fabric, use a slightly larger thread bundle, a tighter weave fabric, or avoid going back down in the exact same hole. If they tangle, reduce the number of wraps and slow down.
Lazy daisy stitch creates a single loop held in place with a small anchoring stitch. Several lazy daisies arranged around a center make a simple flower, while single loops can become leaves, teardrops, or small decorative accents. Keep the loop relaxed rather than pulled tight; the shape should look rounded, not pinched.
Seed stitch, already useful as a fill, also belongs in this texture group. A few scattered seed stitches can suggest grass, fur, fabric grain, or sparkle. The trick is to make the placement look intentional. Scatter the stitches more densely where you want shadow or weight, then let them spread out gradually.
Together, these stitches help you avoid flat-looking embroidery. A small cluster of knots, loops, and scattered marks can make a simple design feel finished.
Finish Edges and Add Decorative Threads
Some stitches are essential because they solve finishing problems. They help you manage edges, appliqué, or threads that do not behave well when pulled repeatedly through fabric.
Blanket stitch is used along edges. It forms a line with small upright stitches connected by a thread along the edge. You may see it around felt appliqué, fabric patches, ornaments, or decorative borders. The main goal is even spacing. Marking tiny guide dots can help you keep each stitch the same height and distance apart.
Blanket stitch can be practical or decorative. Worked closely, it secures an edge. Worked with wider spacing or bright thread, it becomes part of the design.
Couching is different from most embroidery stitches because one thread lies on the fabric surface while another thread tacks it down. This is useful for metallic thread, thick yarn, ribbon, or decorative cords that are difficult to pull through fabric. Lay the decorative thread along your design line, then make small stitches over it at regular intervals.
Couching is excellent for swirls, borders, lettering, and bold outlines. It also lets you use fragile or textured threads without fraying them.
Best Order to Learn These Stitches
A sensible learning order reduces frustration. Start with running stitch, then back stitch, because they teach spacing and line control. Add split stitch and stem stitch for curves, then chain stitch for decorative lines.
Next, practice satin stitch on small shapes before moving to long and short stitch for larger or shaded fills. Add seed stitch, French knots, and lazy daisy for texture and floral details. Finish with blanket stitch and couching, which are especially useful once you start making finished projects, appliqué pieces, or decorative borders.
Simple Practice Sampler Idea
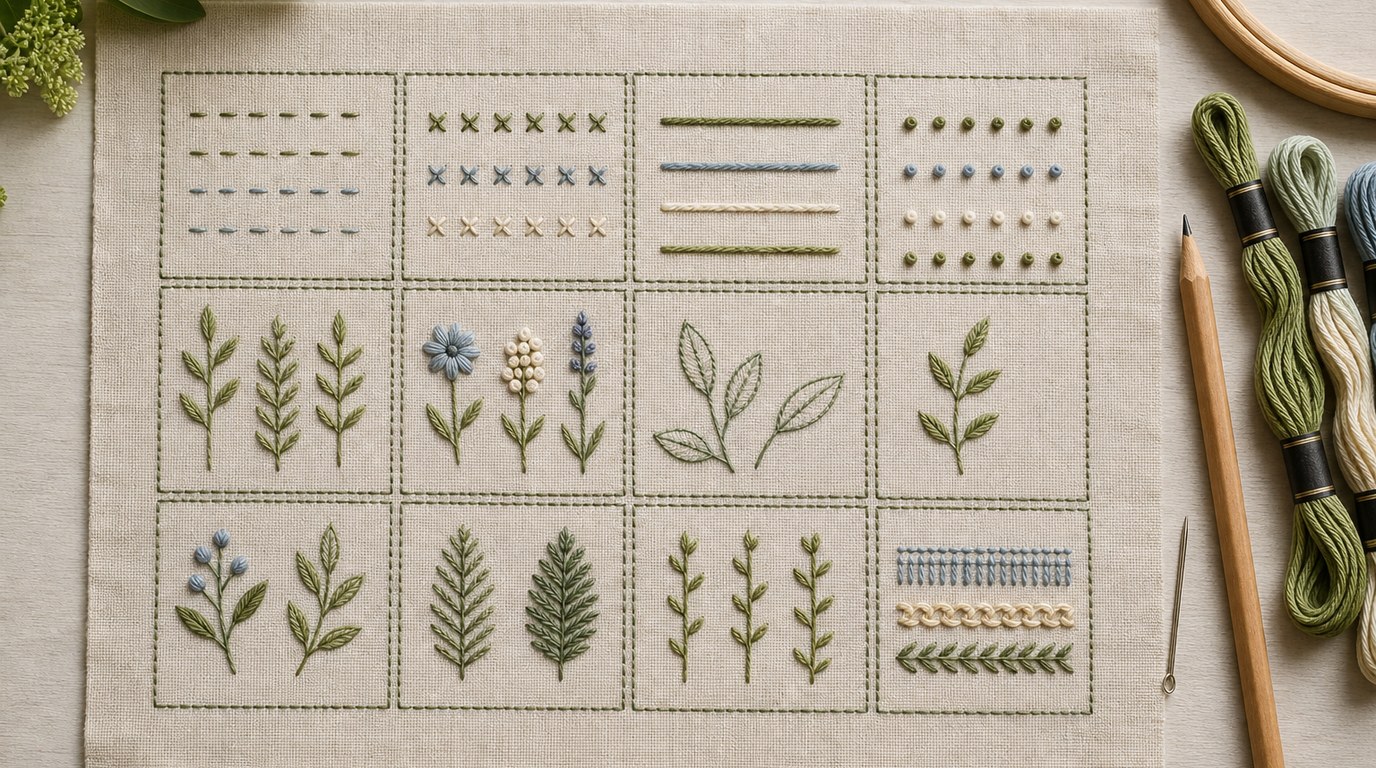
Make a small sampler instead of practicing loose stitches randomly. Draw a rectangle divided into twelve small sections. Use one section for each stitch, or create a simple garden scene that uses all of them.
For example, stitch a border with running stitch, lettering with back stitch, stems with stem stitch, leaves with satin stitch, shaded petals with long and short stitch, flower centers with French knots, small blossoms with lazy daisy, and an edge with blanket stitch. Add couching as a decorative vine or frame. Label each stitch underneath so the sampler becomes a reference piece.
FAQ
What Should a Beginner Know First About 12 Essential Embroidery Stitches?
A beginner should know that these stitches are not just decorative options; they are a basic toolkit. Learn what each stitch does best: lines, fills, texture, flowers, edges, or special threads. That makes it easier to choose the right stitch for a pattern.
What Matters Most When Evaluating 12 Essential Embroidery Stitches?
Usefulness matters most. An essential stitch should help with common embroidery tasks and teach a skill you will reuse. Also consider how easy it is to control, whether it works on curves, and whether it creates the texture or coverage your design needs.
What Mistakes Should Readers Avoid with 12 Essential Embroidery Stitches?
Avoid pulling the thread too tightly, using very long satin stitches on large areas, and rushing French knots. Also avoid learning stitches only in isolation. Practice them on simple shapes and lines so you understand how they behave in real embroidery designs.
What Is the Next Logical Step After Learning About 12 Essential Embroidery Stitches?
The next step is to make a small sampler or beginner pattern that uses several stitches together. This teaches stitch choice, spacing, and thread tension in context. After that, try variations such as whipped back stitch, fishbone stitch, woven wheels, or more advanced filling techniques.