
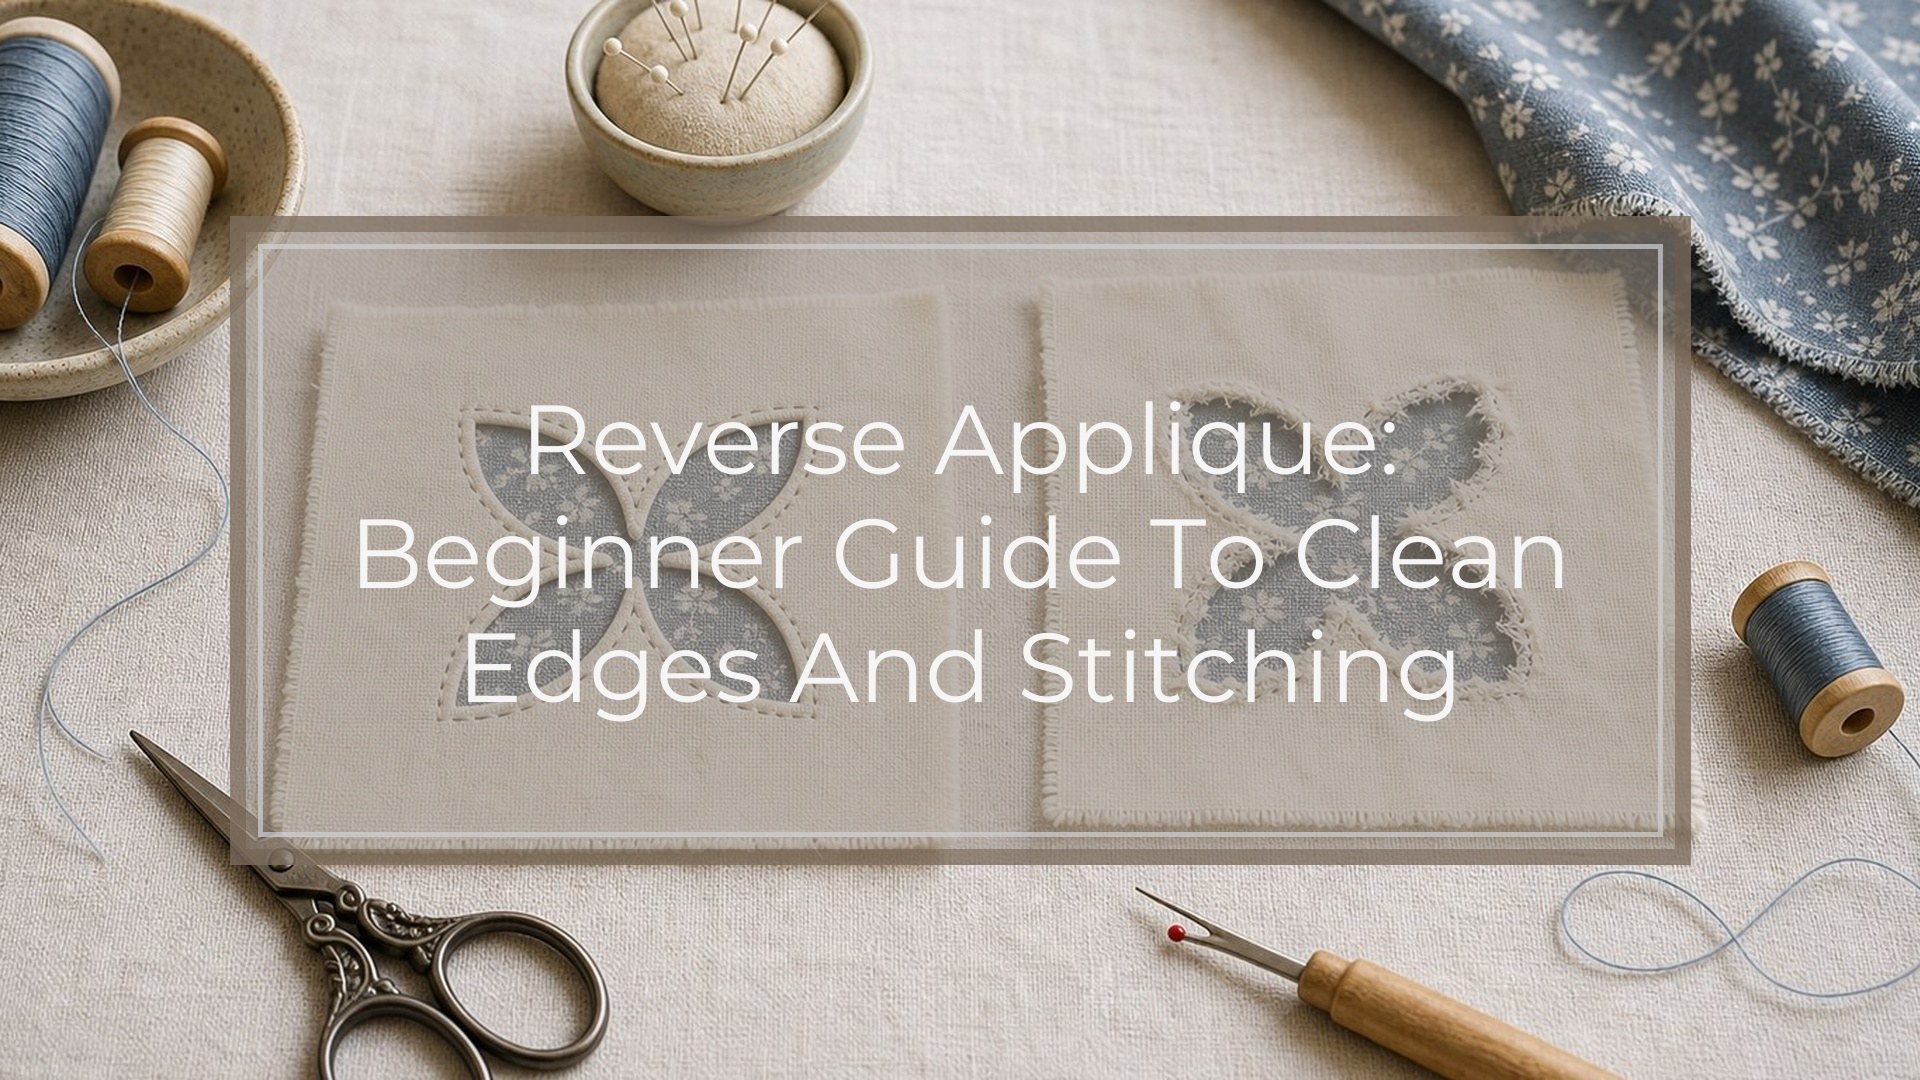
Reverse applique is an embroidery technique where you layer fabrics, stitch a design outline, then cut away part of the top fabric to reveal the fabric underneath. Instead of placing a shape on top, you uncover a hidden shape from below. The result can look bold, soft, textured, or decorative depending on your fabric and stitch choices.
For beginners, the easiest way to learn reverse applique is with a small sampler, such as a heart or leaf. Use two stable cotton fabrics, a simple outline, and a basic running stitch or backstitch. The key skills are careful layering, steady stitching, and slow trimming with sharp scissors.
What Is Reverse Applique?
Reverse applique is applique worked “from behind.” You begin with at least two layers of fabric. The lower fabric is the color, print, or texture you want to show through. The upper fabric is stitched around a design shape, then carefully cut inside the stitched outline so the lower layer appears.
A simple mental model is a window: the top fabric is the wall, the cut-away area is the window opening, and the backing fabric is the view showing through. Embroidery stitches frame that opening.
In hand embroidery, reverse applique is useful when you want crisp contrast, layered texture, or a design that feels integrated into the fabric rather than sitting on top of it.
Reverse Applique Vs Regular Applique
Regular applique adds fabric shapes on top of a base fabric. Reverse applique removes part of the top fabric to reveal another fabric beneath it. Both techniques can use hand stitching, but the order of construction feels different.
| Technique | What Happens | Beginner Takeaway |
|---|---|---|
| Regular applique | A cut fabric shape is placed on top and stitched down. | Easier to understand visually because the shape is visible from the start. |
| Reverse applique | Fabrics are layered, stitched, then the top layer is cut away. | Requires more careful cutting, but creates a beautiful framed reveal. |
Choose regular applique for raised, added shapes. Choose reverse applique when you want a cut-out effect, layered color, or decorative stitched edges.
Best Beginner Projects for Reverse Applique
Start small and choose shapes with gentle curves. A heart, leaf, circle, moon, or simple flower petal works better than tiny letters or sharp points. These shapes give you room to stitch evenly and cut safely.
Good beginner projects include a small hoop sampler, a patch for a tote bag, a decorative pocket, or a simple fabric bookmark. A leaf sampler is especially useful: draw one large leaf shape, stitch around it, cut away the center, and let a green or patterned fabric show through. This teaches the full technique without turning the project into a long commitment.
Supplies You Need
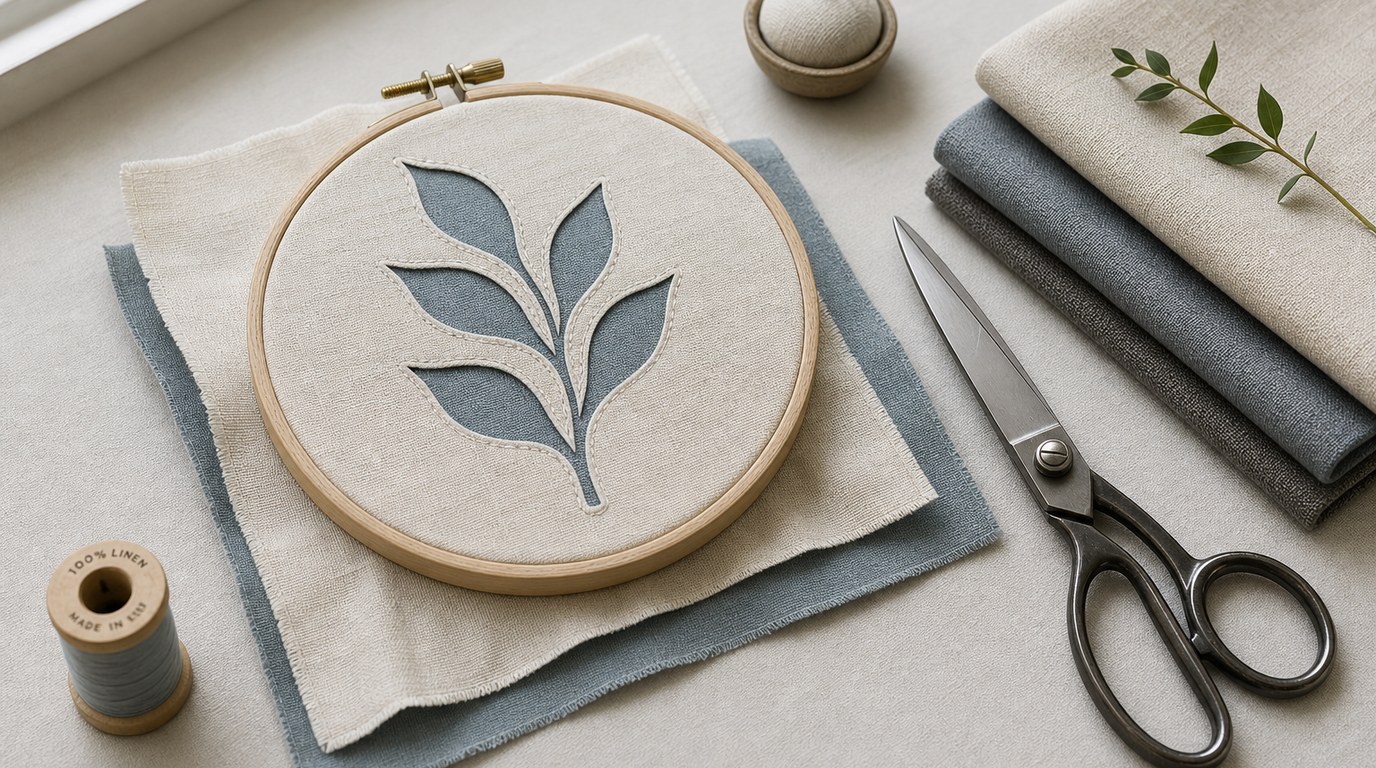
For a basic reverse applique embroidery project, gather:
- Two pieces of fabric: one top layer and one contrast layer underneath
- Embroidery hoop, if working by hand
- Embroidery needle
- Embroidery floss or sewing thread
- Small, sharp embroidery scissors
- Fabric marker, pencil, or removable marking pen
- Pins, clips, or temporary basting thread
- Iron and pressing surface
- Optional: lightweight stabilizer for thin or stretchy fabric
Use fabric pieces larger than your final design area so they fit comfortably in the hoop. Sharp scissors matter because reverse applique depends on controlled trimming. Dull blades can tug the fabric and cause ragged edges.
Choosing Fabric, Thread, and Stitch Style
Stable woven cotton is the most beginner-friendly fabric. It presses well, holds stitches neatly, and is easier to cut than slippery or stretchy cloth. Avoid loose-weave fabrics for your first project because the cut edge may fray quickly.
For the lower layer, choose a color or print that clearly contrasts with the top fabric. If the fabrics are too similar, the reverse applique effect may disappear.
Embroidery floss gives a decorative look, while regular sewing thread creates a subtler edge. For stitch style, begin with running stitch, backstitch, or small whipstitch. A blanket stitch can be attractive around the cut edge, but it takes more control. Keep the stitch choice simple until you are comfortable cutting near your stitching.
How to Do Reverse Applique Step by Step
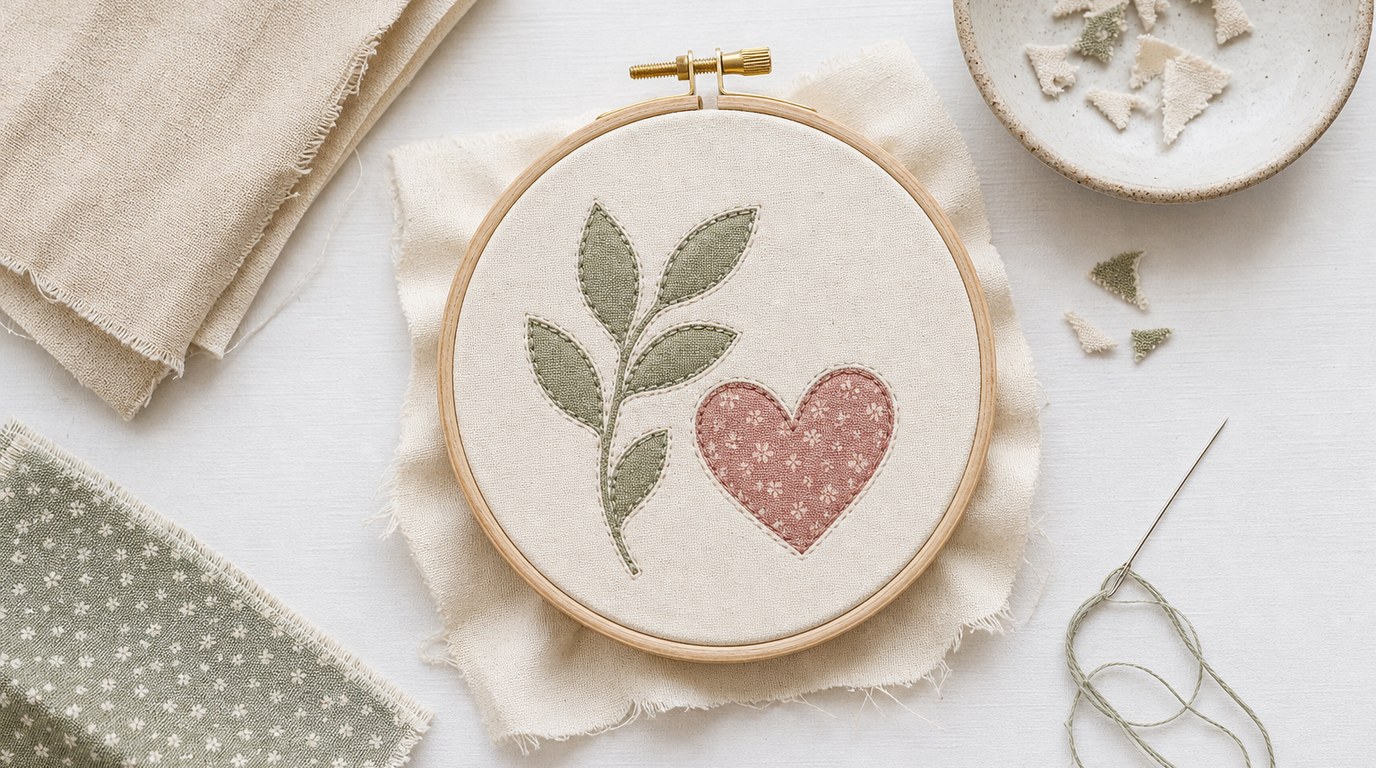
For a first project, make a small leaf or heart sampler.
- Press both fabrics. Smooth fabric is easier to mark, layer, and stitch. Iron out folds before you begin.
- Layer the fabrics. Place the contrast fabric underneath and the top fabric above it, both right side up. The fabric you want to reveal should be under the fabric you will cut.
- Secure the layers. Pin, clip, or baste around the design area. If using a hoop, place both layers in the hoop together and tighten until the fabric is firm but not stretched out of shape.
- Draw the design. Mark a simple heart or leaf on the top fabric. Keep the shape at least 2 inches wide for easier stitching and cutting.
- Stitch the outline. Work around the marked line with small running stitches or backstitches. Keep stitches even and close enough to hold the layers securely. This stitched line becomes the frame for your cut opening.
- Make a starter cut. Gently fold or pinch only the top fabric inside the shape and make a tiny snip near the center. Be careful not to cut the lower fabric.
- Trim toward the outline. Insert the scissor tip into the starter cut and slowly trim away the top fabric inside the stitched shape. Leave a small margin between the cut edge and your stitches, especially on your first attempt.
- Refine the edge. Trim small bits at a time until the revealed shape looks even. Do not rush tight curves or points.
- Add optional edge stitching. If you want a more finished look, stitch around the cut edge with whipstitch or blanket stitch. This can reduce fraying and add decoration.
- Press gently. Turn the work over and press from the back, using a pressing cloth if needed.
Tips for Clean Edges and Even Stitching
Use short, controlled scissor cuts instead of long cuts. Long cuts can overshoot the line, especially on curves. Keep the lower fabric flat and away from the scissor tips.
If your fabric frays, leave a slightly wider margin between the cut edge and stitching, or add a blanket stitch after trimming. For even stitching, mark your outline clearly and rotate the hoop as you work so your hand stays comfortable.
Do not pull stitches too tight. Tight stitches can pucker the layers and distort the opening. Aim for firm, relaxed tension.
Common Reverse Applique Mistakes and Fixes
Cutting the backing fabric: If the snip is small, patch behind it with a scrap of matching fabric and tiny stitches. Next time, make the starter cut by lifting only the top layer.
Ragged edges: Switch to sharper scissors and trim in smaller movements. Add edge stitching to secure loose threads.
Puckering: Your stitches may be too tight, or the fabric may be stretched in the hoop. Loosen, smooth, and restitch if needed.
Shape looks uneven: Lightly redraw the intended edge, then trim tiny amounts until balanced.
How to Finish and Care for Reverse Applique Embroidery
When the stitching is complete, remove any visible marking lines according to the marker instructions. Press the piece from the back on a gentle setting.
If the project will be handled or washed, secure loose thread ends carefully and consider adding extra edge stitching. Wash by hand or on a gentle cycle, depending on the fabrics used. Air drying helps protect the cut edges and embroidery texture.
FAQ
What Should a Beginner Know First About Reverse Applique?
A beginner should know that reverse applique is about revealing fabric, not adding it on top. You stitch through layered fabrics, then cut away the upper layer inside the design. Start with a simple shape and stable cotton so the cutting step feels controlled.
What Matters Most When Evaluating Reverse Applique?
The most important things are clean cutting, secure stitching, and good fabric contrast. If the stitches hold the layers neatly and the lower fabric shows clearly, the technique will read well. Tiny imperfections are normal, especially in handmade embroidery.
What Mistakes Should Readers Avoid with Reverse Applique?
Avoid starting with complicated shapes, loose fabric, or dull scissors. Do not cut too close to the stitches on your first try, and be careful not to snip the backing fabric. Slow trimming is safer than trying to cut the whole shape at once.
What Is the Next Logical Step After Learning About Reverse Applique?
After a small sampler, try reverse applique on a usable item such as a tote pocket, cushion panel, or hoop art piece. Practice one new challenge at a time: a curved shape, a different stitch, or a patterned backing fabric.