
Felt tags are small pieces of felt used as labels, accents, gift tags, or finishing details on embroidery, cross stitch, sewing, and handmade textile projects. They can be plain, stitched with initials, decorated with tiny motifs, or used to hide the back of small embroidery pieces. To make one, choose a firm felt, cut a neat shape, add embroidery or lettering, then attach it with hand stitching, adhesive, ribbon, or a backing method that suits the finished project. The best felt tags are simple, secure, and scaled to the piece they decorate.
What Are Felt Tags Used for in Needlework?
In needlework, felt tags work like small fabric labels with a handmade finish. They can identify the maker, mark the year, add a name to a gift, or turn a stitched motif into an ornament, keychain, bookmark, or hanging label.
Because felt does not fray like woven fabric, it is easy to cut into shapes and use without hemming. That makes it especially useful for small embroidery pieces where bulky seam allowances would feel awkward. A felt tag might sit on the back of a cross stitch ornament, hang from a handmade quilted pouch, or become the base for a tiny floral embroidery. Think of it as both a decorative surface and a practical finishing layer.
Materials and Tools You’ll Need
For a basic felt tag, gather:
- Felt: Wool or wool-blend felt gives the cleanest look and holds stitches well.
- Embroidery floss or perle cotton: Use two or three strands of floss for most small details.
- Embroidery needle: Choose a sharp needle that passes through felt without dragging.
- Small scissors: Sharp tips help cut smooth curves and corners.
- Marking tool: A removable fabric pen, chalk pencil, or light pencil mark works for simple guides.
- Template: Paper, cardstock, or a printed shape keeps multiple tags consistent.
- Attachment supplies: Sewing thread, ribbon, jump rings, glue, or fusible backing depending on the project.
Optional extras include beads, buttons, eyelets, pinking shears, and a small embroidery hoop if your felt is thin enough to hoop comfortably.
Choose the Right Felt, Shape, and Size
Start with the project, then design the tag to match it. A small cross stitch ornament may only need a 1-inch round or oval tag on the back. A handmade bag can handle a larger rectangular label. A gift wrap tag may look better as a heart, star, leaf, or scalloped circle.
Felt quality matters. Craft felt is inexpensive and fine for temporary gift tags, but it can stretch, pill, or look fuzzy at the edges. Wool-blend felt is usually the best all-purpose choice for embroidered felt tags because it cuts cleanly and feels sturdy. Pure wool felt is beautiful but more expensive.
Keep the size generous enough for stitching. Tiny lettering becomes difficult if the tag is too small. Leave at least 1/8 inch around the edge, and more if you plan to add a blanket stitch border. For hanging tags, leave space at the top for a hole, ribbon, or eyelet.
How to Make a Basic Embroidered Felt Tag
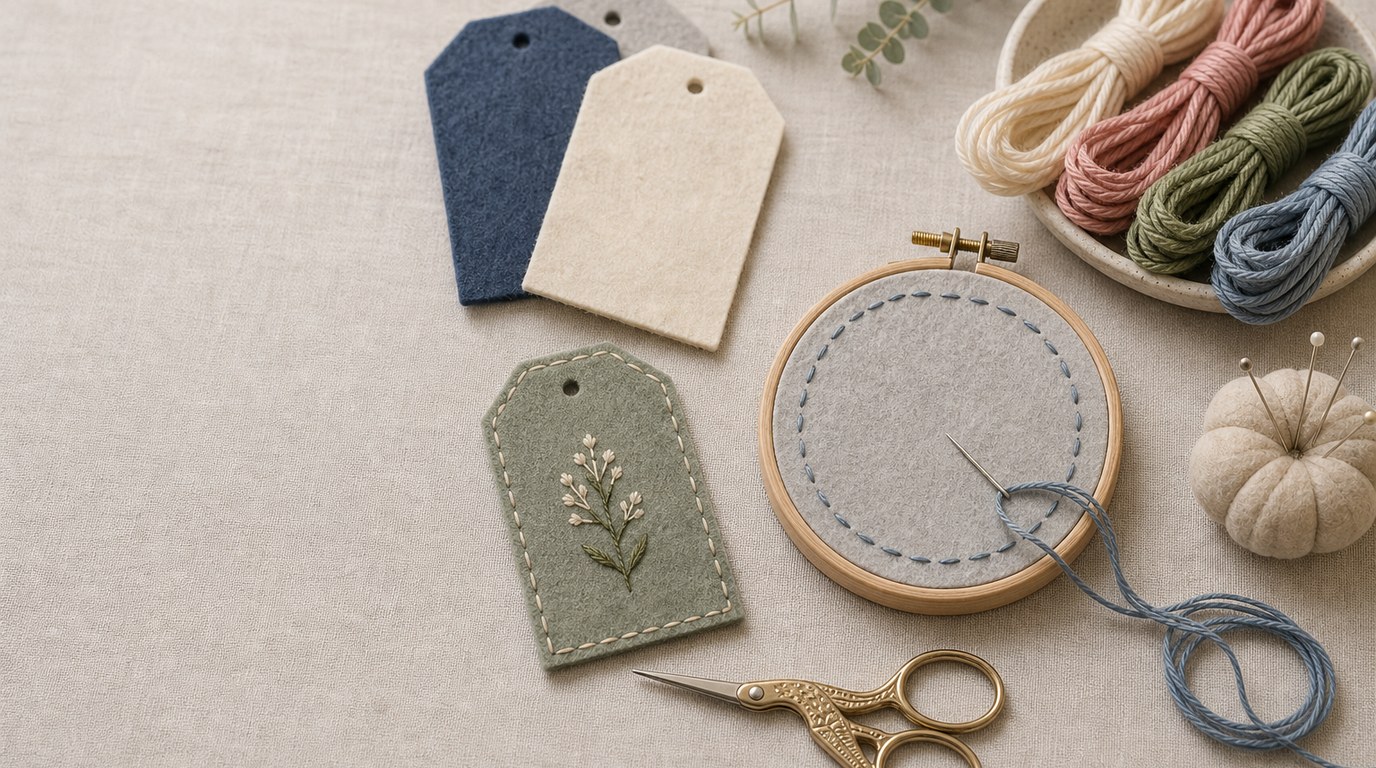
- Make a template. Draw or print the shape you want on paper or cardstock. Simple shapes are easiest: rectangle, circle, oval, shield, heart, or tag shape with clipped corners.
- Cut the felt. Pin or hold the template against the felt and cut slowly with sharp scissors. For repeated tags, trace the shape lightly first so every piece matches.
- Plan the design. Choose a short word, initials, date, tiny flower, star, heart, or simple border. Keep the design small and open. Dense stitching can distort felt.
- Mark the felt lightly. Use small dots or short lines rather than heavy outlines. Felt can be difficult to clean, so test your marking tool on a scrap first.
- Embroider the design. Use a sharp needle and short lengths of floss. Pull the thread just until it lies flat; do not tug hard or the felt may pucker.
- Finish the edge. Leave the edge plain for a clean modern look, or work blanket stitch, running stitch, or whipstitch around the border.
- Add a backing if needed. For a tag with messy thread ends on the back, cut a second matching felt shape and stitch or glue it behind the first.
- Attach or hang the tag. Sew it to the project, add a ribbon loop, punch a small hole, or secure it with a few hidden stitches.
Best Stitches for Felt Tags
The best stitches for felt tags are simple, controlled, and not too dense.
Backstitch is ideal for names, initials, dates, and outlines. It gives clean lines and works well at small scale.
Running stitch is quick for borders, dashed lines, and casual decorative details. It also works nicely for attaching a tag to fabric.
Blanket stitch is the classic felt edge stitch. Use it when two felt layers are joined or when you want a decorative border.
Whipstitch is useful for closing edges quickly, especially on small stuffed tags or ornaments.
French knots add texture for flower centers, berries, dots, and tiny accents.
Satin stitch can work for small filled shapes, but avoid large filled areas. Felt can compress and ripple if the stitching is too heavy.
Ways to Attach Felt Tags to Finished Projects
The best attachment method depends on whether the tag is decorative, removable, or meant to last through use.
For embroidery hoops, ornaments, and framed pieces, stitch the felt tag to the back fabric or backing layer. Small whipstitches or ladder stitches around the edge keep it neat. If the tag is a maker’s label, place it near the lower back edge.
For bags, pouches, needle books, and fabric covers, hand sew the tag through the outer fabric before the final lining is closed, if possible. This hides knots and makes the finish stronger.
For gift wrap or hanging decorations, add a ribbon, twine, or embroidery floss loop. You can sew the loop between two felt layers or thread it through a small punched hole.
For cards or packaging, a small amount of fabric glue may be enough. Use glue sparingly so it does not soak through or stiffen the front of the tag.
Design Ideas for Felt Tags
Try these simple felt tag ideas:
- Maker’s label: Stitch your initials and the year on a small rectangle.
- Cross stitch ornament back: Add “Handmade” or the recipient’s name.
- Gift tag: Embroider a tiny snowflake, flower, heart, or monogram.
- Needlework project tag: Use a skein number, project name, or date.
- Scissor fob or keychain: Stitch a small motif on layered felt and add a loop.
- Botanical tag: Cut a leaf shape and add vein stitches.
- Holiday tag: Use stars, stockings, trees, pumpkins, or eggs in seasonal colors.
Limit each tag to one clear focal point. Small felt pieces look best when the design has breathing room.
Tips for Neat, Durable Results
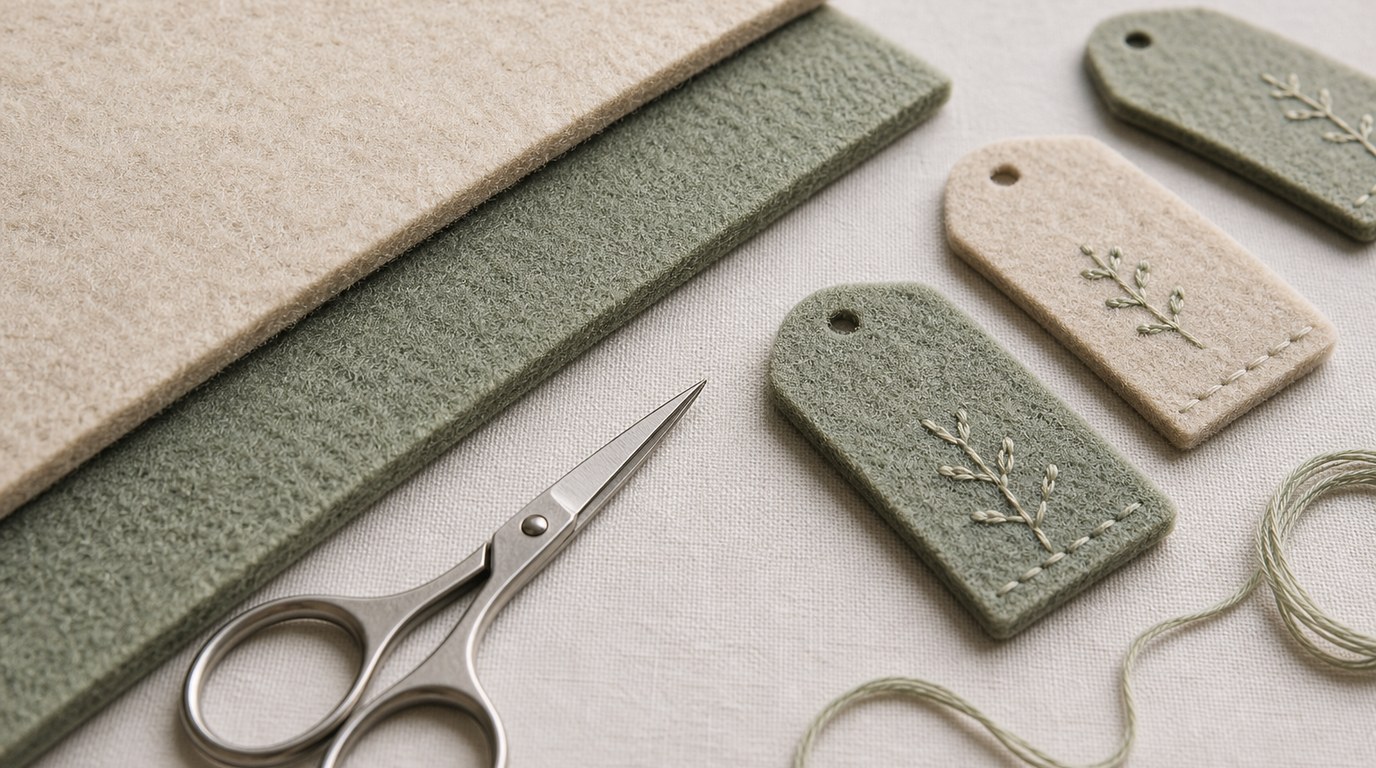
Use sharp scissors and cut with long, smooth motions to avoid jagged edges. If you need two identical layers, cut them together or trim them after stitching.
Do not overfill the felt with embroidery. A few clean stitches often look better than a crowded design. Keep thread tension relaxed so the surface stays flat.
Hide knots between felt layers when possible. If the back will show, use a second felt piece as a backing. For tags that will be handled often, stitch instead of relying only on glue. If the finished project may be washed, test the felt, floss, and marking tool first; some felt shrinks or bleeds.
FAQ
What Should a Beginner Know First About Felt Tags?
Start with firm felt, a simple shape, and a small design. Felt is forgiving because it does not fray, but it can pucker if you pull stitches too tightly. Practice on a scrap before stitching a final name, date, or decorative motif.
What Matters Most When Evaluating Felt Tags?
Look at the felt quality, edge neatness, stitch tension, and attachment method. A good felt tag should suit the scale of the project, stay flat, and feel secure. Wool-blend felt usually gives a cleaner, longer-lasting result than thin craft felt.
What Mistakes Should Readers Avoid with Felt Tags?
Avoid making the tag too small for the design, using heavy stitching that distorts the felt, or marking with a pen that will not disappear. Also avoid attaching tags with too much glue, especially on visible areas, because it can stiffen or stain the felt.
What Is the Next Logical Step After Learning About Felt Tags?
Make a small sample set: one plain label, one embroidered monogram, and one layered hanging tag. Testing different stitches and attachment methods on scraps will help you choose the best finish for ornaments, cross stitch pieces, gifts, and handmade accessories.