
Leaf stitch is a simple hand embroidery stitch used to fill small leaf shapes with a raised center vein and angled side stitches. It works beautifully for vines, floral sprigs, wreaths, borders, and botanical details. In this leaf stitch tutorial, you’ll learn how to set up the shape, choose thread and needle size, work the stitch from base to tip, and keep both sides of the leaf even. The main goal is control: neat guidelines, consistent stitch angle, and gentle thread tension. Once you understand the structure, you can make narrow leaves, rounded leaves, open leaves, or filled leaves with the same basic method.
Quick Answer
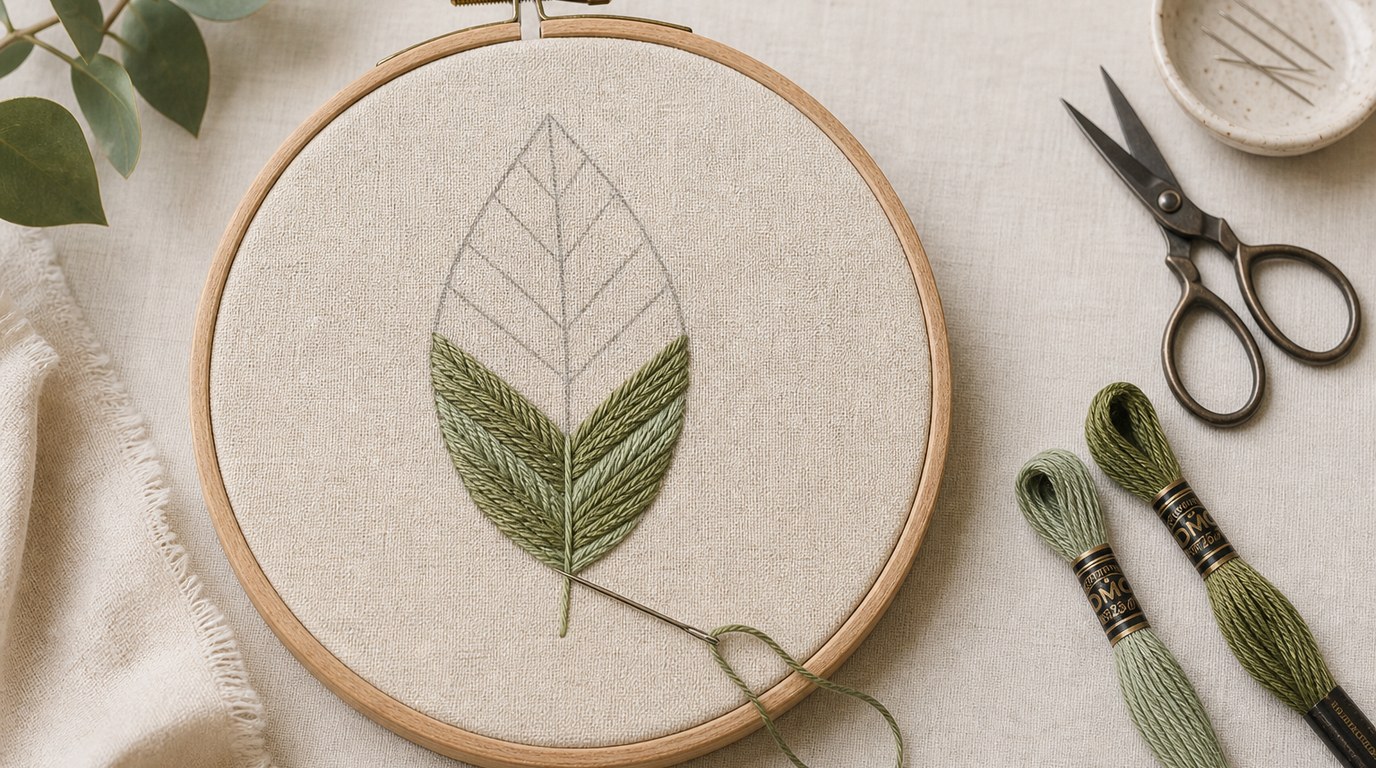
To work leaf stitch, draw a simple leaf shape with a center line. Bring the needle up at the base of the leaf, then make alternating diagonal stitches from each outer edge toward the center line, crossing or meeting neatly along the vein. Continue upward until the leaf is filled, keeping the angle and spacing consistent. Finish with a small stitch at the tip or tuck the final stitch neatly into the outline.
The main takeaway: leaf stitch is built from repeated slanting stitches that form a leaf shape around a central vein. If your center line is steady and your stitch tension is relaxed, the finished leaf will look clean.
For beginners, start with a small leaf about 1 inch long. Use cotton fabric, a 6-inch hoop, embroidery floss, and a sharp embroidery needle. Two or three strands of floss are easiest to control. Avoid starting with a very tiny leaf or a very wide one, because both make spacing harder.
A basic leaf stitch can be used as a filled stitch, where the diagonal stitches cover the whole shape, or as a lighter decorative stitch, where the stitches are spaced slightly apart. It is especially useful when you want leaves that look handmade but tidy without using complicated shading techniques.
How to Think About This Topic
Think of leaf stitch as a structured filling stitch, not just a decorative line. The shape depends on three things: the outline, the center vein, and the repeated side stitches. If those three parts work together, the leaf will look balanced even if every stitch is not perfectly identical.
The outline gives the leaf its outer shape. A narrow almond shape creates a slim grass-like leaf. A wider oval shape creates a fuller botanical leaf. A pointed shape gives a sharper, more stylized look. Draw lightly with a removable fabric pen, pencil, or transfer method that suits your fabric.
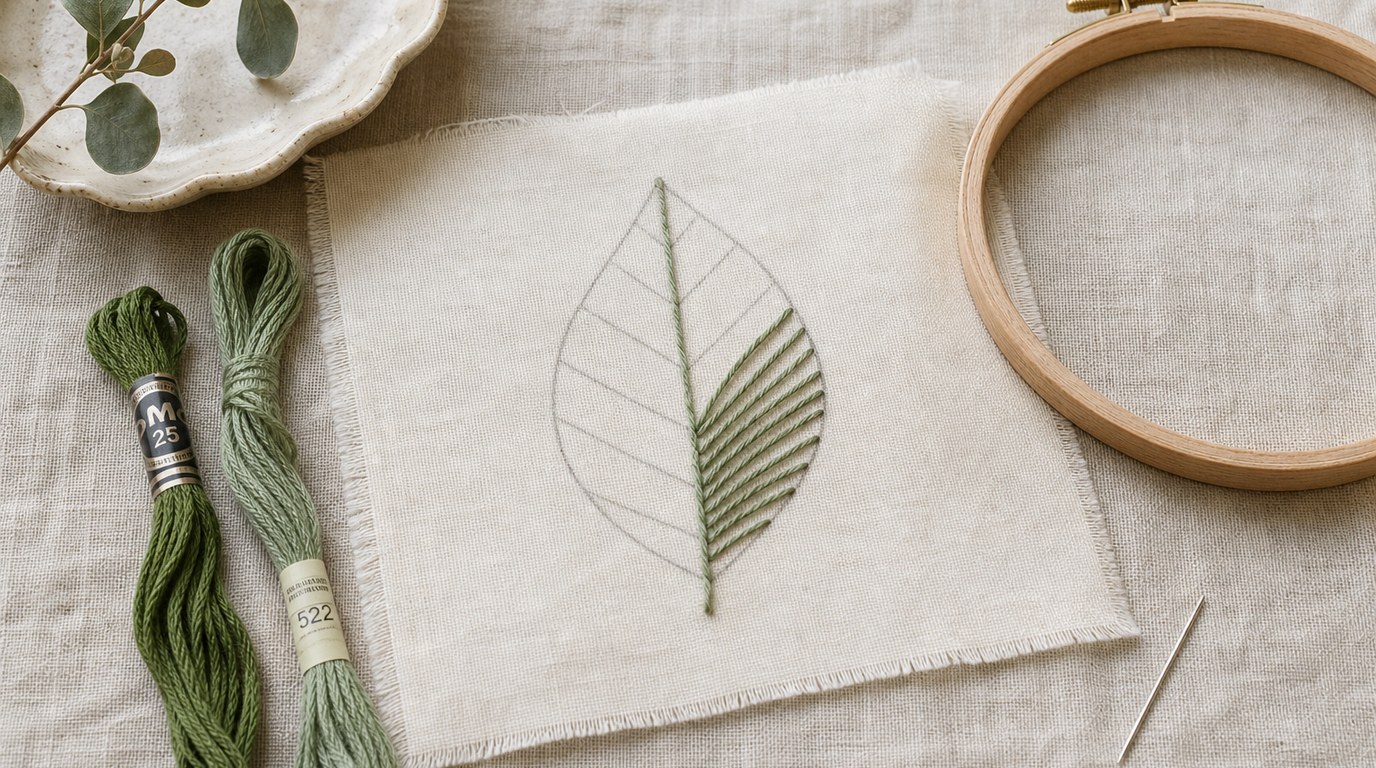
The center line is your guide. It should run from the base to the tip of the leaf. In many versions of leaf stitch, the diagonal stitches meet at or near this line, forming the visible vein. If the center line wobbles, the leaf may look twisted. For a natural effect, a slight curve is fine, but keep it intentional.
The side stitches create texture and direction. Each stitch travels from one outer edge toward the center, then the next stitch comes from the opposite side. This alternating rhythm is what builds the leaf. The stitches can meet exactly on the center line, overlap slightly, or sit just beside one another depending on the style you want.
Tension matters because leaf stitch has many angled stitches close together. Pull too tightly and the fabric may pucker. Leave the thread too loose and the stitches may snag or look uneven. Aim for stitches that lie flat on the fabric without pulling the weave out of shape.
Scale also changes the result. A tiny leaf looks best with one or two strands of floss. A medium leaf can use two or three strands. A larger leaf may need thicker thread, more strands, or a different filling approach so it does not look sparse. Matching the thread weight to the leaf size is often the difference between a crisp stitch and a bulky one.
This mental model helps with the real reason most people search for a leaf stitch tutorial: they want leaves that look neat, shaped, and usable in a project. Instead of memorizing the stitch as a single motion, focus on building a balanced form from base, outline, center, and angle.
Practical Guidance
Before stitching, gather simple materials and choose a leaf size that matches your skill level.
| Item | Beginner-friendly choice | Why it helps |
|---|---|---|
| Fabric | Cotton, linen, or cotton-linen blend | Holds stitches clearly without too much stretch |
| Hoop | 5- or 6-inch embroidery hoop | Keeps fabric firm and easier to control |
| Thread | 2–3 strands of cotton floss | Gives coverage without bulk |
| Needle | Embroidery needle size 7–9 | Sharp enough for woven fabric and floss |
| Leaf size | About ¾–1¼ inches long | Large enough to see, small enough to finish quickly |
Start by placing the fabric in the hoop so it is taut like a drum, but not stretched out of shape. Draw a leaf outline and a center line. Knot your thread or use your preferred no-knot start on the back.
Bring the needle up at the base of the leaf, close to the center line. Insert the needle on one outer edge and bring it back up near the center line, making a diagonal stitch. Then work from the opposite outer edge toward the center line. Continue alternating sides as you move up the leaf. Keep the stitches angled toward the tip, not straight across.
For a filled leaf, place each new stitch close to the previous one so the fabric is mostly covered. For a lighter leaf, leave small gaps between stitches. If you want a raised vein, let the stitches overlap slightly along the center. If you want a flatter, more open vein, have the stitches meet beside the line instead of stacking on top of it.
At the tip, shorten your stitches so the shape narrows smoothly. Do not force a long final stitch into a tiny point; two small stitches usually look better. Secure the thread on the back by weaving under nearby stitches rather than making a bulky knot.
Use leaf stitch in small floral sprays, embroidered initials, hoop art wreaths, napkin corners, garment cuffs, or cross stitch companion borders. It pairs well with stem stitch vines, satin stitch petals, French knot flower centers, and lazy daisy accents, but it can also stand alone as a repeating border.
Common problems are usually easy to fix. If the leaf is lopsided, redraw the center line and check that both sides are similar widths. If the fabric puckers, loosen your tension and make sure the hoop is tight. If the center vein looks messy, reduce overlap and use shorter stitches. If the leaf looks thin, add more stitches or use an extra strand of floss.
For practice, stitch three leaves on scrap fabric: one narrow, one rounded, and one curved. This teaches you how the same stitch changes with shape. After that, try a small vine with five leaves, alternating their direction for a natural look.
FAQ
What Should a Beginner Know First About Leaf Stitch Tutorial?
A beginner should know that leaf stitch is guided by a drawn outline and center line. Do not try to guess the shape as you stitch. Start with a medium-size leaf, use two or three strands of floss, and focus on even angles.
What Matters Most When Evaluating Leaf Stitch Tutorial?
The most important things are clarity of the steps, good setup advice, and practical troubleshooting. A useful leaf stitch tutorial should show how the stitches form the center vein, how to control tension, and how to adjust the stitch for different leaf shapes.
What Mistakes Should Readers Avoid with Leaf Stitch Tutorial?
Avoid pulling the thread too tightly, making the leaf too small for your thread, and skipping the center guideline. Also avoid uneven stitch angles, which can make the leaf look twisted. If the shape starts drifting, pause and correct the next few stitches.
What Is the Next Logical Step After Learning About Leaf Stitch Tutorial?
After learning the basic leaf stitch, practice it in a simple project such as a floral sprig, wreath, or border. Then experiment with curved leaves, different thread colors, and varied spacing so you can use the stitch confidently in original embroidery designs.