
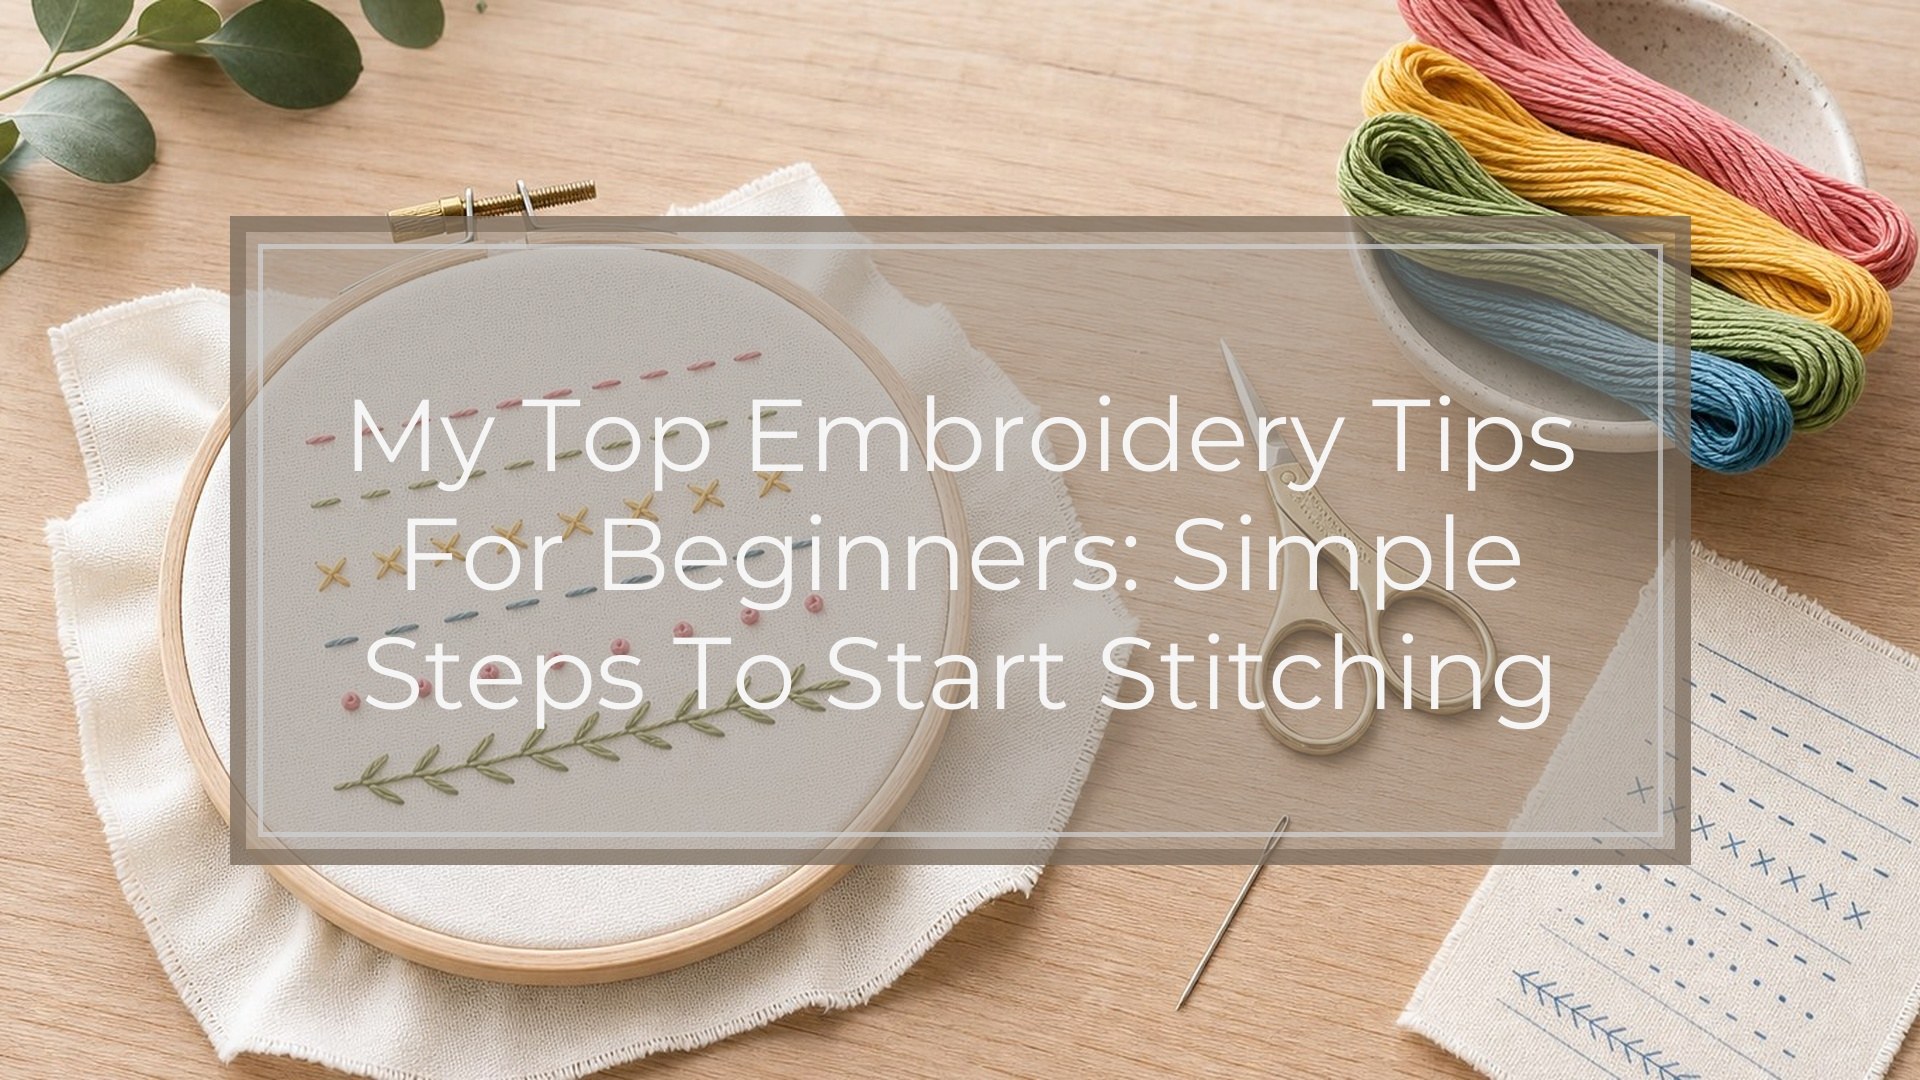
My top embroidery tips for beginners are simple: choose a small design, use easy fabric, keep your hoop tension firm, and practice a few basic stitches before trying everything at once. Start with cotton fabric, a 5- or 6-inch hoop, embroidery floss, sharp scissors, and a needle that slides through the fabric without forcing. Work with shorter thread lengths, separate your floss strands, and stitch slowly enough to keep spacing even. Embroidery improves through repetition, not perfection, so make your first projects small, useful, and forgiving.
Why Beginner Embroidery Feels Tricky at First
Embroidery can feel awkward because several small skills happen at the same time. You are holding fabric, controlling thread, placing stitches, reading a pattern, and trying not to tangle your floss. That is a lot for your hands to learn at once.
A helpful mental model is this: neat embroidery comes from three things working together: fabric tension, thread control, and repeated stitch practice. If one part feels off, the whole piece may look uneven. That does not mean you are bad at embroidery; it means you are learning the mechanics.
1. Start with a Small, Simple Design
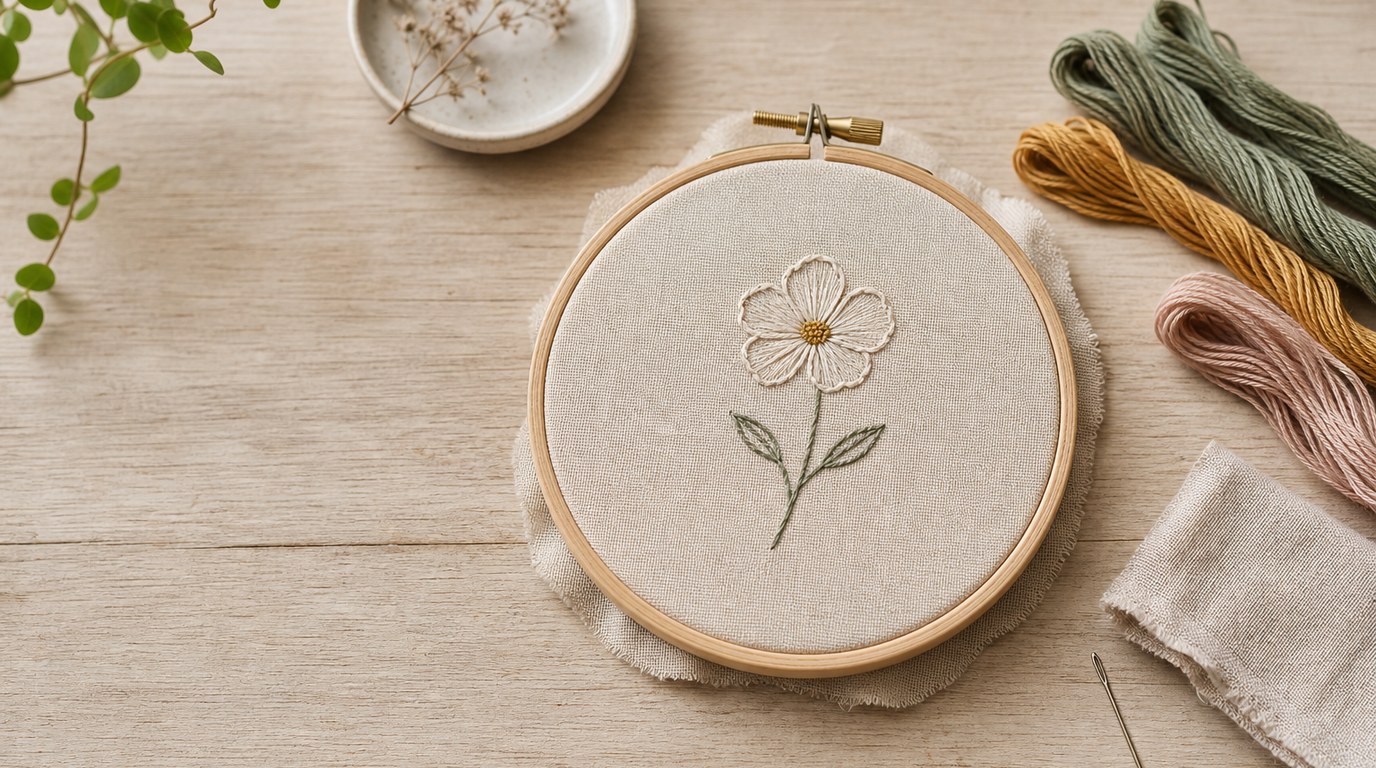
Your first embroidery project should be small enough to finish before you lose momentum. Choose a simple flower, initial, tiny wreath, line drawing, or basic quote with plenty of open space. Avoid designs packed with tiny details, heavy fill areas, or many thread colors.
A 3- to 5-inch design is ideal. It gives you room to practice without becoming a long-term commitment. Finishing a small piece teaches you the full process: transferring, hooping, stitching, fixing mistakes, and finishing the back.
2. Choose Beginner-friendly Fabric and Hoop Size
For beginners, tightly woven cotton or linen-cotton blends are easier than stretchy, slippery, or very loose fabrics. Quilting cotton, cotton muslin, or medium-weight linen blends are good starting points because they hold stitches clearly.
Choose a hoop that fits your design with extra space around the edges. A 5- or 6-inch wooden hoop is comfortable for most hands. Very large hoops can be harder to control, while tiny hoops may crowd your design. The fabric should sit smooth in the hoop, like a drum, but not be pulled so hard that the weave distorts.
3. Use the Right Basic Supplies
You do not need a huge embroidery kit to begin. A few dependable tools are better than a drawer full of supplies you do not understand yet.
| Supply | Why it matters |
|---|---|
| Embroidery hoop | Holds fabric steady while you stitch |
| Cotton fabric | Gives stitches a stable surface |
| Embroidery floss | Adds color and texture |
| Embroidery needles | Have an eye large enough for floss |
| Small sharp scissors | Cut thread cleanly |
| Transfer pen or pencil | Marks the design on fabric |
| Needle minder or pincushion | Keeps your needle safe between stitches |
Start with these basics, then add specialty items later, such as stabilizer, metallic thread, or fancy hoops.
4. Learn a Few Stitches Before Learning Many
It is tempting to collect stitch tutorials, but beginners improve faster by practicing a small set. Start with back stitch, running stitch, satin stitch, stem stitch, and French knots. These cover outlines, simple lines, filled shapes, curves, and small dots.
Practice each stitch on scrap fabric before using it in a project. Make rows of back stitch, small leaves with satin stitch, curved stems with stem stitch, and clusters of French knots. Once those feel familiar, add chain stitch, lazy daisy, split stitch, or long and short stitch. A limited stitch vocabulary still gives you many design options.
5. Keep Your Fabric Taut, Not Stretched
Good hoop tension makes embroidery much easier. Your fabric should feel firm and smooth when you tap it, but the threads of the fabric should not be pulled out of shape. If the fabric sags, your stitches may loosen or pucker. If it is overstretched, the design may warp after you remove the hoop.
Tighten the screw, smooth the fabric evenly, then tug gently around the edges. Recheck the tension as you stitch, especially during longer sessions.
6. Use Shorter Thread Lengths and Separate Floss Strands
Long thread seems efficient, but it often causes knots, fraying, and fuzzy stitches. A good beginner length is about 12 to 18 inches, roughly from your fingertips to your elbow. Shorter lengths glide through fabric more smoothly and are easier to control.
Most embroidery floss has six strands. You usually separate the strands and stitch with two or three, not the full six. For fine outlines, try two strands. For bolder lines or filled shapes, try three. Separating strands also helps the thread lie flatter and look cleaner.
7. Pay Attention to Stitch Direction and Spacing
Neat embroidery is often about consistency rather than complicated technique. Try to keep stitches similar in length when outlining. When filling a shape, keep the stitches moving in the same direction unless the design calls for a change.
For example, satin stitch on a small leaf looks smoother when all stitches angle the same way. Back stitch looks tidier when each stitch is close to the same size. If your spacing varies, slow down and place the needle deliberately. Small adjustments make a big difference.
8. Transfer Patterns Clearly Before You Stitch
A messy or faint pattern makes embroidery harder than it needs to be. Before stitching, make sure your lines are visible, thin, and accurate. Use a water-soluble pen, heat-erasable pen, light pencil, or transfer paper suited to your fabric.
Test the marking method on a fabric scrap first. Some pens can leave shadows or react poorly to heat. Keep transfer lines light, especially under pale thread. If the design is unclear, redraw it before you begin rather than guessing as you stitch.
9. Secure Thread Neatly Without Bulky Knots
Knots can create bumps on the front of your embroidery, especially on thin fabric. Beginners can use knots at first, but it is helpful to learn cleaner methods early.
To start without a bulky knot, leave a small tail on the back and catch it under your first few stitches. To finish, weave the thread under nearby stitches on the back, then trim the end. The goal is secure thread without thick lumps. A tidy back also helps the front sit smoother.
10. Fix Common Beginner Embroidery Mistakes Early
Most embroidery mistakes are fixable. If your thread tangles, stop pulling. Gently loosen the knot with the needle tip instead. If stitches pucker, check whether the thread is pulled too tight or the fabric has gone slack in the hoop.
If a stitch is in the wrong place, unpick it carefully with the needle or small scissors. Do not keep stitching over a mistake that bothers you; it may become more noticeable. For uneven outlines, remove only the worst section and restitch slowly. Fixing early is easier than repairing a crowded area later.
11. Build a Simple Practice Routine
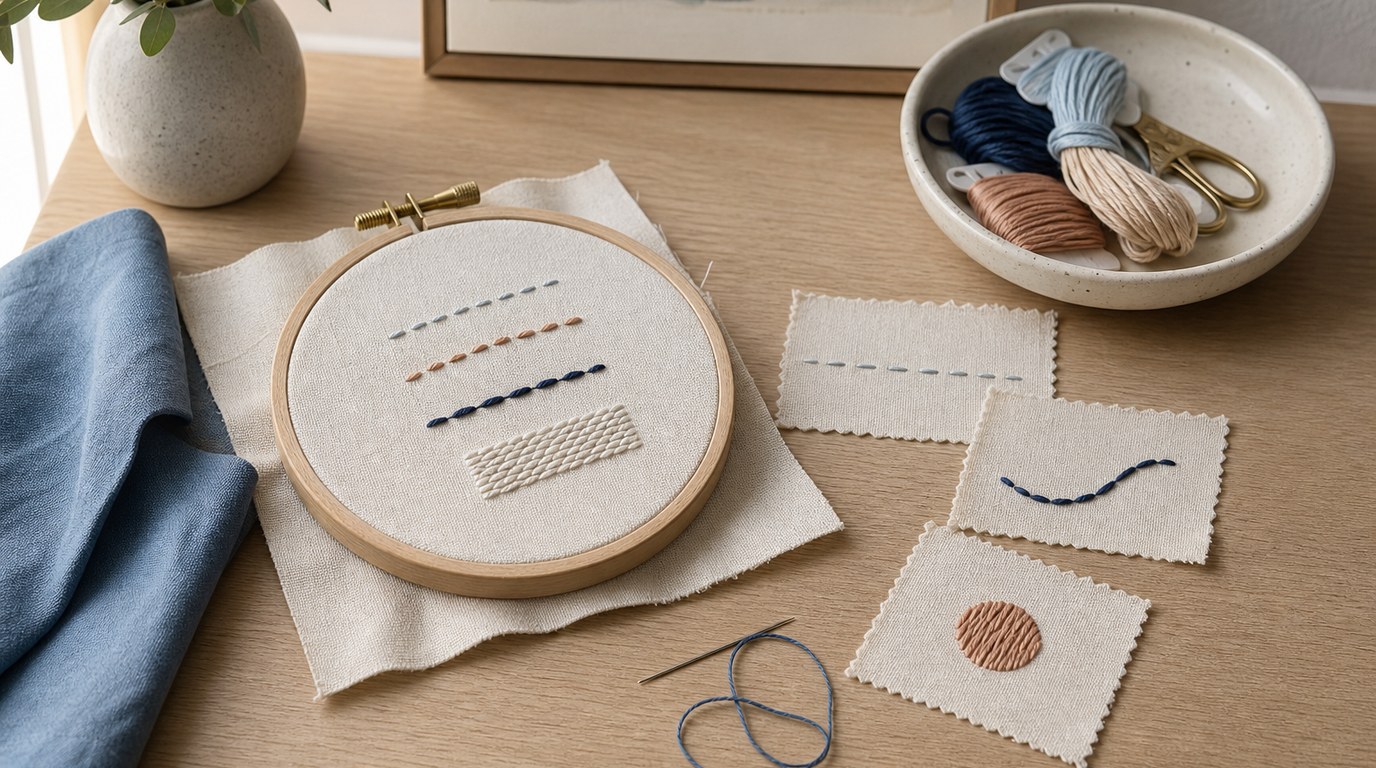
You do not need hours of practice to improve. Ten focused minutes can help your hands learn. Keep a scrap hoop for testing stitches, thread colors, and tension before working on your main project.
Try this routine: stitch one line of back stitch, one curved stem stitch, one small satin stitch shape, and three French knots. Repeat it every few days. Save your practice fabric so you can see progress. The improvement will be more visible than it feels while you are stitching.
Beginner Embroidery Tips to Remember
Beginner embroidery is not about making perfect stitches immediately. It is about learning how fabric, thread, needle, and hand movement work together. Choose simple designs, use stable fabric, keep your hoop firm, and practice a few stitches well.
Work with manageable thread lengths, transfer patterns clearly, and fix small problems before they grow. Most importantly, finish projects even if they are imperfect. Finished embroidery teaches more than abandoned perfect plans.
FAQ
What Should a Beginner Know First About My Top Embroidery Tips for Beginners?
The first thing to know is that embroidery becomes easier when you simplify. Start with a small design, stable cotton fabric, a comfortable hoop, and a few basic stitches. Do not judge your first project too harshly; your hands are learning tension, spacing, and thread control.
What Matters Most When Evaluating My Top Embroidery Tips for Beginners?
The most important tips are the ones that make stitching easier right away: good hoop tension, shorter thread lengths, clear pattern lines, and consistent stitch spacing. Fancy supplies matter less than learning how to control fabric and thread with steady, repeatable habits.
What Mistakes Should Readers Avoid with My Top Embroidery Tips for Beginners?
Avoid starting with a complicated design, using very long thread, pulling stitches too tight, or stitching on stretchy fabric without preparation. Also avoid buying too many supplies before learning the basics. Simple tools and a focused project will help you progress faster.
What Is the Next Logical Step After Learning About My Top Embroidery Tips for Beginners?
Choose one small beginner pattern and stitch it from start to finish. Use only a few stitches, keep notes on what felt difficult, and practice those skills on scrap fabric. After that, try a slightly more detailed design with one new stitch or technique.