
Thread painting is a hand embroidery technique that uses long and short stitches to build soft shading, realistic texture, and gradual color changes. Instead of filling a shape with one flat color, you layer threads the way a painter layers brushstrokes.
For a beginner project, choose a small motif such as a leaf or petal. Transfer the outline to fabric, hoop it firmly, choose three to five thread colors from light to dark, then stitch in directional rows that follow the natural form. The key is not perfect stitches; it is controlled overlap, thoughtful color placement, and keeping your thread smooth.
This guide walks through the full process: how to understand thread painting, what supplies to use, how to plan colors, how to stitch a simple motif, and how to finish neatly.
Quick Answer
The main takeaway: thread painting is built with layered long and short stitches that follow the direction, shape, and shading of your subject. If you can split embroidery floss, thread a needle, and make straight stitches, you can begin learning it.
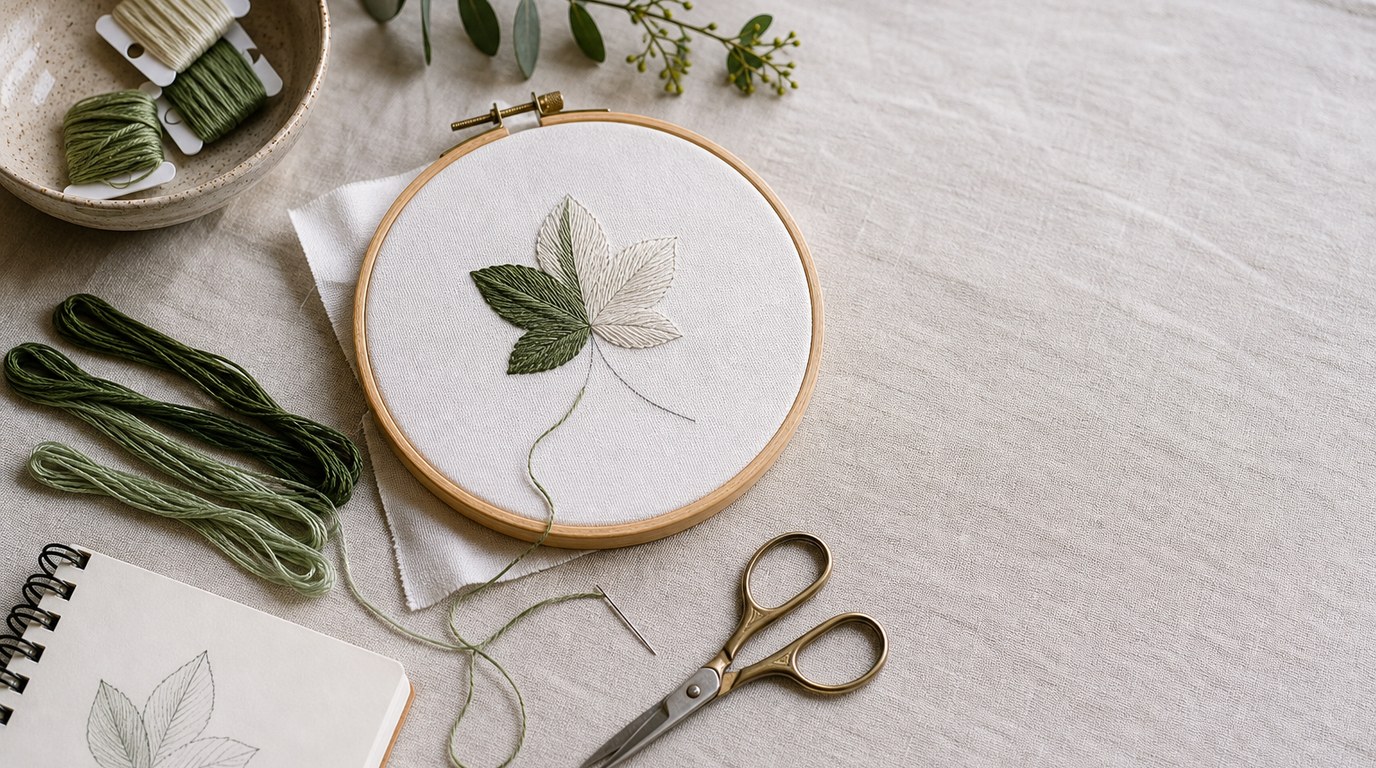
For a first project, keep the design simple. A single leaf is ideal because it has a clear outline, a central vein, and natural shading from light to dark. Avoid starting with a complex animal, portrait, or large flower arrangement. Thread painting rewards patience, but it becomes much easier when the shape is small and the color plan is limited.
You will need:
- Cotton or linen fabric
- An embroidery hoop
- Embroidery needles
- Stranded cotton embroidery floss
- Small sharp scissors
- A water-soluble pen or transfer method
- A simple outline design
- Optional: stabilizer if your fabric is thin or stretchy
The basic process is:
- Choose a small design.
- Transfer the outline to fabric.
- Hoop the fabric tightly.
- Select three to five related thread colors.
- Decide where the light, medium, and dark areas belong.
- Begin stitching from one edge of the shape.
- Use long and short stitches to create an uneven first row.
- Add the next color by stitching into the previous row.
- Continue blending colors across the shape.
- Add final details, such as a vein on a leaf or a fine edge on a petal.
- Remove markings and finish the fabric neatly.
The most important skill is learning to overlap stitches. Do not place each color in a separate stripe. Instead, let stitches from one shade reach into the next shade so the transition looks gradual. Think of each stitch as a tiny brushstroke. Its length, angle, and color all help create the final effect.
How to Think About This Topic
Thread painting can feel intimidating because finished examples often look highly realistic. The practical mental model is simpler: you are filling a shape with directional stitches while slowly changing color.
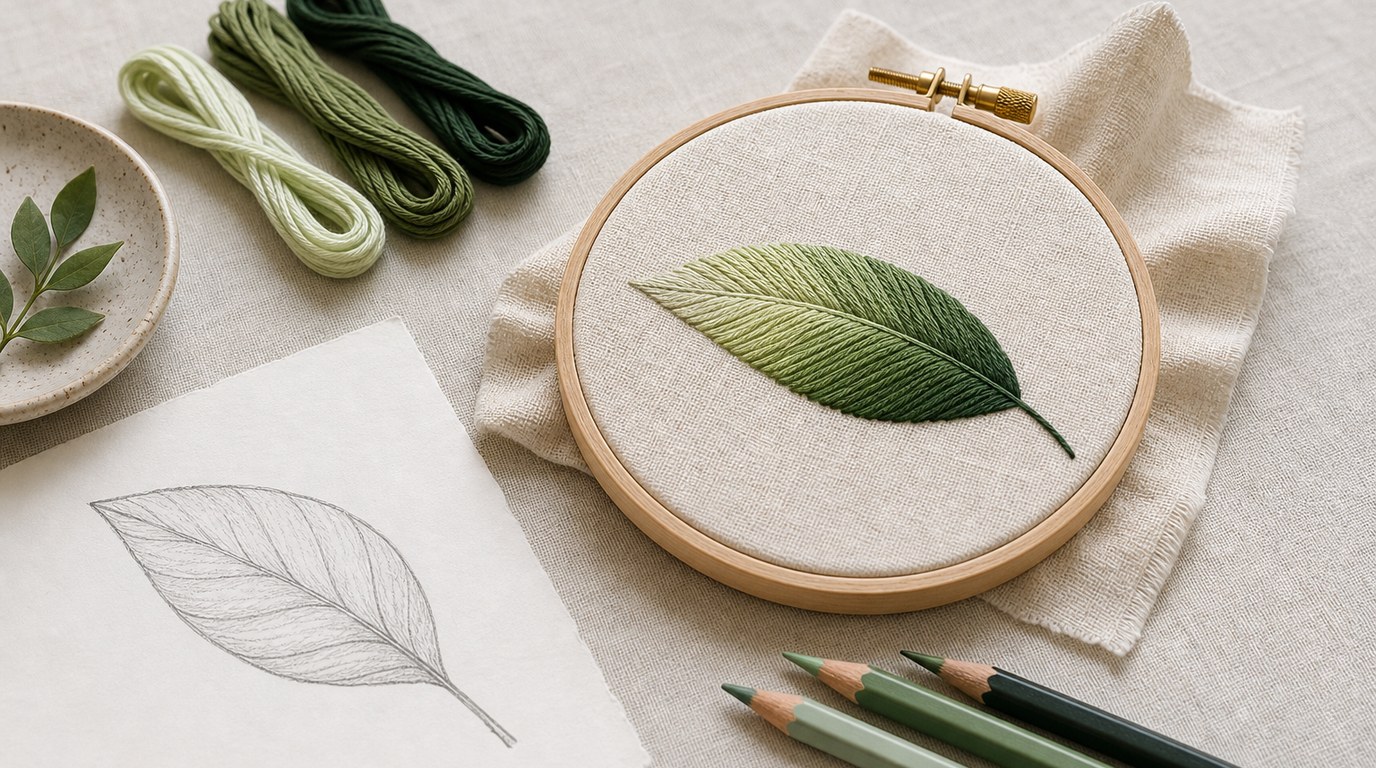
Imagine coloring a leaf with pencils. You would not press one solid green over the entire shape if you wanted it to look dimensional. You might use a pale green where the light hits, a medium green through the center, and a dark green near the base or shadowed edge. Thread painting does the same thing, but with stitches instead of pencil marks.
There are three ideas to understand before you begin.
First, direction matters. Stitches should follow the form of the object. On a leaf, stitches usually angle from the outer edge toward the center vein. On a petal, they often curve from the base toward the tip. If all stitches point randomly, the shape looks flat or messy. If they follow the natural growth direction, the embroidery looks intentional even before the shading is perfect.
Second, stitch length should vary. Thread painting is often called needle painting because it avoids hard blocks of color. Long and short stitch creates an uneven edge where the next color can blend in. If every stitch ends at the same height, you create a visible stripe. If some stitches are longer and some are shorter, the next shade can tuck between them.
Third, color changes should overlap. Beginners often stitch one section in light green, stop, then stitch the next section in medium green directly beside it. That creates a boundary. Instead, stitch the medium green up into the spaces between the light green stitches. Then stitch the darker green into the medium green. The goal is not to hide every transition, but to soften it.
A beginner leaf is a useful example because it teaches all three ideas. The central vein gives you a direction guide. The shape is narrow enough that you do not need many rows. The color plan can be simple: light green along one side, medium green through the body, and dark green at the base or shadow side.
Thread painting also depends on thread control. Most stranded cotton floss comes with six strands. For fine blending, use one strand or two strands at a time. One strand gives the smoothest result and allows subtle shading, though it takes longer. Two strands cover faster but can look chunkier. For a beginner leaf, two strands are acceptable if the design is not tiny. For more delicate work, use one strand.
Your fabric tension also affects the result. A loose hoop makes stitches sag and distort the fabric. A tight hoop keeps the surface stable, helping each stitch lie where you place it. The fabric should feel firm, like a small drum, but not stretched so hard that the weave warps.
The purpose of this step by step guide to thread painting is not to make your first piece look like a professional botanical study. It is to help you understand the method: plan the shape, choose a small color range, stitch in the right direction, overlap colors, and build the image gradually. Once that process makes sense, more detailed subjects become far less confusing.
Practical Guidance
Start with a small leaf about 2 to 3 inches long. Draw or transfer a simple outline with a center vein. A slightly curved leaf is helpful because it gives you a natural direction for the stitches without requiring advanced shaping.
Choose fabric that is stable and easy to pierce. Cotton, linen, or a cotton-linen blend works well. Avoid stretchy fabric for your first project unless you use stabilizer. Place the fabric in the hoop and tighten it until smooth.
For thread colors, pick a simple family:
| Area of leaf | Suggested color | Purpose |
|---|---|---|
| — | —: | — |
| Highlight edge | Pale green | Creates light and lift |
| Main body | Medium green | Fills most of the shape |
| Shadow/base | Dark green | Adds depth |
| Vein/detail | Dark green or olive | Defines structure |
You can add a yellow-green or blue-green later, but three greens are enough for learning.
Thread your needle with one or two strands of floss. Knotting is optional, but beginners may use a small knot on the back. If you prefer a cleaner back, secure the thread with a few tiny anchoring stitches inside the shape where they will be covered.
Begin at the tip or one outer edge of the leaf. Work a first row of long and short stitches from the outline toward the center. Do not stitch all the way to the vein yet. Make some stitches long and others short, creating a jagged inner edge. Keep the stitches angled in the direction a leaf vein would naturally run.
Next, bring in your medium green. Start each stitch slightly inside or between the pale green stitches, then extend it farther toward the center or across the leaf. This is where blending happens. You are not placing medium green beside pale green; you are stitching into it. Let the two colors share space.
Continue with the medium green until most of the leaf is filled. If your stitches begin to look too parallel or stiff, adjust the angle slightly so they continue to follow the curve of the leaf. On one side, stitches may lean upward; near the base, they may lean more inward.
Add the dark green where the leaf would be shadowed: near the base, along one side, or close to the center vein. Stitch the dark green into the medium green using the same long and short method. Use fewer dark stitches than medium stitches. A little shadow usually looks more natural than a heavy block of dark color.
Once the body of the leaf is filled, add the central vein. Use a stem stitch, split stitch, or a fine straight stitch line. If the vein looks too harsh, choose a medium-dark color instead of the darkest shade. You can also add a few small side veins, but keep them sparse. Too many details can cover the blending you just created.
As you stitch, check these practical criteria:
- Are the stitches following the shape?
- Are the color changes overlapping?
- Is the fabric still tight in the hoop?
- Are the stitches lying flat, not twisting?
- Is the thread length manageable?
Use shorter working lengths of floss, around 12 to 18 inches. Long thread frays, tangles, and loses shine. If your thread starts looking fuzzy, finish it off and begin with a fresh length.
To finish the back, weave the thread under nearby stitches instead of making bulky knots. Trim close, but not so close that the thread slips out. Remove any visible transfer marks according to the marking tool instructions. If you used a water-soluble pen, dab or rinse gently rather than soaking aggressively unless your threads and fabric are colorfast.
If the fabric is wrinkled, press it from the back on a towel so the stitches are cushioned. Do not crush the embroidery directly with the iron. You can frame the piece in the hoop, mount it in a small frame, or use it as a patch if the fabric and stitching are secure.
Common troubleshooting is straightforward. If your shading looks striped, make the stitch ends more uneven and overlap the colors more. If the shape looks flat, add a few darker stitches where shadows belong. If the surface looks bulky, use fewer strands or avoid repeatedly stitching through the same spot. If the outline looks ragged, add a fine border stitch only where needed, not around every edge automatically.
A good beginner result is not perfectly smooth. It should show a clear shape, visible stitch direction, and a gentle color shift. Those three qualities matter more than realism.
FAQ
What Should a Beginner Know First About a Step by Step Guide to Thread Painting?
A beginner should know that thread painting is mainly long and short stitch with careful color blending. Start with a small motif, such as a leaf or petal, and use only a few shades. Direction, overlap, and thread control matter more than speed.
What Matters Most When Evaluating a Step by Step Guide to Thread Painting?
The most important things are clear stitch direction, gradual color transitions, and a manageable project size. A good guide should show how to choose colors, prepare fabric, layer stitches, and fix common problems without pushing beginners into overly complex designs.
What Mistakes Should Readers Avoid with a Step by Step Guide to Thread Painting?
Avoid starting too large, using too many colors, or stitching colors in separate hard bands. Also avoid loose fabric tension and overly long thread lengths. These issues make blending harder and can cause tangles, puckering, or bulky stitches.
What Is the Next Logical Step After Learning About a Step by Step Guide to Thread Painting?
After completing a simple leaf, try a small petal using the same method. Practice changing stitch direction to follow the curve of the petal. Then experiment with one extra shade to create smoother highlights and shadows.