
Plain needle tubes are useful, but they are easy to mix up in a project bag or drawer. With washi tape, you can turn small tubes into attractive, labeled storage for embroidery needles, cross stitch tapestry needles, sharps, milliners, beading needles, and other hand-sewing tools. The process is simple: choose a tube that fits your needles, clean it, wrap it neatly, label it clearly, and optionally seal it. The result is a tidy, portable storage system that looks good and helps you grab the right needle quickly.
Why Washi Tape Needle Tubes Work Well
Washi tape is lightweight, decorative, and easy to reposition while you work. That makes it ideal for small storage tubes, especially if your needle collection changes over time.
Needle tubes protect fine points from bending, snagging fabric, or poking through project bags. Adding washi tape makes each tube easier to identify at a glance. Instead of opening several containers to find a size 26 tapestry needle, you can use color, pattern, and labels to sort by type, size, or project.
Materials and Tools You’ll Need
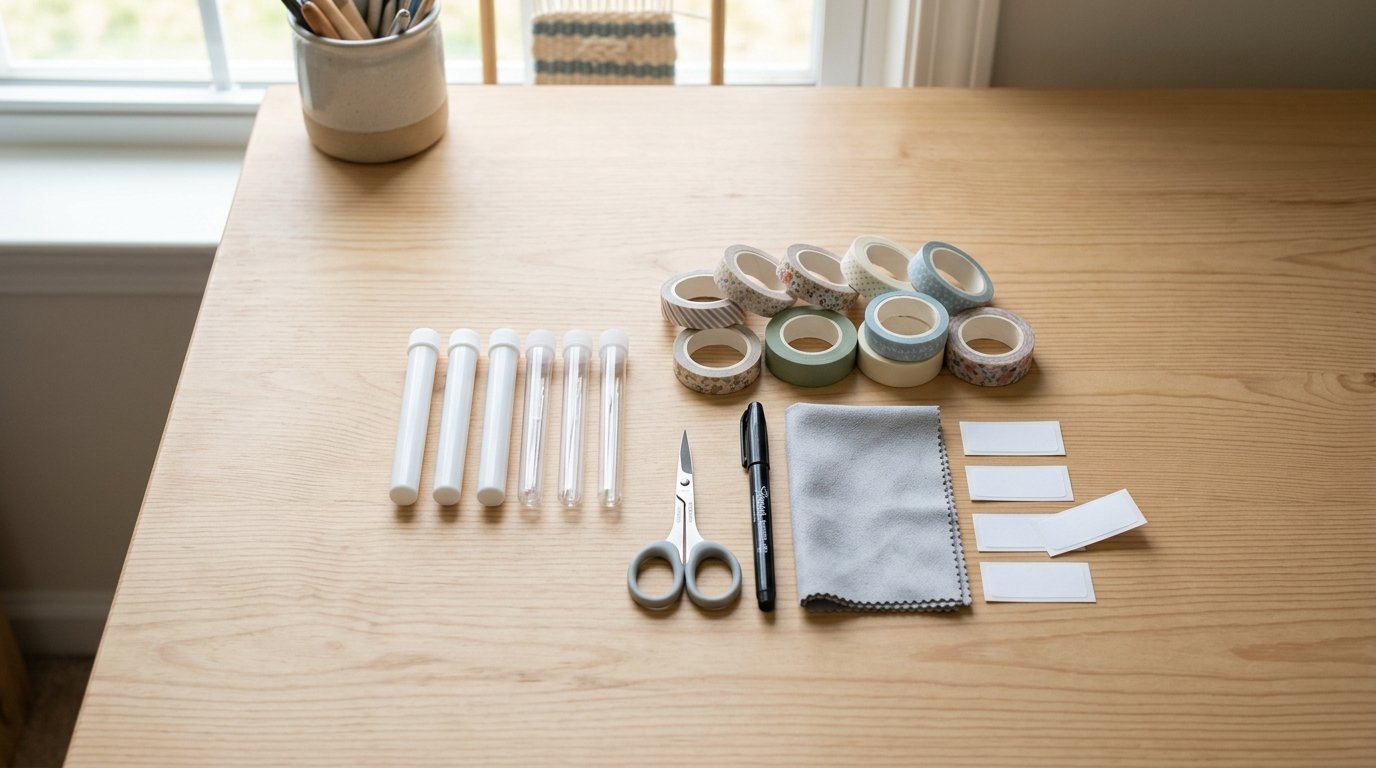
Gather your supplies before you start so you can wrap and label the tubes in one sitting.
You’ll need:
- Plain plastic, metal, glass, or cardboard tubes with lids
- Washi tape in one or more patterns
- Small scissors or a craft knife
- Ruler or measuring tape
- Fine-tip permanent pen or archival marker
- Blank label stickers, paper strips, or label tape
- Cotton cloth or paper towel
- Rubbing alcohol or mild soap and water
- Optional: clear brush-on sealer, clear packing tape, or matte decoupage medium
- Optional: small scrap of felt or foam for the tube base
Choose tape that contrasts with your label. Busy floral tape is pretty, but labels are easier to read on plain or lightly patterned strips.
Best Tube Options for Needle Storage
The best tube depends on the length and delicacy of your needles. Before decorating, test that the lid closes securely and the needles slide in without forcing. A tube that is too short can damage points; one that is too wide may let fine needles rattle around.
| Tube option | Best for | What to check |
|---|---|---|
| Empty needle tubes | Embroidery and tapestry needles | Reuse only if the cap still fits tightly |
| Small bead tubes | Beading needles, sharps, milliners | Choose long, narrow tubes for delicate needles |
| Mini test tubes with corks | Display storage or studio drawers | Make sure corks grip firmly and do not shed |
| Lip balm-style tubes | Short needles or mixed project needles | Clean thoroughly and avoid wax residue |
| Paper craft tubes | At-home storage | Seal well so the tape does not lift |
Step 1: Sort and Measure Your Needles
Start by sorting your needles into useful groups. You might separate tapestry needles by size, embroidery needles by number, or keep one tube for “current project” needles.
Measure your longest needle in each group, then compare it with the inside length of the tube. Leave a little extra room so the lid does not press against the tips. If you store several sizes together, decide how specific your labels need to be. “Tapestry 24–26” may be enough for cross stitch, while specialty needles may need individual tubes.
Step 2: Clean and Prep the Tubes
Washi tape sticks best to clean, dry surfaces. Wipe plastic, glass, or metal tubes with a little rubbing alcohol, then let them dry completely. For cardboard tubes, use a dry cloth instead of moisture.
Remove old stickers or loose residue. Check the lid area before decorating, too. Avoid placing thick tape layers where the cap slides on, screws down, or snaps shut, because extra bulk can make the tube hard to close.
Step 3: Wrap the Tubes with Washi Tape
Choose horizontal bands, vertical strips, or a diagonal wrap. Horizontal bands are easiest and make labeling simple. Diagonal wrapping looks polished, but it uses more tape and takes more care.
Place one end of the washi tape on the back or less visible side of the tube. Align the edge of the tape with the top or bottom, then slowly roll the tube while smoothing the tape with your thumb. Keep gentle tension on the tape, but do not stretch it so much that the pattern distorts.
Overlap the tape end slightly, trim it cleanly, and press the seam flat. If you use multiple rows, line them up edge to edge or overlap them by a tiny amount. For a neat finish, use one coordinating tape for the body and a narrow strip near the cap as a color code.
Step 4: Label Each Needle Tube Clearly
A pretty tube is most useful when the label is easy to read. Decide on a consistent label style before writing. Good options include needle type, size, brand, or project name.
Examples:
- “Tapestry 26”
- “Embroidery 7”
- “Sharps 9”
- “Beading long”
- “Current sampler”
- “Gold-plated needles”
Place the label where it will not be rubbed every time you open the tube. If your washi tape pattern is bold, add a small plain label strip first, then write on that. Let ink dry before touching it. For extra clarity, use both words and color coding: blue for tapestry needles, pink for embroidery needles, green for specialty needles.
Step 5: Seal the Washi Tape for Longer Use
Sealing is optional, but helpful if the tubes travel in project bags or get handled often. For a quick seal, cover the label with a small piece of clear tape. For a more finished surface, brush on a thin coat of clear matte sealer or decoupage medium.
Keep sealer away from cap threads or snap areas so the lid still closes smoothly. Let the tube dry fully before adding needles. If you like to change labels often, skip the full seal and protect only the written label.
Needle Storage Ideas Using Your Finished Tubes
Use finished tubes in ways that match how you stitch. Keep one tube in each project bag with the needle sizes required for that pattern. Store backup needles by type in a drawer, basket, or floss box. Make a travel tube with one tapestry needle, one embroidery needle, and one sharp for finishing.
You can also match tube colors to projects or kits. If you teach stitching, labeled tubes make class supplies easier to distribute and collect.
Troubleshooting and Safety Tips
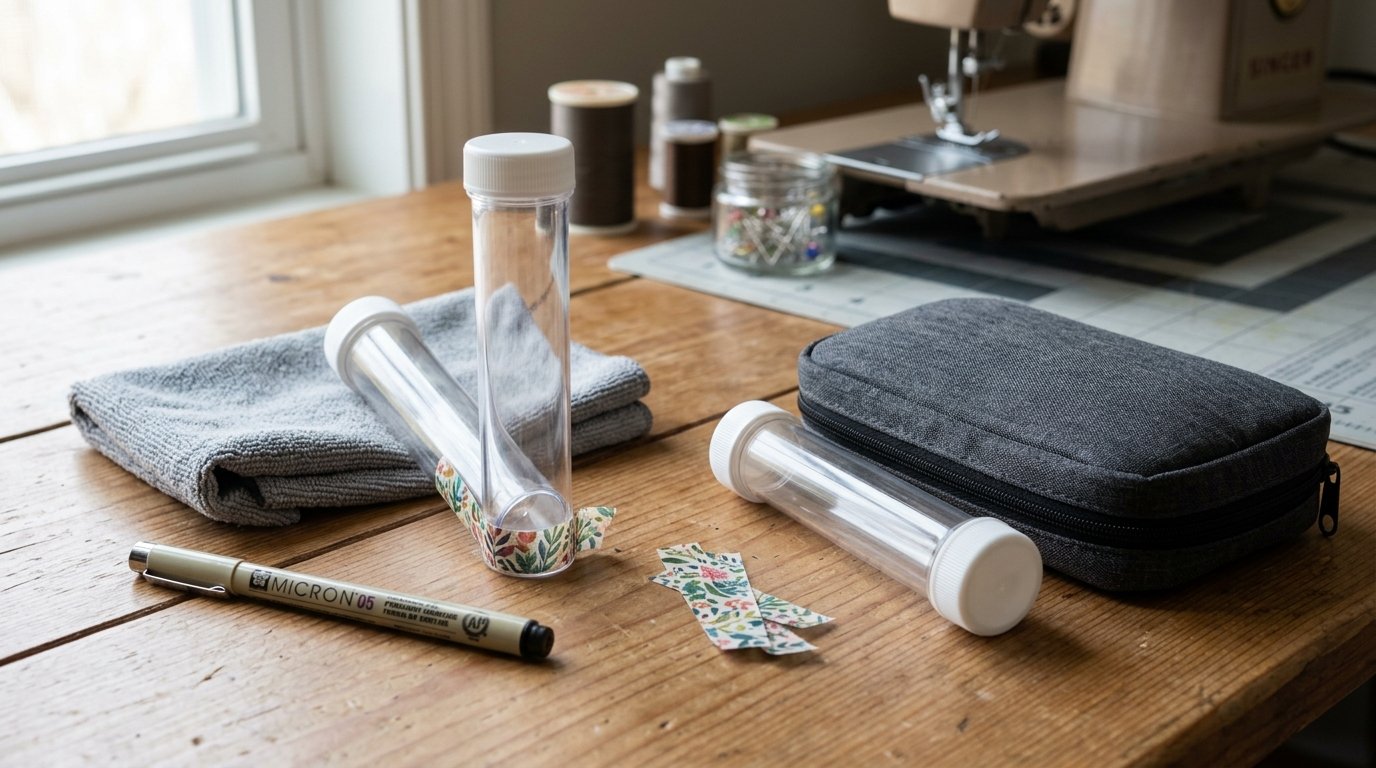
If the tape lifts, the surface may have been dusty, oily, or curved too sharply. Clean the tube again and use shorter tape sections. If labels smear, switch to a permanent fine-tip pen and allow more drying time.
Never store needles loose in a bag. Make sure each tube closes securely before travel. Discard cracked tubes, loose corks, or lids that pop open easily. For very fine needles, add a tiny felt circle at the bottom of the tube to cushion the points.
FAQ
What Should a Beginner Know First About Make Pretty Needle Storage Tubes Using Washi Tape?
Start with function before decoration. Pick a tube that fits your needles safely, then choose washi tape and labels. The project is easy, but the tube must close well and protect the needle points. A beautiful tube is only useful if it keeps needles secure and identifiable.
What Matters Most When Evaluating Make Pretty Needle Storage Tubes Using Washi Tape?
The most important points are tube length, lid security, label readability, and tape adhesion. If the needles fit without bending, the cap stays closed, and the label is clear, the storage tube will work well. Decorative tape is the finishing touch, not the only goal.
What Mistakes Should Readers Avoid with Make Pretty Needle Storage Tubes Using Washi Tape?
Avoid wrapping over dirty surfaces, covering cap threads with thick tape, or using labels that blend into busy patterns. Also avoid storing too many needle types in one tube unless the label explains the mix. Overfilled tubes make it harder to find the right needle quickly.
What Is the Next Logical Step After Learning About Make Pretty Needle Storage Tubes Using Washi Tape?
Make one test tube for your most-used needle size, then build a small set once you know what works. Try a consistent color code for embroidery, cross stitch, and specialty needles. After that, add matching tubes to project bags or teaching kits.