
The loop method starts your thread without a knot by anchoring it through a folded loop on the back of your fabric. Cut one strand of floss twice as long as usual, fold it in half, thread both cut ends through the needle, and make your first stitch. Before pulling the stitch tight, pass the needle through the loop on the back. This creates a neat, secure start, especially for two-strand cross stitch and some simple embroidery stitches.
What Is the Loop Method?
The loop method is a clean way to begin stitching without leaving a knot, tail, or bulky thread end on the back of your work. Instead of starting with two separate strands of floss, you use one longer strand folded in half. The fold becomes the loop.
When you make the first stitch, the needle catches that loop on the back of the fabric. Once you pull the thread snug, the loop locks the thread in place. The front looks like a normal stitch, but the back starts neatly.
Think of it as letting the thread anchor itself. You are not tying a knot; you are using the folded thread to secure the first stitch.
When to Use the Loop Method
The loop method works best when your project calls for an even number of strands, especially two strands. That is why it is so common in cross stitch, where many patterns use two strands of embroidery floss on Aida or evenweave fabric.
Use the loop method when you want:
- A neat back
- A quick start
- Less thread bulk
- A secure beginning for small color areas
- A tidy start for isolated stitches or lettering
Do not use the basic loop method when your pattern calls for one strand, three strands, or another odd number, unless you are using a modified loop start. It may also be unsuitable for delicate embroidery where doubled thread changes the texture or for stitches that depend on careful thread direction.
In short, use it when folded thread gives you the correct strand count and the stitch can hide a small anchored start.
Supplies You Need
You only need your normal stitching tools:
- Embroidery floss
- Cross stitch or embroidery fabric
- Needle suited to your fabric and thread
- Scissors
- Pattern or design guide, if using one
For classic two-strand cross stitch, cut one strand from six-strand embroidery floss, separate it, and fold it in half. That gives you two working strands, with a loop at the far end.
How to Start Cross Stitch with the Loop Method
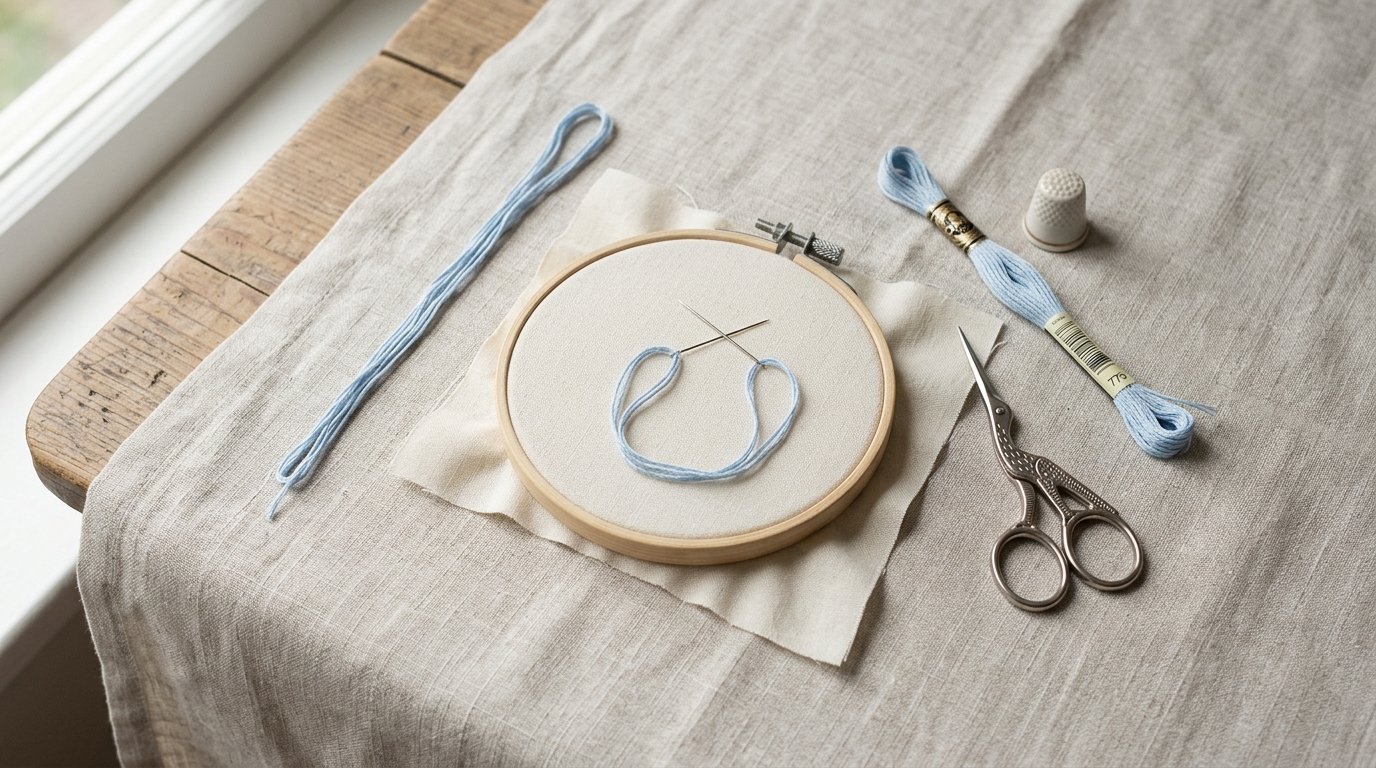
Follow these steps for a standard two-strand cross stitch loop start.
- Cut one long strand of floss.
Cut a length about twice as long as your usual stitching length. If you normally use 18 inches of floss, cut about 36 inches. Avoid cutting much longer, because long floss tangles and wears out faster.
- Separate one strand.
Pull one strand from the six-strand embroidery floss. Let it relax if it twists. This single strand will become two strands once folded.
- Fold the strand in half.
Bring the two cut ends together. The opposite end should form a small loop.
- Thread the needle.
Put the two cut ends through the needle eye. The loop should hang at the far end of the thread, away from the needle.
- Bring the needle up from the back.
Start in the hole where your first cross stitch begins. Pull the thread through, but do not pull the loop tight against the fabric yet. Leave the loop visible on the back.
- Make the first half stitch.
Take the needle down through the diagonal hole, just as you would for the first leg of a cross stitch.
- Catch the loop on the back.
Turn the fabric over. Pass the needle through the thread loop on the back of the work.
- Pull gently to secure.
Pull the thread until the loop closes neatly against the fabric. It should be snug, not tight. If you pull too hard, the fabric may pucker or the first stitch may look pinched.
- Continue stitching as normal.
Complete the cross stitch or continue making your row of half stitches, depending on your stitching method.
The key is to keep the loop on the back and catch it before it disappears. Once it is secured, the start should feel stable and look tidy.
How to Use the Loop Method for Embroidery
You can also use the loop method in embroidery when the stitch uses an even number of strands and the folded thread will not affect the design. It works well for some simple line stitches, such as backstitch and stem stitch, when two strands are appropriate. It can also work for small satin stitch areas if the doubled thread gives the look you want.
The process is the same: cut one strand twice the normal length, fold it, thread both cut ends, make the first stitch, and pass the needle through the loop on the back before pulling snug.
Be more selective with embroidery than with cross stitch. Some decorative stitches depend on thread twist, looseness, or strand direction. If folding the thread makes the stitch look too thick, too smooth, or slightly twisted, choose another starting method. For fine one-strand details, tiny lettering, or delicate shading, a waste knot or woven tail is usually better.
Common Mistakes and How to Fix Them
Using the wrong strand count: The standard loop method creates an even number of strands. If your pattern asks for one or three strands, do not use a basic loop start unless you know a modified version.
Cutting the floss too long: Because the strand is folded, beginners often cut too much. Long floss tangles, knots, and becomes fuzzy. Use a manageable length.
Pulling the loop too tight: A tight loop can pucker the fabric or distort the first stitch. Pull until the thread is secure, then stop.
Losing the loop on the back: Keep a finger near the loop while making the first stitch. If it slips through, gently unpick and restart.
Catching fabric threads accidentally: Pass the needle through the thread loop only, not through extra fabric fibers. This keeps the anchor clean.
When to Choose a Different Starting Method
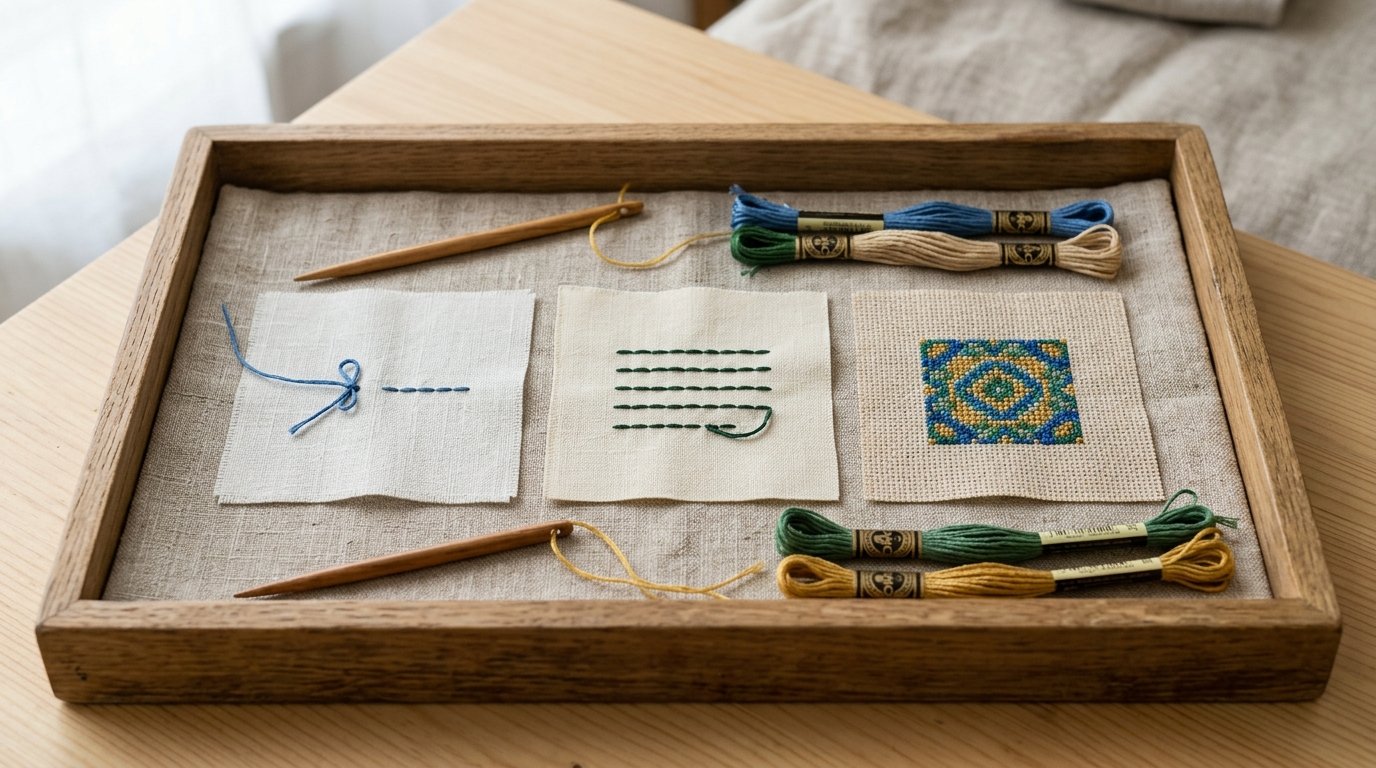
Choose another starting method when the loop method does not match your strand count, stitch type, or fabric. For one-strand embroidery, use a small waste knot and stitch over the tail, or weave the tail under nearby stitches once you have enough coverage.
For cross stitch areas with many nearby stitches, a pin stitch or buried tail may work well. For delicate embroidery, a temporary away knot can keep the start clean without changing the thread thickness. The best method is the one that secures the thread without showing on the front or adding unwanted bulk.
FAQ
What Should a Beginner Know First About How to Use the Loop Method to Start Cross Stitch or Embroidery?
A beginner should know that the loop method is mainly for an even number of strands. You fold one long strand in half, stitch once, and catch the folded loop on the back. It replaces a knot and keeps the back of the work neater.
What Matters Most When Evaluating How to Use the Loop Method to Start Cross Stitch or Embroidery?
The most important factor is whether the folded thread gives you the correct strand count. If the pattern needs two strands, the loop method is usually ideal. If it needs one or three strands, choose another start or learn a modified loop method.
What Mistakes Should Readers Avoid with How to Use the Loop Method to Start Cross Stitch or Embroidery?
Avoid cutting the floss too long, pulling the loop too tightly, or using the method on stitches where doubled thread changes the appearance. Also make sure the loop stays on the back and that your needle passes through it before you pull snug.
What Is the Next Logical Step After Learning About How to Use the Loop Method to Start Cross Stitch or Embroidery?
Practice on a small scrap of fabric before using the method on a project. Try a few cross stitches and a short line of backstitch. Once the loop start feels natural, compare it with a buried tail or waste knot so you know when to use each method.