
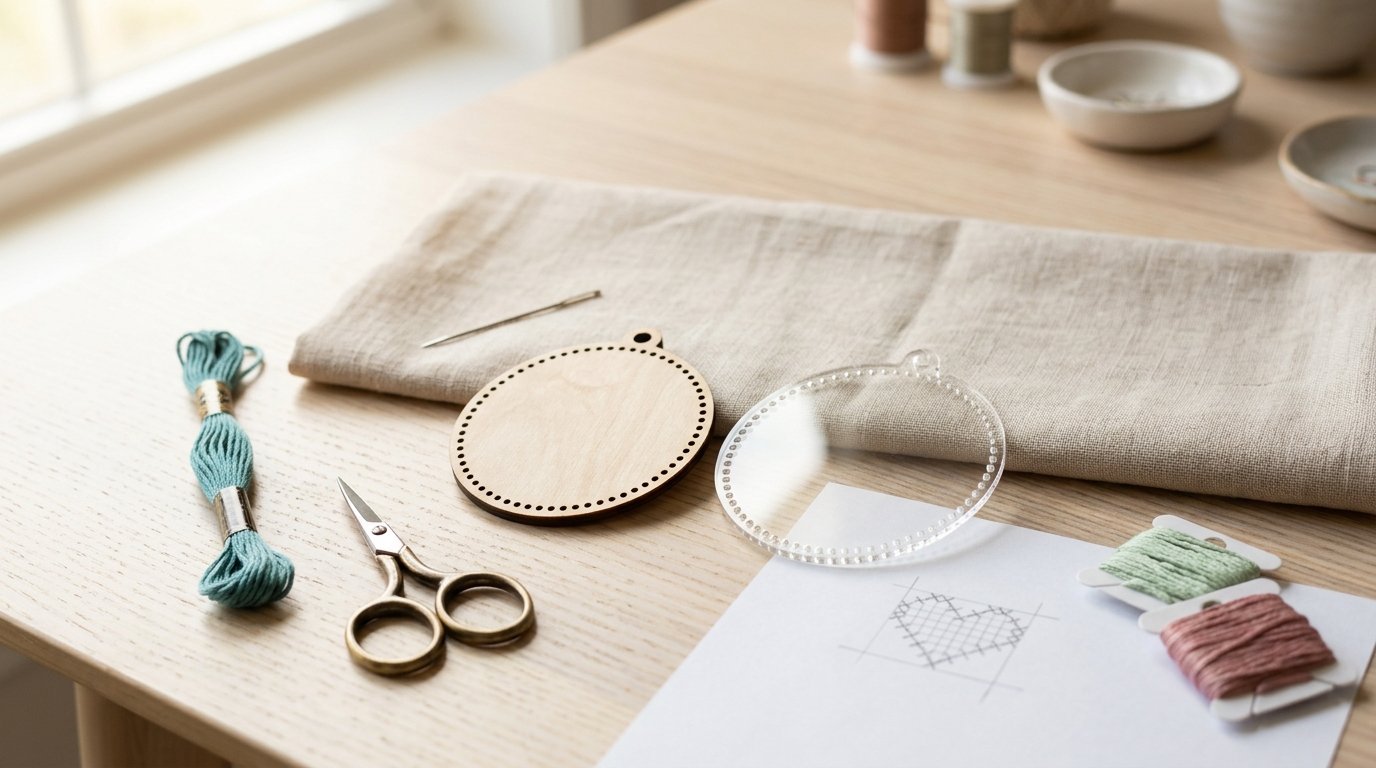
Cross stitching on wood and acrylic pendant blanks is much like stitching on fabric, but the surface is rigid, the holes are fixed, and the back often shows. The best results come from choosing a cleanly cut blank, matching your thread thickness to the hole size, and using light, even tension so the pendant does not crack, chip, or look bulky. Wood feels warmer and grips thread slightly, while acrylic is smoother, shinier, and less forgiving of scratches. Keep designs small, avoid long thread carries, and finish the back neatly. With a few adjustments, pendant blanks can become polished necklaces, charms, keychains, or gifts.
Start with the Right Pendant Blank
A good pendant blank should have smooth edges, evenly spaced holes, and no splintering, melted ridges, or cracks around the openings. Hold it up to the light and check that every hole is fully cut through. If the holes vary in size, your stitches may look uneven even if your technique is careful.
For beginners, choose a simple shape such as a circle, oval, heart, or rectangle with a clear grid area. Very tiny blanks can be charming, but they leave little room for design changes or thread management. If using wood, look for sealed or finely sanded surfaces. If using acrylic, avoid blanks with sharp inner hole edges that may shred floss.
Pick Threads, Needles, and Tools That Fit the Holes
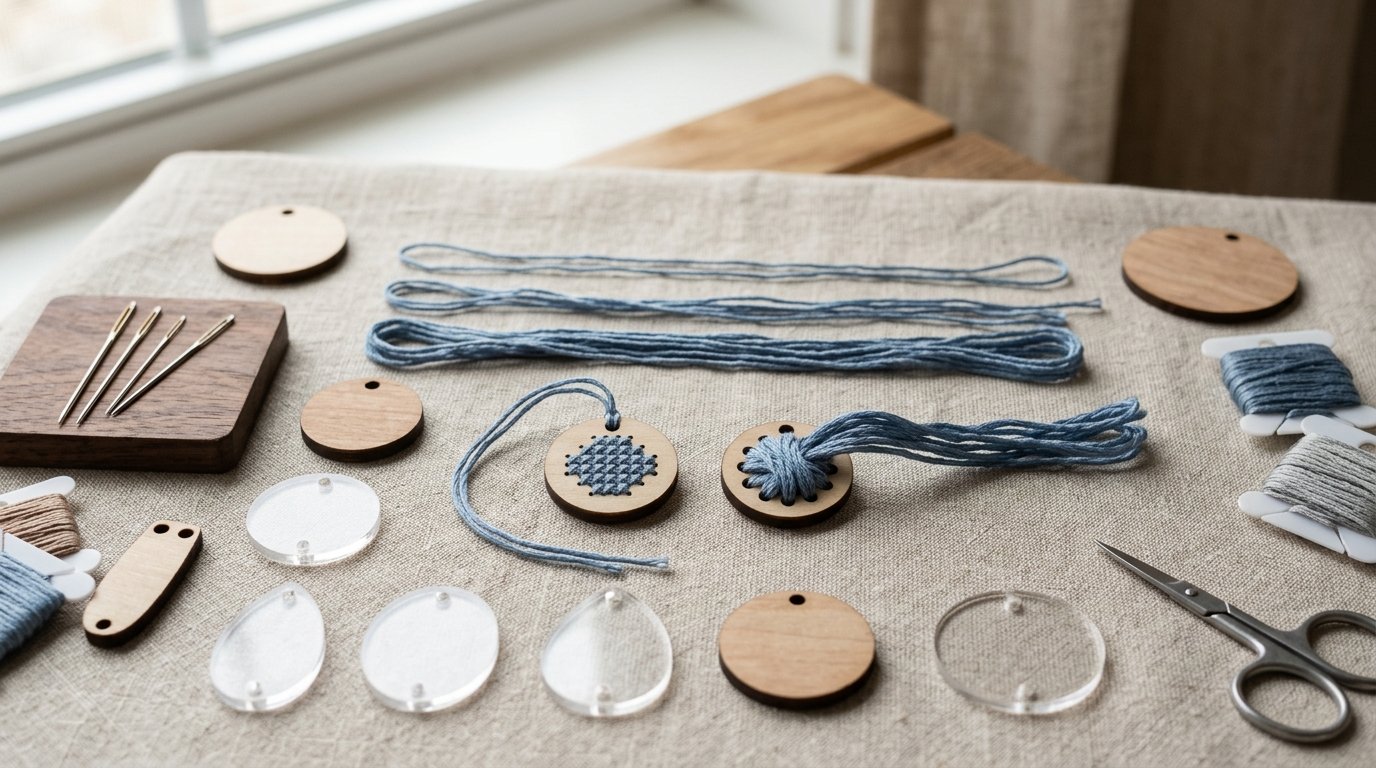
The hole size decides how much thread you can use. Standard six-strand embroidery floss often works best when separated into one to three strands. If the stitches look crowded or the thread resists passing through the hole, reduce the strand count instead of pulling harder.
Use a blunt tapestry needle if it fits comfortably through the holes. For very small pendant blanks, a finer needle may be easier, but avoid sharp needles that can scrape acrylic or catch wood fibers. Keep small scissors nearby for clean trimming, and use a needle threader if the blank requires short thread lengths.
A simple rule: the needle and thread should pass through each hole without force. Resistance usually means the thread is too thick, the needle is too large, or the hole needs gentle cleaning.
Plan a Small Pattern Before You Stitch
Pendant blanks have limited stitch space, so choose designs with strong shapes and few color changes. Tiny hearts, initials, flowers, stars, borders, geometric motifs, and mini animals work better than detailed full-size cross stitch patterns.
Count the holes before you begin and sketch the design on graph paper or in a simple grid app. Mark the center of the blank and the center of the design so the motif sits correctly. Also consider where the pendant hole or jump ring sits; a design that looks centered on the grid may feel visually off if the hanging hole interrupts the top row.
If in doubt, simplify. A three-color flower often looks cleaner than a detailed shaded version on a small blank.
Use Gentle, Even Tension
Rigid blanks do not flex like fabric, so tension matters more. Pull each stitch only until the floss lies flat against the surface. If you tug hard, you can crack thin acrylic, stress small wood sections between holes, or create dents around the openings.
Try to make every top stitch lean in the same direction, just as you would on fabric. This gives the pendant a polished, consistent look. Work slowly around edges and narrow areas where the material is weakest.
Shorter thread lengths help control tension. Long floss can twist, knot, and drag against the holes, especially on acrylic. If the thread starts looking fuzzy, stop and replace it rather than forcing it through the remaining stitches.
Manage Thread Ends and the Back Neatly
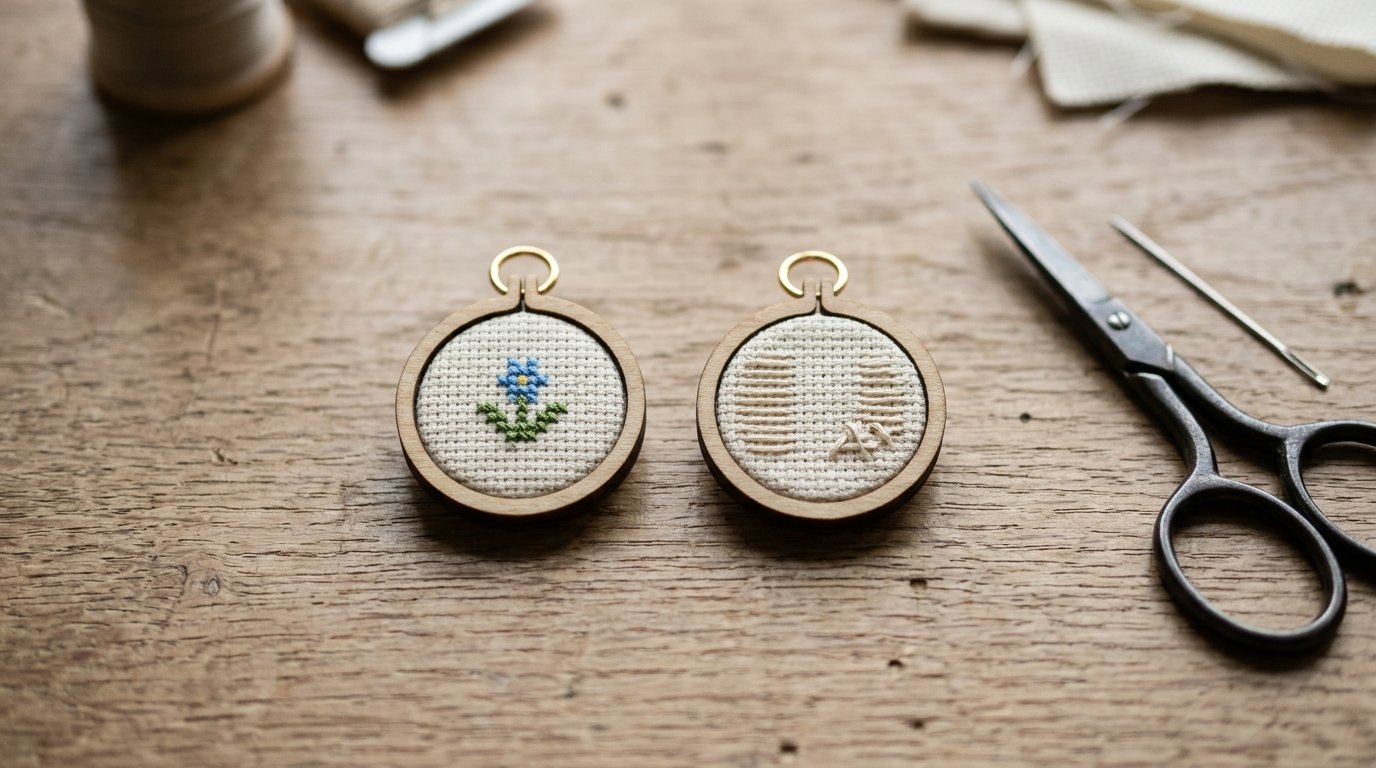
Because pendants can flip while worn, the back should be tidy. Start by trapping the thread tail under the first few stitches on the back, or use a loop start when working with an even number of strands. Avoid bulky knots unless the back will be covered.
Carry thread only across short distances, ideally under nearby stitches. Long carries can show through open areas, snag on clothing, or make the back messy. On small blanks, it is usually better to end one color and restart than to drag it across the pendant.
To finish a thread, weave it under several stitches on the back and trim close with sharp scissors. If the back will remain visible, keep all thread paths intentional and compact. If you plan to cover the back with felt, leather, or paper, still avoid lumps that could affect comfort.
Adjust Your Technique for Wood Vs Acrylic
Wood and acrylic behave differently, so small technique changes help prevent damage.
| Feature | Wood Pendant Blanks | Acrylic Pendant Blanks |
|---|---|---|
| Feel | Slightly textured and grippy | Smooth and slick |
| Main risk | Splintering, rough holes, thread catching | Cracking, scratching, visible smudges |
| Best approach | Use smooth floss and gentle pulls | Use light tension and avoid scraping |
| Finishing concern | Seal exposed wood if needed | Keep surfaces clean and scratch-free |
On wood, check for rough spots before stitching. A tiny bit of fine sanding around the edge may help, but avoid enlarging the stitch holes. Wood can also absorb moisture or oils, so clean hands matter.
On acrylic, protect the surface from scratches. Do not drag needles across the face, and remove any protective film only when necessary. Clear acrylic shows the back more, so neat thread management is especially important.
Finish the Pendant so It Is Comfortable and Durable
Once stitching is complete, inspect both sides. Trim loose fibers, straighten any twisted stitches with the needle tip, and check that no thread ends can catch. Add a jump ring, cord, chain, or keyring carefully so the top hole is not stressed.
If the back looks untidy or the pendant will rub against skin, cover it with a neatly cut piece of felt, faux leather, fabric, or cardstock. Use a suitable craft adhesive sparingly so it does not seep through holes or stiffen the stitches.
For wood, a light sealant can protect exposed areas, but keep it away from the floss unless you have tested it first. For acrylic, polish fingerprints away with a soft cloth.
Common Mistakes to Avoid
Avoid forcing thick floss through small holes; it can fray thread and damage the blank. Do not pull stitches drum-tight, especially on thin acrylic or delicate wooden shapes. Skip large, complex patterns that need more grid space than the pendant provides.
Also avoid messy long carries on the back, oversized knots, and last-minute design placement. Count first, stitch second. A few minutes of planning usually prevents crooked motifs and bulky finishing.
FAQ
What Should a Beginner Know First About Tips for Cross Stitching on Wood and Acrylic Pendant Blanks?
Start with a simple blank, a small design, and fewer floss strands than you think you need. The surface is rigid, so you cannot rely on fabric flexibility. Gentle tension, clean hole spacing, and a neat back are the three basics that make the biggest difference.
What Matters Most When Evaluating Tips for Cross Stitching on Wood and Acrylic Pendant Blanks?
The most important factors are blank quality, hole size, thread thickness, and material type. A smooth, evenly cut blank is easier to stitch and finish. Then adjust your floss strands and tension depending on whether you are working with grippy wood or slick acrylic.
What Mistakes Should Readers Avoid with Tips for Cross Stitching on Wood and Acrylic Pendant Blanks?
Avoid pulling too hard, using too many floss strands, carrying thread across long open spaces, and choosing patterns with too much detail. These mistakes can cause fraying, cracking, bulky backs, or unclear designs. Small, bold motifs usually look best on pendant blanks.
What Is the Next Logical Step After Learning About Tips for Cross Stitching on Wood and Acrylic Pendant Blanks?
Choose one beginner-friendly blank and stitch a test motif, such as an initial, heart, or tiny flower. Use that sample to test strand count, tension, and finishing method. Once you know how your blank handles thread, move on to more detailed pendant designs.