
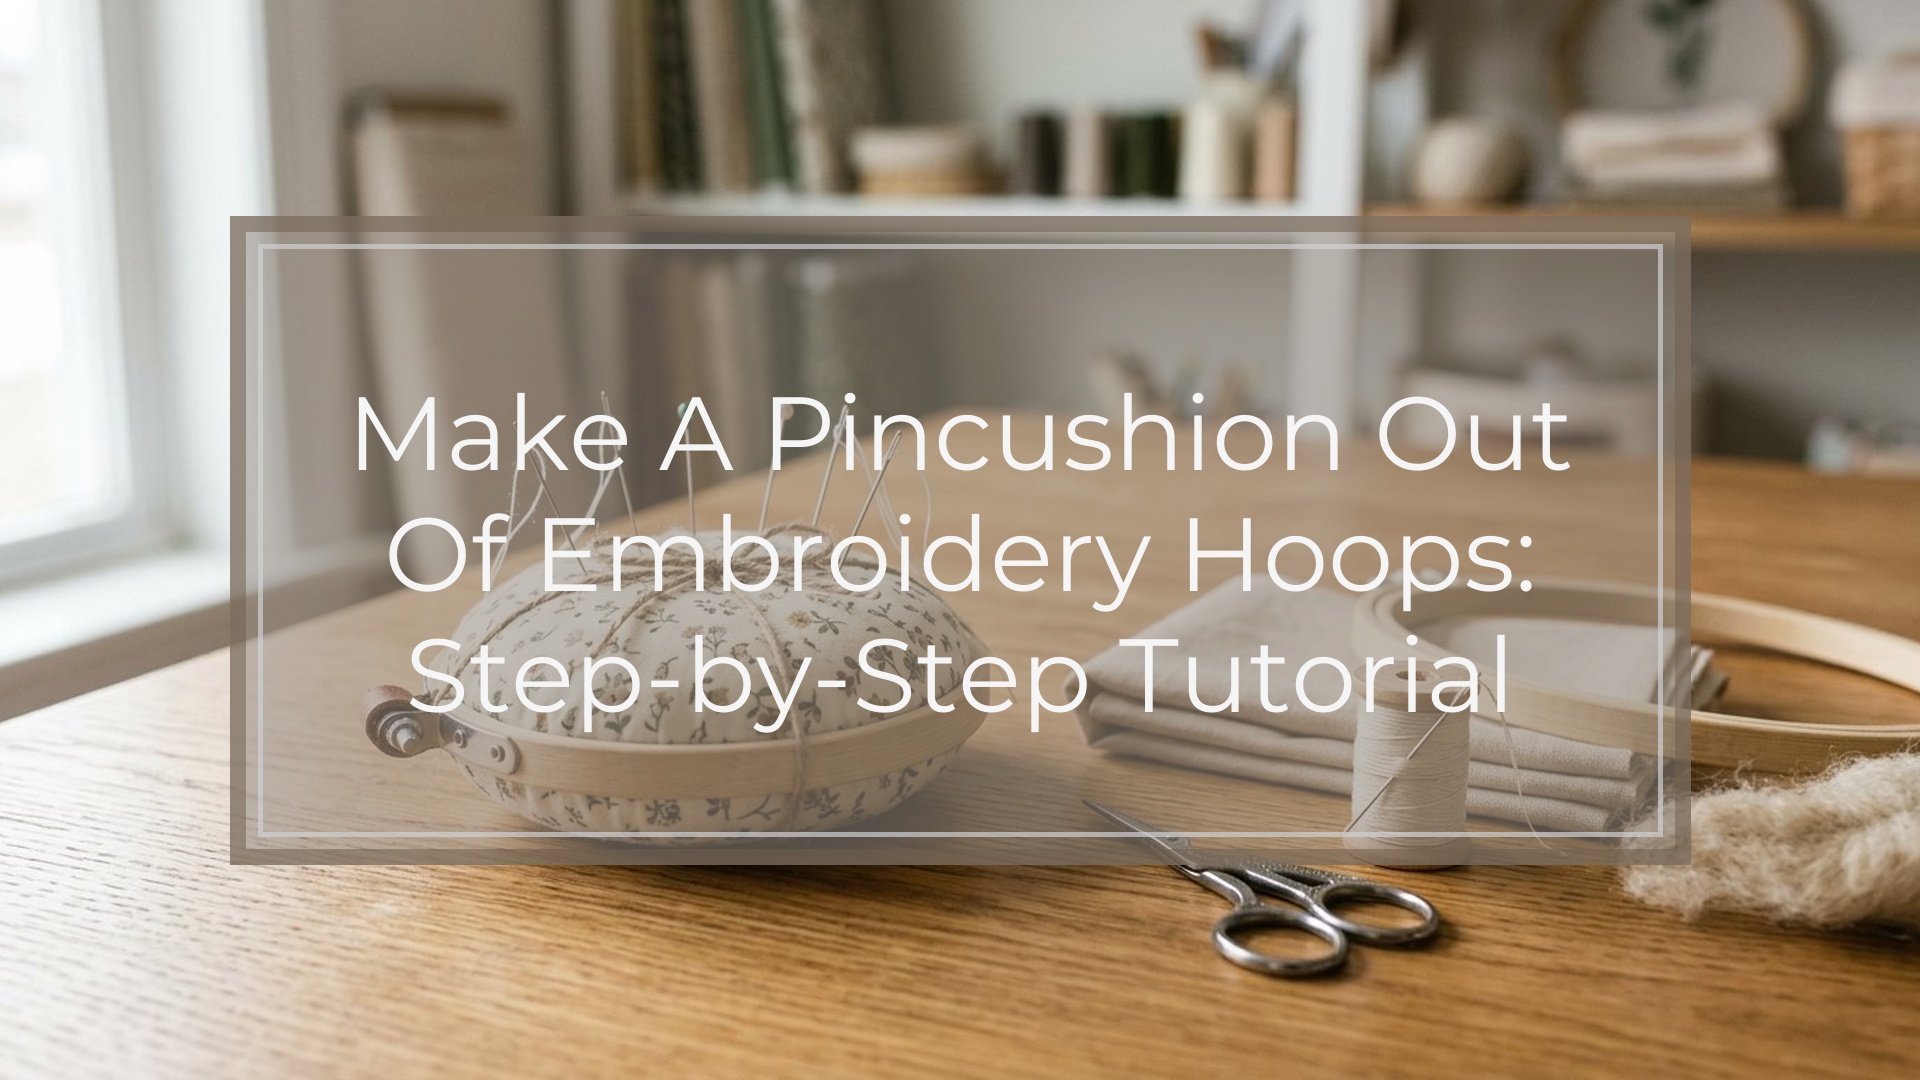
You can make a pincushion out of embroidery hoops by stretching fabric in a small hoop, padding it from behind, gathering or gluing the excess fabric, and covering the back with felt or cardboard. The hoop becomes the frame, while the fabric and filling create a rounded cushion for pins and needles. This project works best with a 3- to 5-inch hoop, sturdy cotton fabric, firm stuffing, and a neat backing. It is a quick, practical needlework accessory and a good way to use small fabric scraps.
What This Embroidery Hoop Pincushion Project Makes
This project creates a framed, slightly domed pincushion that sits flat on a table or sewing station. The embroidery hoop holds the fabric tight, acting like a built-in rim. Instead of stitching a separate cushion and inserting it into a base, you build the cushion directly inside the hoop.
The finished pincushion is useful for hand sewing, embroidery, cross stitch, quilting, and mending. It can be plain and functional, or you can decorate the front with a tiny stitched motif before assembling it.
Materials and Tools You’ll Need
Gather everything before you start so the stuffed fabric does not shift while you are looking for supplies.
| Supply | Best choice | Notes |
|---|---|---|
| Embroidery hoop | 3 to 5 inches | Wood or plastic both work |
| Fabric | Quilting cotton, linen, or canvas | Choose a tight weave |
| Filling | Polyester fiberfill, wool roving, or crushed walnut shells | Use enough for firm padding |
| Backing | Felt or lightweight cardboard | Felt gives a softer finish |
| Adhesive | Hot glue or strong craft glue | Use carefully around fabric |
| Tools | Scissors, pencil, needle and thread | Clips are helpful but optional |
You may also want ribbon, lace, buttons, or embroidery floss for decoration.
Choose the Right Hoop, Fabric, and Filling
A small hoop is easiest to turn into a pincushion. A 3-inch hoop makes a compact cushion for a sewing kit, while a 5-inch hoop gives more space for pins and decorative stitching. Avoid very large hoops unless you want a display piece, because the cushion can become shallow and less supportive.
Choose fabric that can handle repeated pin use. Quilting cotton is beginner-friendly, linen looks classic, and lightweight canvas adds durability. Avoid loose weaves because pins may snag or widen the threads.
For filling, polyester fiberfill is simple and inexpensive. Wool roving feels firm and traditional. Crushed walnut shells add weight and help the pincushion sit solidly, but they should be enclosed well to prevent leaks.
Step 1: Prepare and Center the Fabric
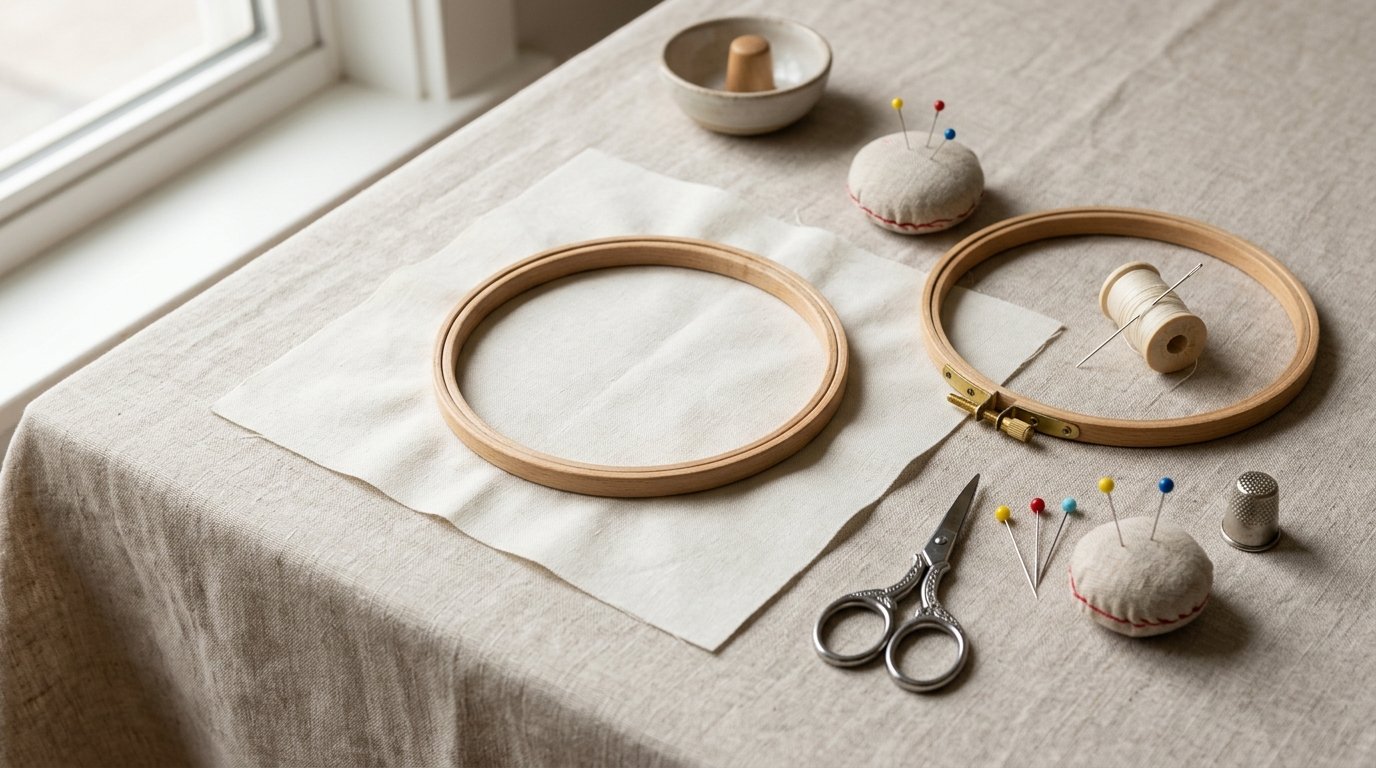
Cut a fabric square at least 2 inches larger than your hoop on all sides. If you plan to embroider the top, stitch the design first and keep it centered within the hoop area.
Loosen the screw, separate the hoop rings, and place the fabric over the inner ring with the right side facing up. Press the outer ring over it and tighten the screw partway. Gently pull the fabric from opposite sides until it is smooth and evenly tensioned. Tighten the screw fully once the design or fabric grain is centered.
Step 2: Add Stuffing Behind the Hoop
Turn the hooped fabric face down. Place a generous mound of stuffing into the hollow area behind the fabric. Start with more than you think you need; a pincushion should feel firm enough to hold pins upright.
Press the stuffing into a rounded dome while keeping it inside the hoop’s edge. If using fiberfill or wool, spread it evenly so there are no flat spots. If using crushed walnut shells, first pour them into a small fabric pouch or layer of scrap cotton, then place that bundle behind the hooped fabric to contain the filling.
Step 3: Secure the Fabric at the Back
Once the cushion shape looks even from the front, secure the excess fabric on the back. Trim the fabric so about 1 to 1 1/2 inches extends beyond the hoop. Too much fabric creates bulk; too little may pull loose.
For a stitched finish, sew a running stitch around the fabric edge, then pull the thread to gather the fabric tightly toward the center. Knot securely. For a glued finish, fold the fabric toward the back of the hoop in small sections and glue it down. Work slowly so the front stays smooth and the filling remains firm.
Step 4: Add a Felt or Cardboard Backing
Trace around the outside of the hoop onto felt or lightweight cardboard. Cut just inside the traced line so the backing fits neatly over the gathered fabric without sticking out past the hoop.
If you want a soft underside, use felt. If you want more structure, cut a cardboard circle and cover it with felt or fabric. Apply glue around the back edge of the hoop and over the gathered fabric, then press the backing in place. Hold it until secure, or use clips while the glue dries. Check the front one last time to make sure the cushion is rounded and centered.
Step 5: Decorate and Personalize the Pincushion
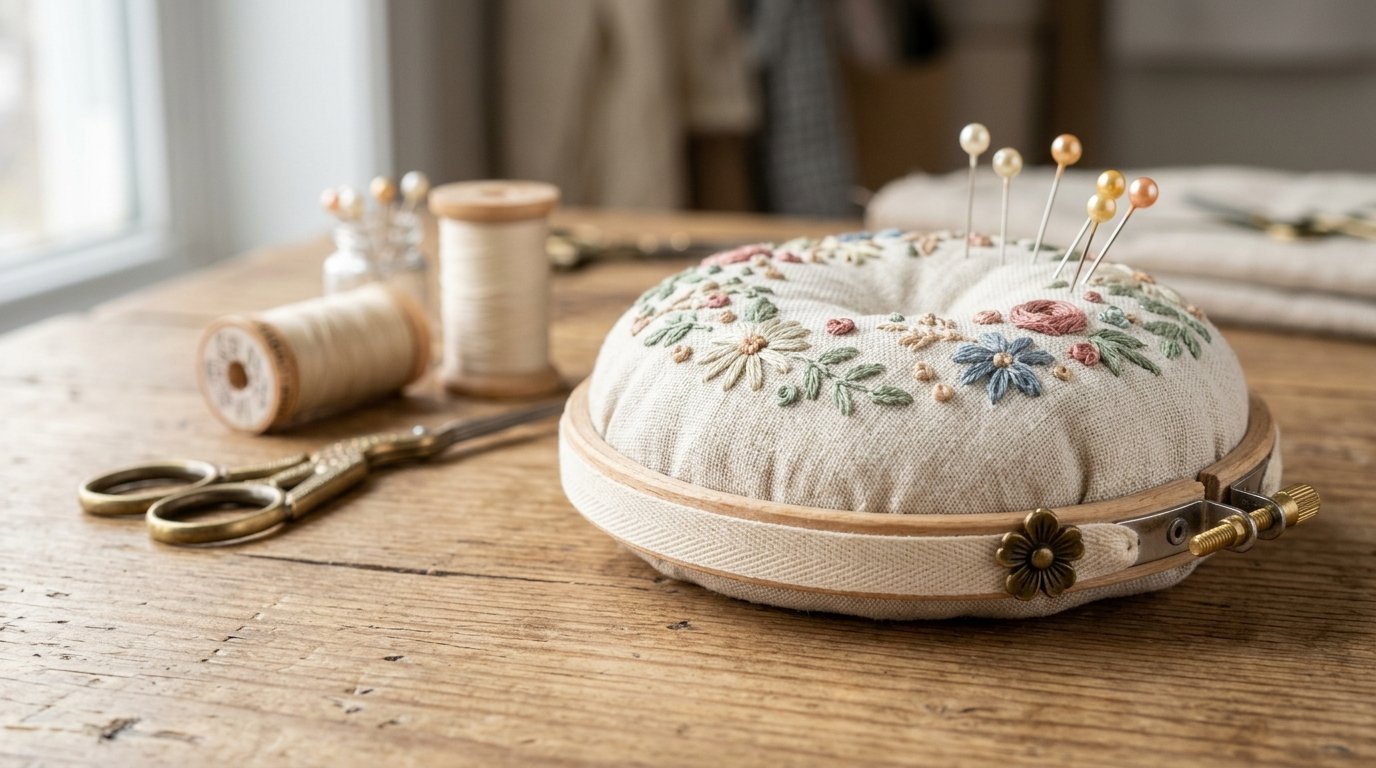
Personalize the pincushion before or after assembly. Before assembly, you can embroider initials, a tiny flower, a cross stitch motif, or a simple border on the fabric. After assembly, you can tie ribbon around the hoop screw, glue trim around the outer rim, or add a small charm.
Keep decoration practical. Avoid bulky beads on the main cushion area because they can interfere with pins. If the pincushion will be used often, place embellishments along the hoop edge rather than in the center.
Troubleshooting Common Pincushion Problems
If the front fabric wrinkles, loosen the hoop slightly, pull the fabric evenly from several sides, and retighten it. Do this before gluing the back in place.
If the cushion feels too soft, add more filling and compress it firmly. Pins should slide in easily but not flop to the side. If the filling looks lumpy, remove it and rebuild the shape in thinner layers.
If the backing will not sit flat, trim excess gathered fabric or use a smaller backing circle. If glue seeps through the fabric, you may be using too much. Apply glue to the hoop and backing area, not the visible front fabric.
If the hoop screw feels loose, tighten it fully before finishing. A tiny drop of glue near the screw can help, but avoid gluing the hardware shut before the fabric is correctly positioned.
Care and Safe Use Tips
Use the pincushion for hand sewing pins, embroidery needles, and quilting pins. Avoid forcing thick tools into the cushion, especially if the hoop is small.
Store it dry, away from moisture that could affect wood hoops, cardboard backing, or metal needles. If the fabric gets dusty, brush it gently with a lint roller or soft cloth. Check occasionally for loose backing or shifting filling, and reglue small areas before they become larger gaps.
FAQ
What Should a Beginner Know First About Make a Pincushion Out of Embroidery Hoops?
A beginner should know that the hoop is not just decorative; it is the structure that holds the pincushion together. Start with a small hoop, sturdy fabric, and plenty of filling. The main goal is smooth fabric on the front and firm padding behind it.
What Matters Most When Evaluating Make a Pincushion Out of Embroidery Hoops?
The most important factors are hoop size, fabric strength, filling firmness, and back security. A good pincushion should hold pins upright, sit neatly on the table, and not loosen at the back. Practical construction matters more than heavy decoration.
What Mistakes Should Readers Avoid with Make a Pincushion Out of Embroidery Hoops?
Avoid using thin or loosely woven fabric, underfilling the cushion, or trimming the fabric too close before securing it. Also avoid gluing too quickly without checking the front. Once the backing is attached, wrinkles and uneven stuffing are harder to fix.
What Is the Next Logical Step After Learning About Make a Pincushion Out of Embroidery Hoops?
The next step is to make a simple version first, then try a decorated one with embroidery, cross stitch, or a fabric-covered backing. You can also create a matching needlebook, scissor fob, or project bag using the same fabric.