
An easy cross stitch pincushion is a small stitched design turned into a stuffed cushion with a backing fabric, seam allowance, and simple hand or machine sewing. For beginners, the project is manageable because the stitched area is small, the finishing is straightforward, and the materials are basic. The core process is: choose a simple pattern, stitch it on evenweave or Aida, leave enough border around the design, cut a fabric backing to match, sew the front and back right sides together, turn, stuff, and close the opening neatly. If you focus on sizing and seam allowance from the start, the finished pincushion looks much cleaner.
Quick Answer
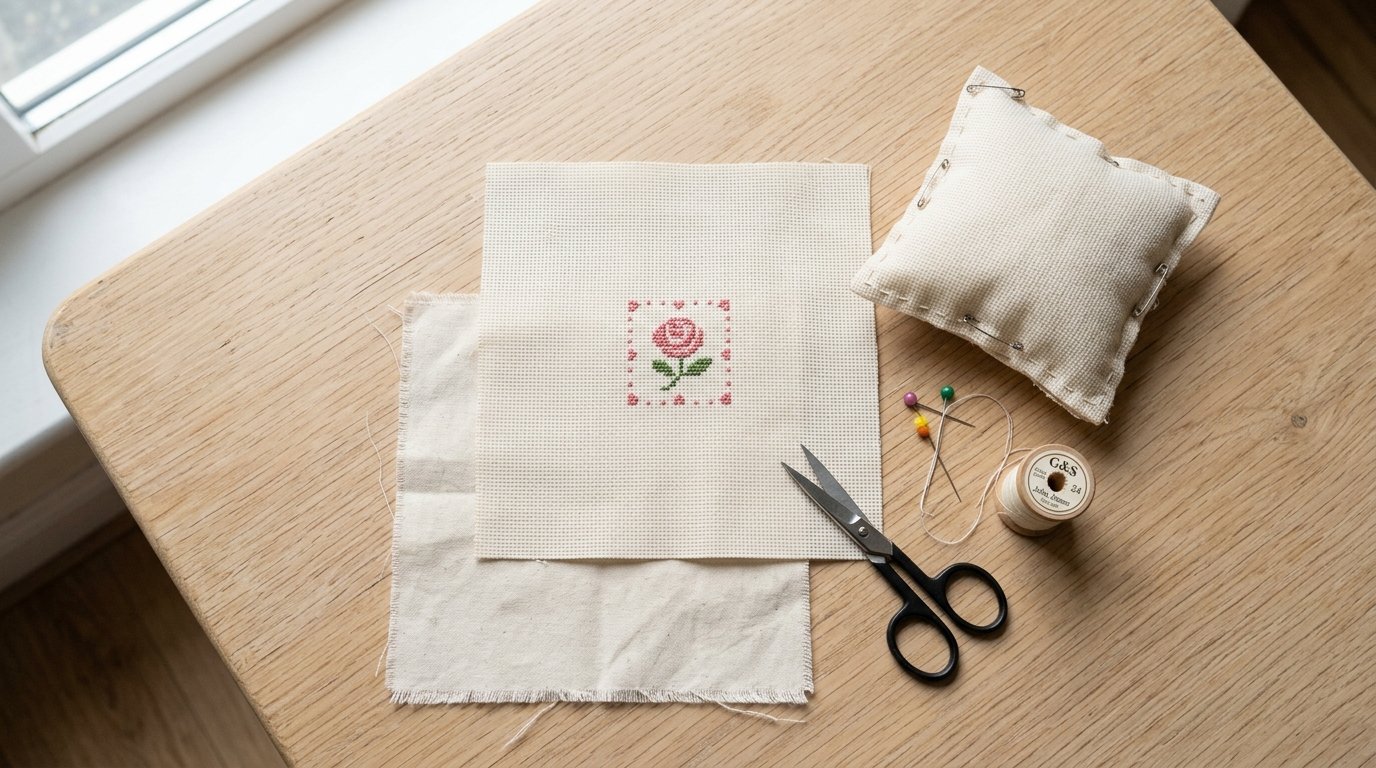
The easiest way to make a cross stitch pincushion is to stitch a small motif, leave a fabric border around it, and sew it into a simple square cushion with backing fabric and stuffing.
For a beginner-friendly result, use 14-count Aida and pick a design no larger than about 2 to 3 inches wide. After stitching, make sure you have at least 1 inch of extra fabric on all sides beyond the design. That extra space gives you room for seam allowance and keeps the stitched area from disappearing into the edges.
Here is the basic method:
- Stitch a small pattern and finish the back by securing threads neatly.
- Lightly press the piece from the back.
- Cut the stitched front and a backing piece to the same size.
- Place them right sides together and sew around the edges, leaving a small gap.
- Trim corners, turn right side out, and gently push out the corners.
- Stuff the pincushion firmly but not overfull.
- Hand-stitch the opening closed.
If you want the simplest possible version, keep the shape square, avoid trims, and use quilting cotton for the back.
How to Think About This Topic
The easiest mental model is to treat this as two small jobs: first you make a neat stitched panel, then you turn that panel into a cushion. When beginners struggle, it is usually because they focus only on the stitching and forget that finishing needs space, balance, and structure.
Start by thinking about scale. A pincushion is small, so your design should also be small. If the motif fills the whole fabric piece, there is no room to sew it into shape. For most easy projects, a finished stitched area around 2 to 4 inches works well. That keeps the project quick and gives enough surface for pins without making the finishing awkward.
Next, think about framing. Your cross stitch design is not the whole pincushion front. It sits inside the front. You need a border of plain fabric around the stitched area so the design looks centered and the seam does not cut into it. A good rule is to leave 1 inch around the design at minimum; 1.5 inches gives you more safety.
Fabric choice matters because it affects ease more than appearance. Aida is usually best for an easy cross stitch pincushion because the holes are visible and the fabric is stable. Fourteen-count Aida is especially beginner-friendly. If you already stitch on evenweave or linen, you can use it, but it demands more care when cutting and sewing.
Also think of the cushion as a stuffed object, not a flat ornament. Once stuffed, the front pulls slightly toward the seams and corners round off. That means a design placed too close to the edge may look crowded after assembly. Centering the motif with enough margin solves this.
A simple supply plan helps keep the project smooth:
| Item | Best beginner choice | Notes |
|---|---|---|
| Stitch fabric | 14-count Aida | Easy to count and stable |
| Thread | Cotton embroidery floss | Use full cross stitches for a tidy look |
| Back fabric | Quilting cotton | Easy to cut and sew |
| Needle | Tapestry needle for stitching | Sharp needle for closing seam |
| Stuffing | Polyester fiberfill | Soft, easy to shape |
Tie this back to your goal: if you want an easy cross stitch pincushion, pick choices that reduce measuring, bulk, and finishing difficulty. Small motif, stable fabric, square shape, and plain backing are what make the project easy.
Practical Guidance
Plan the Size Before You Stitch
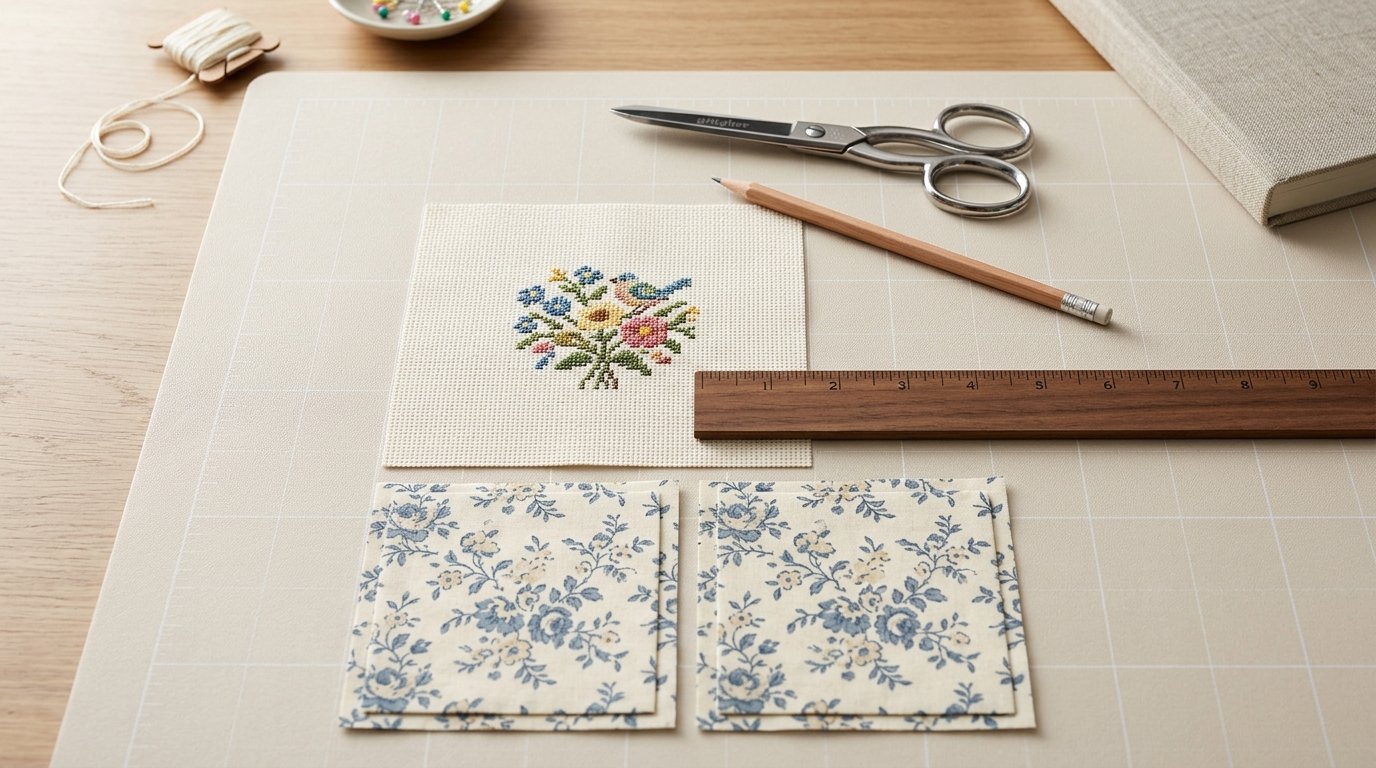
Choose your finished design first, then work outward. If your motif is 30 stitches wide on 14-count Aida, it will be a little over 2 inches wide. Add at least 1 inch of border on each side, and your front piece should be about 4.25 inches wide before sewing. Do the same for height.
For a first project, good finished front sizes are:
- 4 x 4 inches for a small square pincushion
- 4 x 5 inches for a slightly rectangular one
- 5 x 5 inches if you want more pin space
Avoid very tiny borders. A narrow border can fray, shift, or make the design look cramped.
Stitch and Prep the Front
Use a simple chart: a heart, flower, star, alphabet letter, or tiny geometric motif. Full cross stitches are the cleanest choice for a pincushion front. Backstitch details are fine, but keep them minimal.
When the stitching is done:
- Secure thread tails neatly on the back
- Check for missed stitches or loose ends
- Hand wash only if needed
- Press from the back on a towel so the stitches stay raised
If the Aida feels soft after washing, pressing will help stabilize it before sewing.
Cut and Assemble Neatly
Cut your stitched front and backing fabric to the same size. If you want extra stability, add a lightweight interfacing to the back fabric, but it is optional for an easy project.
Place front and back right sides together. Sew around the edge with about a 1/4-inch seam allowance, leaving a 2-inch opening on one side. A sewing machine is faster, but hand sewing with small, even backstitches also works.
Then:
- Trim excess bulk at the corners without cutting the seam.
- Turn the cushion right side out.
- Push out corners gently with a blunt tool, not scissors.
- Add stuffing in small amounts.
Use enough stuffing to make the pincushion firm. If it is too loose, pins wobble and the cushion looks lumpy. If it is overstuffed, the seams strain and the square distorts.
Close, Check, and Improve the Finish
Fold the raw edges of the opening inward and ladder stitch the gap closed. This gives the cleanest finish. If your pincushion looks slightly uneven, roll it gently between your hands to distribute the stuffing.
Common situations and fixes:
- Design looks off-center: Measure border space before cutting, not after.
- Corners look rounded: Trim corner bulk and push them out more carefully.
- Fabric frays too much: Use a little fray preventer or wider seam allowances before trimming.
- Front puckers: Press before assembly and avoid pulling the seam too tight.
- Pincushion leans or twists: Add stuffing evenly, especially into corners.
Once the basic method feels easy, quick upgrades include adding a trim, sewing on a button in the center, or using crushed walnut shells mixed with fiberfill for extra weight. But for a first attempt, a plain square cushion is the most reliable path to a neat result.
FAQ
What Fabric Is Best for an Easy Cross Stitch Pincushion?
For most beginners, 14-count Aida is the best choice for the stitched front because it is easy to count and stays stable while sewing. Quilting cotton works well for the backing because it is simple to cut, press, and stitch.
How Much Seam Allowance Do I Need for a Cross Stitch Pincushion?
A 1/4-inch seam allowance is a good standard for small pincushions. Beyond that, leave at least 1 inch of fabric around your stitched design before cutting so the motif does not get swallowed by the seams.
What Can I Use to Stuff a Pincushion?
Polyester fiberfill is the easiest stuffing for beginners because it is soft, easy to shape, and widely available. For a firmer, heavier pincushion, some crafters add crushed walnut shells, but plain fiberfill is the simplest starting option.
Can I Make a Pincushion from a Small Finished Cross Stitch Piece?
Yes, as long as the finished piece has enough extra fabric around the design for seam allowance. If it does not, you can add a fabric border before sewing the front and back together to create the needed size.
How Do I Keep My Cross Stitch Pincushion Square?
Measure carefully before cutting, use matching front and back pieces, sew even seam allowances, trim corners, and stuff evenly. Centering the design early also helps. Most “not square” pincushions are really the result of uneven cutting or uneven stuffing.