
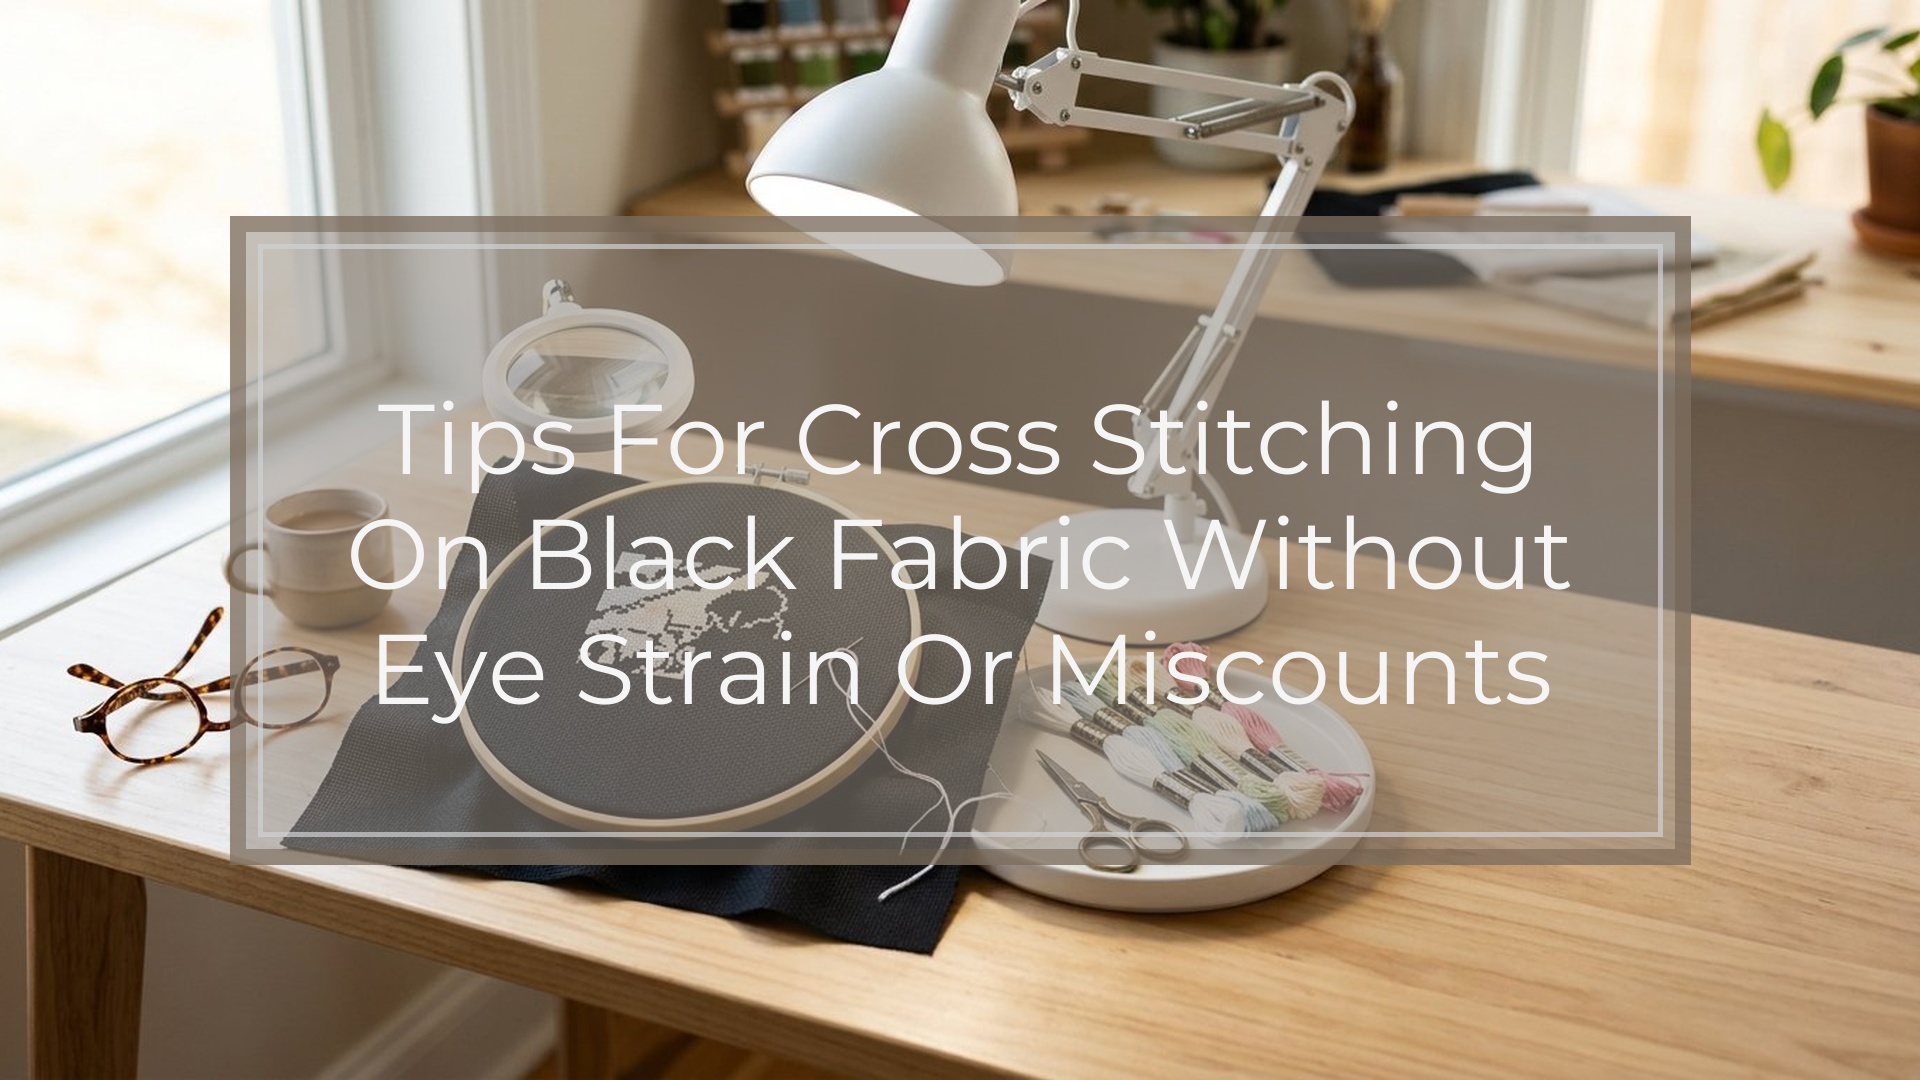
Cross stitching on black fabric is mostly a visibility problem, not a skill problem. The fabric absorbs light, the holes seem to disappear, and counting errors are harder to catch. A few setup changes make a big difference: use strong angled light, place a white surface behind the fabric, choose a needle and floss that glide smoothly, and mark your center clearly before you begin. On dark fabric, it also helps to work in smaller sections, check counts often, and keep your hands and fabric clean so lint does not build up. Once you can see the holes consistently, black fabric becomes much less intimidating and often gives stitched colors extra drama.
Why Black Fabric Feels Harder to Stitch
Black fabric changes how your eyes read the grid. On white or cream Aida, light reflects off the fabric and helps define each hole. On black fabric, light is absorbed instead, so the weave looks flatter and the holes blend together.
That creates three common problems:
- seeing where to place the needle
- counting squares accurately
- spotting mistakes before they spread
Dark fabric also shows dust, lint, pet hair, and skin oils more easily. So the challenge is partly visual and partly about keeping your work clean and controlled. Once you think of black fabric as a project that needs better contrast and better checking habits, the solution becomes much clearer.
Choose Supplies That Make Black Fabric Easier to Work with
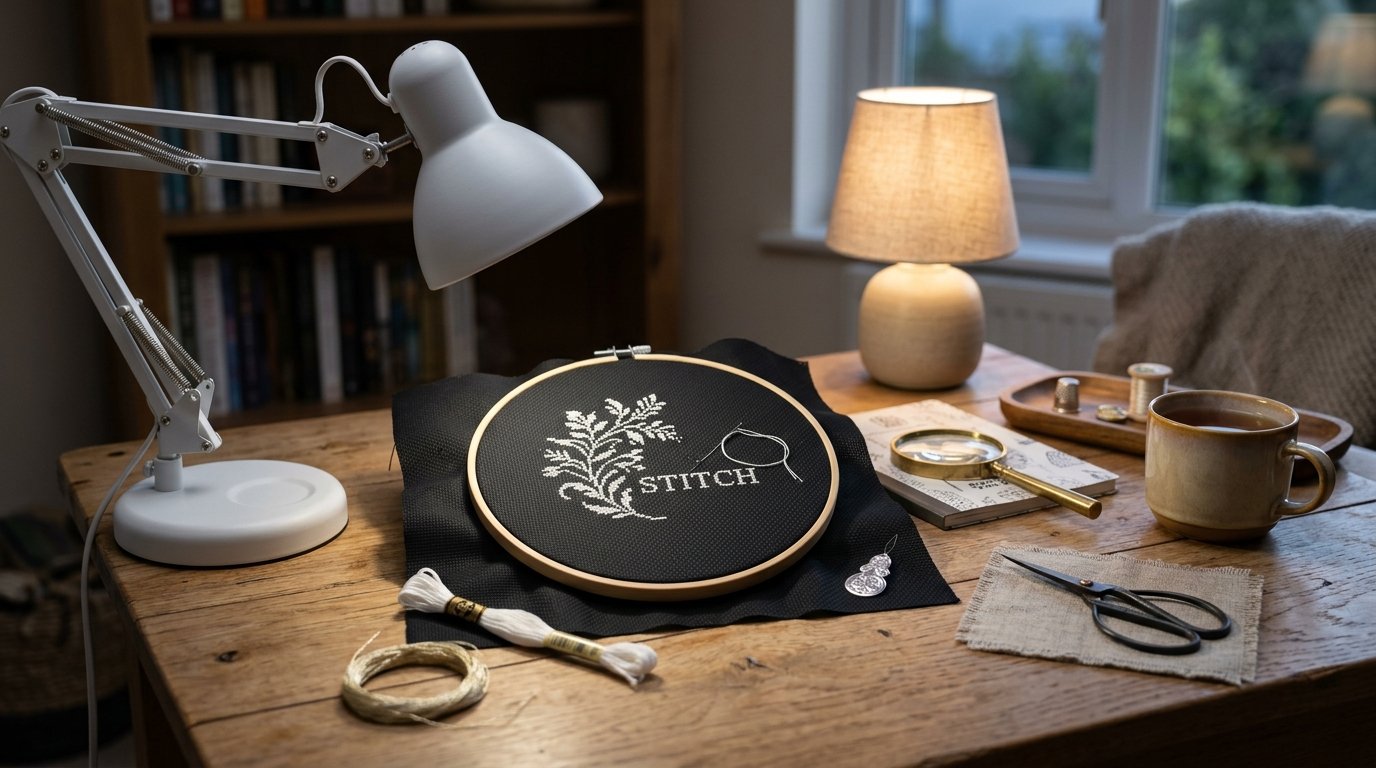
The right tools reduce strain faster than sheer patience. Start with lighting. A bright daylight-style lamp aimed across the fabric, not straight down, helps the holes cast tiny shadows so they are easier to see. Many stitchers also like a second light source for evening work.
A few supply choices matter most:
- Good task lighting: daylight LED is usually the most comfortable
- A white or light backing surface: a pillowcase, sheet of paper, lap tray, or white cloth placed behind the fabric
- Needle size that matches the fabric count: too large distorts holes, too small can be hard to control
- A hoop or Q-snap: keeps tension even and makes the holes more defined
- Thread conditioner, if you use it normally: helps reduce tangles on longer lengths
- Pattern marking method you can see clearly: highlighter on paper charts or a strong symbol display on a digital chart
If you already use magnification, black fabric is a good time to lean on it. Even a modest magnifier can reduce counting fatigue. For floss, shorter lengths often behave better on dark fabric because worn thread looks fuzzier and catches more light.
Set up Your Fabric Before the First Stitch
A little prep prevents a lot of frustration later. Before stitching, find and mark the center of the fabric and the center of the chart. On black fabric, a center mark is especially useful because it reduces long counting jumps early on.
Use this setup routine:
- Finish or protect the edges so the fabric does not fray while you handle it.
- Press the fabric if needed to remove fold lines.
- Place the fabric in a hoop or frame with firm, even tension.
- Put a white surface behind it to make the holes stand out.
- Test your lighting angle before threading your needle.
- Consider gridding if the design has large stitched areas, scattered motifs, or frequent color changes.
For gridding, choose a method that contrasts clearly with black fabric, such as a light-colored monofilament or a removable marking tool made for dark fabrics. Avoid anything difficult to remove or likely to snag your stitches.
Tips for Seeing the Holes and Counting Correctly
This is the part that matters most. If you can see the grid and track your place, the rest of the project feels normal again.
First, use backlighting or contrast, not just more brightness. A white towel on your lap, a light board under the fabric, or even daylight coming from behind can make the holes pop. Angled light from the side is often better than overhead light because it creates definition in the weave.
Second, work in smaller counting units. Instead of counting 20 spaces in one jump, count in groups of 5 or 10 and double-check before stitching. On dark fabric, smaller jumps are safer.
Third, anchor your counting to nearby stitches. Completed stitches are easier to see than empty holes, so use them as landmarks. This is one reason many stitchers prefer parking or completing small motifs before moving far away.
Fourth, mark progress constantly on your chart. Losing your place on the chart and losing your place on the fabric often happen together.
Here is a fast troubleshooting reference:
| Problem | Quick fix |
|---|---|
| Holes disappear | Angle a daylight lamp from the side and place white backing behind fabric |
| Counting keeps going wrong | Count in groups of 5 or 10 and stitch from known landmarks |
| Eyes tire quickly | Shorten sessions, add magnification, and increase contrast rather than only brightness |
| Hard to follow chart symbols | Highlight completed areas or enlarge the chart display |
| Empty area feels confusing | Grid first or start from a clearly defined motif |
Finally, do not be afraid to rotate the fabric. Sometimes a slight turn makes the hole structure easier to read under your light.
How to Stitch Neatly on Black Fabric
Neat stitching on black fabric comes down to smooth thread, steady tension, and cleanliness. Because dark fabric highlights lint and fuzzy floss, worn thread looks messy faster than it would on lighter cloth.
A few habits help:
- Use shorter floss lengths to reduce fraying.
- Let the needle and thread dangle occasionally so the floss can untwist.
- Keep your top leg direction consistent across the project.
- Pull stitches firmly but not tightly so the holes stay open without distorting the fabric.
- Wash hands before stitching and keep snacks, lotions, and drinks at a distance.
If your floss coverage looks thin, check whether you are using the right strand count for the fabric. Black fabric can make gaps more noticeable, especially with pale thread colors. Test a few stitches first if full coverage matters for the design.
Mistake-proofing: What to Do When You Miscount or Can’t See a Problem
When something looks off, stop early. Black fabric hides errors until they affect a bigger section, so quick checking is worth more than speed.
Try this order:
- Compare to the chart and confirm the nearest completed motif.
- Recount from a known point rather than from the suspicious stitch.
- Use stronger contrast by adding white backing or more angled light.
- Check the surrounding negative space; miscounts often show up as a shape problem first.
- Only frog what is necessary.
If you cannot tell whether a section is wrong, take a photo with your phone and zoom in. A magnified image often reveals a shifted line or missed hole more clearly than the fabric in your hand.
A Simple Workflow for Cross Stitching on Black Fabric
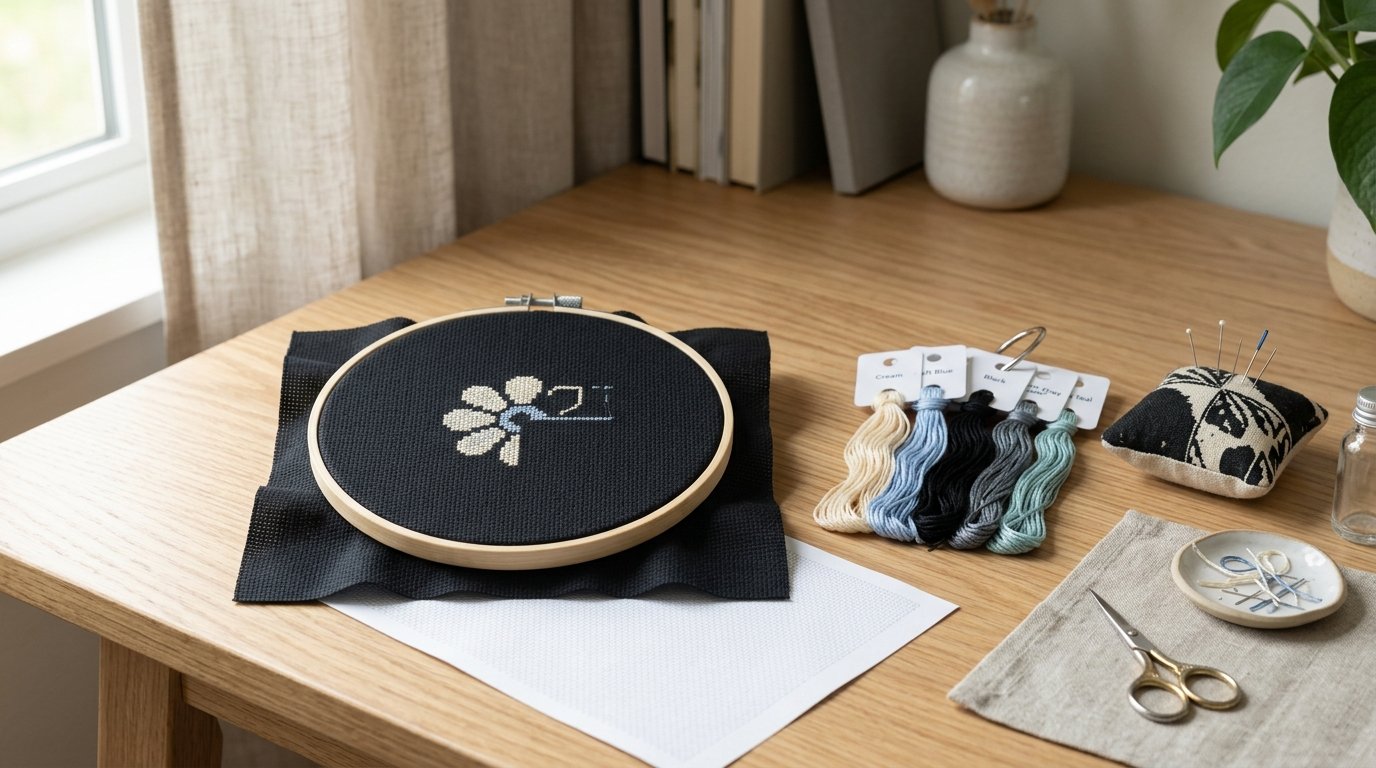
Use this routine on your next project:
- Set up bright angled light and place white backing behind the fabric.
- Mount the fabric securely and mark the center.
- Grid if the design is complex or widely scattered.
- Start near the center or another easy landmark.
- Count in small groups and mark progress on the chart right away.
- Stitch in short sessions if your eyes get tired.
- Pause every few motifs to check alignment before moving on.
- Keep the fabric clean and covered when not in use.
This workflow keeps black fabric manageable because it turns visibility into a repeatable system instead of a constant struggle.
FAQ
What Is the Best Light for Cross Stitching on Black Fabric?
A bright daylight LED task lamp is usually the best choice. Position it at an angle so the weave shows more clearly. Many stitchers also add a white backing surface or a light source behind the fabric for extra contrast.
Should Beginners Use Black Aida or Black Evenweave?
Beginners usually find black Aida easier than black evenweave because the holes are more defined. If you are new to dark fabrics, start with a moderate-count black Aida project before trying evenweave or linen on a dark ground.
Do I Need to Grid Black Fabric Before Cross Stitching?
Not always, but gridding helps a lot on black fabric if the pattern is large, scattered, or count-heavy. It reduces long counting jumps and makes mistakes easier to prevent. For small, simple motifs, a clear center mark may be enough.
How Do I Keep Black Fabric from Showing Lint and Marks?
Wash your hands before stitching, store the project in a clean bag, and keep it covered when not in use. Use a lint roller carefully on the outside of the project bag, not directly on stitches, and avoid lotions while you work.