
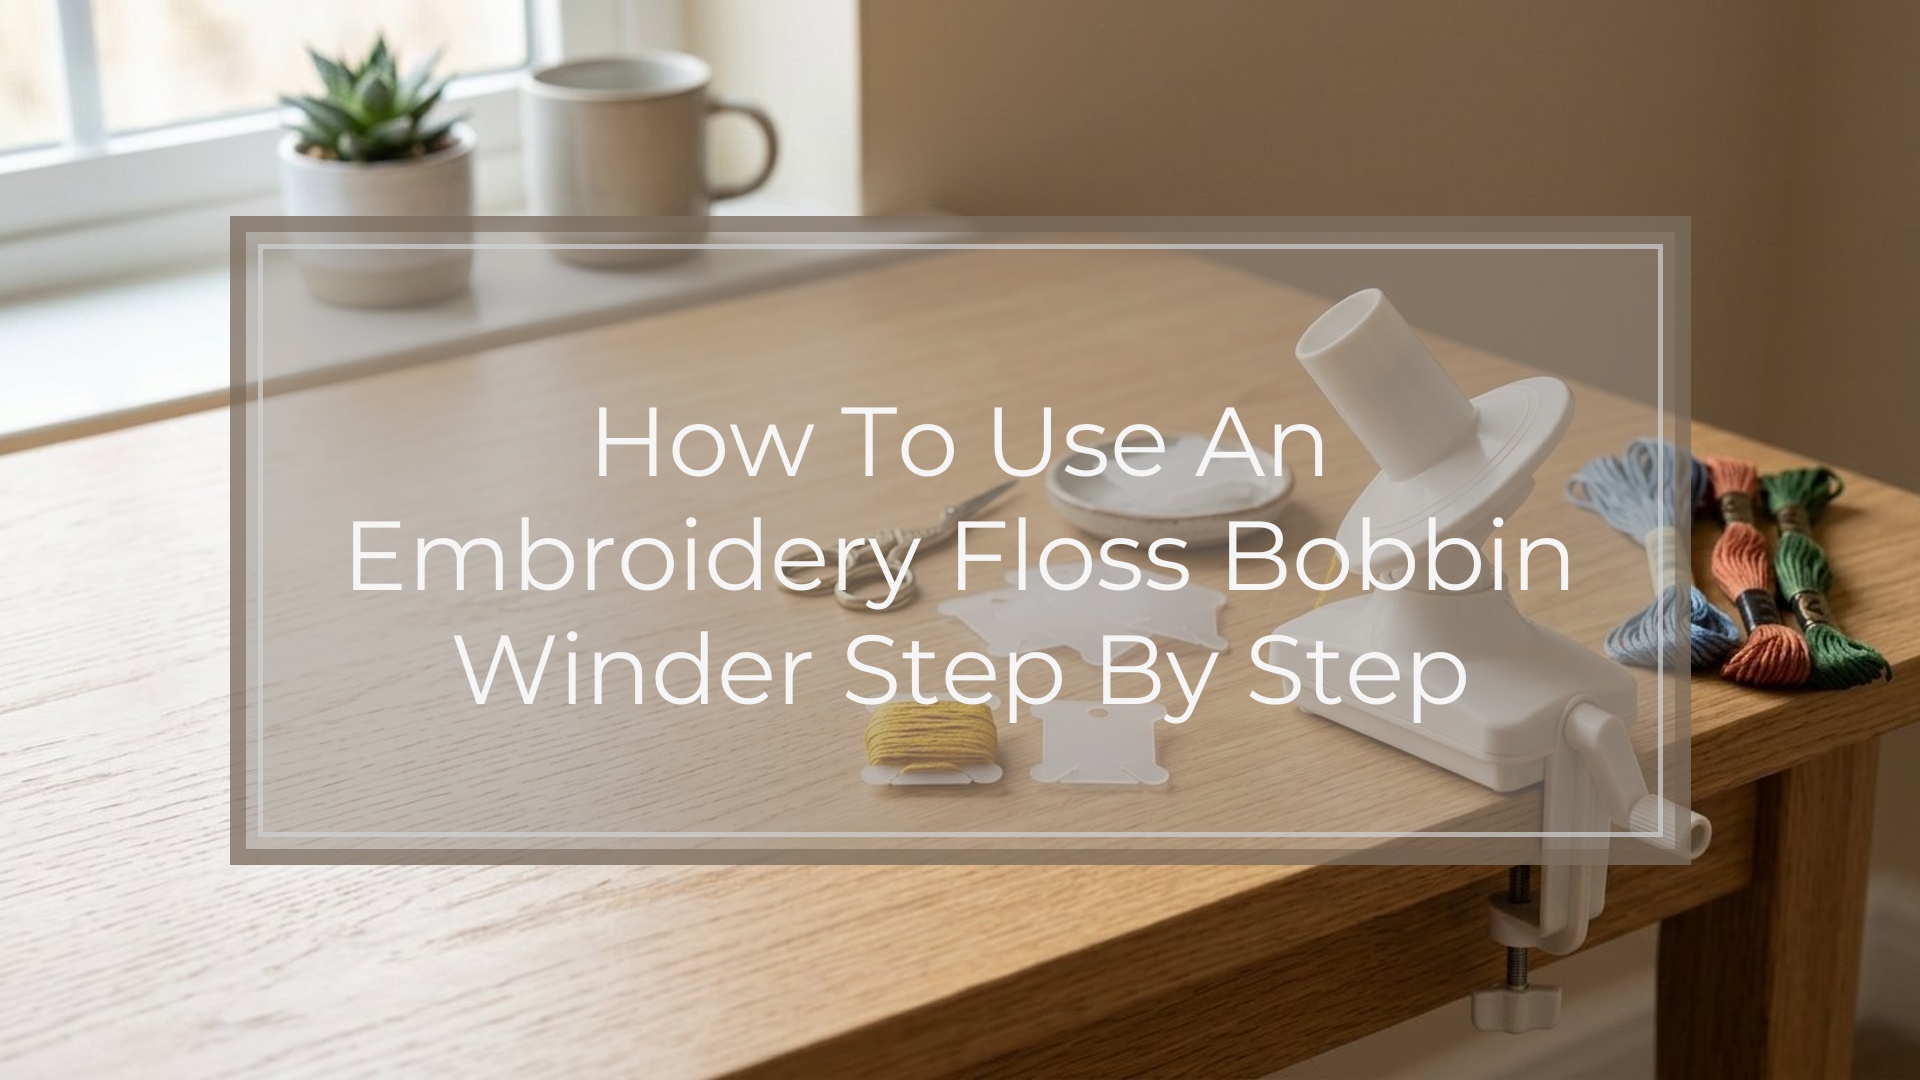
To use an embroidery floss bobbin winder, place an empty bobbin on the spindle, secure the floss end in the bobbin slot or notch, and turn the handle or start the motor while guiding the floss evenly across the bobbin. Keep the tension light so the floss lies flat without stretching. Stop before the bobbin gets bulky, then tuck the end into the notch and label it.
A bobbin winder is mainly about speed, consistency, and fewer tangles. The trick is not winding as fast as possible. It is setting up the bobbin straight, feeding the floss smoothly, and building even layers.
What an Embroidery Floss Bobbin Winder Does and When to Use One
An embroidery floss bobbin winder is a small tool that wraps floss around a storage bobbin with a spindle instead of by hand. Manual versions use a crank, while electric versions use a motor. Both are meant to make winding quicker and more uniform.
Use one when you are organizing several skeins, setting up a new project, or rewrapping messy floss. If you only wind a bobbin once in a while, hand winding is fine. But for larger batches or a cleaner finish, a bobbin winder is usually easier and less tiring.
What You Need Before You Start
Gather your supplies first so the floss does not drag, knot, or twist mid-process.
You will need:
- An embroidery floss bobbin winder
- Empty cardboard or plastic bobbins
- Embroidery floss
- Small scissors
- Optional labels or a marker
- A floss box or container for storage
Check that the bobbins fit the spindle securely. It also helps to find the floss color number before you start so you can label each bobbin right away.
How to Set up the Bobbin Winder Correctly
Work on a flat surface with enough room for the floss to feed smoothly. If your manual winder clips to a floss box or table edge, attach it firmly so it does not wobble. Then slide the empty bobbin onto the spindle and make sure it sits straight, not tilted.
Next, find the floss end and smooth out any loops or knots. If you are using a pull skein, pull out a manageable length first rather than forcing the whole skein to feed at once. Secure the floss end in the bobbin slit or hold it in place for the first few turns.
| Part | Do this | Avoid this |
|---|---|---|
| Bobbin placement | Seat it flat on the spindle | Letting it wobble or lean |
| Floss start | Anchor the tail in the slot or notch | Starting with a loose tail |
| Tension | Hold floss lightly | Pulling hard or letting it go slack |
| Winding path | Guide floss across the bobbin | Piling it up in one spot |
How to Use an Embroidery Floss Bobbin Winder Step by Step
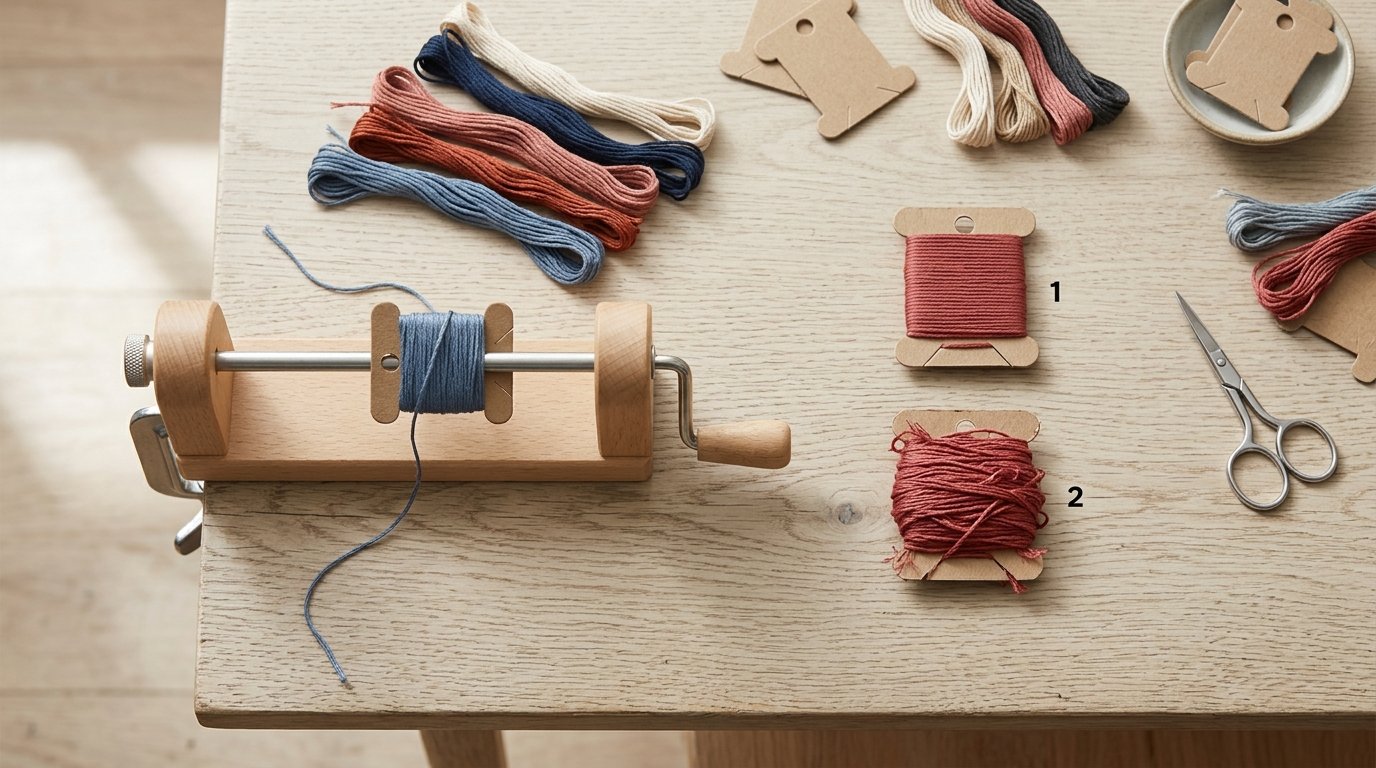
- Trim the end if needed. A clean floss end is easier to anchor and less likely to snag.
- Attach the floss to the bobbin. Insert it into the slot, or wrap it once and hold it with your thumb.
- Start slowly. Turn the crank or run the motor at a controlled pace so the first wraps lock the tail in place.
- Guide the floss as it winds. Move it gently side to side so the floss spreads across the bobbin instead of forming a lump.
- Keep light tension. The floss should lie flat and tidy, not stretched tight.
- Watch the skein feed. If it starts twisting or catching, pause, pull out a little more length, and let it relax.
- Build even layers. Continue until the bobbin looks smooth and balanced.
- Stop before overfilling. Leave a little space at the edges so the bobbin still fits neatly in storage.
- Secure and label the end. Tuck the floss into the notch and write the color number before putting it away.
A properly wound bobbin should unwind cleanly, without knots or bulging edges.
How Tight Should You Wind Embroidery Floss?
Wind it snugly enough that it stays in place, but not so tightly that the floss is compressed or stretched. A good test is visual: the floss should look smooth and flat, not pinched or springy.
If the wraps slide around, it is too loose. If the floss looks flattened or the bobbin feels overly hard, it is too tight. Aim for soft, even layers.
Common Mistakes and How to Fix Them
The most common problem is starting too fast. That can make the floss tail slip out. Fix it by rewinding the first few turns slowly.
If the floss builds up on one side, stop and guide it back across the center before continuing. If the skein twists into kinks, pull out more length and let the floss untwist naturally.
Overfilling is another frequent mistake. When the floss reaches the edges, stop. If the bobbin already looks too thick, unwind a little and secure it again. And if the bobbin slips on the spindle, the fit may be wrong for that winder, which makes even winding harder.
Best Practices for Storing Floss After Winding
Store finished bobbins upright or side by side in a floss box so they do not crush each other. Keep labels visible and consistent. If you use numbered floss, label every bobbin before moving to the next one.
Avoid direct sunlight, damp areas, and heat. For project-specific colors, keep the wound bobbins together in a small box, pouch, or on a ring so they stay organized.
Manual Vs Electric Bobbin Winders: Which Is Easier for Most Stitchers?
For most stitchers, a manual bobbin winder is the easier choice. It is inexpensive, simple, and gives better control over tension, which matters more than speed when learning.
Electric winders are useful if you wrap a lot of floss or have hand pain. They are faster, but they can also make it easier to wind too tightly or overfill a bobbin. For occasional use, manual is usually enough.
FAQ
Can You Use an Embroidery Floss Bobbin Winder with Cardboard and Plastic Bobbins?
Usually yes, as long as the bobbin hole fits the spindle properly. Plastic bobbins often feel sturdier, while cardboard ones can wear down faster with repeated use.
Do You Need to Separate All Six Strands Before Winding Embroidery Floss Onto a Bobbin?
No. Most stitchers wind the floss in its original six-strand form and separate strands only when they are ready to stitch.
How Full Should an Embroidery Floss Bobbin Be?
Fill it until the floss sits neatly across the bobbin without bulging past the edges. Leave a little room so it stores well and unwinds cleanly.
Is It Better to Wind Embroidery Floss by Hand or with a Bobbin Winder?
Hand winding works fine for a few bobbins. A bobbin winder is better if you want faster, neater, more consistent results with less hand fatigue.