
Glow in the dark thread works best as a decorative specialty thread, not a full replacement for everyday sewing thread. It is often a bit stiffer, creates more friction, and usually looks better in simple, visible stitching than in tiny packed details. The glow also depends on how well the thread is charged before you judge the result. If you choose realistic projects, reduce drag on the thread, and test your setup first, you can get cleaner stitching with less breakage and a brighter final effect.
Intro: What to Expect When Sewing with Glow in the Dark Thread
Glow thread is made for visual impact first. In daylight, it may look paler or more matte than standard thread. In darkness, the glow shows best where stitches stay exposed and easy to see. Because it can be thicker or less flexible, it may not feed as smoothly through tight guides, dense designs, or very fast stitching. The right mental model is simple: treat it as an accent material, use it where visibility matters, and judge success by both stitch quality and glow performance.
Tip 1: Choose Projects Where the Glow Effect Can Actually Be Seen
Start with projects that keep the stitching visible in both light and dark. Good beginner uses include bag outlines, costume details, quilt accents, simple stars, or labels on kids' items. Hidden seams, tiny inside construction stitching, and covered areas waste the effect. A flat project with visible topstitching is usually the easiest place to learn.
Tip 2: Use a Simple, Open Design Instead of Dense Detail
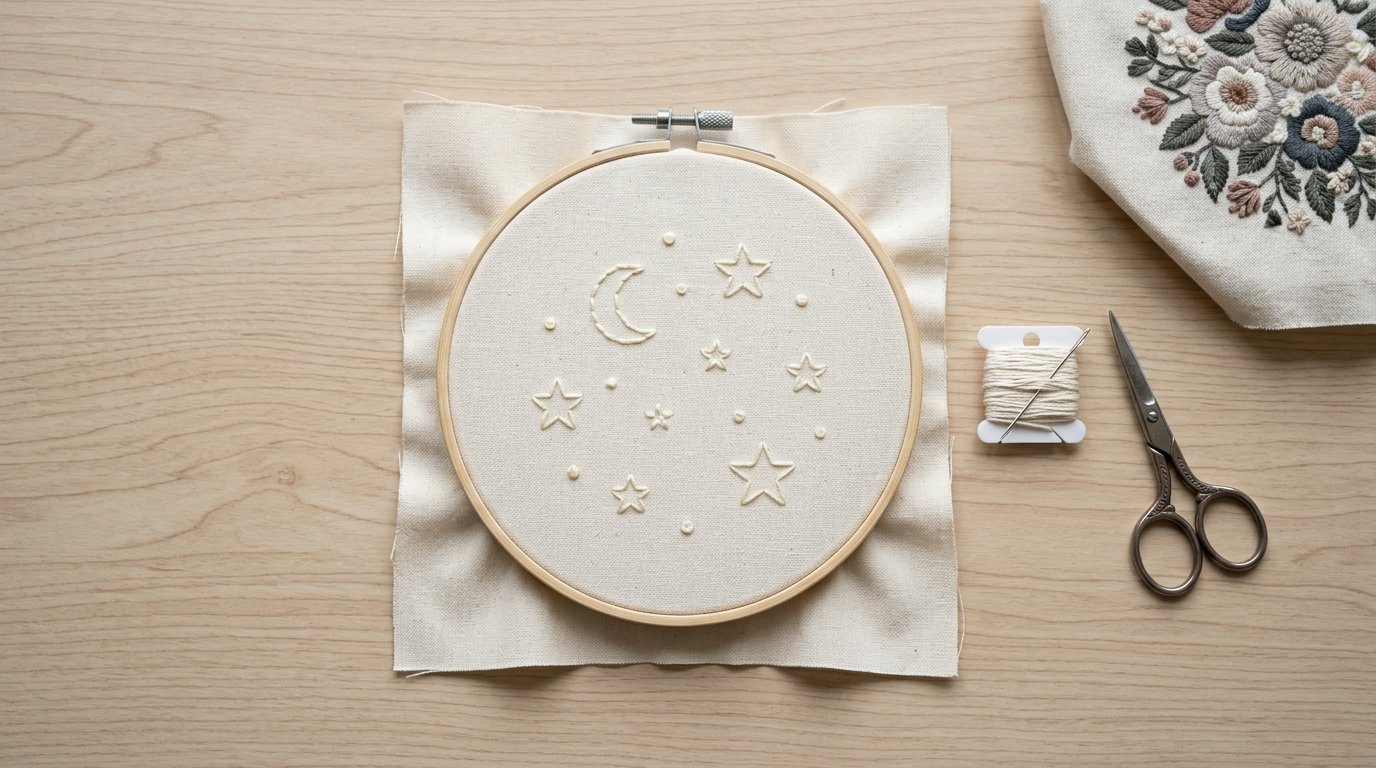
Open designs are easier on the thread and easier to see later. Dense satin stitches, tiny lettering, and packed motifs create more rubbing and more chances for fraying or breakage. They also reduce the clean outline that makes glow stand out. Choose line art, borders, stars, moons, or spaced decorative stitches. If your design is detailed, let glow thread handle only the bold outer elements.
Tip 3: Pair the Thread with Fabric That Boosts Contrast
Fabric choice changes both daytime appearance and nighttime visibility. Dark, smooth fabrics usually create the strongest contrast, while busy prints or fluffy textures can hide the stitching. Black, navy, charcoal, and deep purple are dependable starting points. Also check the project in regular light: a glow thread should still look intentional during the day, not washed out or lost in the surface texture.
Tip 4: Pick the Right Needle and Thread Path to Reduce Friction
Friction is one of the biggest causes of trouble. Use a fresh needle with an eye large enough for the thread to pass cleanly; embroidery or topstitch needles are often better starting points than a standard universal. Then check the thread path. Extra drag from tight guides, sharp turns, or rough spots can wear the thread quickly. For hand sewing, shorter lengths usually behave better than very long strands.
Tip 5: Slow Down and Test Tension Before Stitching the Real Project
Glow thread usually behaves better at a slower speed. Sewing too fast can increase heat, friction, and snapping. Before you start the real piece, stitch a sample on the same fabric and stabilizer. Test tension in small changes and look for balanced stitches without puckering or visible strain. You usually do not need major machine adjustments; a modest tension tweak and reduced speed are often enough.
Tip 6: Use Glow Thread Where It Performs Best in the Stitch Stack
Glow thread does not need to do every job. In many projects, it performs best in the needle where the visible top stitching is. For machine embroidery, regular bobbin thread underneath with glow on top is often the simplest choice. For garments, quilting, or home decor, reserve glow for the outer detail instead of seams that need strength. Using it strategically usually gives cleaner results than using it everywhere.
Tip 7: Keep Stitch Length and Density Slightly More Forgiving
A slightly more open stitch setup helps the thread sit better on the surface. Very short stitches and dense packing force repeated sharp bends, which can increase wear and dull the effect. On a sewing machine, try a modestly longer decorative stitch length. In embroidery, reduce density for glow sections when possible. The result is often smoother sewing, better definition, and a clearer glow line.
Tip 8: Charge the Thread Properly Before Judging the Final Effect
Do not decide the thread is disappointing until you charge it properly. Glow thread usually needs strong light exposure to perform well. Test a stitched sample under bright sunlight or a strong lamp, then move it into a darker room to evaluate it. If the glow seems weak, poor charging may be the issue rather than your stitch settings or design choice.
Tip 9: Combine Glow Thread with Regular Thread for Cleaner, More Usable Designs
One of the smartest ways to use glow thread is alongside standard thread. Let regular thread handle detailed fills, fine lettering, or structural seams, and use glow for outlines, highlights, borders, stars, or select topstitching. For example, a moon can be stitched in regular yellow with a glow outline. You keep clean detail in daylight and still get a readable glowing shape at night.
Tip 10: Store and Handle the Thread Gently to Preserve Performance
Specialty thread lasts longer when it is protected from unnecessary stress. Store spools away from dust, direct sunlight, and rough conditions that can kink or weaken the thread. Keep the spool from unwinding or snagging at the edge. While sewing, avoid yanking it through rough spots or knots. If a spool starts misbehaving, rethread the machine and check for burrs or damage before blaming the thread itself.
Common Mistakes to Avoid with Glow in the Dark Thread
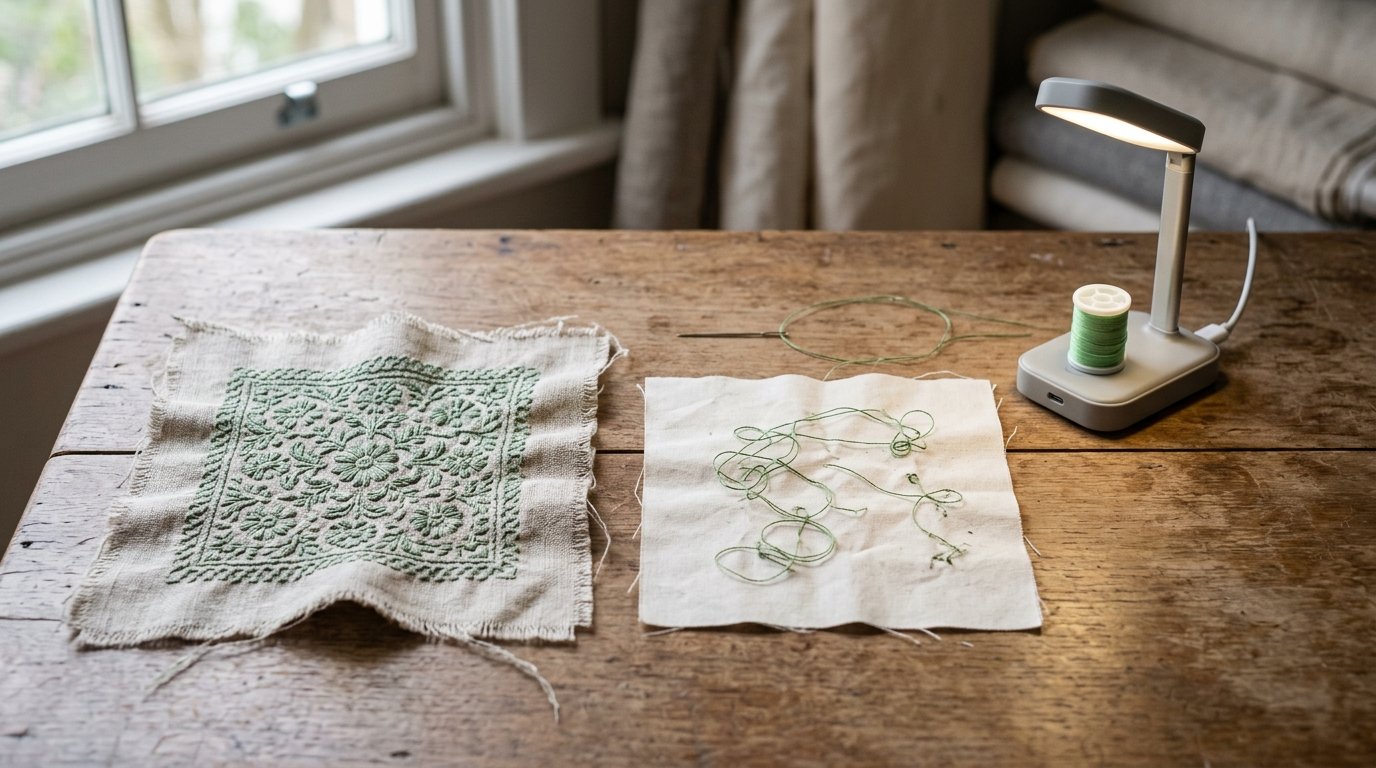
The most common mistake is treating glow thread exactly like ordinary thread. Other frequent problems include choosing tiny dense designs, sewing too fast, using too small a needle, skipping the test sample, and judging the glow before properly charging it. Another miss is overusing it in every part of the project. Glow thread usually performs best when it is visible, lightly stressed, and paired with regular thread where strength or fine detail matters more.
FAQ
Can You Use Glow in the Dark Thread in a Regular Sewing Machine?
Yes. A regular sewing machine can usually handle glow thread if you slow down, use the right needle, and test tension first. It is best suited to decorative stitching rather than heavy construction seams.
Does Glow in the Dark Thread Work Better for Embroidery or Regular Sewing?
It often works best in decorative embroidery and visible topstitching because those uses keep the thread exposed. It can be used in regular sewing, but it is usually not the best choice for hidden seams or high-stress assembly.
Why Does My Glow in the Dark Thread Keep Breaking?
Breakage is usually caused by friction, excess speed, dense stitching, or a needle eye that is too small. Check the thread path, slow the machine, test tension, and simplify the design before trying again.
How Do You Make Glow in the Dark Thread Glow Brighter?
Charge it under strong light before judging the result. Sunlight or a bright lamp works better than dim room light. You can also improve the effect by stitching on darker fabric and using open, visible designs.