
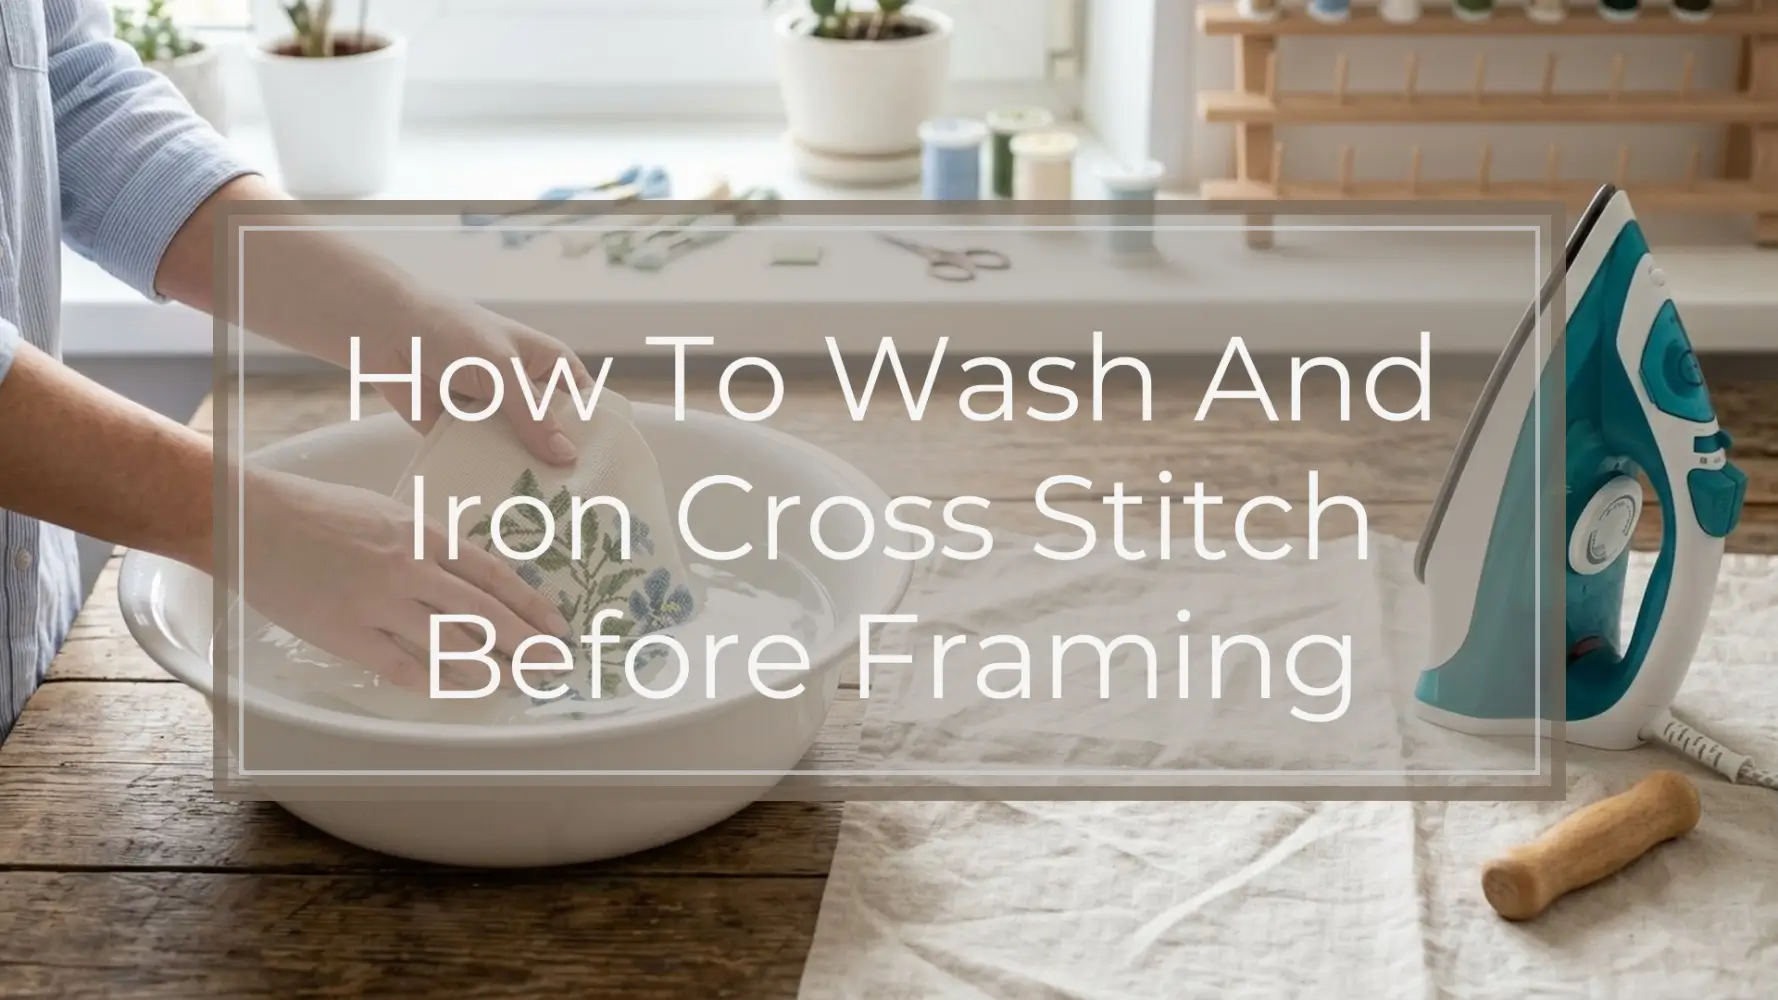
Quick answer: To wash cross stitch before framing, first test any hand-dyed floss or fabric for colorfastness. Soak the finished piece in cool to lukewarm water with a tiny amount of mild, fragrance-free soap, gently swish, rinse until clear, then roll it in a clean towel to remove excess water. Let it air-dry until slightly damp, place it face down on a clean towel, and press from the back with a warm iron. Do not scrub, wring, use hot water, or iron directly over the stitched front.
Washing and ironing your cross stitch before framing helps remove hand oils, hoop marks, dust, and light creases so the fabric sits clean and flat in the frame. The key is to treat the piece gently from start to finish, especially if you used hand-dyed floss, specialty threads, beads, metallics, or vintage fabric.
The Safe Way To Wash And Iron Cross Stitch Before Framing
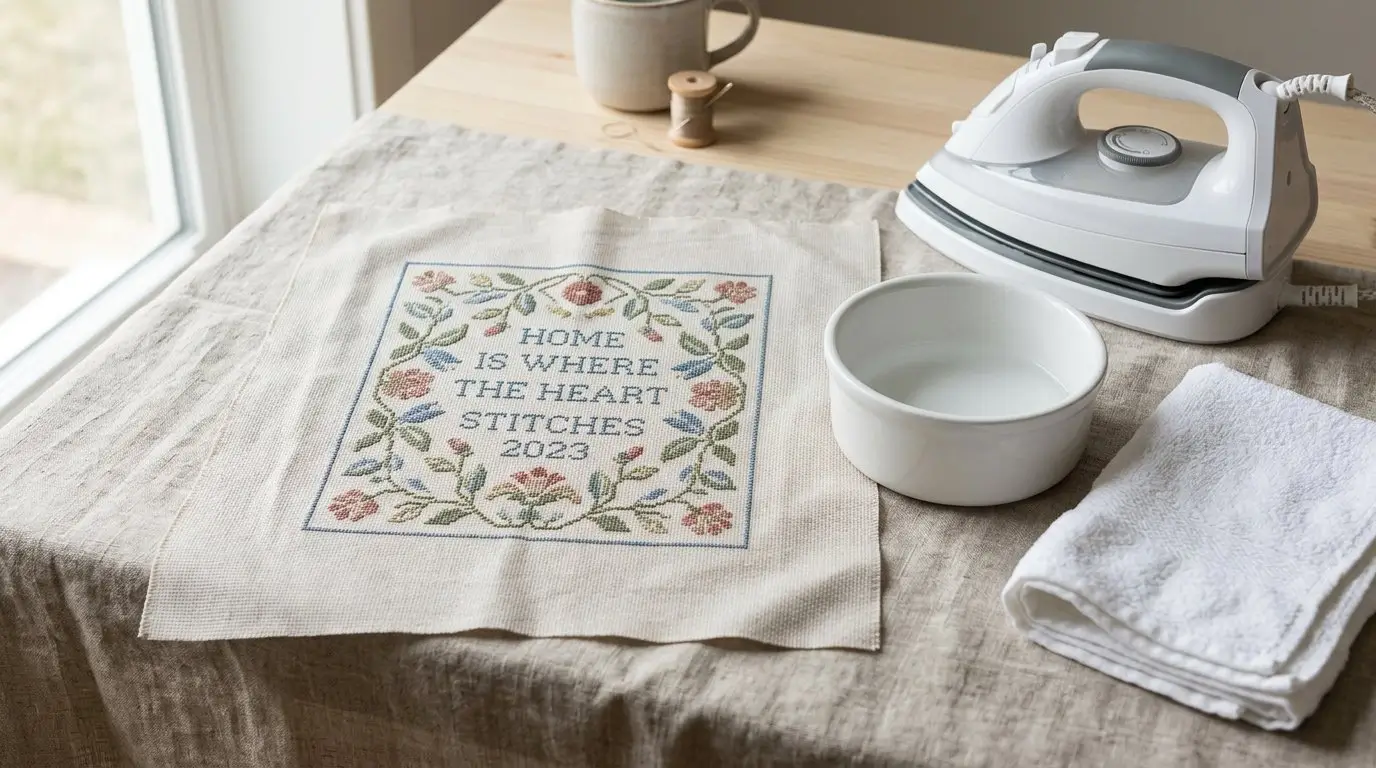
Most modern cross stitch worked with colorfast cotton embroidery floss on cotton or linen fabric can be washed and pressed before framing. The safest sequence is simple:
- Check the materials and test for colorfastness.
- Wash gently in cool to lukewarm water with mild soap.
- Rinse until the water is clear.
- Blot in a clean towel instead of wringing.
- Dry flat until slightly damp.
- Press face down from the back.
- Let it dry completely before mounting or framing.
This process removes everyday handling marks without flattening the stitches or pulling the fabric out of shape. It is especially useful if the project has been in a hoop, handled often, or stored before finishing.
However, not every piece should be soaked. Avoid washing, or proceed only with specialist advice, if you see dye bleeding during testing or if the design includes non-washable embellishments, delicate vintage fabric, silk, wool, metallic threads, beads, or specialty fibers without clear care instructions.
Think of washing as a gentle release, not a deep clean. Cross stitch fabric and threads can handle careful care, but they are not meant to be scrubbed, twisted, bleached, or exposed to harsh products.
Materials You Need Before You Start
Gather everything before the stitched piece touches water. This keeps the process calm and prevents you from having to handle wet fabric more than necessary.
You will need:
- A clean basin, bowl, or sink
- Cool to lukewarm water
- Mild, fragrance-free soap or gentle textile wash
- Clean white towels
- Optional color catcher for extra caution
- Iron and ironing board
- Pressing cloth, if needed
- A lint-free surface for drying and checking
- Clean hands free from lotion, oils, or perfume
White towels are best because they reduce the chance of dye transfer from the towel to your fabric. They also make it easier to spot any color bleeding from thread or fabric while blotting.
Before washing, remove loose lint, pet hair, dust, or stray threads from the front and back of the project. A gentle shake or careful lint removal is safer before soaking than trying to pick debris from wet stitches.
| Item | Best Choice | Avoid |
|---|---|---|
| Water | Cool to lukewarm | Hot water |
| Soap | Tiny amount of mild, fragrance-free soap | Bleach, scented detergent, fabric softener |
| Towels | Clean white cotton towels | Colored, dirty, or lint-heavy towels |
| Drying method | Roll and blot, then dry flat | Wringing, hanging by corners, tumble drying |
| Iron heat | Warm setting matched to fabric | Very hot iron or heavy steam |
| Pressing surface | Thick towel under the stitched front | Hard surface that crushes stitches |
Do not use bleach, aggressive stain removers, strong detergent, or fabric softener. These can affect fabric, thread, and the final look of the stitching.
Step 1: Check Colorfastness And Stitching Condition
Before washing cross stitch, identify the materials you used. Standard cotton embroidery floss on plain cotton or linen fabric is usually the easiest to wash. Hand-dyed floss, overdyed threads, silk, wool, metallics, specialty fibers, beads, charms, and vintage fabric need more caution.
A simple colorfastness test can help you decide whether soaking is safe:
- Dampen a clean white cloth with cool water.
- Press it gently against a stitched area, especially a dark or bright thread.
- If you have thread tails from the same floss, test those instead of the front.
- Hold for a few seconds, then check the cloth for transferred dye.
If any color appears on the cloth, a full soak is risky. Rinsing may cause more dye movement, and heat can make some problems harder to manage. In that case, consider leaving the piece unwashed, spot consulting a textile professional, or framing as-is if the marks are minimal.
Also inspect the back of the work. Look for loose thread ends, unstable knots, snagged areas, or stitches that might catch. Secure anything that looks likely to unravel before washing, but avoid adding bulky knots if they will show through when framed.
For inherited, antique, or delicate pieces, be extra conservative. Older fabrics and threads may be weaker than they look, and previous storage conditions can affect how they respond to water. When unsure, professional textile cleaning or careful framing without washing is safer than experimenting.
“Washable” does not mean indestructible. The goal is to remove surface oils and light marks while keeping the fabric square and the stitches intact.
Step 2: Wash The Cross Stitch Gently
Start with a clean basin or sink. If you use a sink, wipe it thoroughly first so there is no residue from cleaners, soap, or cosmetics.
Fill the basin with cool to lukewarm water. Avoid hot water because it can encourage dye bleeding, affect some fibers, and make certain marks more difficult to deal with. Add a very small amount of mild, fragrance-free soap, then mix it into the water before adding the cross stitch. The water should not feel heavily soapy.
Place the stitched piece into the water and let it soak briefly. Use flat hands to lower it into the basin so the fabric is supported. After a short soak, gently move the fabric through the water. Think of this as swishing, not washing laundry.
Do not rub the stitched areas, scrub stains, twist the fabric, or bunch it tightly in your hands. If you are trying to remove hoop marks or light handling marks, soaking and gentle movement are usually safer than targeted scrubbing. Some marks will relax during washing and pressing, but not every stain can be removed without risk.
After washing, drain the soapy water. Refill the basin with fresh cool water and rinse the piece by gently moving it through the water again. Repeat with clean water until the water runs clear and you no longer feel or see soap residue.
If dye appears in the water, stop any extended soaking. Drain the water, rinse carefully with cool water, and move to blotting. Do not panic scrub the stained area, and do not apply heat until you have assessed the piece. Dye bleeding is not always fixable at home, and aggressive treatment can make the fabric or stitches look worse.
Once rinsed, support the fabric with both hands when lifting it from the basin. Wet fabric is heavier and easier to stretch, especially on larger pieces.
Step 3: Dry It Flat Without Stretching The Fabric
Drying is just as important as washing. The aim is to remove water while keeping the fabric square and the stitches raised.
Lift the wet cross stitch with both hands so no corner carries the full weight of the piece. Lay it flat on a clean white towel. Smooth it gently with your fingers, but do not pull or stretch the fabric.
Place another clean towel on top if needed, or roll the stitched piece inside the towel. Press down along the roll to blot out excess water. Use firm, even pressure rather than twisting. The towel should absorb moisture without distorting the weave.
Avoid:
- Wringing the fabric
- Twisting it to remove water
- Hanging it by corners
- Clipping it to a clothesline
- Putting it in a tumble dryer
- Drying it in direct harsh heat
After blotting, unroll the towel and move the cross stitch to a dry white towel. Lay it flat and gently ease it into shape. Check that the edges look straight and the fabric has not skewed.
Ironing works best when the fabric is slightly damp: not dripping wet, but not completely bone dry either. Slight dampness helps creases relax with less heat. If the piece dries fully before you are ready to iron, you can lightly mist the back with clean water, but only if the threads and fabric are safe to dampen.
Step 4: Iron Cross Stitch Before Framing
To iron cross stitch safely, protect the raised stitches. Set up your ironing board with a thick, clean towel on top. This towel cushions the front of the stitching so the texture is not crushed flat.
Lay the cross stitch face down on the towel. The stitched front should be against the towel, and the back of the fabric should face up toward the iron. This lets you press the fabric flat without ironing directly over the stitched surface.
Set the iron to a warm temperature suitable for the fabric. For cotton or linen, start lower than you think you need and increase only if the creases are not relaxing. If you are unsure about the fabric or threads, use a lower setting and add a pressing cloth between the iron and the back of the work.
Use pressing motions rather than dragging the iron. Lower the iron, hold briefly, lift, and move to the next area. Dragging the iron across damp fabric can distort the weave or push the piece out of square.
Avoid ironing directly on the front of the stitches. Direct pressure can flatten the texture, create shine, or make the thread look less defined. The towel underneath gives the stitches a soft place to sink while the fabric backing is smoothed.
Be cautious with steam. A little moisture can help plain cotton or linen, but heavy steam is not ideal around hand-dyed floss, metallic threads, delicate fibers, or materials you have not tested. When in doubt, use the natural dampness from washing rather than a steam-heavy setting.
After pressing, leave the piece flat until it is fully cool and completely dry. Do not move straight from ironing to framing if any dampness remains.
Troubleshooting, Mistakes To Avoid, And Final Framing Check
If wrinkles remain after the first press, do not turn the piece over and iron the stitched front. Instead, lightly re-dampen the back, place it face down on the towel again, and press from the back with careful up-and-down motions.
If you notice light soap residue, rinse the piece again in cool water, then blot and dry flat. Soap left in the fabric can affect the final appearance, especially under glass or bright light.
If dye bleeding appears, stop soaking and avoid heat. Rinse gently with cool water, blot with white towels, and let the piece dry flat while you decide the next step. Do not use bleach or harsh stain removers on the stitching.
Common mistakes to avoid include:
- Washing in hot water
- Using bleach or strong detergent
- Scrubbing stitched areas
- Wringing or twisting wet fabric
- Tumble drying
- Ironing the front of the stitches
- Using dirty or colored towels
- Framing before the piece is fully dry
Before framing, do a final result check. The fabric should be clean, flat, dry, and reasonably square. Look closely for visible soap residue, lint, towel fibers, pet hair, or loose threads on the front. Check that the stitches still have texture and have not been crushed by pressing.
Most importantly, make sure the fabric is completely dry before it goes behind glass or into a frame. Trapped moisture can cause problems inside a sealed frame, and it is much easier to wait than to unframe the piece later.
FAQ
Should you always wash cross stitch before framing?
Not always. Washing is helpful for removing hand oils, hoop marks, dust, and light creases, but skip it if the piece has non-washable fibers, unstable dye, delicate vintage fabric, beads, metallics, or unclear care instructions.
Can I wash cross stitch made with hand-dyed floss?
Only with caution. Test for colorfastness first by pressing a damp white cloth against the thread or a spare thread tail. If any dye transfers, avoid a full soak unless the thread maker’s care guidance says it is safe.
What temperature should I use to iron cross stitch?
Use a warm iron suited to the fabric, starting on a lower setting and increasing only if needed. Always press from the back with the stitched front cushioned on a clean towel.
Can I use steam when ironing cross stitch?
Use steam cautiously. It may be fine for plain cotton or linen, but avoid heavy steam with hand-dyed floss, metallic threads, specialty fibers, or uncertain materials. A slightly damp fabric is often enough.
How do I remove hoop marks before framing?
Soak the piece gently in cool to lukewarm water, rinse well, blot in a towel, then press while slightly damp from the back. Avoid scrubbing the hoop line, as that can damage fibers or distort the fabric.
Can I frame cross stitch while it is still damp?
No. Let the cross stitch dry completely before framing. Framing damp fabric can trap moisture behind the glass or mounting materials, which may affect the finished piece over time.